
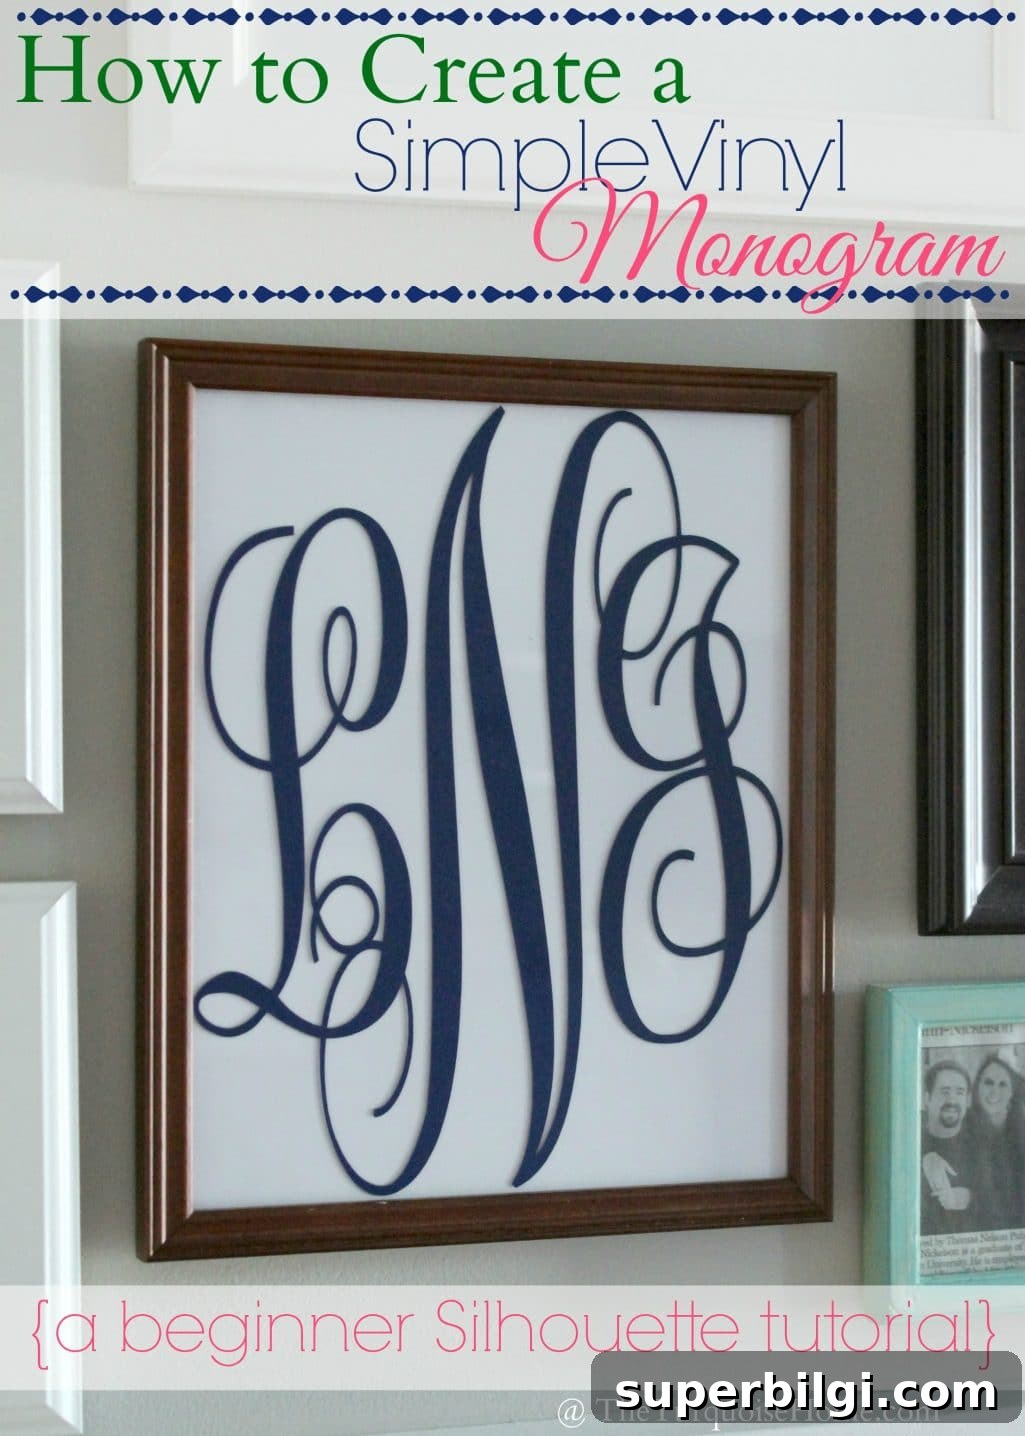
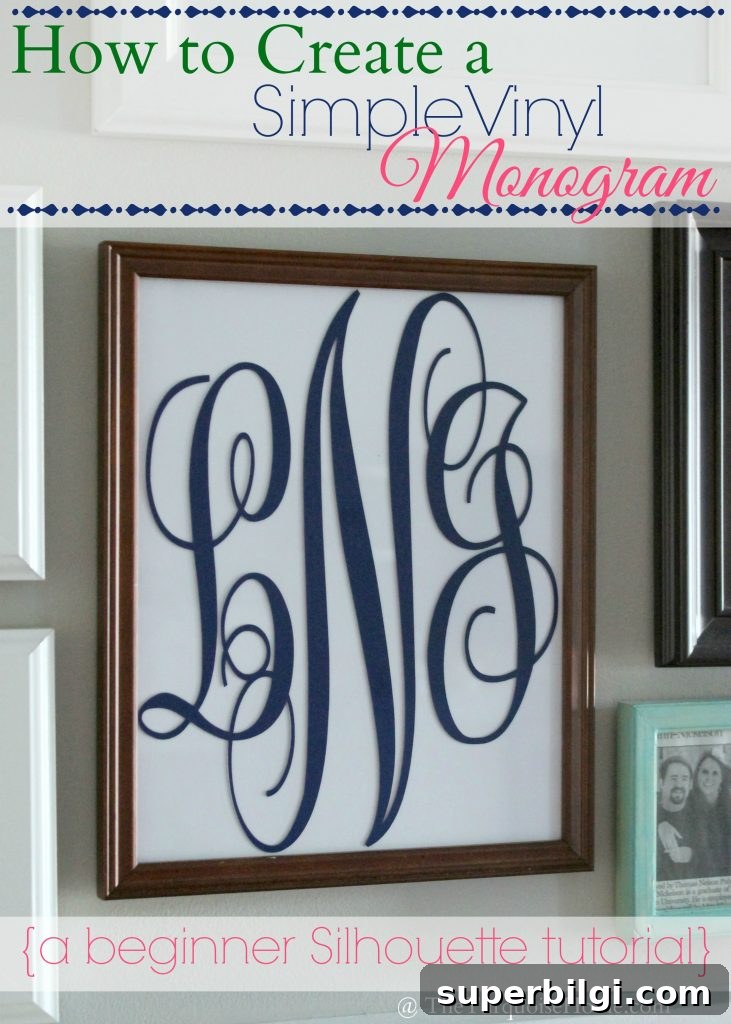
I love monograms! This simple vinyl monogram project is perfect for beginners. This tutorial walks you step-by-step through creating and applying a vinyl monogram with a Silhouette cutting machine.
I’ve used this basic approach to make things like a monogram printable and a monogrammed wreath—the same methods transfer well to many small projects.
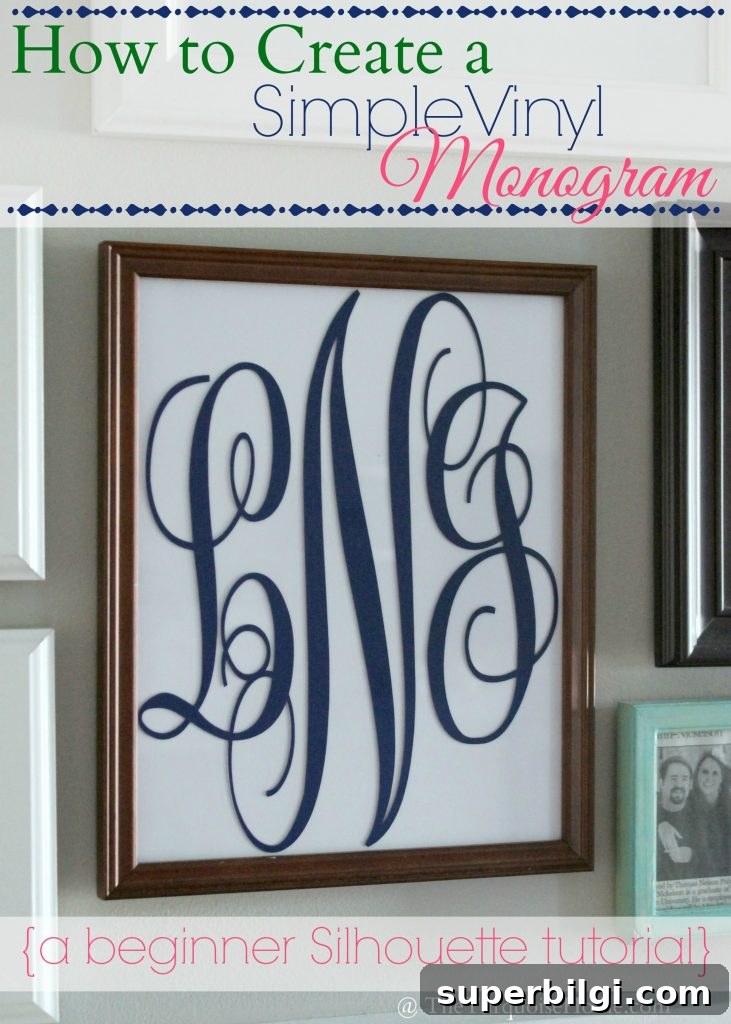
After buying a Silhouette Cameo, I was eager to try cutting vinyl. Once I picked up a vinyl starter kit, I tackled my first vinyl monogram. It wasn’t flawless, but the final framed monogram looked great—and it’s a very approachable first project for anyone new to vinyl and the Silhouette Studio software.
Part 1. How to Create a Monogram
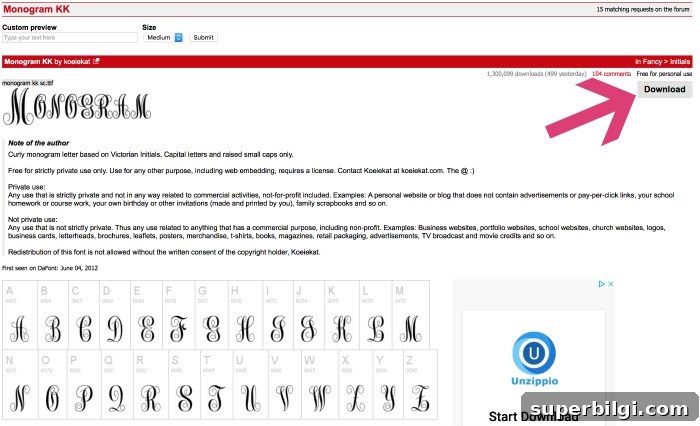
Step 1. Download the Monogram KK font.
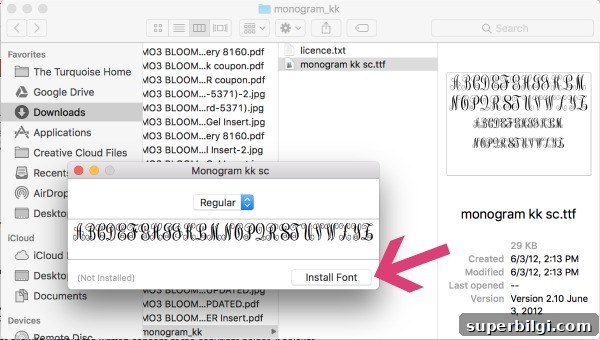
Step 2. Install the Monogram KK font on your computer.
On a Mac, I opened the Downloads folder, located the Monogram KK folder, and clicked “Install Font.” It then appeared in my system font library. On a PC, install the font via your system font manager. If Silhouette Studio was open during installation, close and reopen the program so it recognizes the new font.
Step 3. Design your monogram in Silhouette Studio.
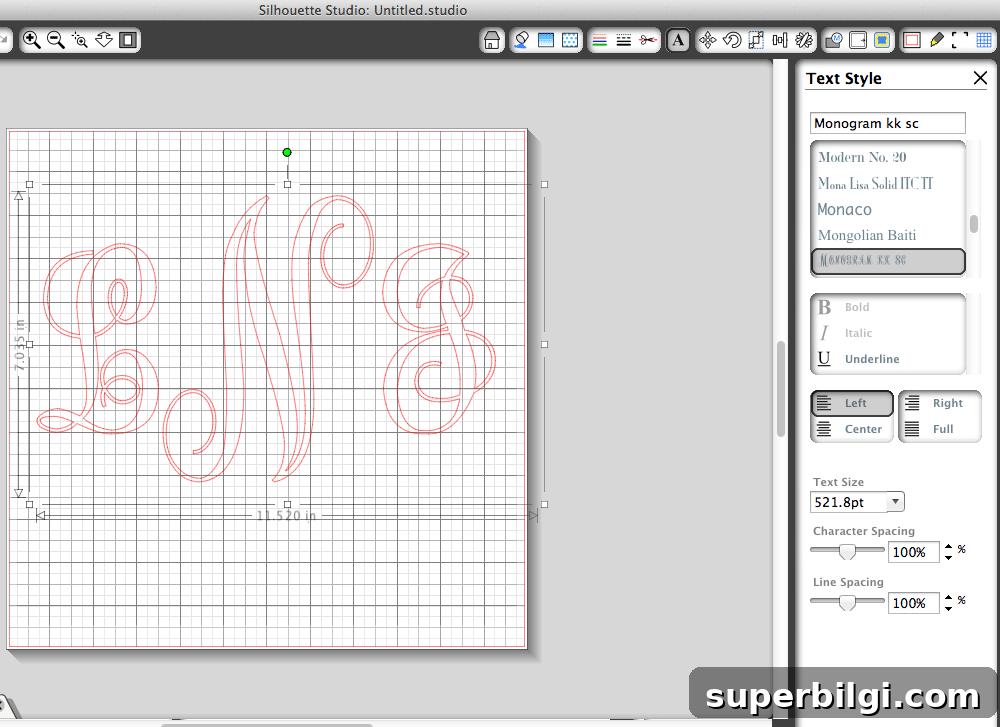
For a married couple’s monogram, the traditional order is: wife’s first initial, married last initial (larger, centered), husband’s first initial. For example, LNJ. Monogram KK is designed so that typing the side initials in lowercase and the middle initial in uppercase produces the correct proportions. Type your three letters, then ungroup them so you can adjust placement.
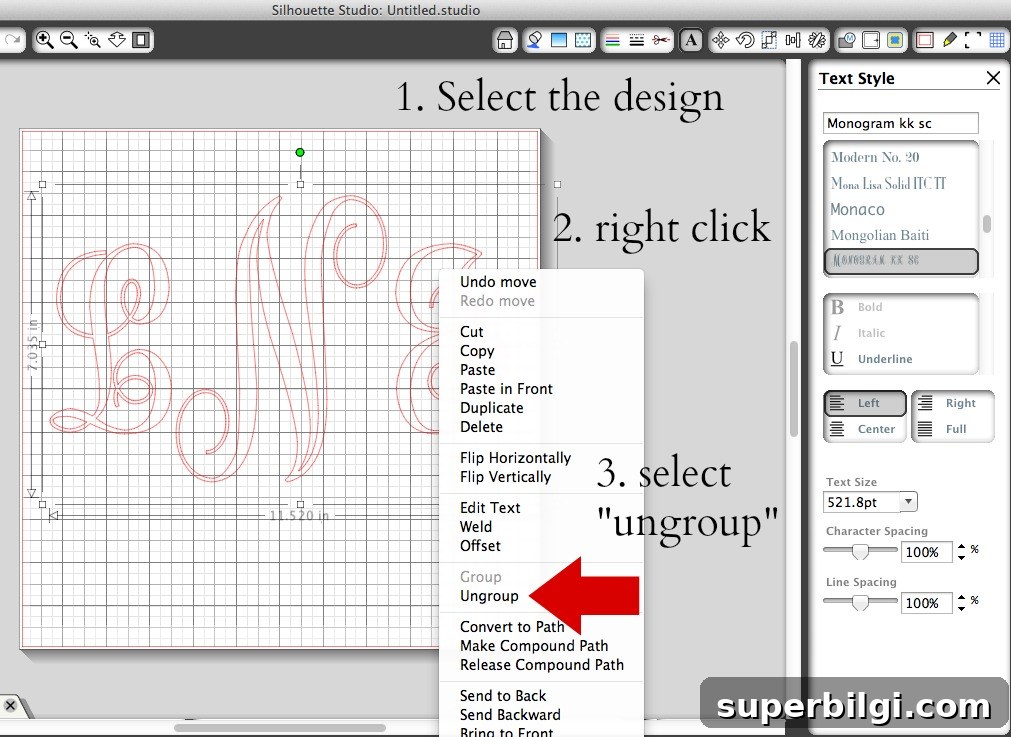
Ungroup and move the letters until they overlap the way you want. Side initials don’t need to be perfectly symmetric—adjust until the composition looks balanced to you.
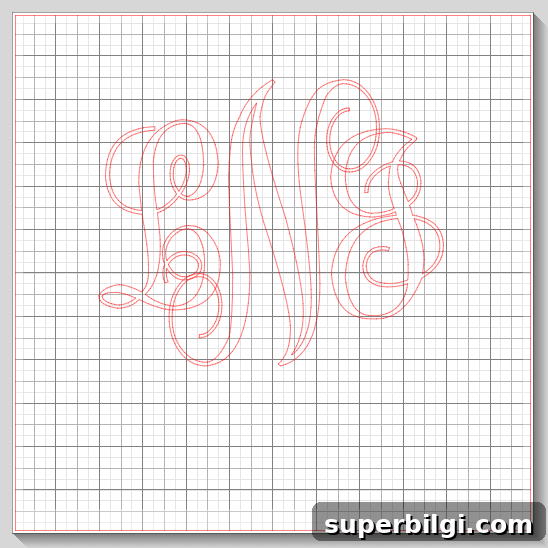
Step 4. Weld the letters together.
When the letters overlap correctly, use the Weld tool in Silhouette Studio. Welding joins the letters into a single shape so your final vinyl cut is one continuous piece instead of separate intersecting letters.
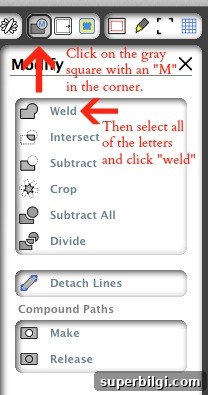
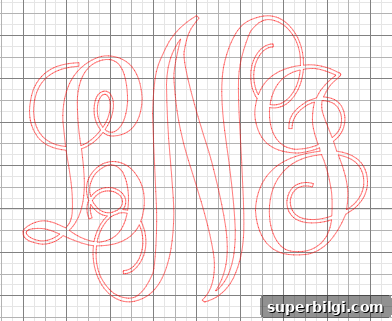
Welding produces one ready-to-cut design. I was excited at this point—monograms just feel classy!
Step 5. Scale your monogram to fit your project.
Measure the space where the monogram will go. If you’re applying it to the inside of a frame, measure the inside dimensions of the frame so your design will fit on the glass. I made my design about 7.5 x 9.5 inches to fill an 8×10 frame without touching the edges.
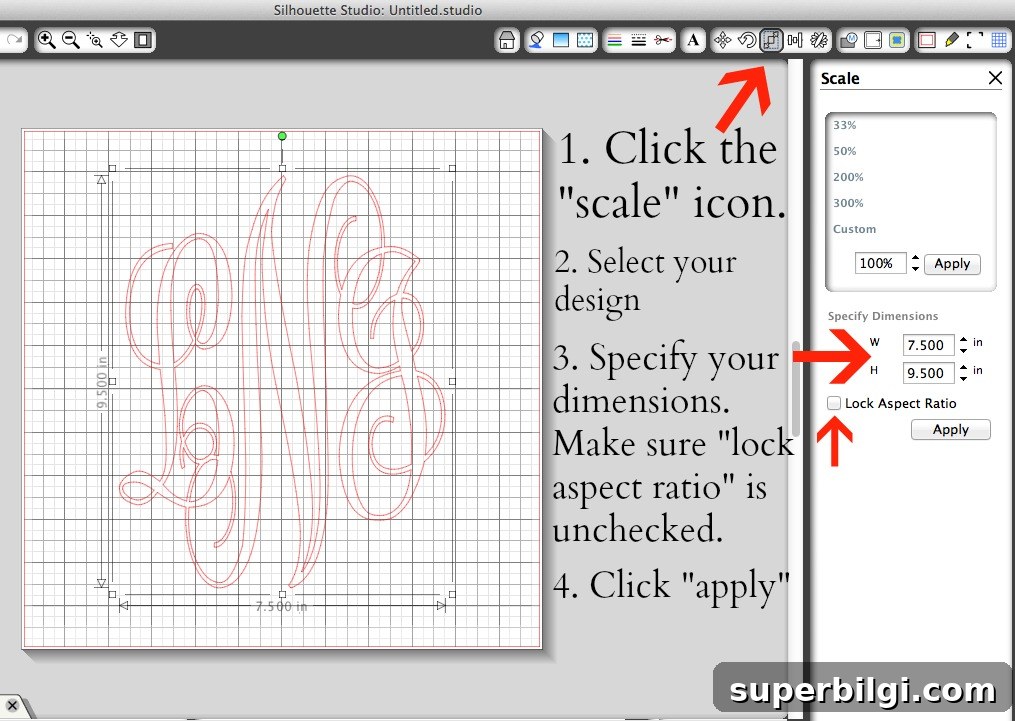
When you scale, proportions may change slightly; tweak spacing if needed after resizing.
Part 2. How to Cut Vinyl to Create a Monogram
Step 6. Cut your monogram with the Silhouette.
Place vinyl on a clean, sticky cutting mat and load the mat into the Silhouette. Select the vinyl material settings in Silhouette Studio and start the cut. A fresh cutting mat helps prevent the vinyl from shifting or rolling on the mat.
Supplies to have on hand: vinyl, transfer paper, a cutting mat, a hook or weeding tool, a scraper (or application tool), and your Silhouette cutting machine. Cut a sheet slightly larger than your design and place it on the mat with the backing underneath.
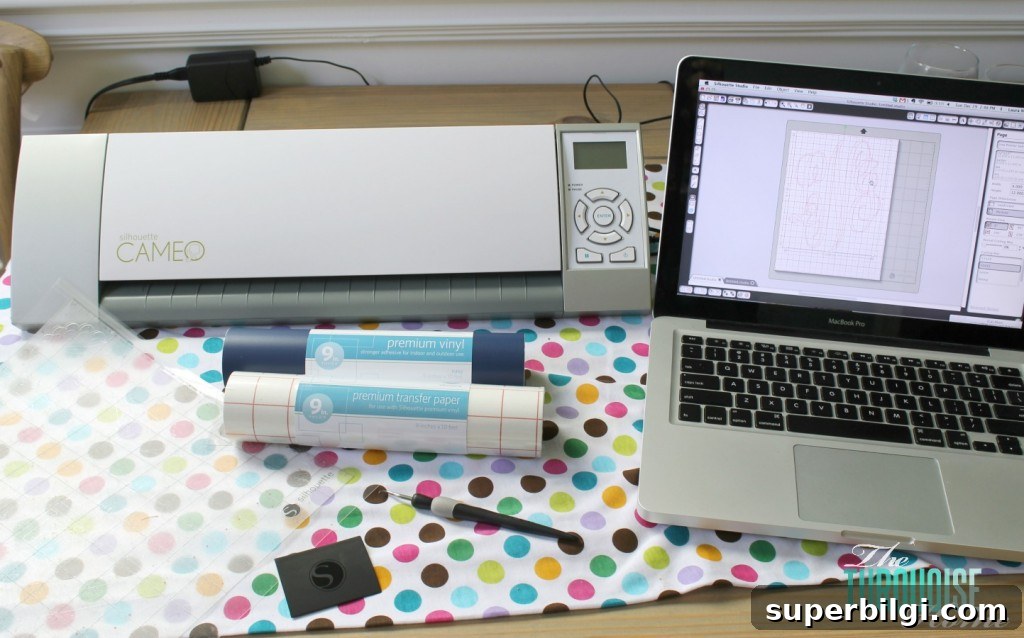
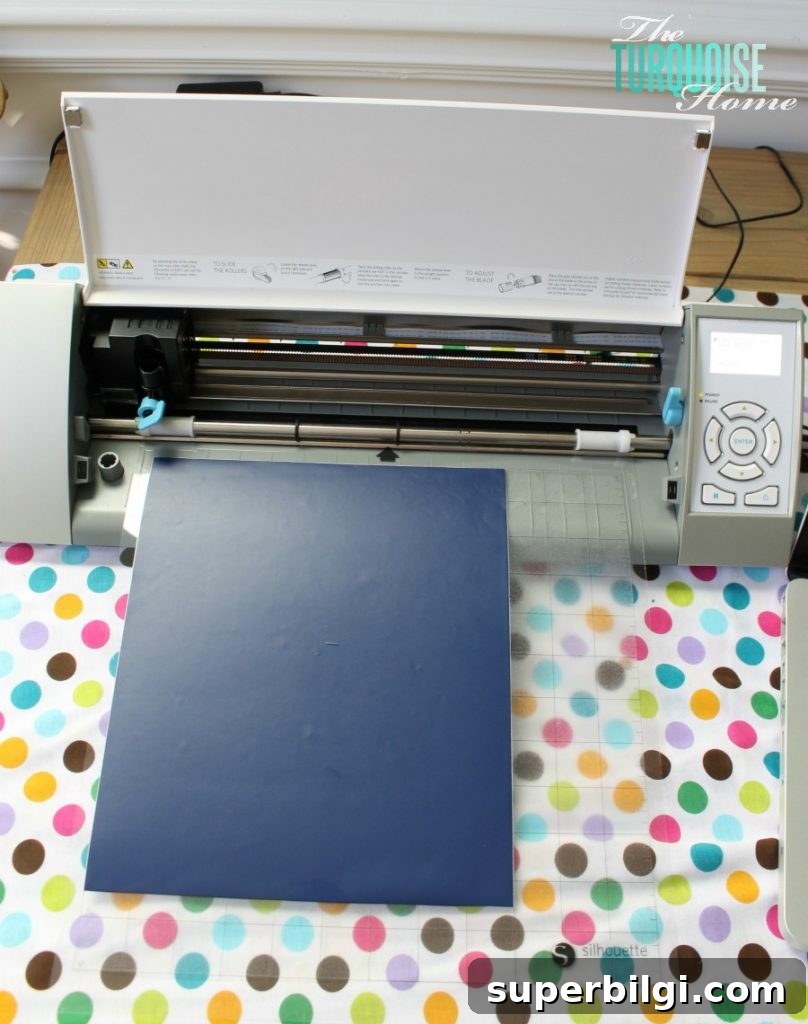
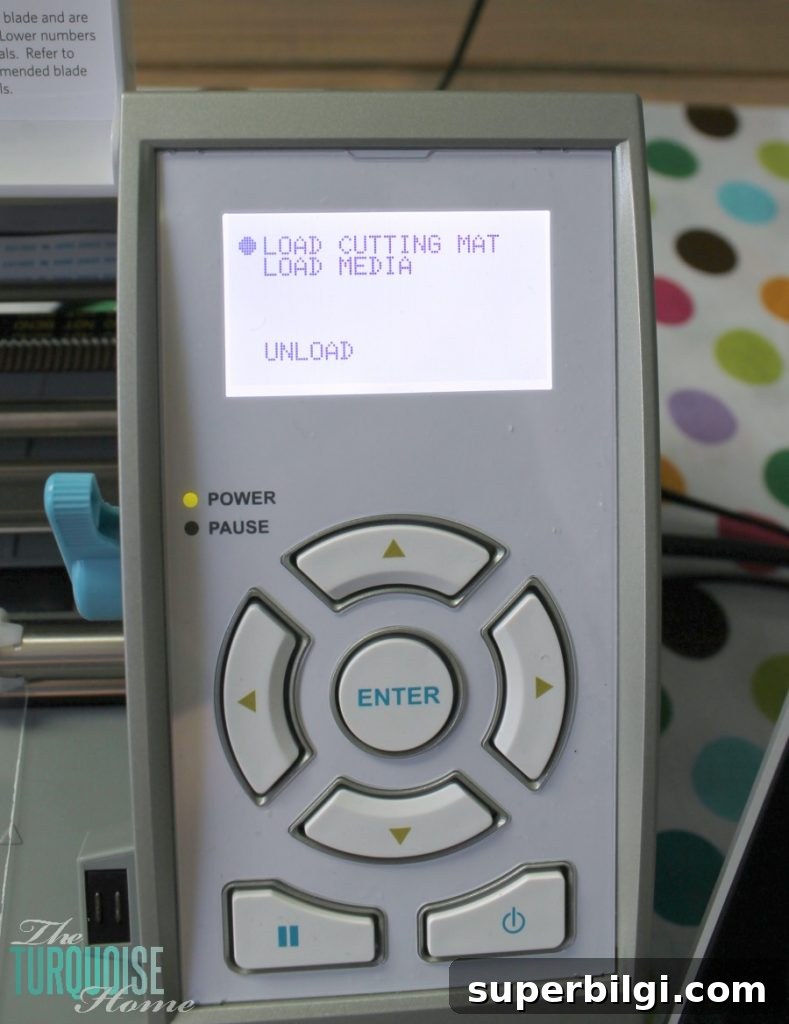
Load the mat (choose “load cutting mat” in the machine controls) and press Cut. The Silhouette Studio vinyl settings work well for most adhesive vinyl—adjust blade depth and force if your machine recommends it.
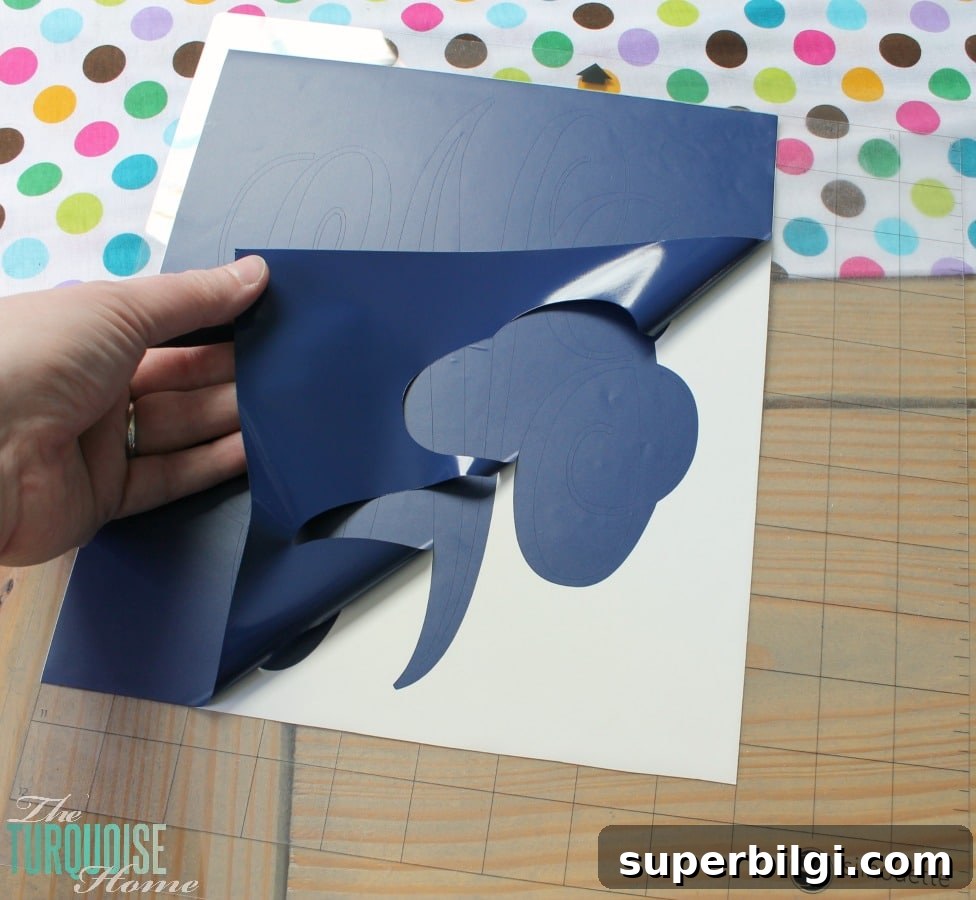
Step 7. Weed away the excess vinyl.
Peel away the vinyl that isn’t part of your design. Use a hook or weeding tool to remove small inside pieces cleanly. Take your time with intricate shapes to avoid stretching thin sections.
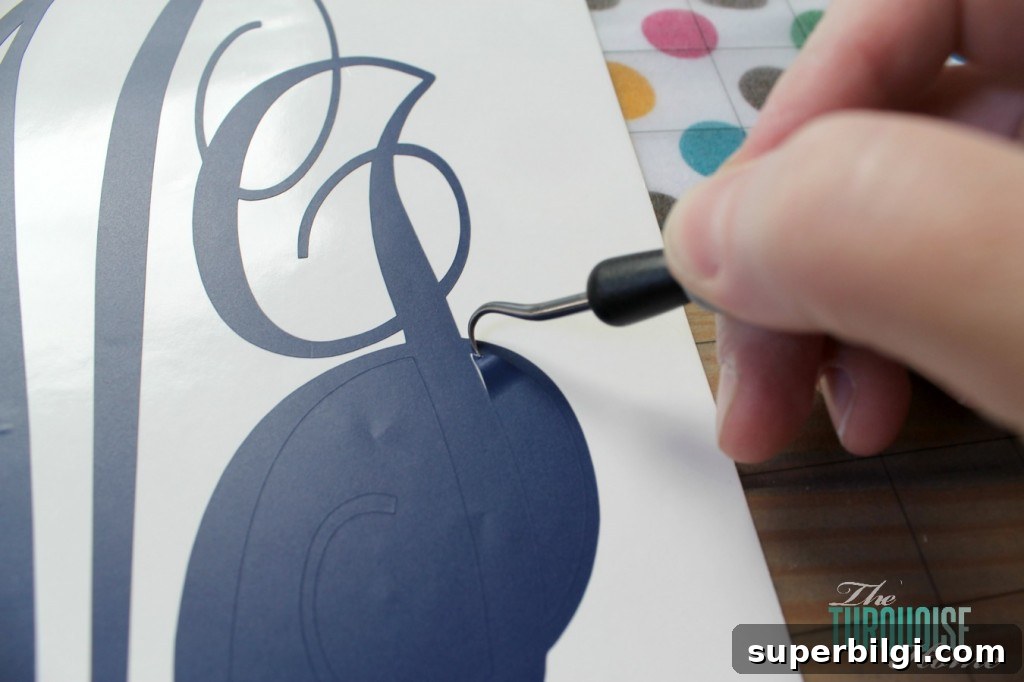
With the design weeded, it’s time to transfer.
Step 8. Transfer your vinyl with transfer paper.
Cut a piece of transfer paper to the size of your design and peel its backing off. Lay the sticky side of the transfer paper onto the vinyl design, pressing firmly with a scraper to ensure good adhesion. Smooth from the center outward to reduce wrinkles and air bubbles.
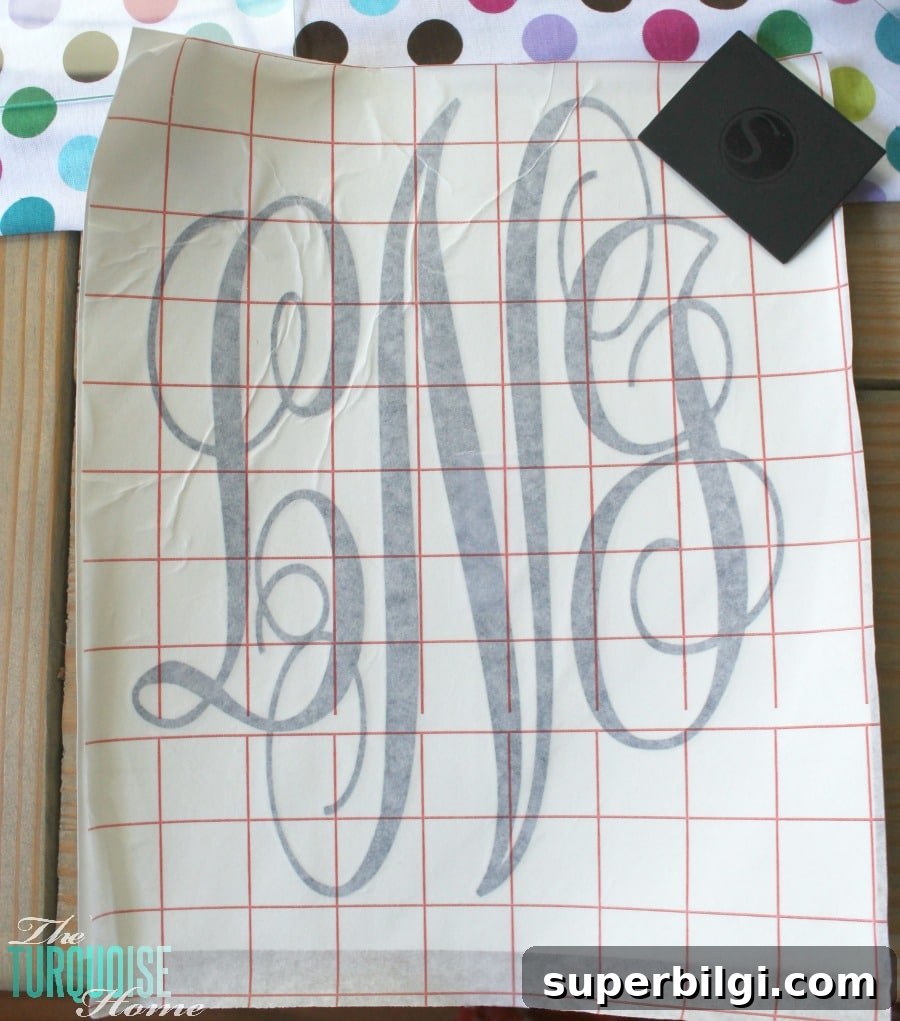
Slowly peel the vinyl backing away so the vinyl lifts onto the transfer paper. You’ll now have the design reversed on the transfer sheet and ready to apply to your chosen surface.
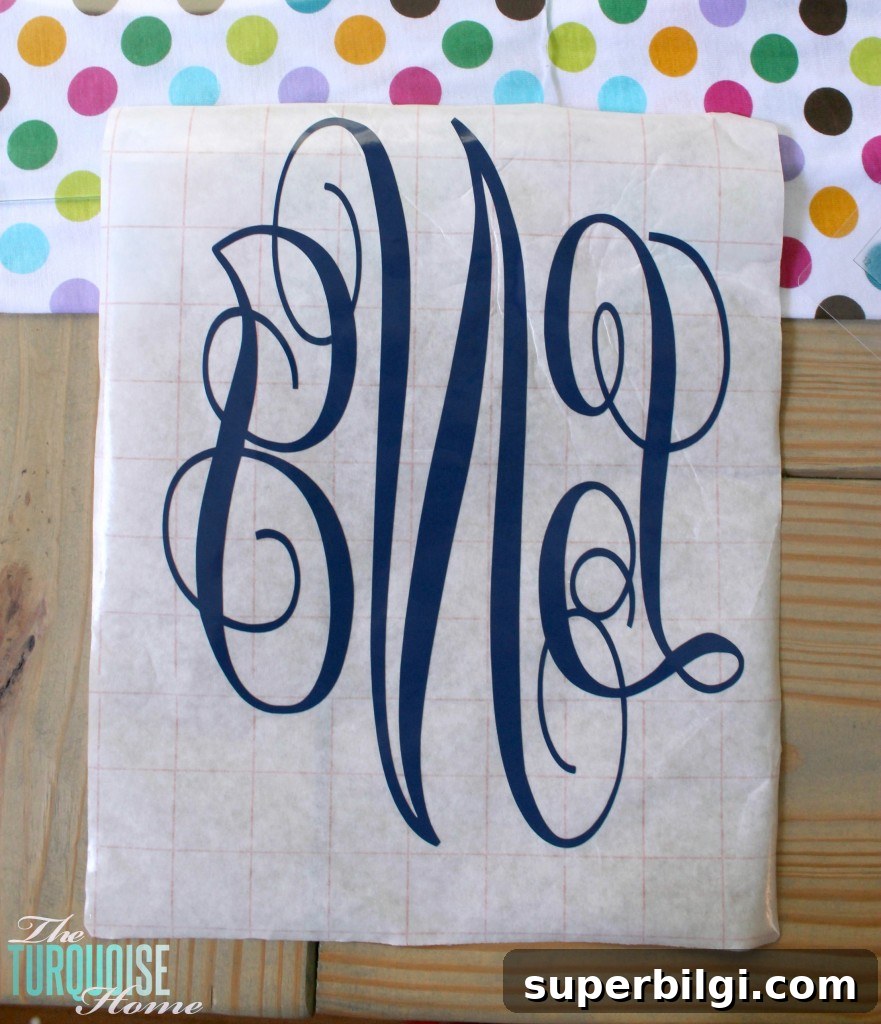
If applying to a frame glass, place the glass on top of your design to align it more easily. Once aligned, turn the frame over, press the design firmly with the scraper to remove air bubbles, and then carefully peel the transfer paper away. Go slowly—small sections come up better than pulling a large area all at once.
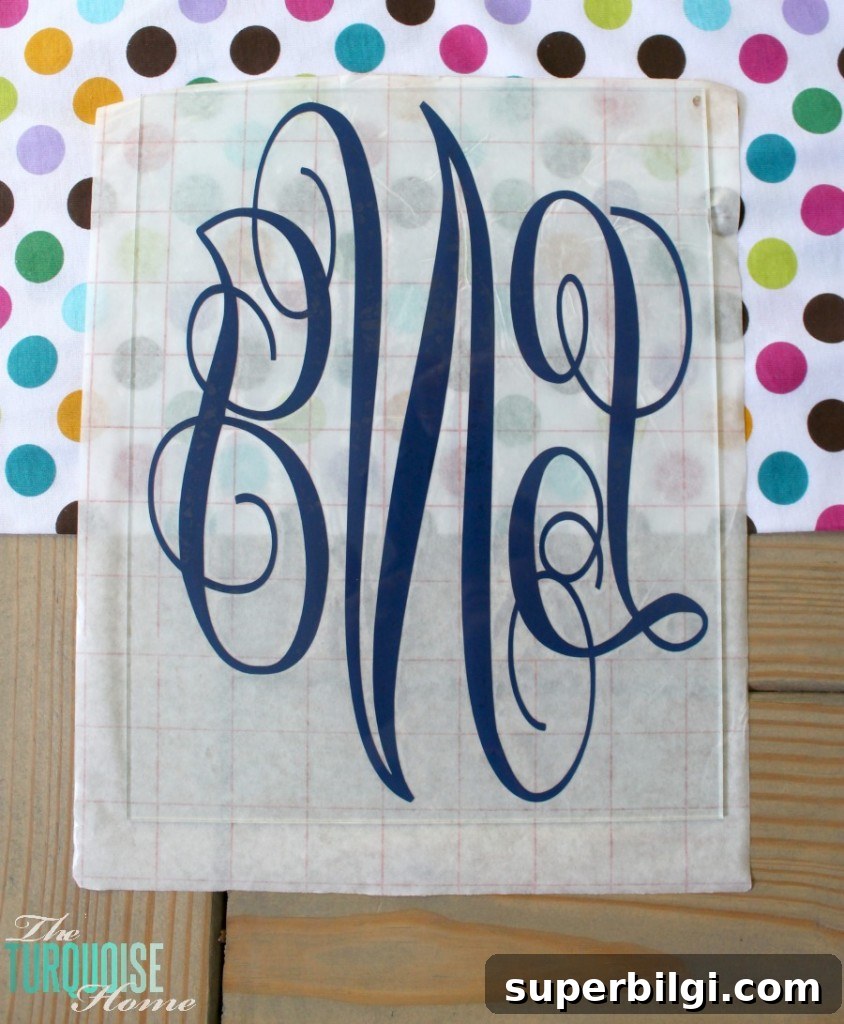
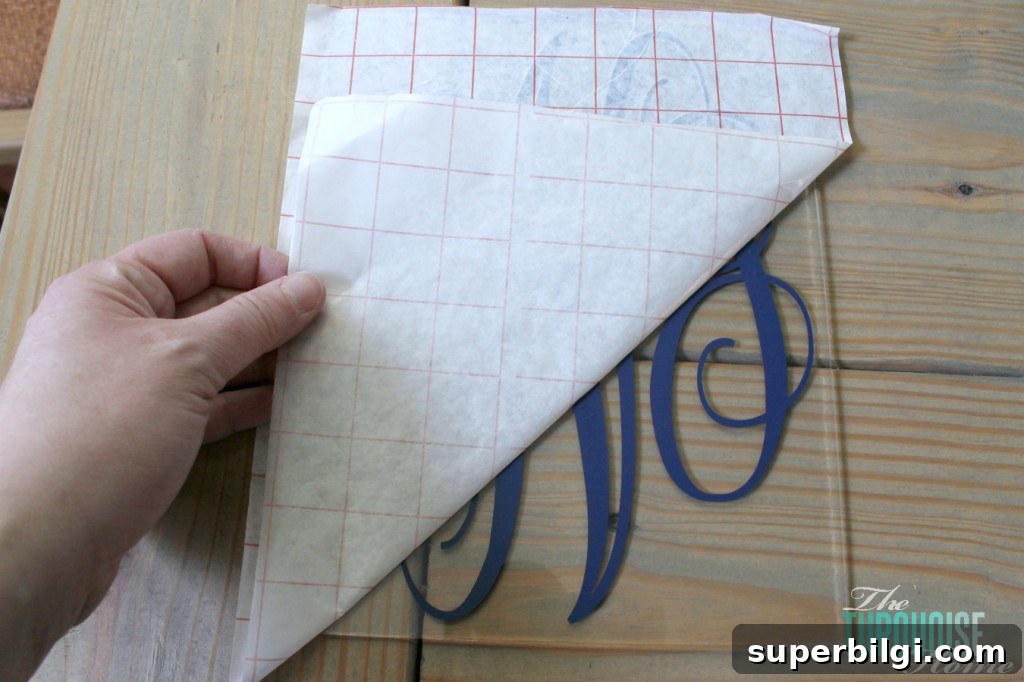
Voila—you have a framed monogram. I placed white cardstock behind mine, but any background—fabric, burlap, or the wall color—will change the look. The finished decal looks polished in a gallery wall or as a simple standalone piece.
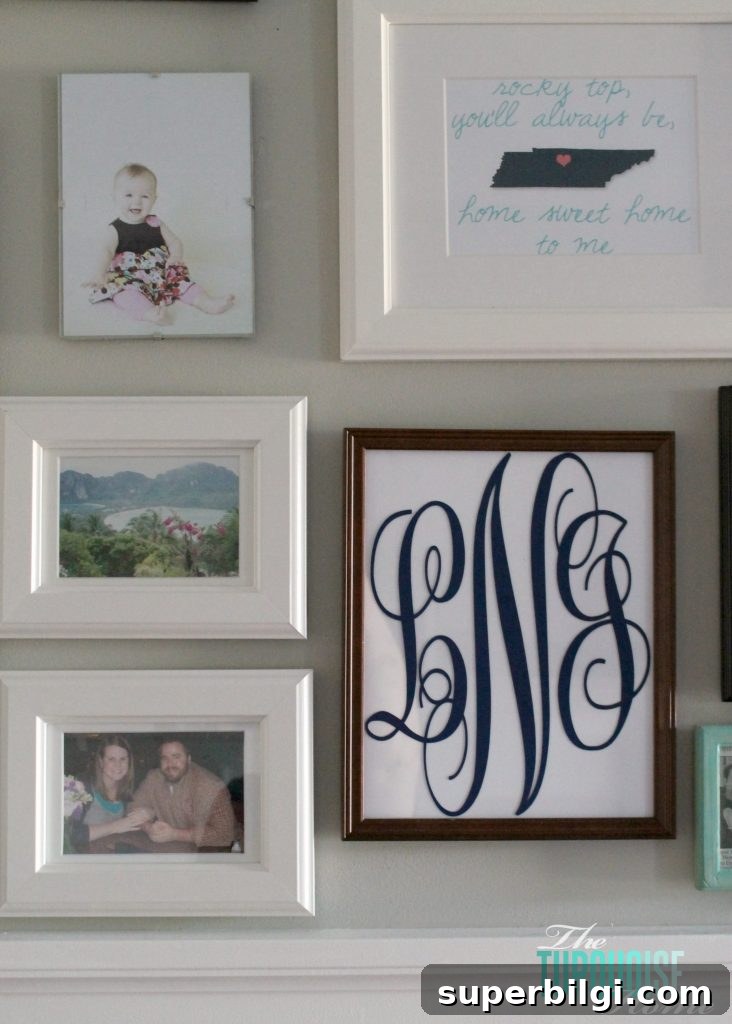
This was my first vinyl project and it taught me a lot. If you try it, practice patience when weeding and applying—the results are worth it. Share your experience or tips in the comments if you have them!
Tell me in the comments which item you’ll monogram first!
More posts you may enjoy:
- DIY Monograms for Every Room in Your House
- Cotton Wreath Free Printable (with your monogram)
- Framed Burlap Monogram