
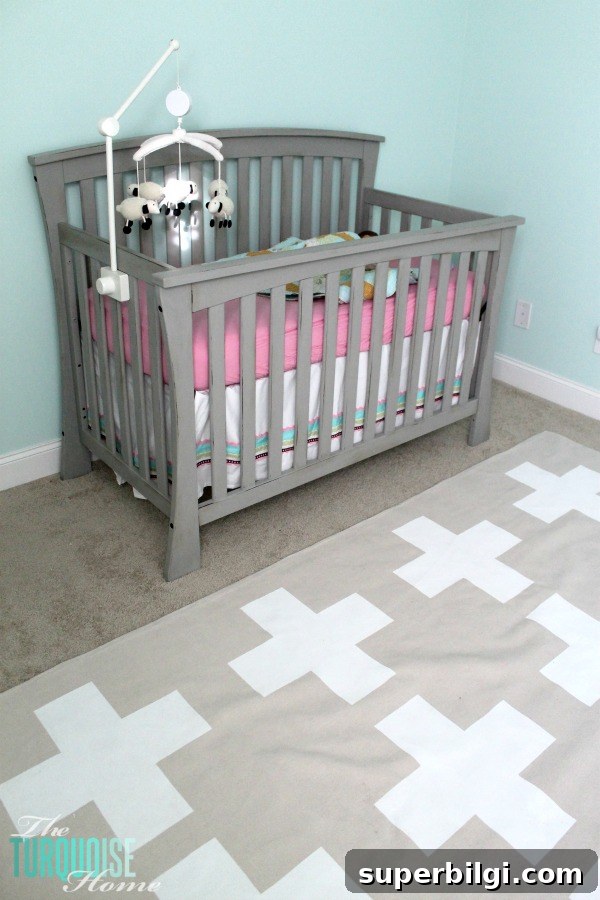
I finally finished another piece of sweet Baby G’s nursery and I’m so excited to share it. Now that she’s sleeping in the room, finishing the space feels even more meaningful. This DIY painted drop cloth rug gave the nursery a stylish, cozy look without breaking the bank, and it’s an easy project you can replicate for any nursery or kid’s room.
Full disclosure: projects take a lot longer with a newborn. When my first child arrived I had months of downtime; this time I’m juggling a preschooler, a newborn, and work-from-home life. Some days success just means everyone is fed, clothed and smiling. If that sounds familiar, you’ll appreciate projects that deliver a big design impact for a small investment of time and money.
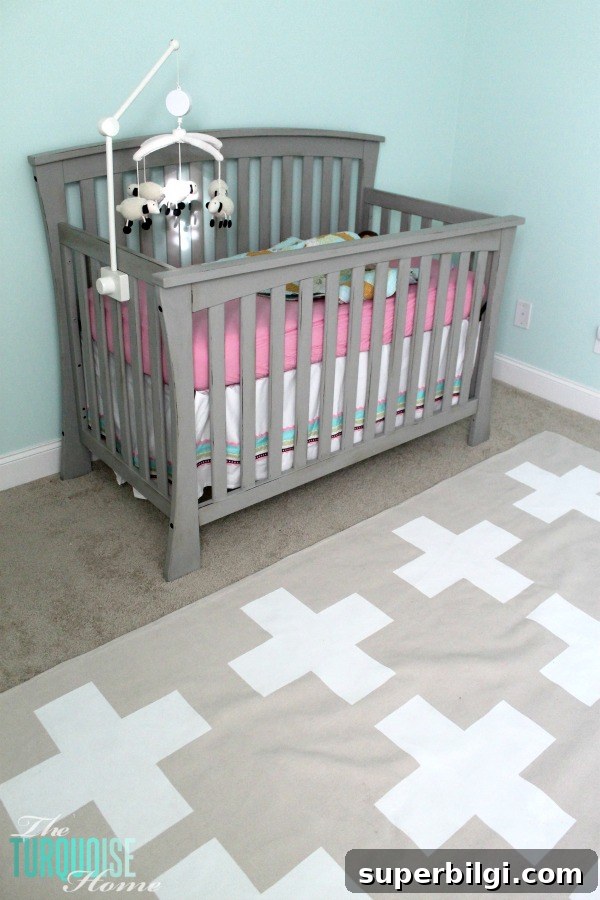
I wanted the chic swiss cross rug look from my nursery inspiration board but without the price tag, so I made a painted drop cloth rug with a bold cross pattern. This is a smart budget-friendly idea for a nursery rug, playroom, or living area—durable, customizable, and much less expensive than a store-bought rug with the same aesthetic.
What you’ll need
– Drop cloth (I used a 12 x 9-foot drop cloth folded in half to make a 9 x 6 rug)
– Spray adhesive (Super 77 or similar)
– Paint (I used a neutral called Whisper Softly from Valspar)
– Quality paint brush or small roller (I used a Purdy brush)
– Frog Tape or painter’s tape
– Straight edge or long board for clean lines
– Box cutter or sharp utility knife
Step 1 – Prep
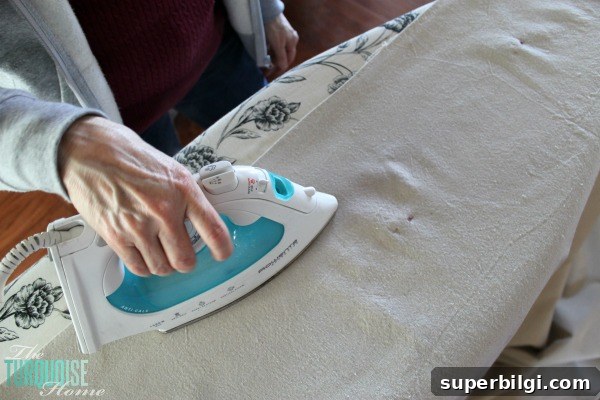
Wash and dry the drop cloth first so it won’t shrink later, especially if you plan to wash it. Iron it well to remove creases—this helps when you fold and tape for your pattern.
Step 2 – Fold it in half
Fold the drop cloth in half to create the rug shape. I recommend two people for this step so you can line up the edges and corners as best as possible. Pin the edges and press a crisp seam with the iron; a defined fold is important for the next step.
Step 3 – Spray adhesive
Lay the folded drop cloth on a protected surface (a sheet or newspapers underneath) and spray adhesive on one side. If I were to repeat this, I would spray both sides for extra bond, but a single side worked fine. Work outdoors or in a well-ventilated area to avoid fumes.
Step 4 – Join the layers
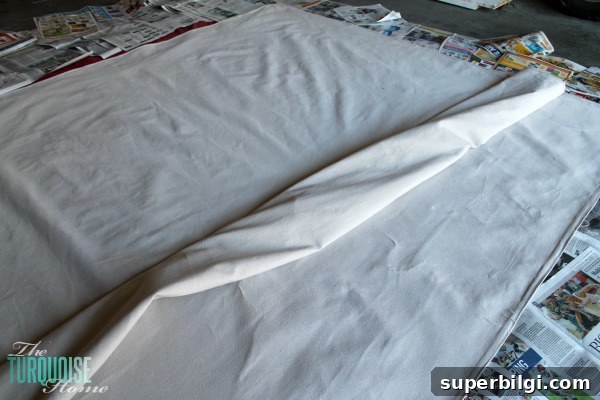
Carefully lay the top layer over the bottom, starting in the middle and smoothing outward to remove wrinkles. This step really benefits from two people—work slowly and lift sections if needed to re-align for a smooth join.
Step 5 – Plan your design
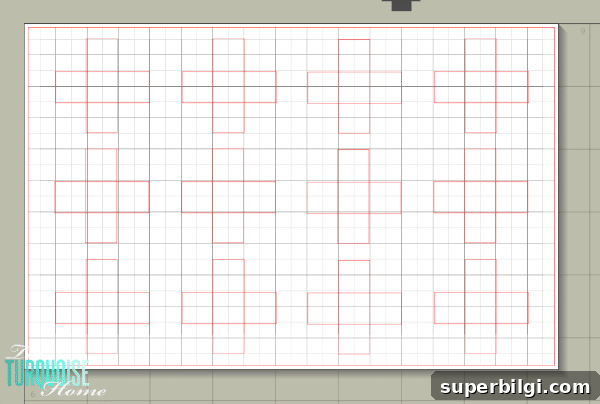
Map out your pattern—measure and mark where each cross or stripe will go. I used design software to visualize spacing, but you can use a measuring tape and chalk or pencil marks. Take your time with the layout; accurate spacing makes the final result look polished.
Step 6 – Tape off your design
Use Frog Tape and a straight edge to mask your pattern. Make sure your board is actually straight before using it as a guide. Taping was the most time-consuming portion for me, and I ended up re-taping a few times to get spacing right—don’t rush this step.
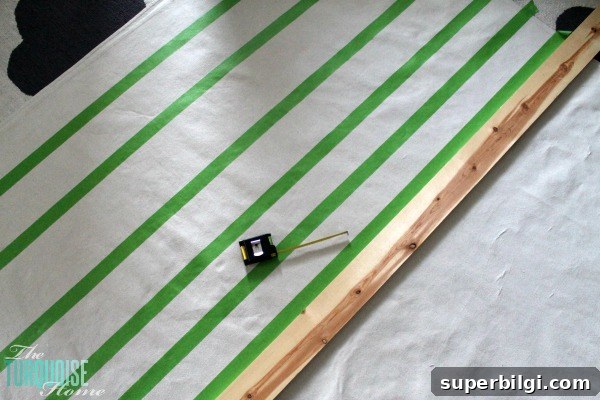
Working on top of another rug or a padded surface makes this more comfortable—my knees appreciated not working on a hard floor, and it kept the cloth clean.
Step 7 – Trim excess tape
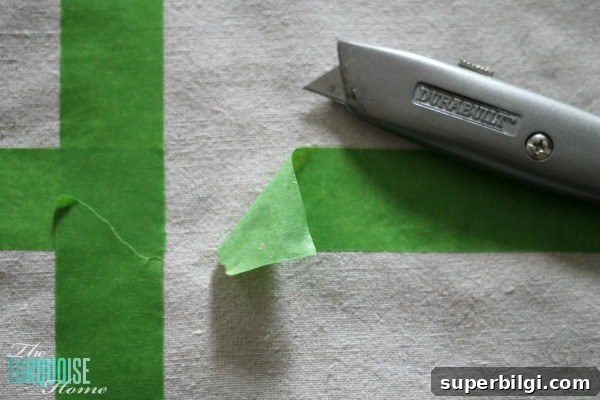
After all lines are taped, trim any unnecessary tape with a box cutter, cutting only through tape and not the fabric. This creates crisp edges for painting and reveals the exact areas you’ll paint.
Step 8 – Paint
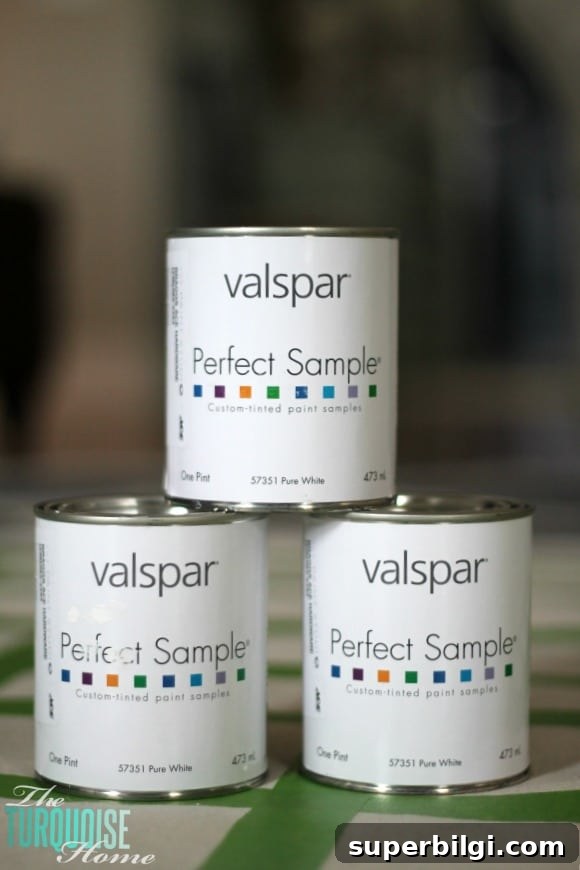
I used a pint of Whisper Softly (a neutral with subtle green-gray undertones). When painting fabric, press tape edges firmly and always brush or roll away from the tape to prevent paint from seeping underneath. This project used the whole pint of paint for my 9 x 6 rug.

Let the paint dry, then remove the tape carefully. The painted areas will be slightly stiff; sanding the painted crosses lightly with an orbital sander or mixing fabric medium into the paint before application can soften the finish. I used fabric medium on curtains previously and it noticeably reduced stiffness—something to consider for fabric projects.
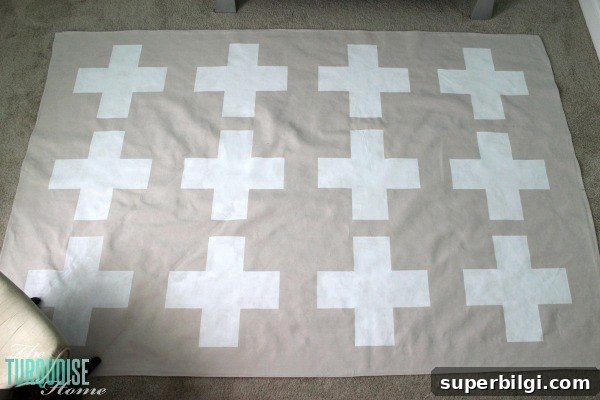
To reinforce the rug, I plan to stitch the edges later. The spray adhesive holds well, but stitching will prevent separation over time. The final rug is large and difficult to photograph in one frame, but it anchors the nursery beautifully and brings the whole room together.
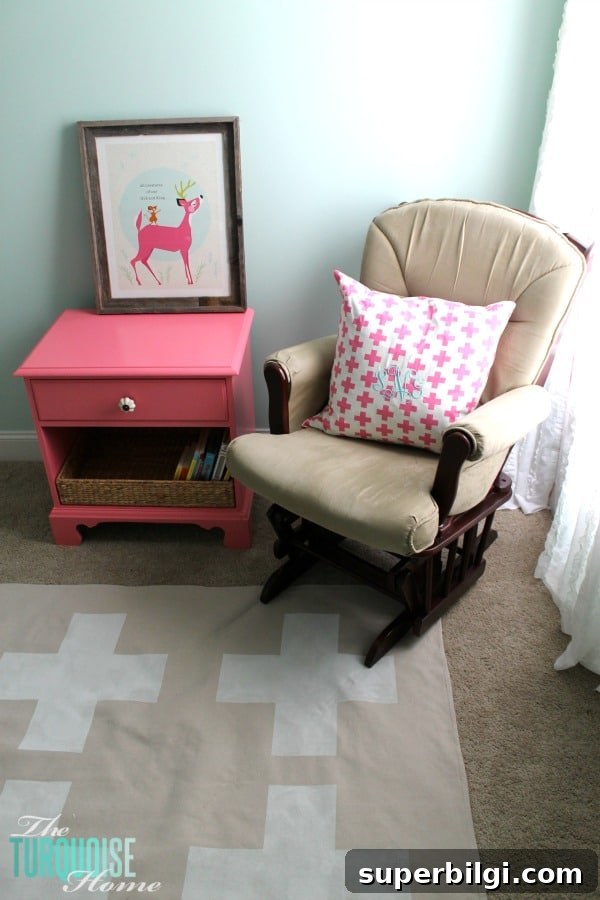
Would you try a painted drop cloth rug in your nursery or playroom? What pattern would you choose? This project is budget-friendly, customizable, and a great way to add a designer look to a room without buying an expensive rug. I have just a few more nursery projects on my list before the big reveal—stay tuned!