
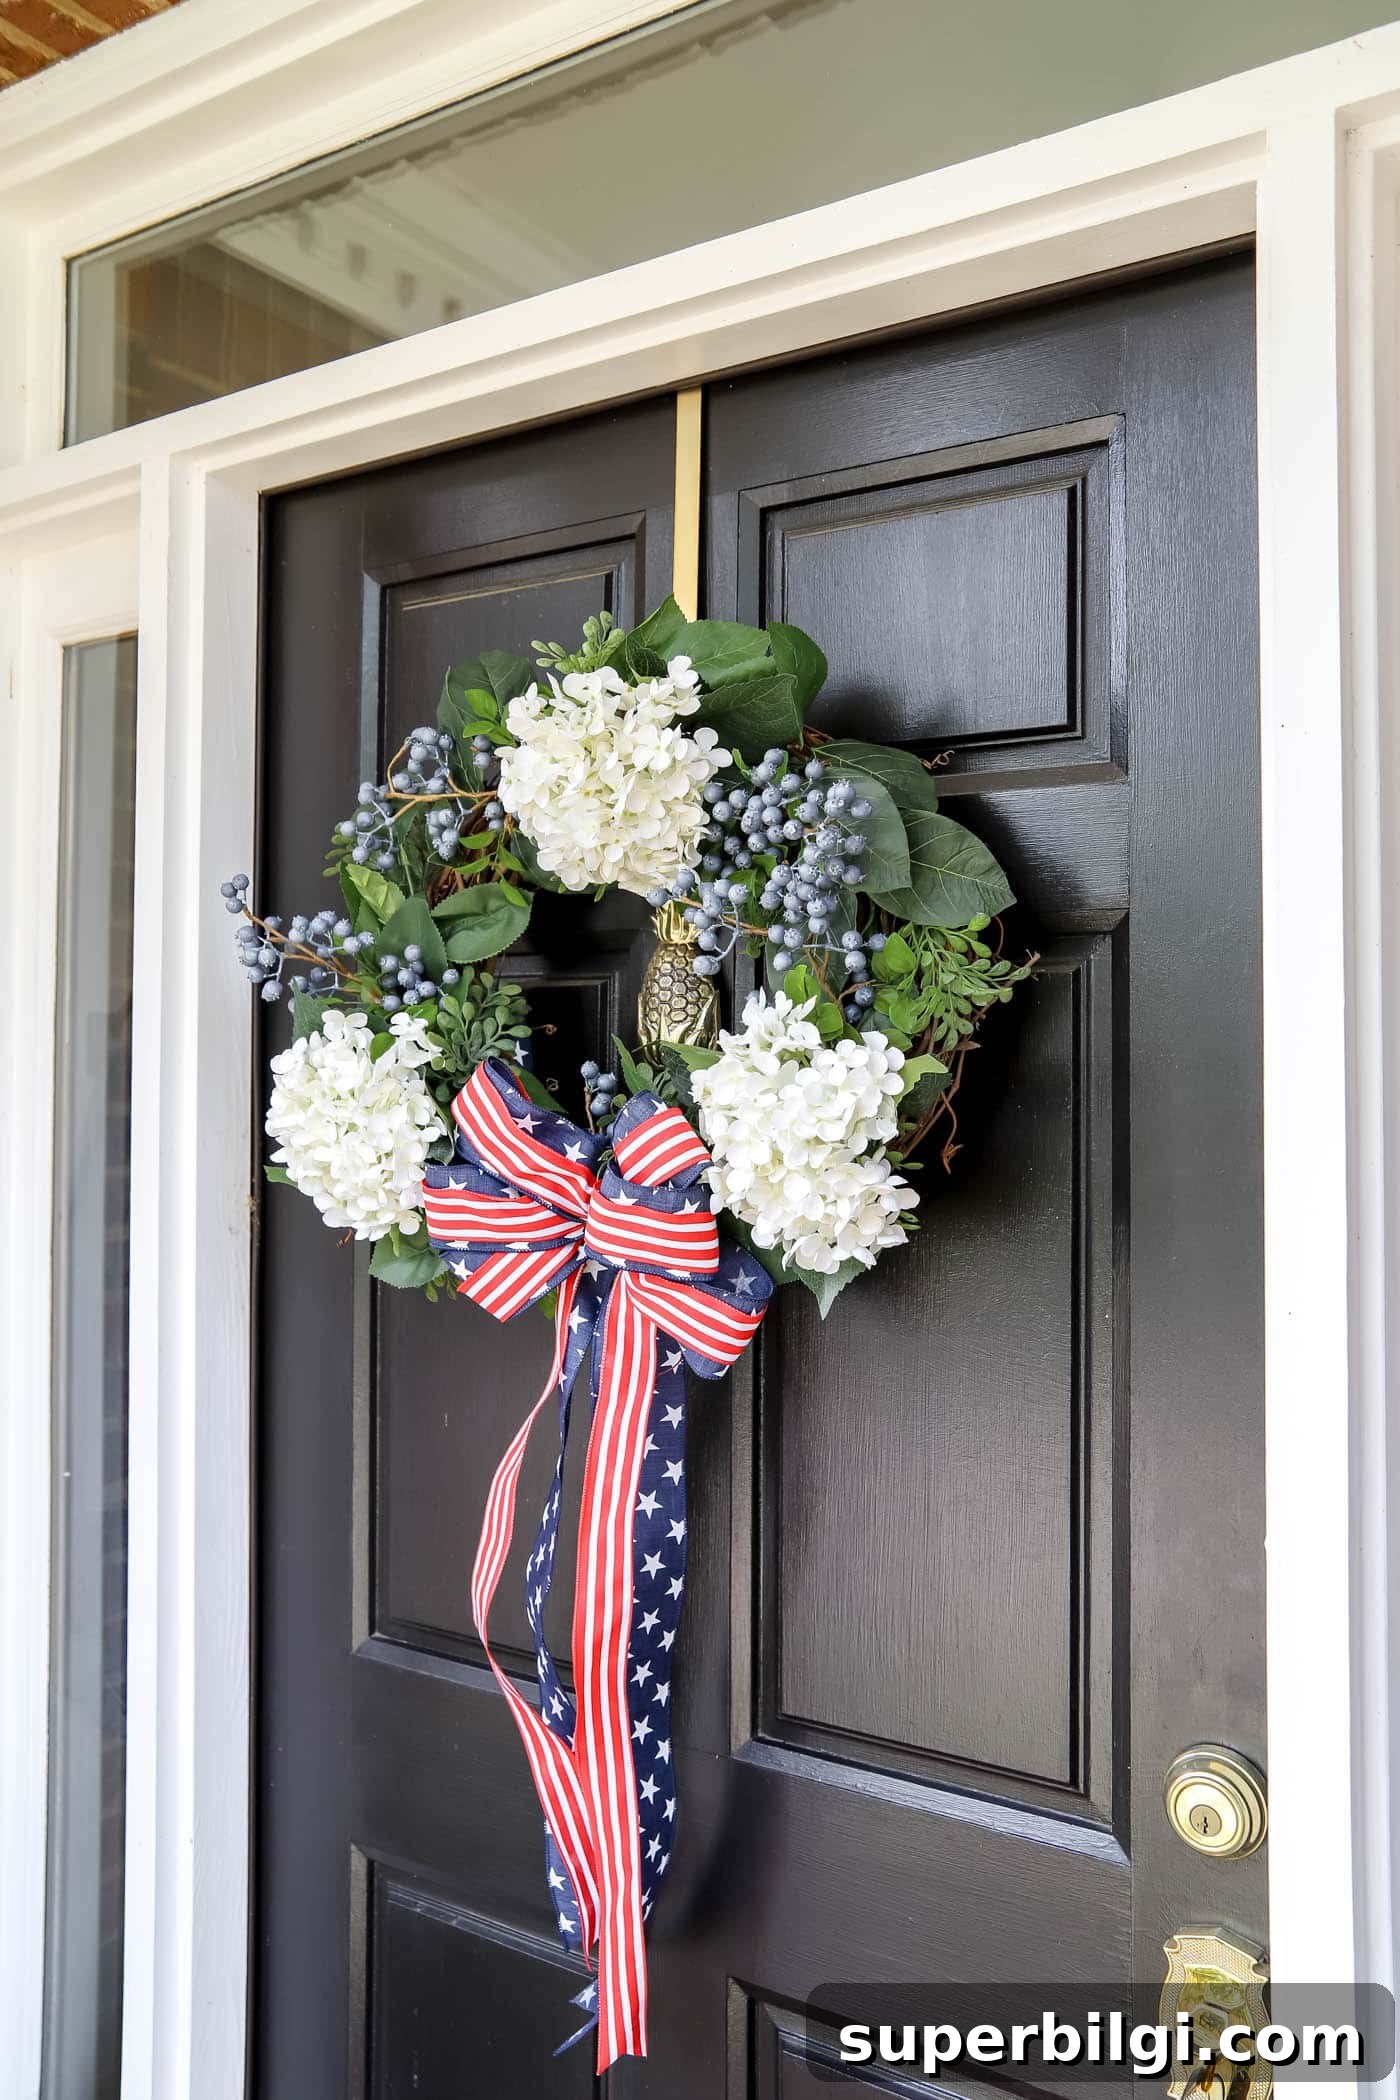
The Fourth of July is the perfect reason to brighten your door and porch with red, white, and blue. Below is a clear, step-by-step guide to create a charming patriotic wreath complete with a ribbon bow.
Looking for a simple, creative way to celebrate summer and show some patriotic spirit? Making a wreath is an easy craft that adds instant curb appeal to your home. This tutorial walks you through the materials and steps needed to assemble a classic red, white, and blue wreath you can hang for Independence Day, Memorial Day, Veterans Day, or any time you want a festive touch.
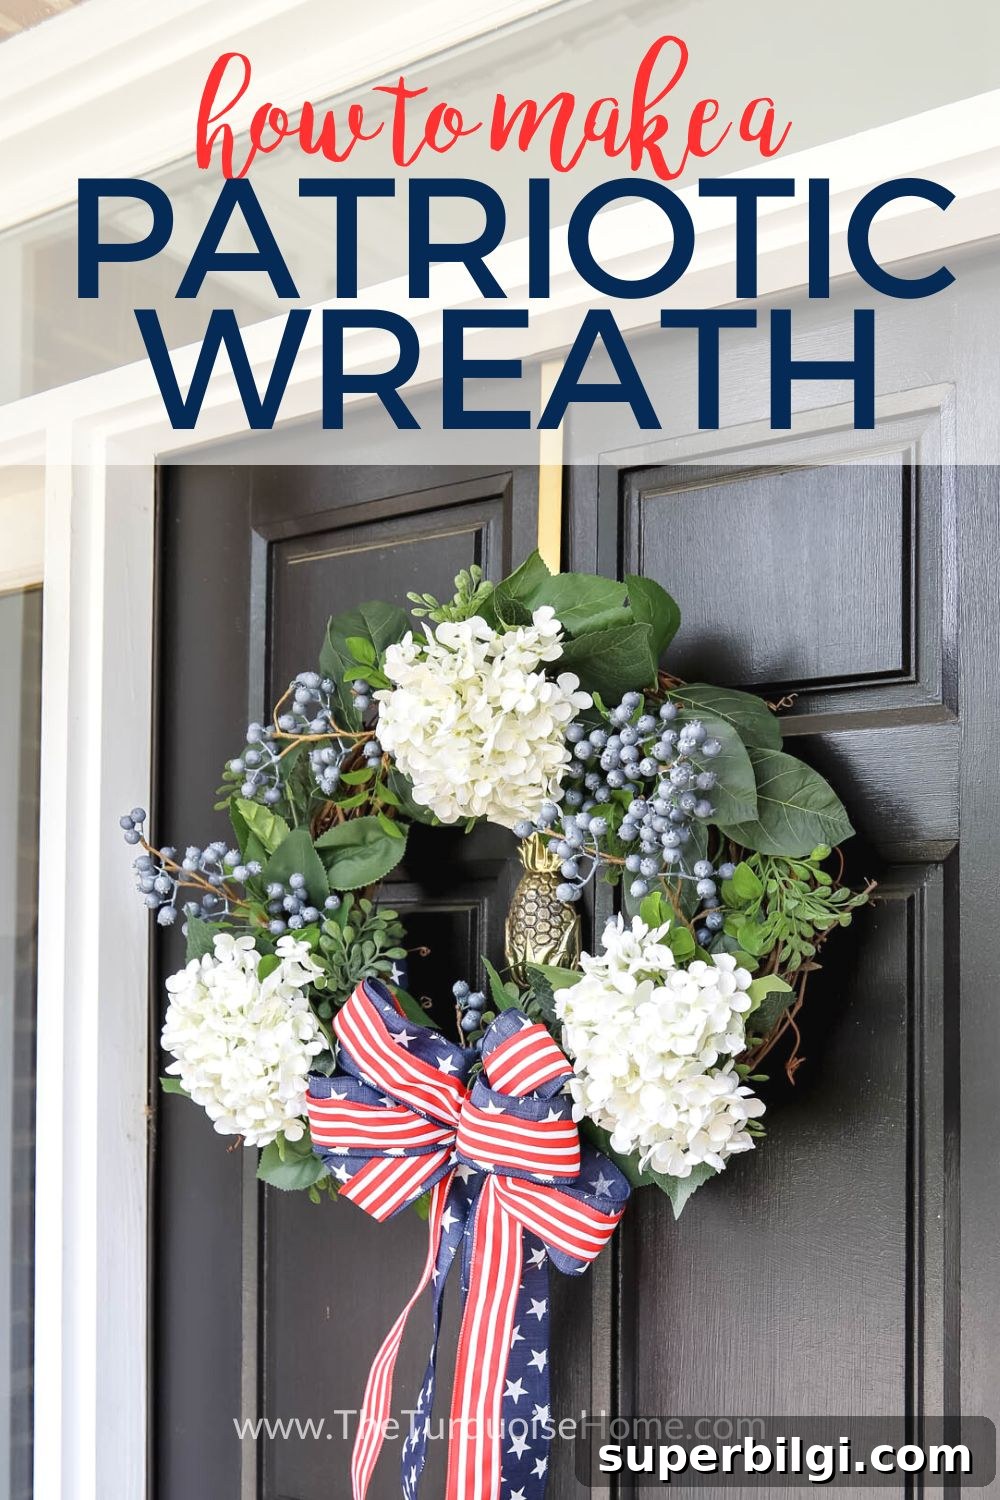
I realized I didn’t have any patriotic door decor this year, so I gathered items I already owned and put together a new wreath for the front door. I’m really happy with how it turned out — classic, welcoming, and easy to make.
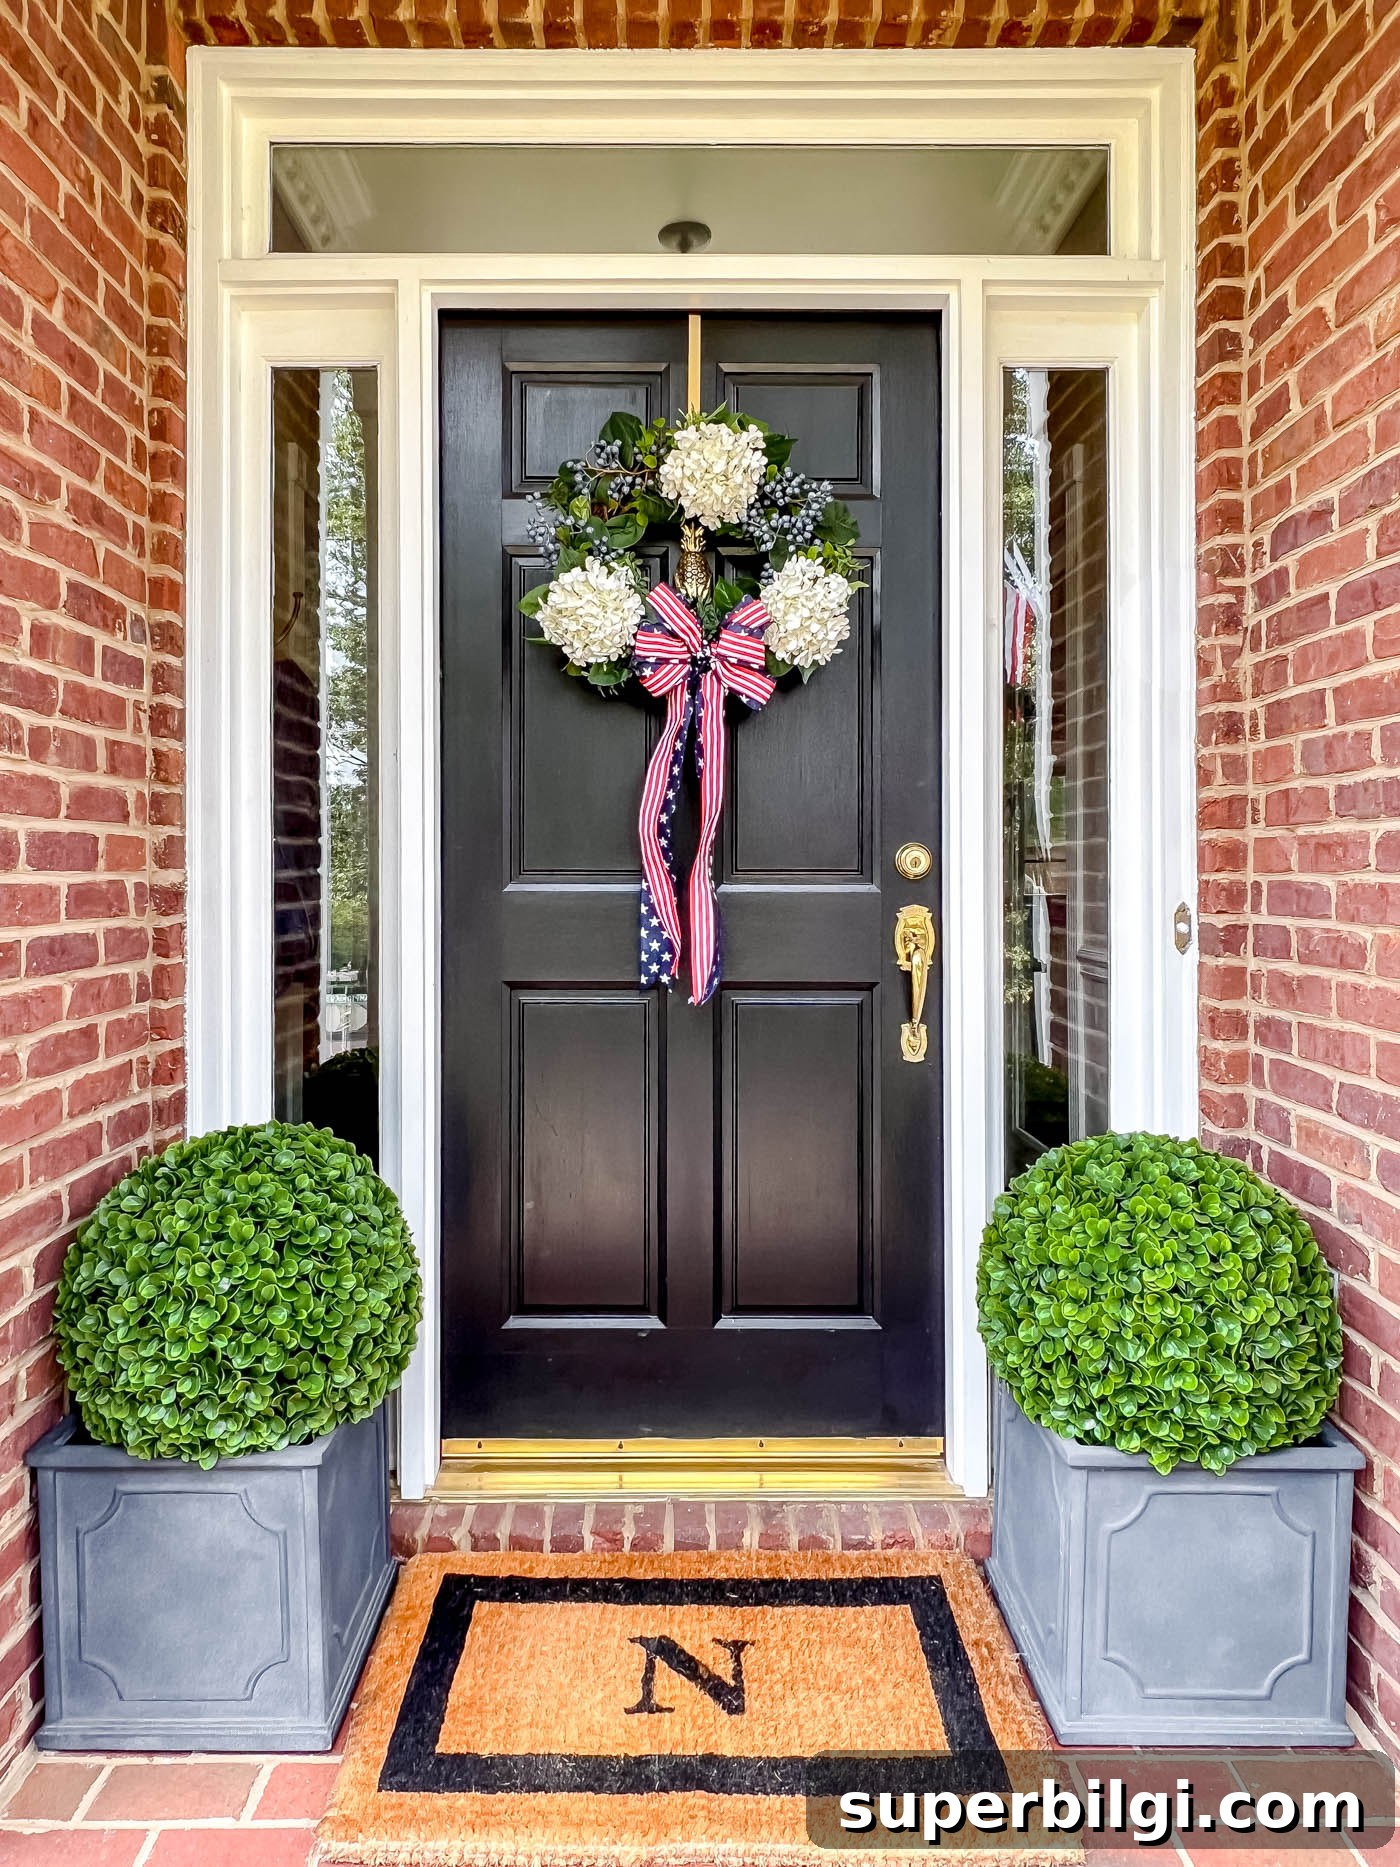
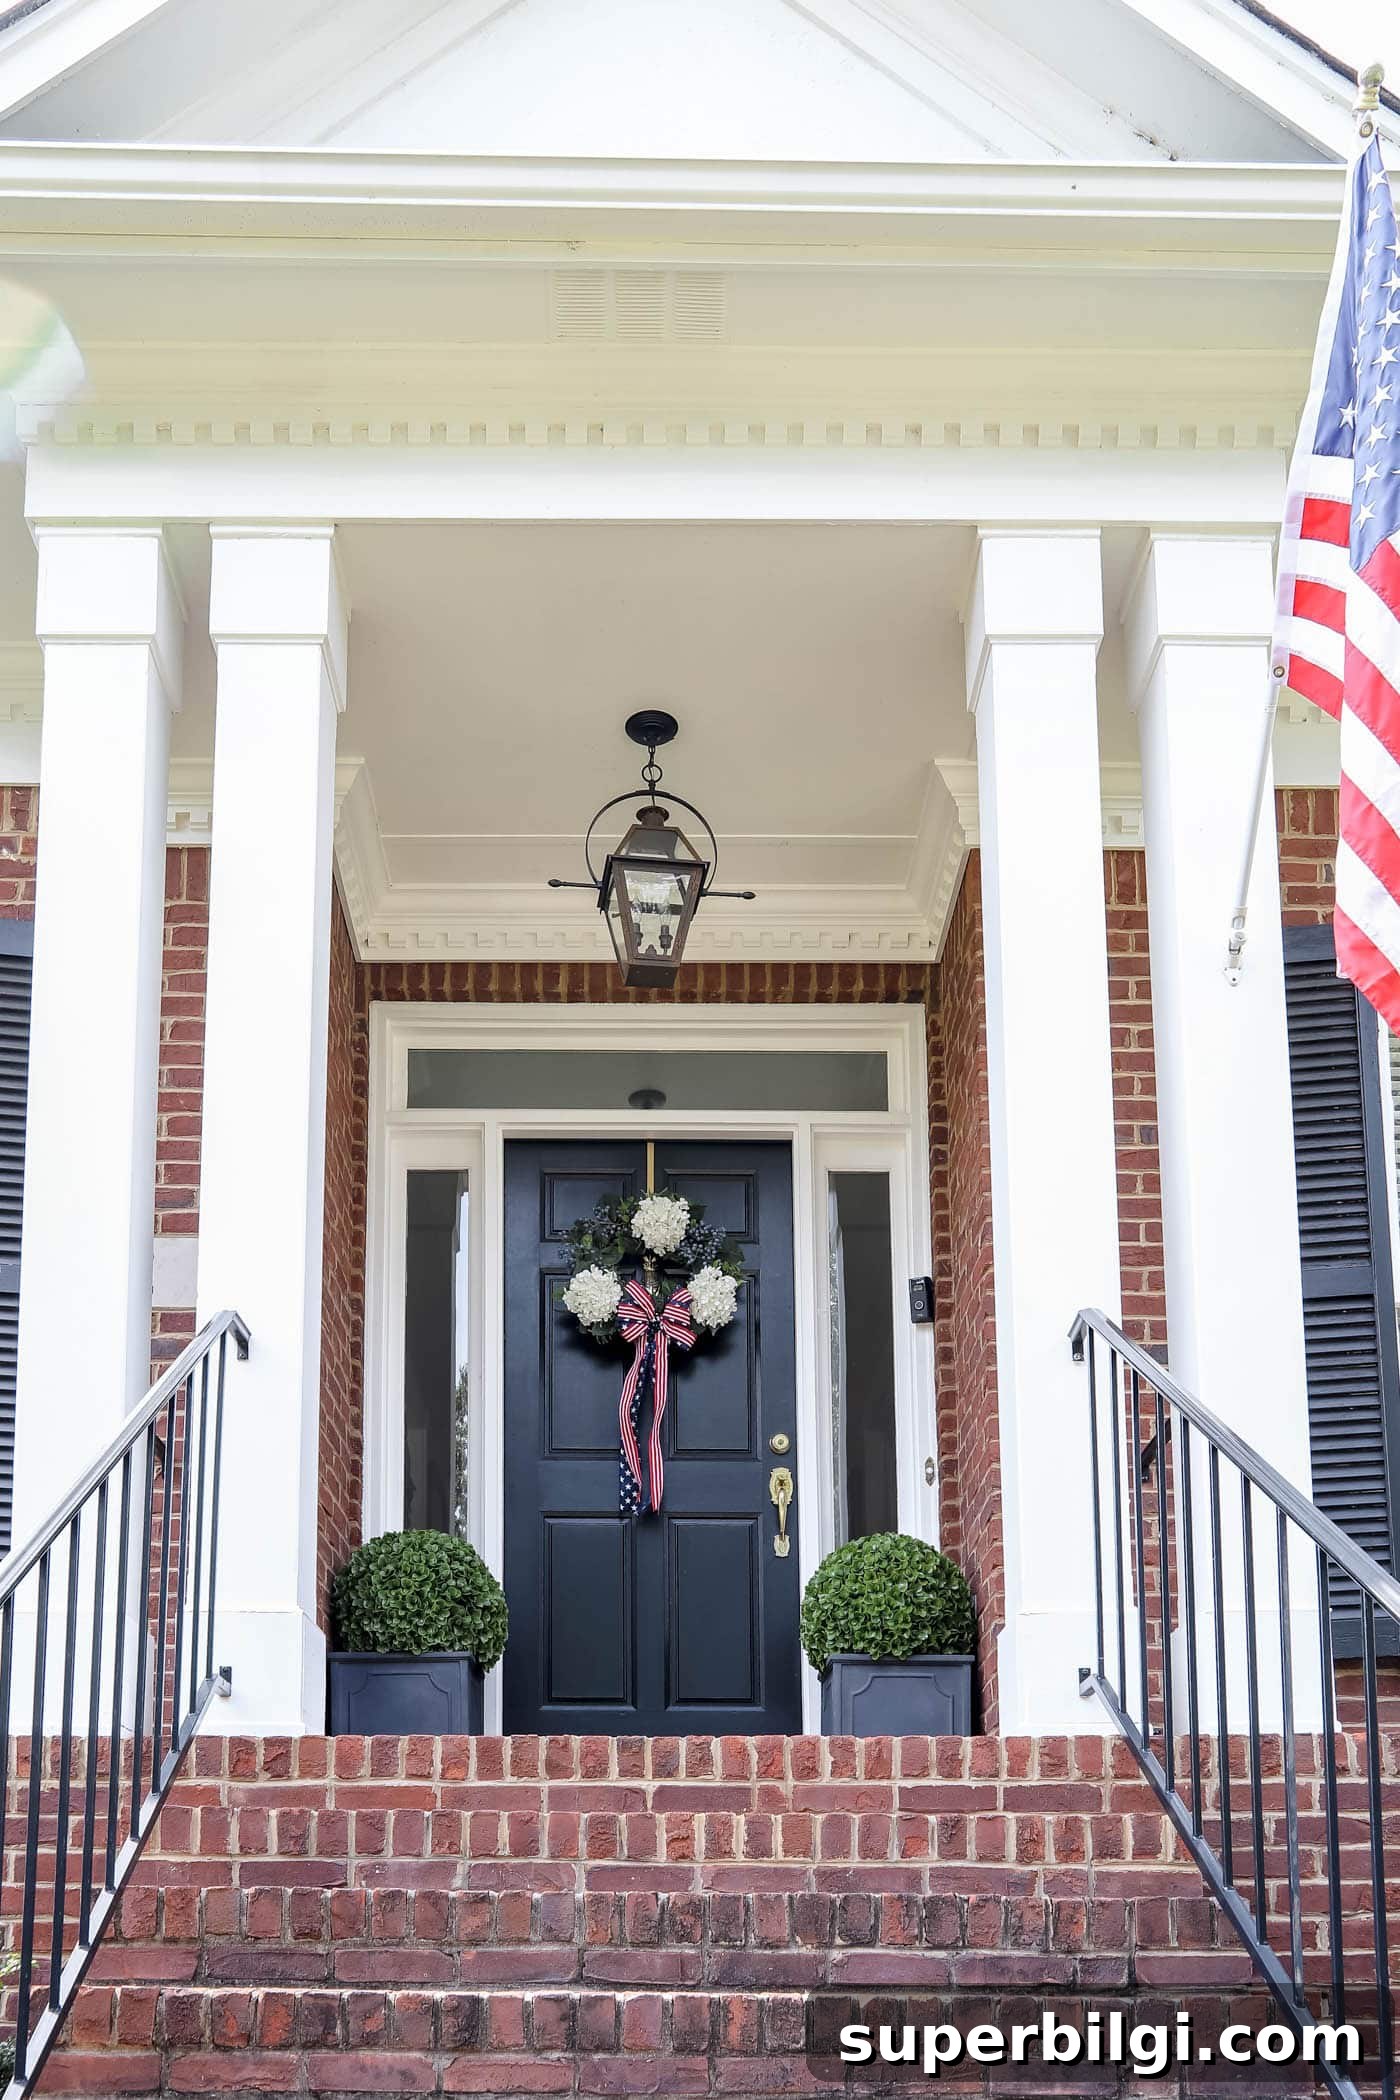
Front porch styling note: I paired the wreath with planters, faux topiaries, a monogrammed door mat, a pineapple-style door knocker, and an outdoor hanging lantern. A dark door color like Benjamin Moore Onyx provides a bold backdrop for the red, white, and blue palette. Small American flags tucked into planters or topiaries make a nice finishing touch.
Supplies You’ll Need for a Patriotic Wreath
- Wreath form — a 24-inch grapevine wreath works well for a full, traditional look.
- Faux greenery — assorted leaf stems to create a green base and add texture.
- Three faux hydrangea stems (for three focal blooms).
- Five faux blueberry stems or similar small berry stems for contrast and dimension.
- 2.5-inch navy ribbon with white stars (or similar star-patterned ribbon).
- 1.5-inch red and white striped ribbon for layering and tails.
- Twist ties or zip ties to secure stems and ribbon to the wreath form.
- Fabric scissors for cutting ribbon and stems.
- Hot glue gun and glue sticks for extra hold where needed.
Instructions for Making a Patriotic Wreath
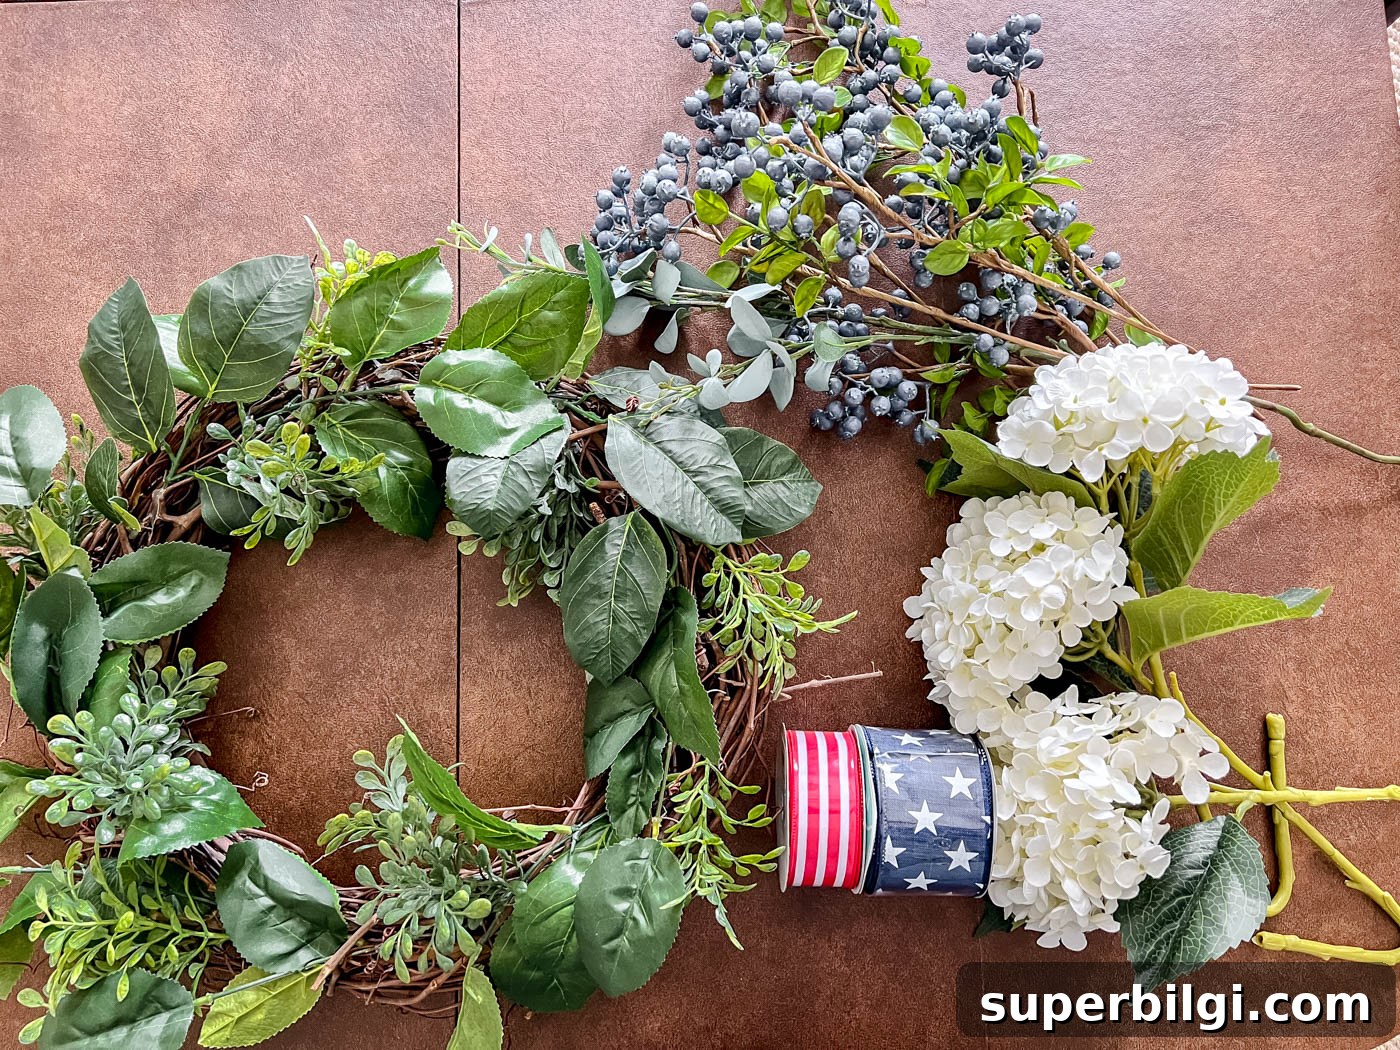
1. Gather Your Materials
Lay out all supplies before you begin so you can plan the placement of florals and ribbon. Having everything within reach makes assembly straightforward and keeps the project organized.
2. Add the Floral and Greenery Elements
Start by arranging faux greenery around the grapevine base to create an even, natural-looking foundation. Tuck stems into the wreath form and use hot glue or twist ties to hold them in place. Work around the wreath so the foliage covers the grapevine and provides a backdrop for the blooms.
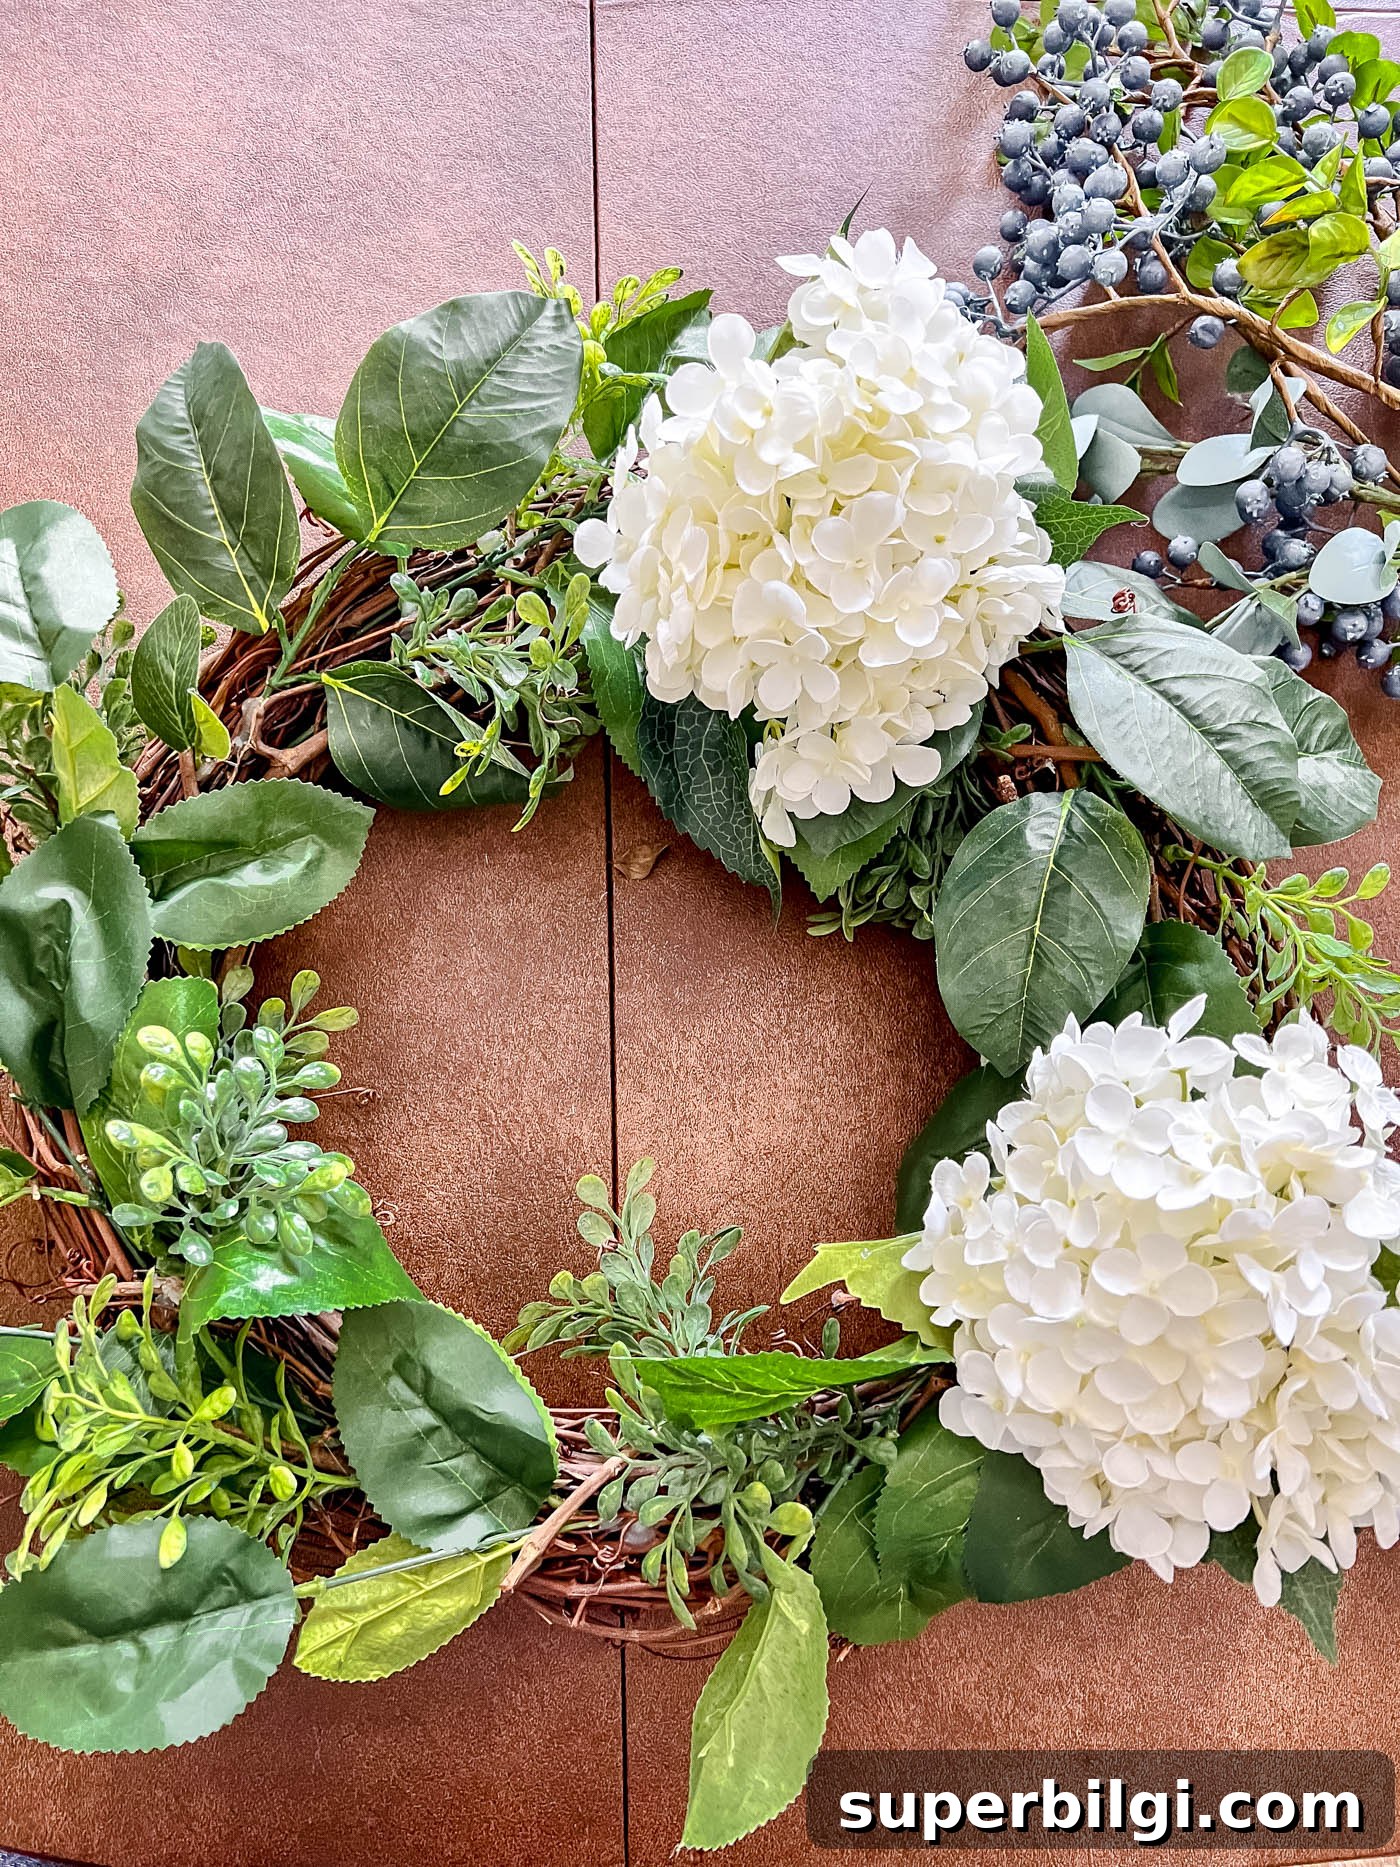
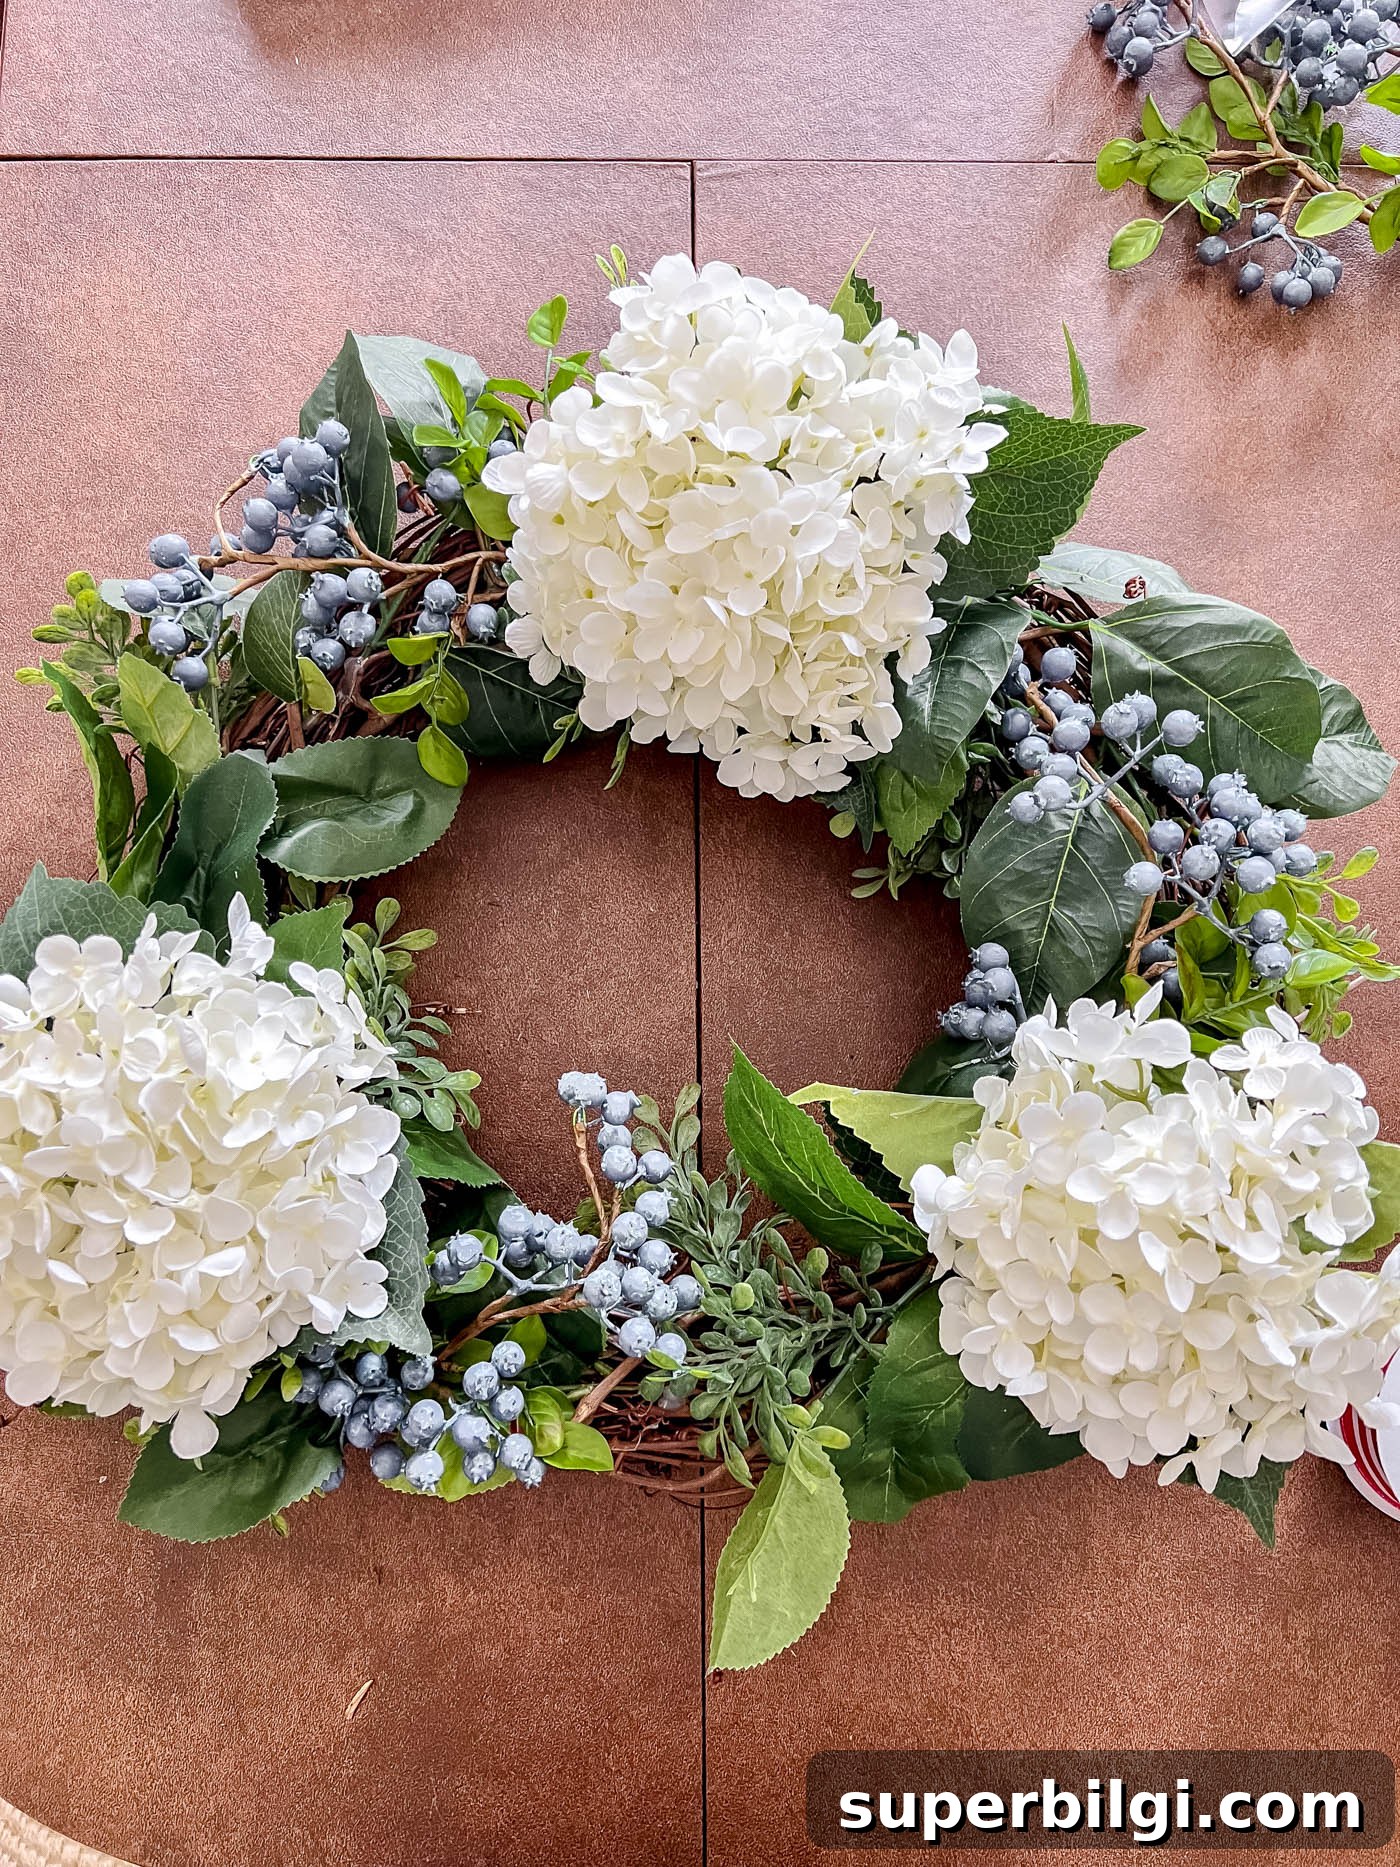
Place the three large hydrangea blooms evenly around one side or clustered slightly off-center, depending on the look you prefer. Secure each bloom with hot glue or a twist tie. Fill gaps with the smaller blueberry stems, tucking them under and around the hydrangeas for contrast and depth.
3. Prepare the Ribbon and Make a Bow
To create a layered bow, use the navy star ribbon as a base and layer the red-and-white striped ribbon on top. Make loops with both ribbons together so the pattern of each shows. For a full bow, create multiple loops and secure the center with a twist tie or zip tie. Leave longer tails if you prefer a more dramatic look — this is a personal choice and adds movement to the wreath.
Attach the bow to the wreath form where it complements the floral placement — typically near a cluster of blooms or at the bottom-right for a traditional hanging orientation. Use a twist tie or hot glue for added security.
4. Display Your Wreath and Enjoy!
Hang your finished wreath on the front door using a wreath hanger, ribbon, or command hook suitable for your door type. It also looks great on an interior wall, above a mantel, or as part of a patriotic porch vignette. If you like, add small American flags to nearby planters or topiaries for an extra festive touch.

Creating a patriotic wreath is an enjoyable and rewarding craft that brings seasonal charm to your home. With just a few faux stems, a grapevine base, and layered ribbon, you can make a wreath that looks polished and lasts season after season.
Happy crafting, and God Bless America!
Related project ideas you might enjoy:
- How to Display Kitchen Cabinet Wreaths
- DIY Winter Wreath with Bells (step-by-step tutorial)
- 25 Amazing DIY Fall Wreaths
- DIY Summer Lemon Wreath
- DIY Simple Spring Wreath with Peonies