
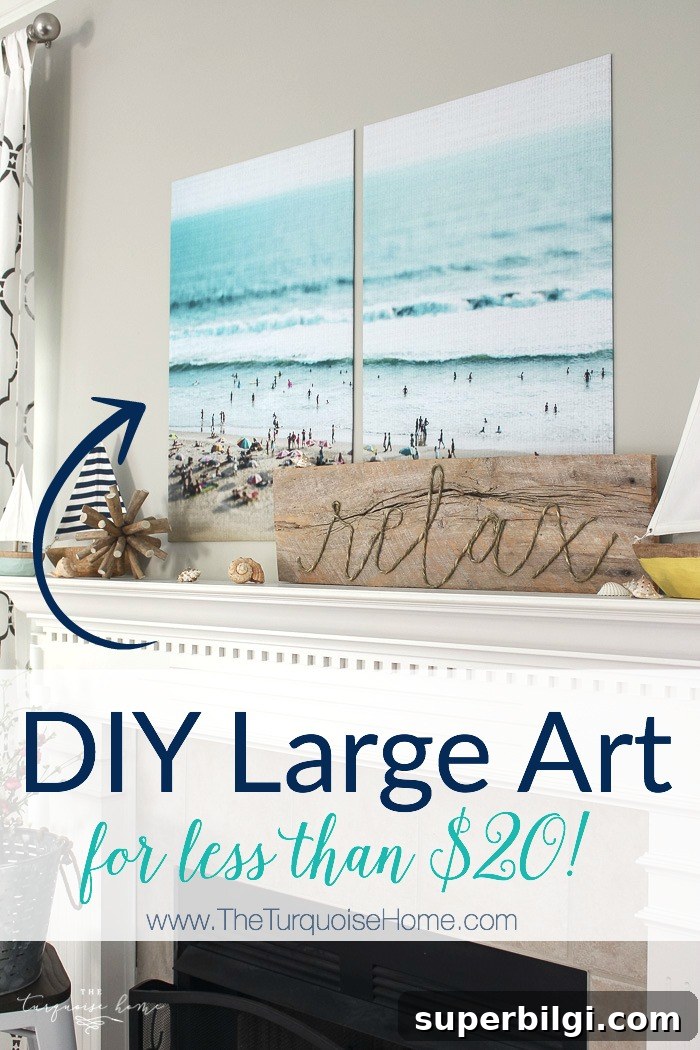
Color engineer prints offer an affordable way to create large, eye-catching wall art—mine cost under $12 and the result is vibrant and budget-friendly.
As I planned my summer mantel this year, I wanted a bold horizontal piece to be the focal point. I could have used my DIY abstract art, but it was more vertical than I needed. Framing a large, professionally printed photo seemed expensive, and building a custom frame didn’t feel like the right fit for this seasonal project.
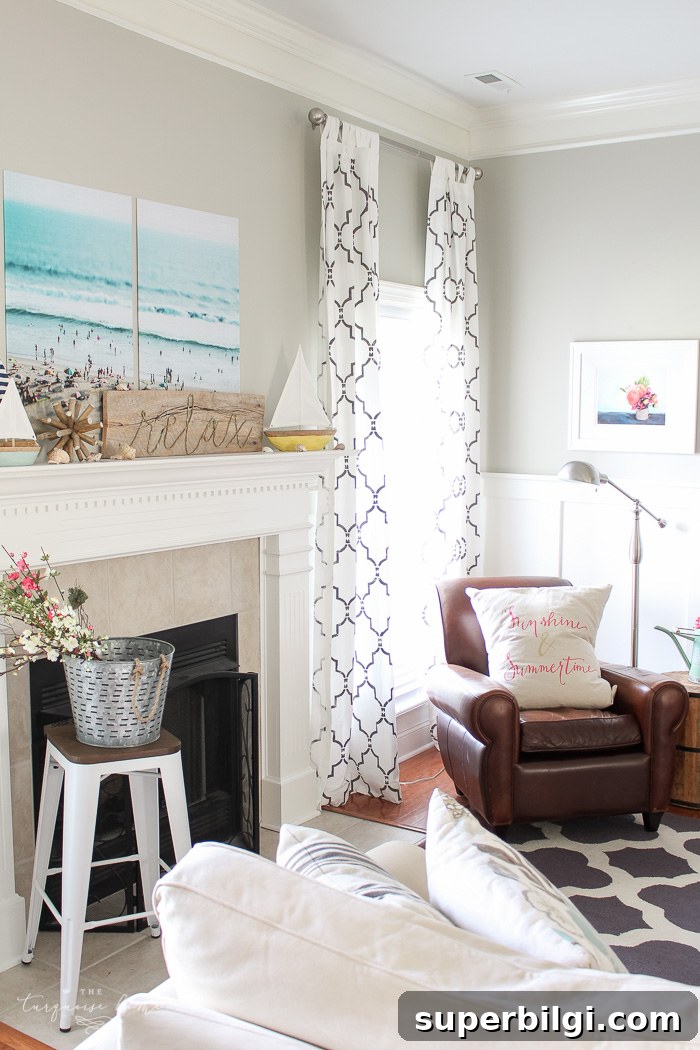
I first looked through my vacation photos but couldn’t find a single image that worked at the size I needed. Then I remembered a split-photo wall art idea and realized it would be perfect—especially if I could get engineer prints in color. After a bit of searching, I discovered color engineer prints are available in large sizes (up to 36″ x 48″) for just a few dollars more than black-and-white prints. That discovery made the project possible and affordable.
I downloaded a colorful, downloadable beach scene from an online marketplace and had it printed at a local copy shop with next-day pickup. The photo looked great in high resolution when printed at 36″ x 48″. To mount the print without a frame, I decided to wrap the paper around foam board panels, creating lightweight, frameless art that looks polished on the wall.
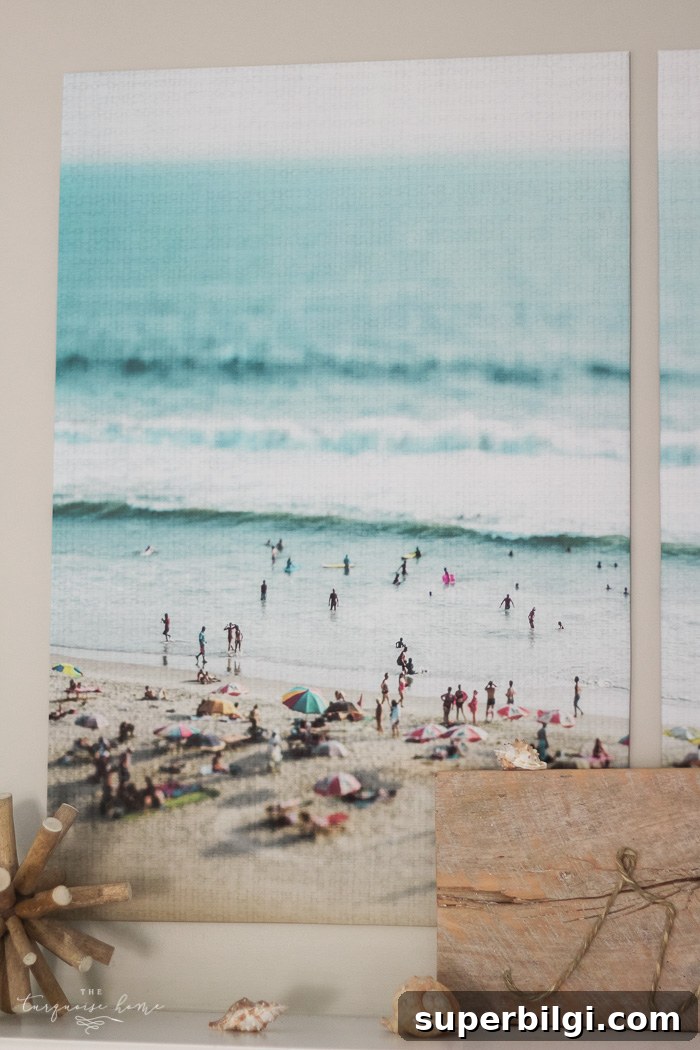
To keep the finished pieces proportional and easy to hang, I purchased two 20″ x 30″ foam boards slightly smaller than the print so the image could wrap around the edges. With double-sided tape securing the paper to the foam and optional Command strips for hanging, the process is fast and straightforward.
What You’ll Need to Make Large Color Engineer Prints
- Large color engineer print (36″ x 48″ recommended; use a high-resolution image for the best results)
- Two 20″ x 30″ foam boards, sized slightly smaller than your print so you can wrap the paper around the edges
- Scissors or a sharp craft knife
- Double-sided tape or strong adhesive tape
- Command strips or other hanging hardware (optional)
That’s all you need for an impressive, inexpensive piece of wall art.
How to Make DIY Engineer Prints
Follow these simple steps to turn a large color engineer print into framed-style wall art without the cost of a traditional frame.
1. Prepare a clean work surface
Use a large, flat space such as a dining table or workbench. The print is regular paper and will be damaged if it gets wet or dirty, so clear and dry the area before you begin.
2. Lay out the print and position the foam boards
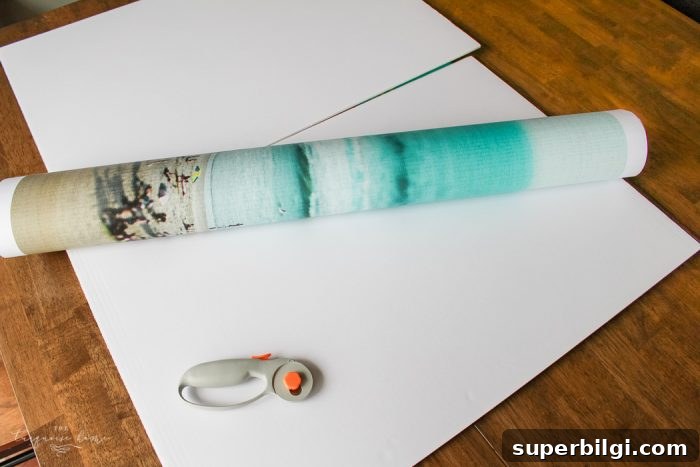
Roll the large print gently and smooth it flat on your work surface. Place the two foam boards on the print, leaving about an inch gap at the center where you will split the design. Mark a cutting line around each board so you have a 1–2 inch flap of paper around each panel to wrap over the edges.
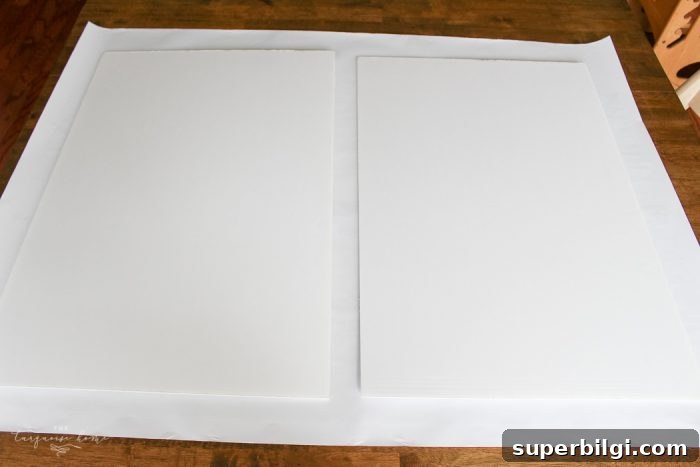
3. Cut and trim the paper
Carefully cut the print into two sections if necessary, then trim the excess so each foam board has a 1–2 inch border of paper to fold over the edges. Use sharp scissors or a craft knife for clean cuts.
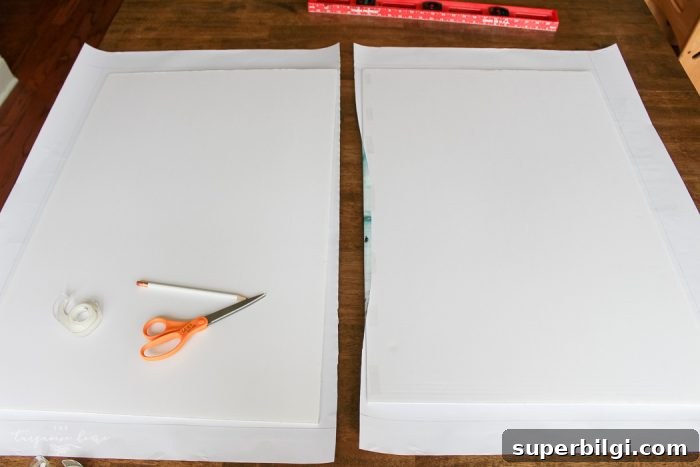
4. Attach the print to the foam boards
Apply double-sided tape starting at the center of the long inner edge and work your way out, folding and securing the flaps to the back side of each foam board. Smooth the front surface so there are no bubbles or wrinkles.
5. Hang and enjoy
Flip each panel over, attach Command strips or your preferred hanging hardware to the back, and mount them on the wall. The finished pieces look like lightweight, framed art without the expense or weight of traditional framing.
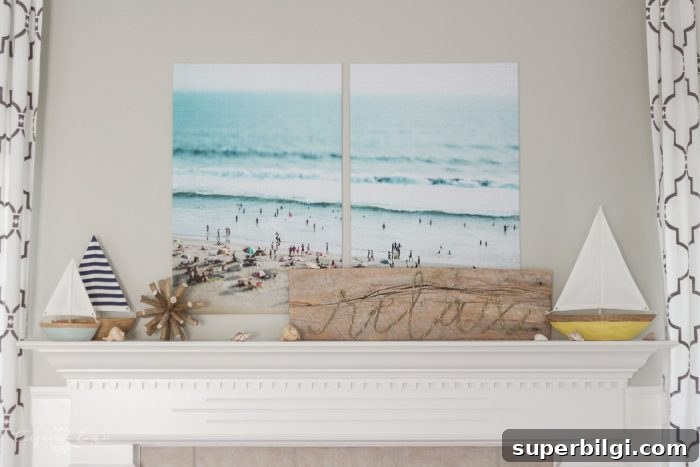
The total cost for my two-panel piece was under $20, which made this a perfect seasonal project. The result is bold, bright, and lightweight—and from a distance it looks like professionally framed art. I’ll store the foam boards and can reuse them with new prints for future seasons, so the investment continues to pay off.
What image would you choose for a large color engineer print in your home?
More posts you will love:
- The Best Summer Decorating Ideas
- How to Plant Flowers in a Pot, Planter or Container
- 15+ Large Wall Decor Ideas
- My Summer Lake Mantel
- My Lazy Summer Decor