
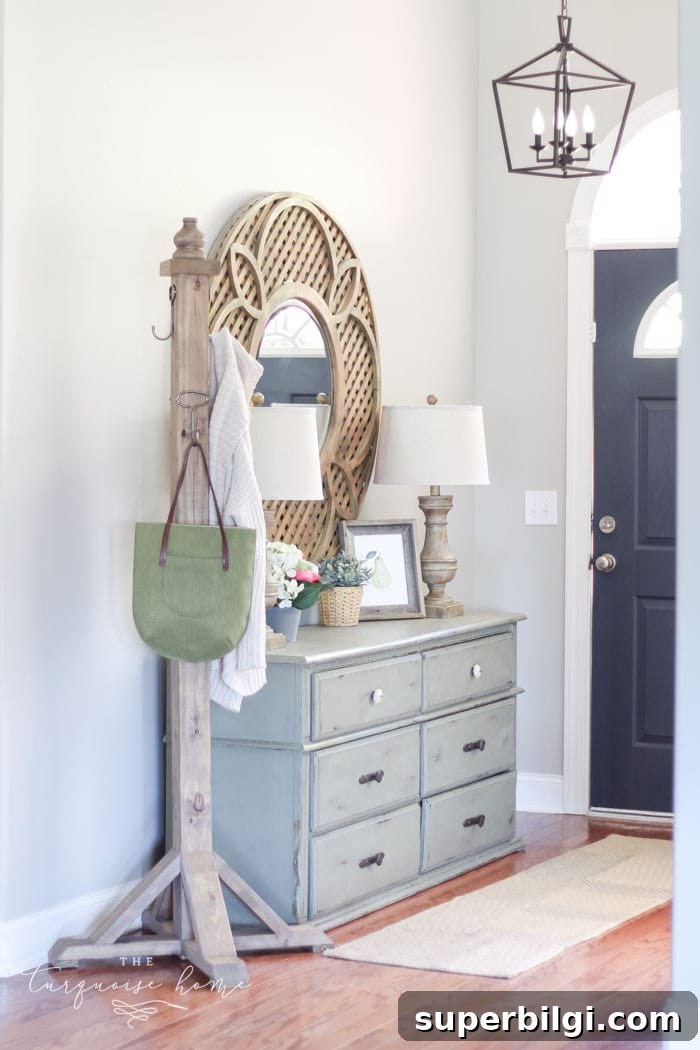
This wooden DIY coat rack is built from simple pine boards available at most home improvement stores. It costs under $25 in lumber, is an easy build, and adds practical hanging storage in your entryway for coats, bags, and scarves.
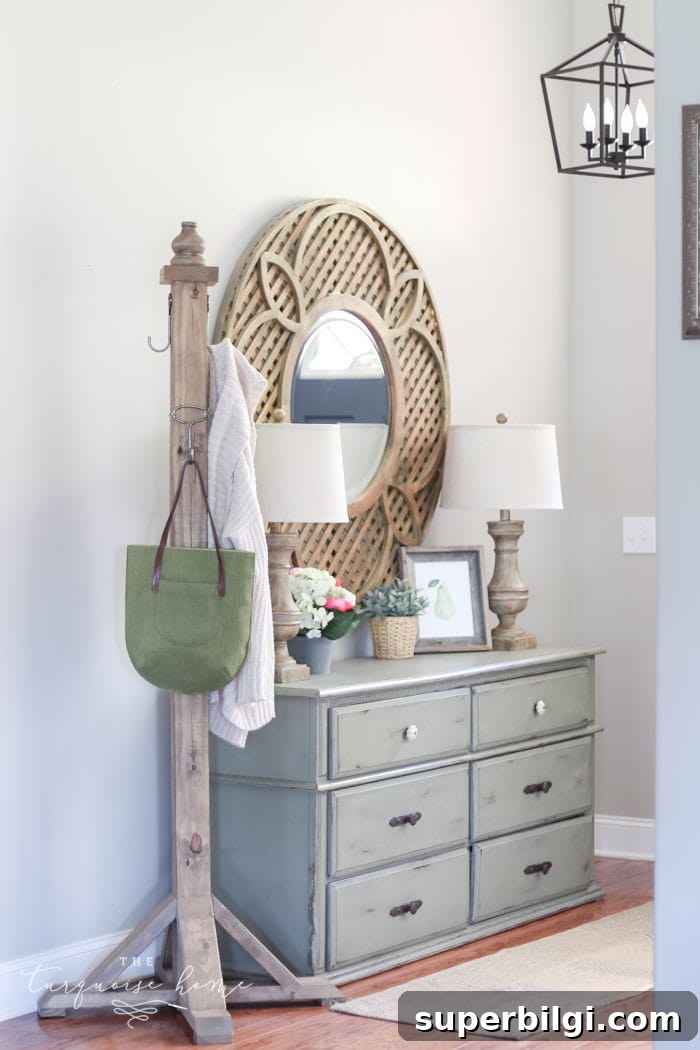
As someone who values good Southern hospitality, I finally made a proper place for guests to hang their coats and bags. For years visitors had to set their things down wherever they could, so creating a dedicated hanging spot for the entryway felt like a small but meaningful upgrade.
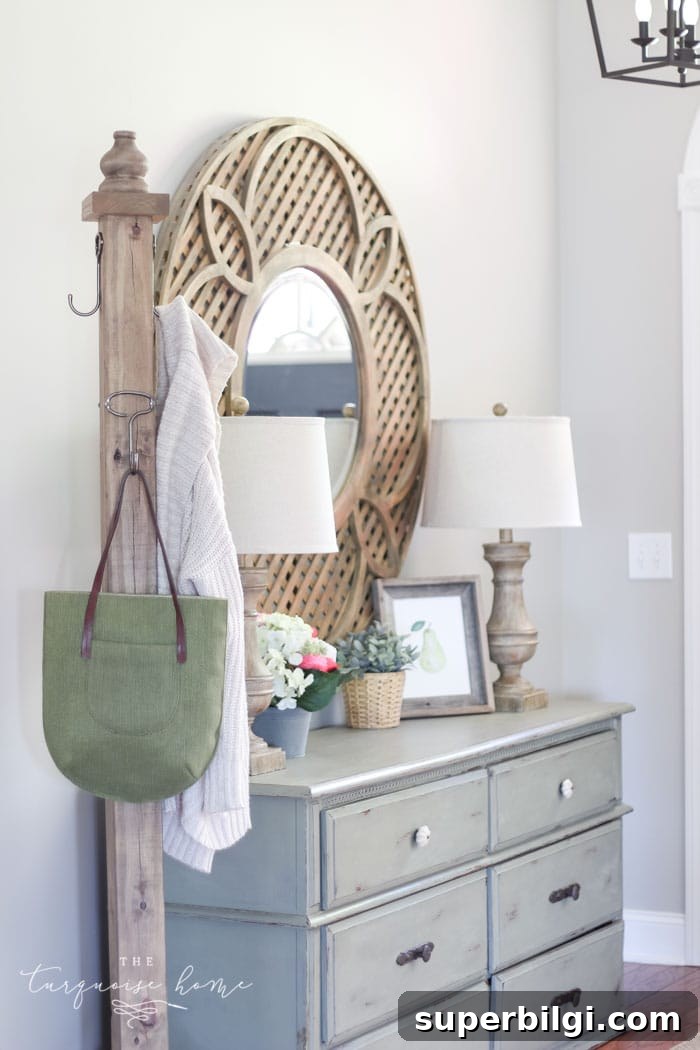
The solution was a simple standing coat rack I built in a morning while my daughter was at preschool. I followed clear plans I found and adapted them to materials I had on hand. This is a great starter project if you’re new to building furniture: minimal materials, straightforward cuts, and satisfying results.
This article describes the tools and steps I used to build a sturdy standing coat rack for the entryway.
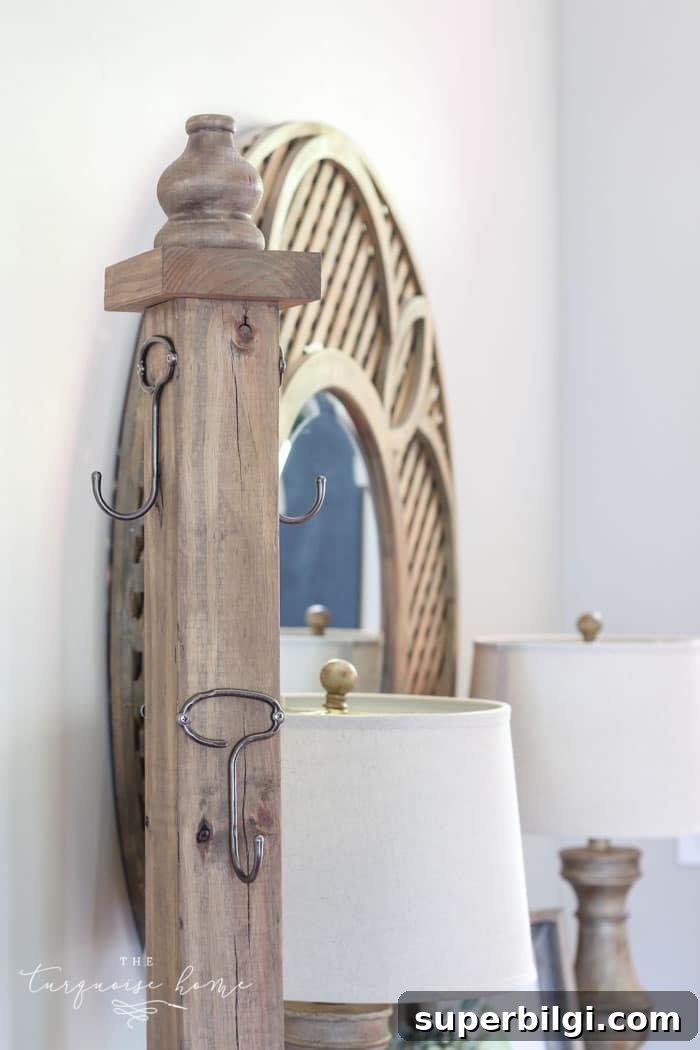
I used a 12-inch sliding miter saw for many of the cuts, which made working with a 4×4 post much easier than a smaller non-sliding saw. The sliding feature and laser guide helped a lot with longer and angled cuts. If you plan to make more furniture or small builds, a sliding miter saw is a handy step-up from a basic chop saw.
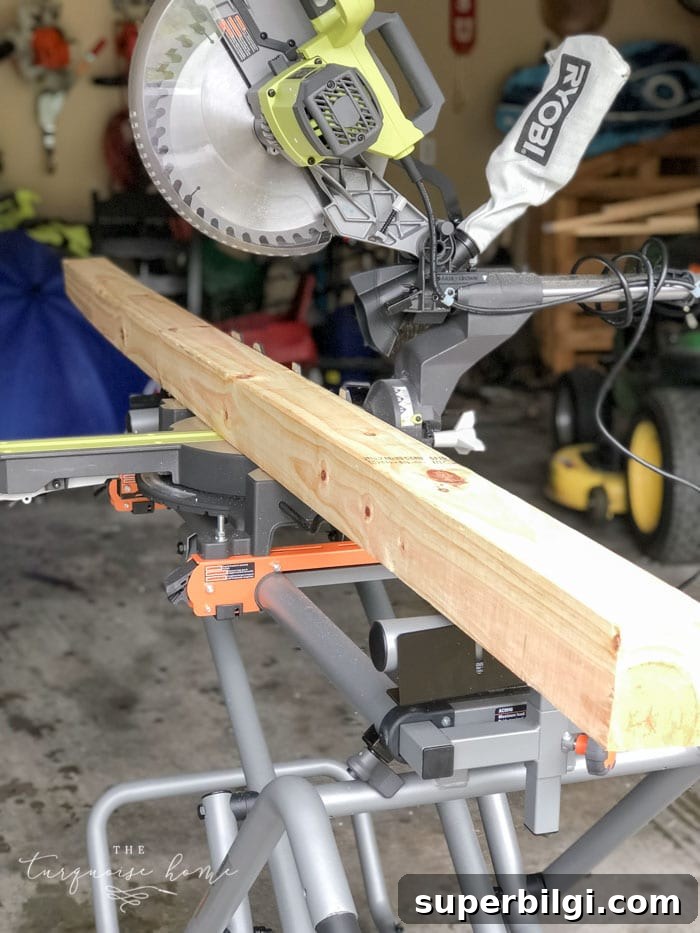
I also used a rolling miter saw stand to make setup and breakdown effortless—one less reason to avoid projects. The saw folds and rolls out of the garage, so working outside or in the driveway is quick and convenient.
Supplies & Tools You’ll Need for a DIY Coat Rack
- 1 — 4 x 4 x 8 ft post (for the main upright)
- 1 — 2 x 4 x 10 ft board (for legs and braces)
- 1 — furniture foot or decorative finial for the top
- 1 — scrap piece of 2 x 6 (about 5½ inches wide)
- 1 — scrap piece of 1 x 3 (approximately 16 inches long)
- 4 — decorative hooks (style of your choice)
- Miter saw (sliding recommended)
- Drill and drill bits
- Sander (or sandpaper)
- Kreg jig or pocket-hole tool (optional but useful)
- Brad nailer (optional)
- Wood glue
- 2-inch wood screws and 2.5-inch pocket screws (if using Kreg)
- Wood stain or paint and brushes or rags
Steps to Build a DIY Coat Rack
Step 1 — Cut the 4×4 Post to Length
Cut the 4×4 upright to about 6 feet tall. Look for the straightest post you can find and trim any bowed end before making the final cut.
Step 2 — Cut the Legs
Cut four pieces from the 2×4 at 13.5 inches long. One end of each leg is cut square and the other end is cut at a 45-degree angle. The 13.5 inches is measured from the long point of the angled end to the straight end. These pieces become the four legs of the coat rack.
Step 3 — Prepare the Feet
Measure the actual width of the 2×4 legs (typically about 3.5 inches) and cut the 1×3 into four pieces at that length. These small boards attach to the angled ends as feet to give the legs a stable base.
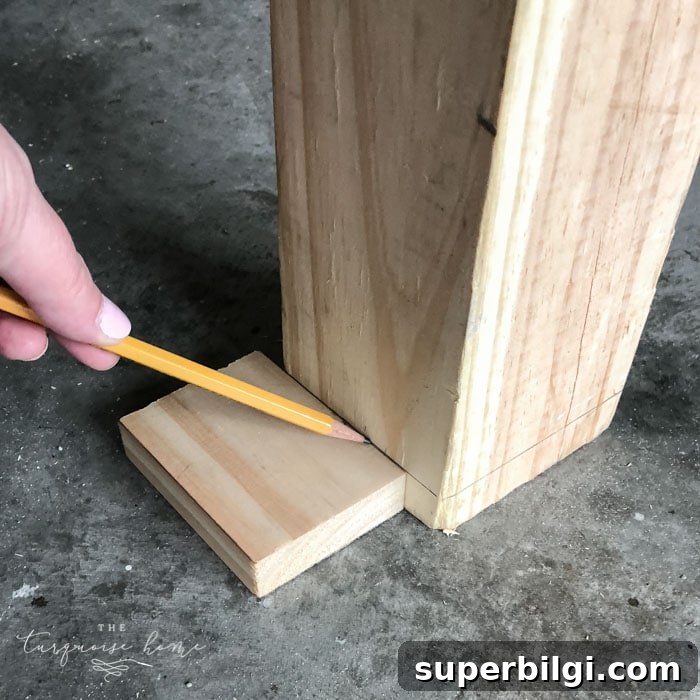
Step 4 — Mark Leg Placement on the Post
Use one of the feet pieces to mark a line around the bottom of the 4×4 where the legs will attach. As a tip, attach the legs just slightly below this line so the top of the post sits flush with the assembled legs; otherwise you may need to trim the post later.
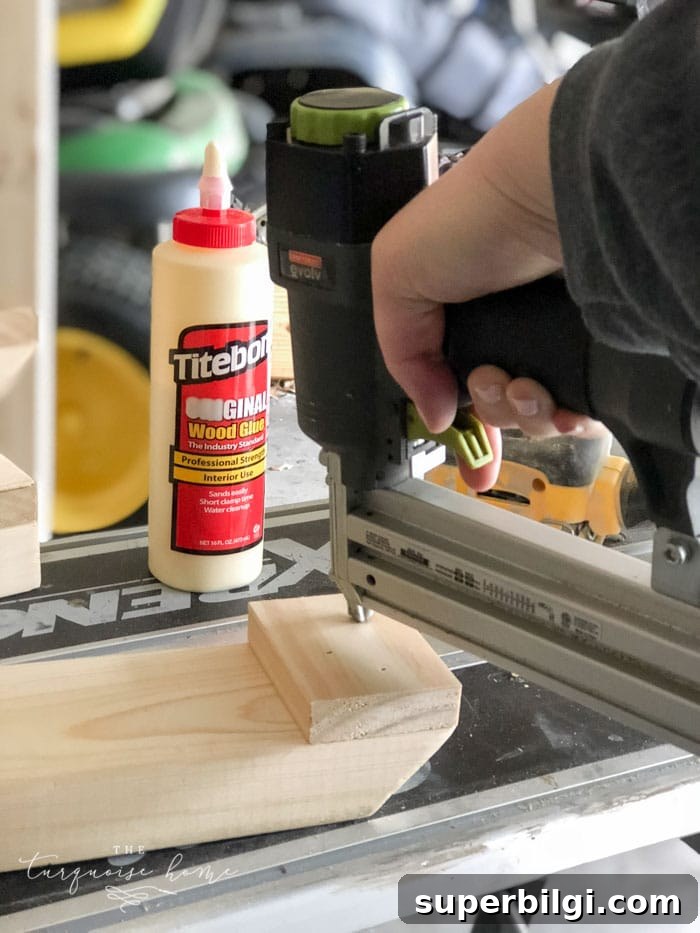
Step 5 — Attach the Feet to the Legs
Glue and nail or screw the 1×3 foot pieces to the bottom of each 2×4 leg, flush with the long pointed end. This forms a stable platform for each leg.
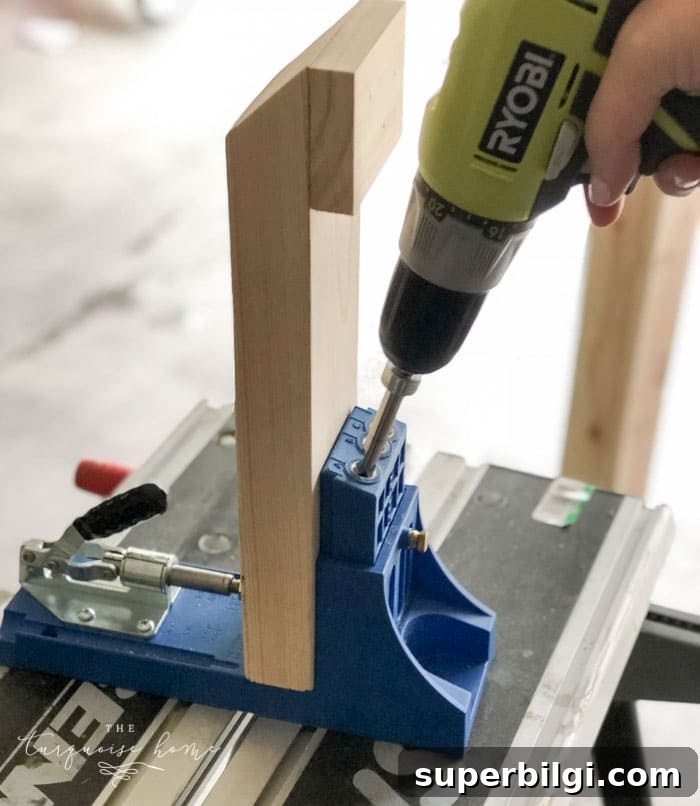
Step 6 — Add Pocket Holes (Optional)
If you use a Kreg jig or pocket-hole system, drill two 1.5-inch pocket holes into the straight end of each leg on the underside. These holes make it easy to secure the legs to the post with pocket screws.
Step 7 — Attach the Legs to the Post
Apply wood glue where the legs meet the post and secure each leg with 2.5-inch pocket screws or wood screws from the inside. Remember to mount the legs just below your marked line so the top of the post is level with the assembled leg base.
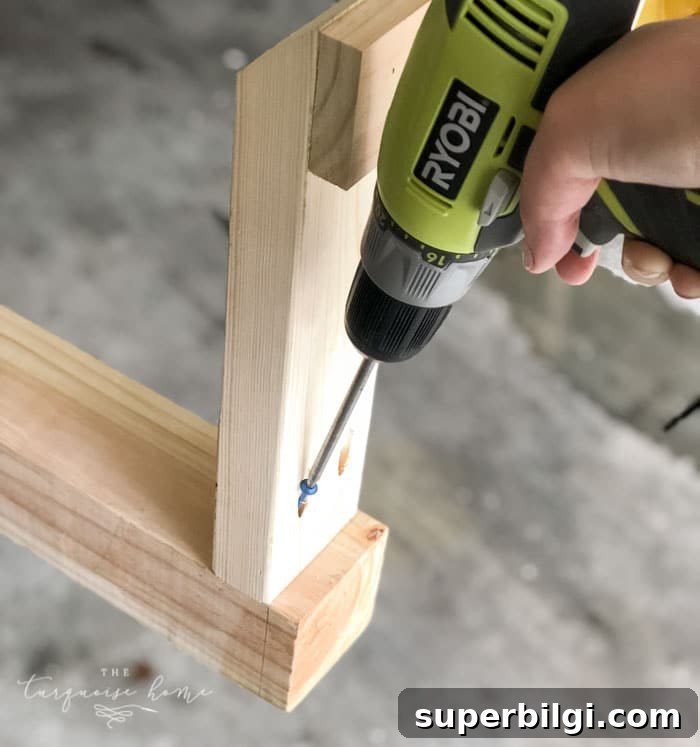
Step 8 — Cut and Attach Braces
Cut four brace pieces from 2×4 stock at 13 inches long with 45-degree cuts on both ends so they fit between each leg and the post. These braces add lateral strength—glue and nail or screw them into place between the legs and the post.
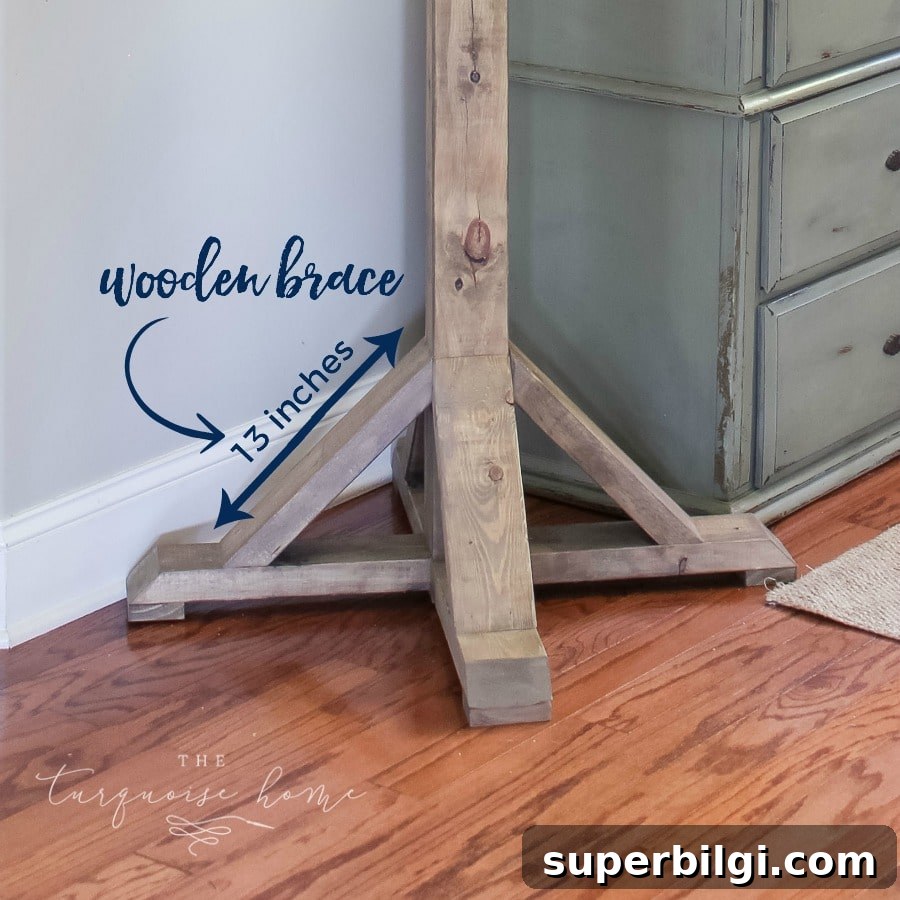
Step 9 — Add a Decorative Top
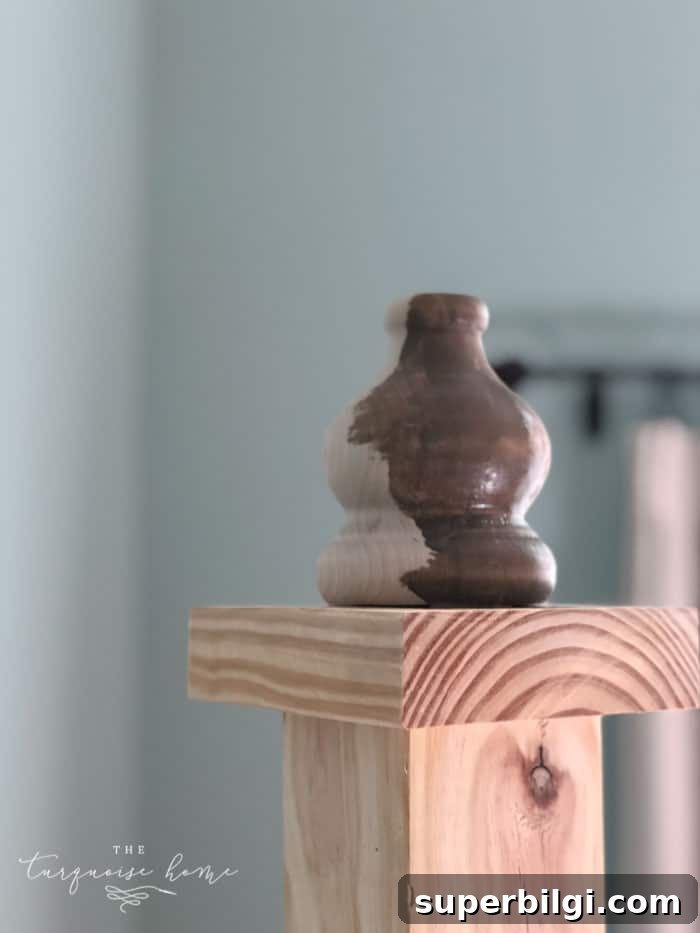
Cut a 5½ by 5½ inch square from a scrap 2×6 (or similar) and attach it to the top of the post with glue and screws. Pre-drill a hole for the furniture foot or finial and fasten it securely to the top for a finished look.
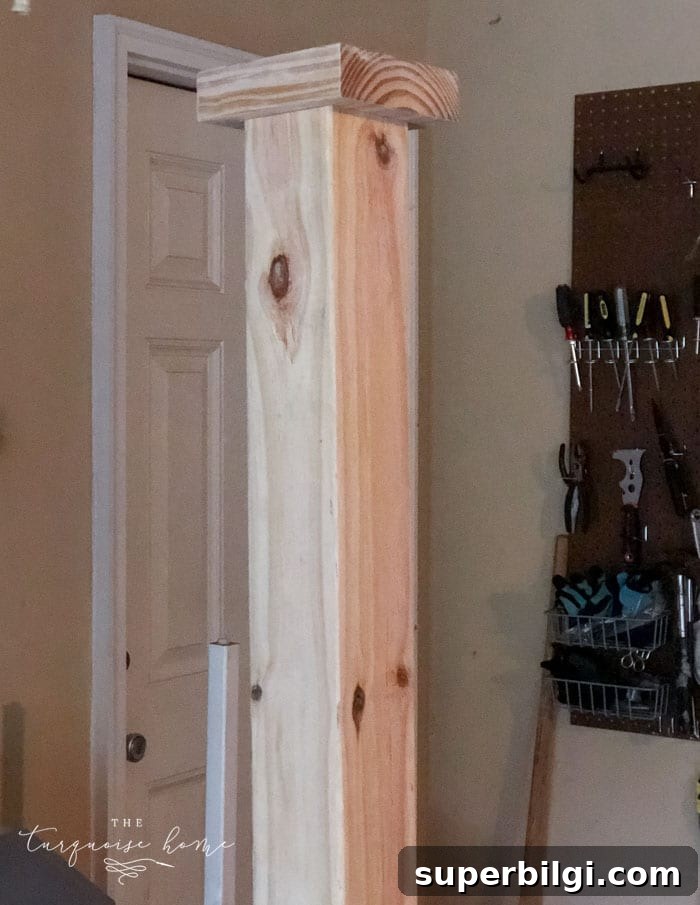
Step 10 — Sand Smooth
Sand all surfaces with fine-grit sandpaper to remove splinters and smooth edges. Wipe down the entire assembly with a damp, lint-free cloth to remove dust before finishing.
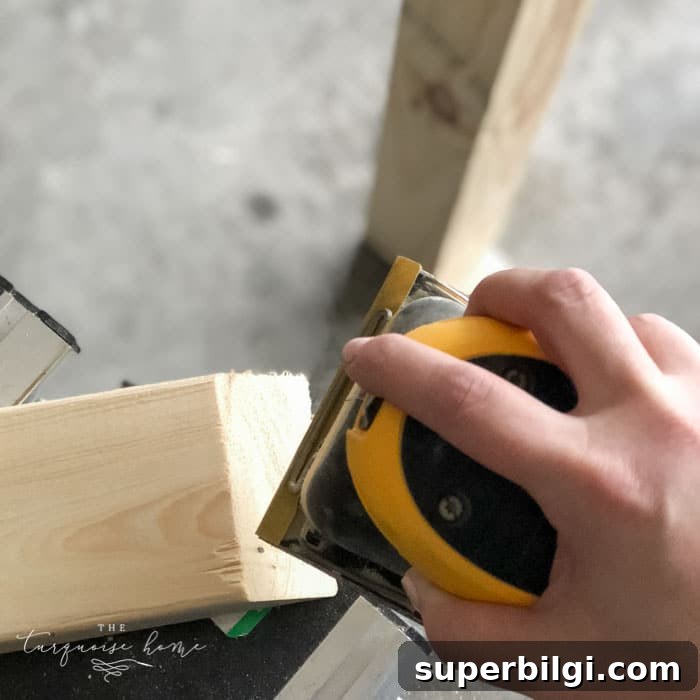
Step 11 — Stain or Paint
Choose a stain or paint that fits your entryway decor. I prefer a water-based, low-VOC stain for easy application and clean-up, but a durable paint is also a great option. Apply evenly and allow to dry thoroughly before adding hardware.
Step 12 — Install Hooks
Pre-drill holes for your decorative hooks, choosing positions that balance form and function. A common arrangement is two hooks on two faces near the top and two more at a lower height on the remaining faces. Secure the hooks with screws and double-check that everything is tight.
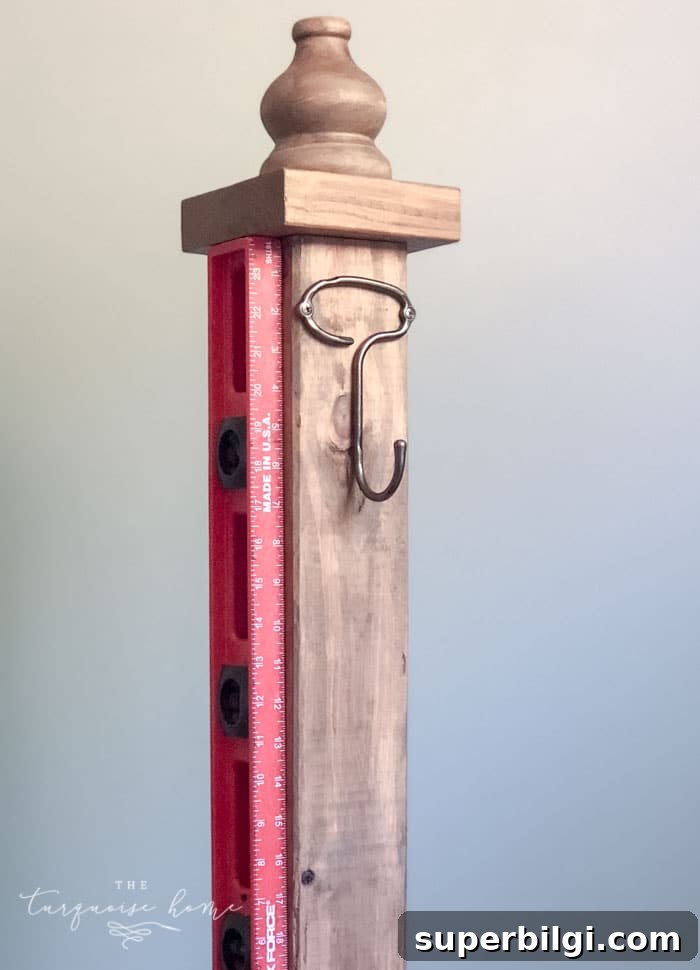
That’s it—your DIY standing coat rack is complete. It provides a welcoming, organized place for guests to hang coats, bags, and scarves, and makes your entryway look finished and intentional.
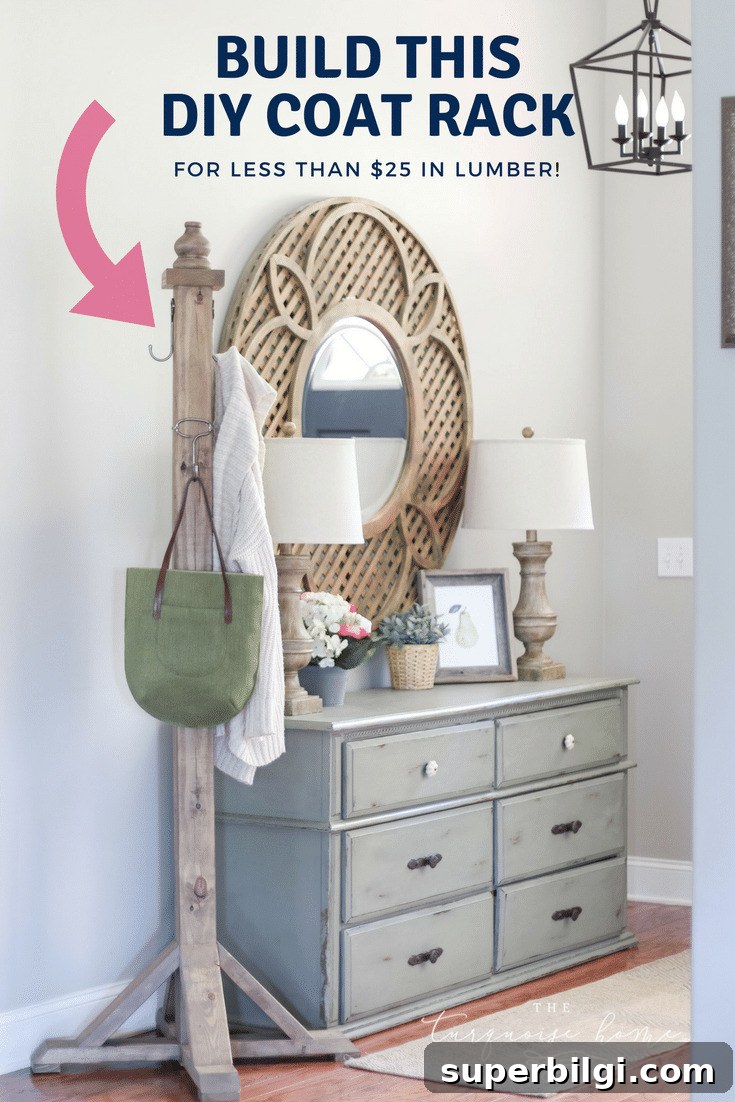
Enjoy your finished coat rack and the extra convenience it brings to your entryway!
More Posts You Will Love:
- How to Choose the Best Entryway Rug
- 17 Stunning, Easy-To-Install Entryway Lighting Fixtures
- DIY Lamb’s Ear and Peony Wreath
- Spring Table Decorations
- 15 Small Entryway Storage Ideas