
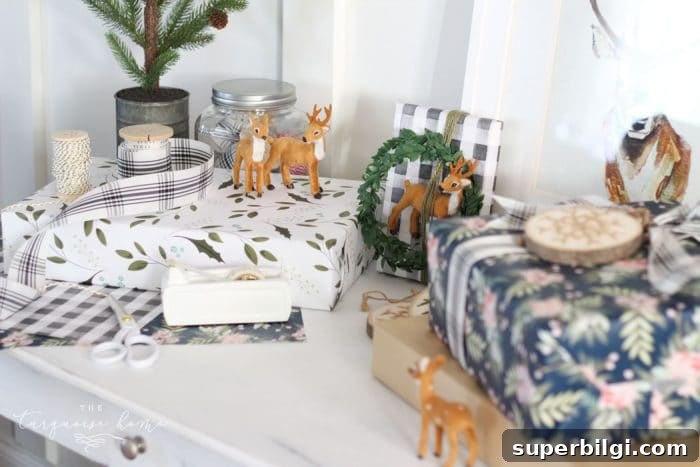
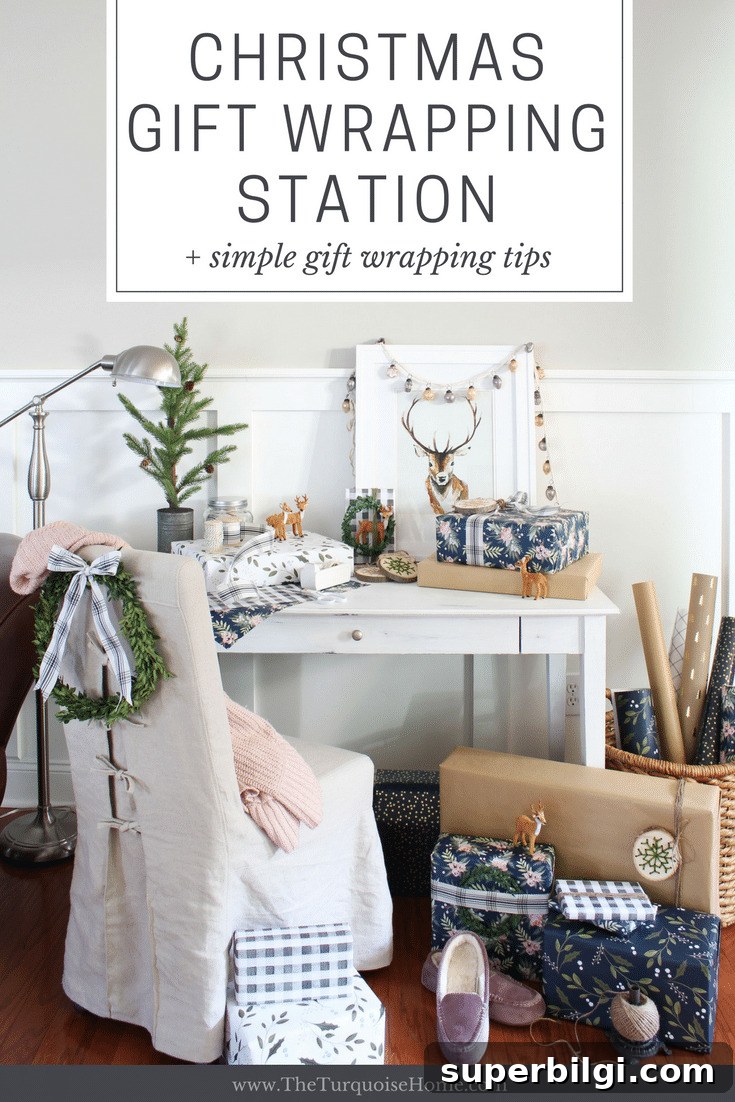
After years of wrapping gifts on the floor and on the bed, I finally turned an old college desk into a dedicated Christmas wrapping station. The makeover took about an hour, but the result is a small change that makes a big difference—especially for my back. 😉
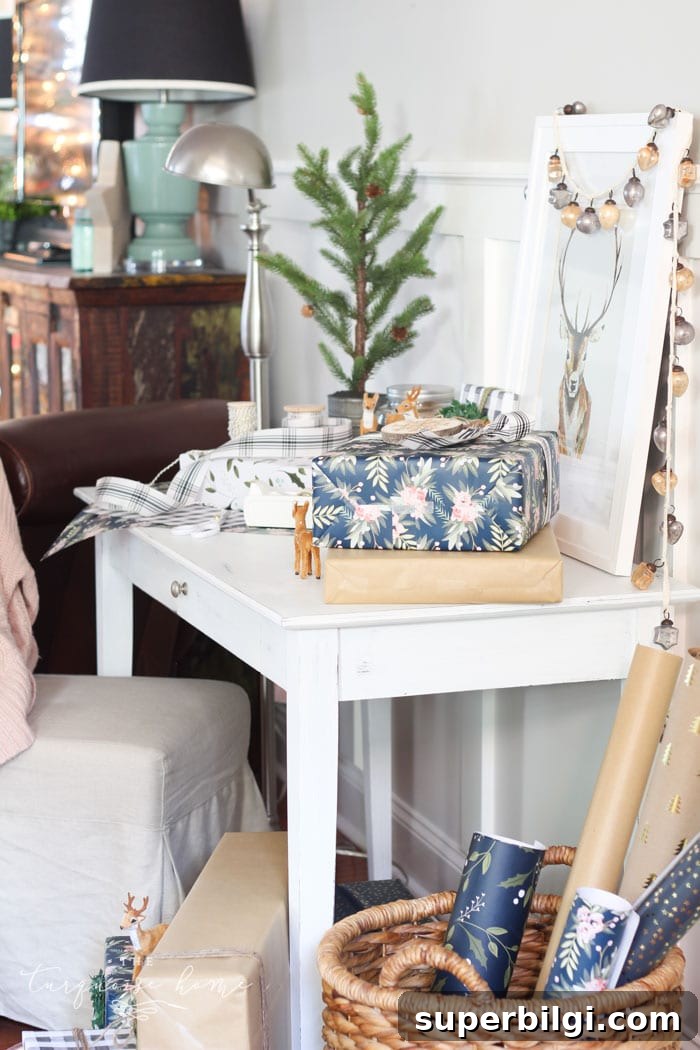
Hello friends! I’m excited to share this simple Christmas DIY: a cozy wrapping station crafted from an old desk, plus practical gift-wrapping tips and styling ideas to help your presents look as lovely as the rest of your holiday decor.
This post contains affiliate links for your convenience.
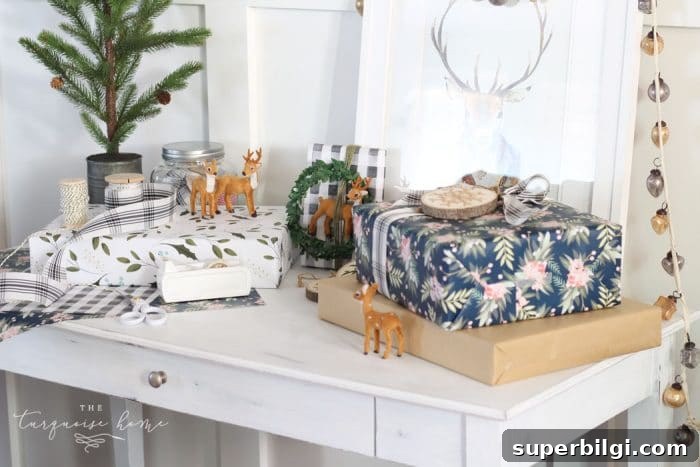
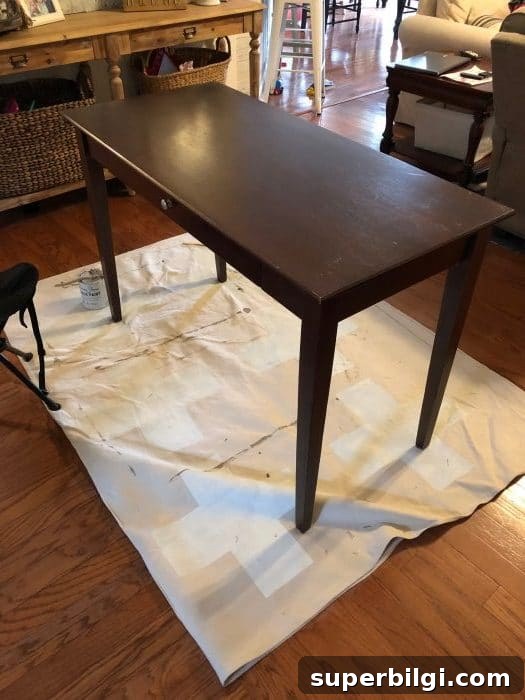
I began by giving a plain, dark-stained college desk a fresh coat of paint and a few gentle distress marks. For months the desk had been pushed into the corner of our master bedroom holding wrinkled laundry—so turning it into a purposeful space felt like a small holiday miracle.
I repainted the desk in a clean white chalk paint, lightly sanded the edges for a naturally worn look, and sealed it with a clear wax. The transformation was simple, inexpensive, and fast—just two coats of paint and some light finishing.
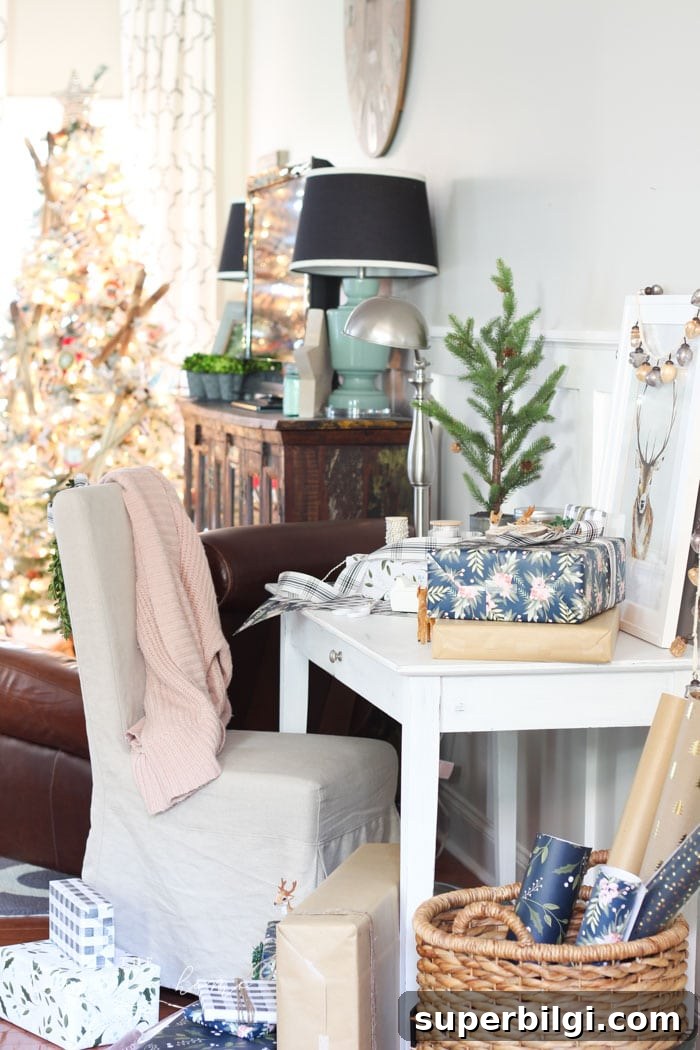
Now the desk fits the space perfectly and functions as a dedicated place for wrapping. But beyond the desk makeover, the real fun is in the paper, ribbons, and little finishing touches that make wrapped gifts feel like part of your holiday decor.
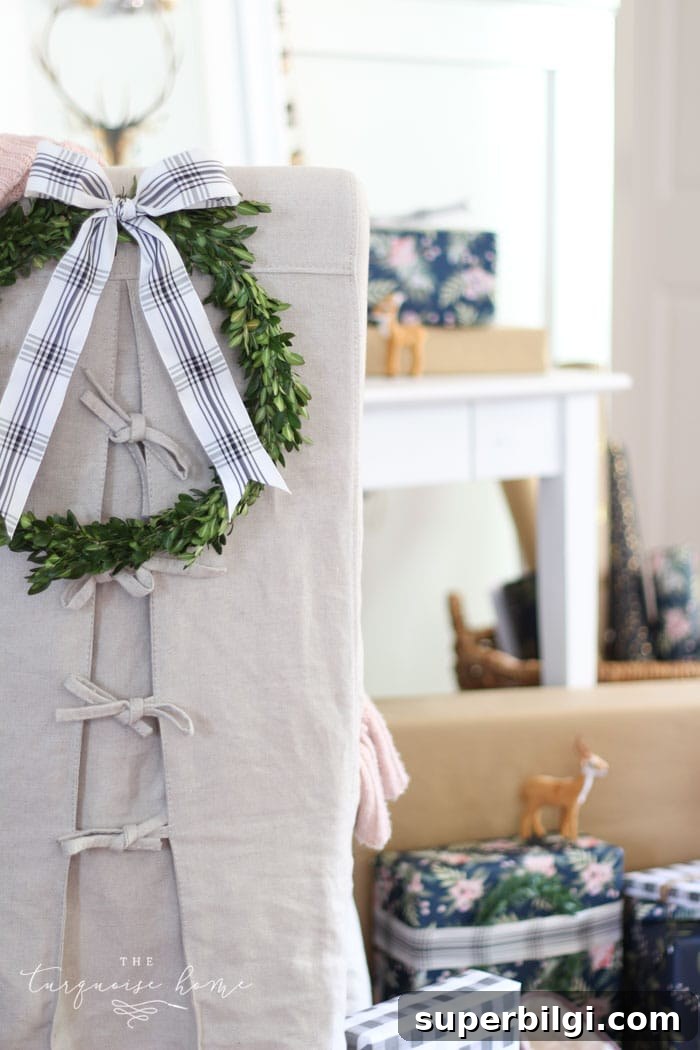
Full disclosure: I really dislike wrapping gifts. But I discovered a trick that helps me enjoy it: I treat wrapping like decorating. When I choose papers, ribbons, and embellishments, I think about coordinating colors and textures—almost like picking fabrics for a room. That shift in mindset makes wrapping feel creative instead of tedious.
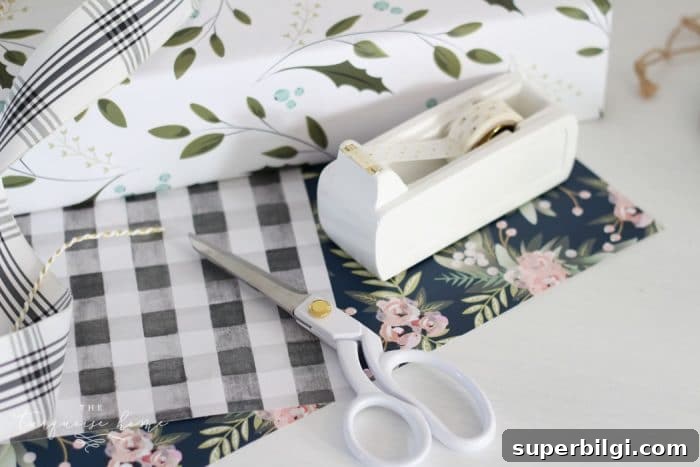
Since I view wrapped gifts as part of my holiday styling, I hunt for beautiful, unique wrapping papers that complement my home palette. This year I gravitated toward navy, green, blush, and mint hues that work with my overall decor.
Favorite paper picks I used this season include Holly & Vines paper in navy and mint, a soft Watercolor Gingham in gray, and a floral wallFLOWER design in navy. These designs are artist-created and have a handmade, special quality you don’t always find in big-box store rolls.
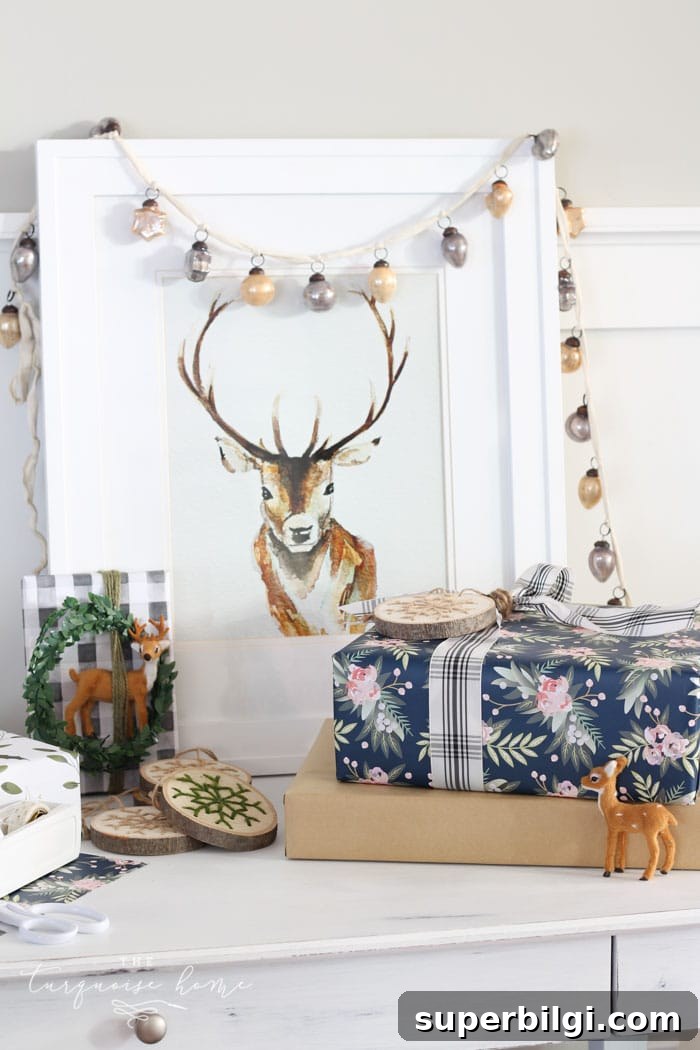
Simple Gift Wrapping Tips
1. Use a variety of coordinating papers. Choose a mix of large patterns, small patterns, and solids so gifts look cohesive under the tree. I always keep a roll of kraft paper on hand for oversized or awkward packages—it’s economical and pairs well with ribbons and accents.
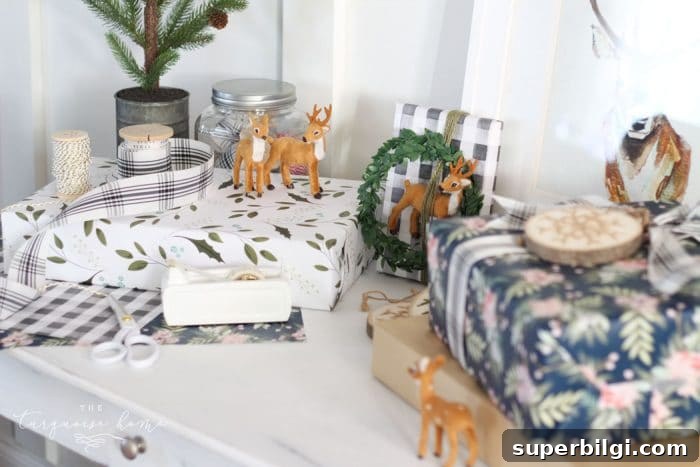
2. Don’t skimp on ribbon and twine. Layering ribbon and twine instantly elevates simple paper. Wrap multiple strands around the package and finish with generous bows—this little extra effort makes each gift feel thoughtfully wrapped.
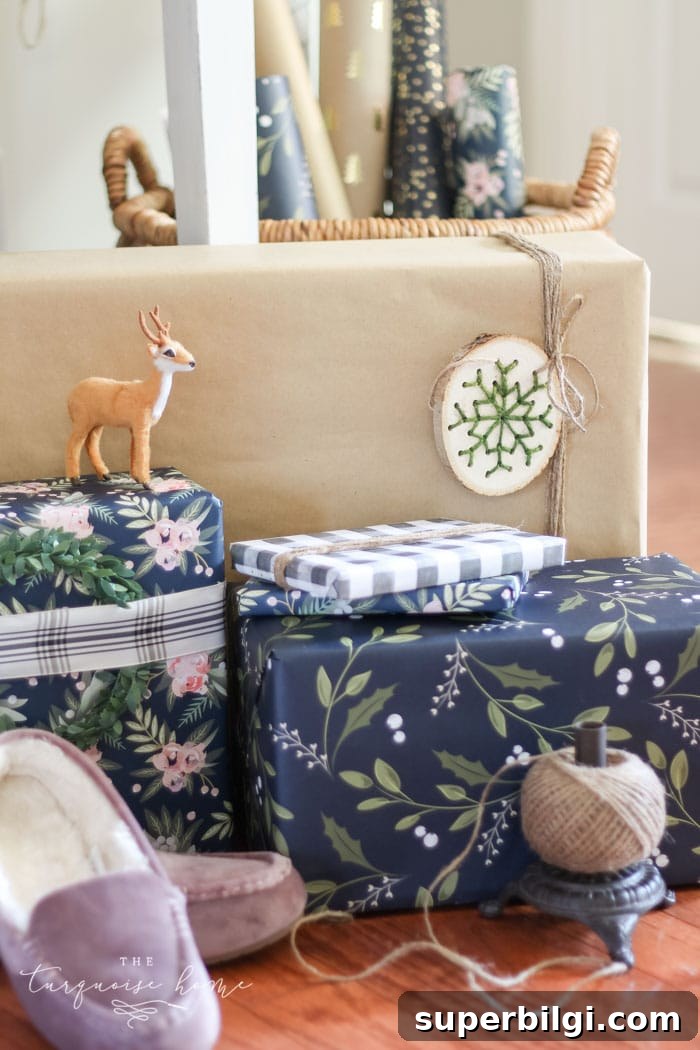
3. Add fun embellishments. Ornaments, small figurines, sprigs of greenery, and mini wreaths make delightful gift toppers and double as part of the present. A tiny ornament or decorative piece becomes a keepsake the recipient can use year after year.
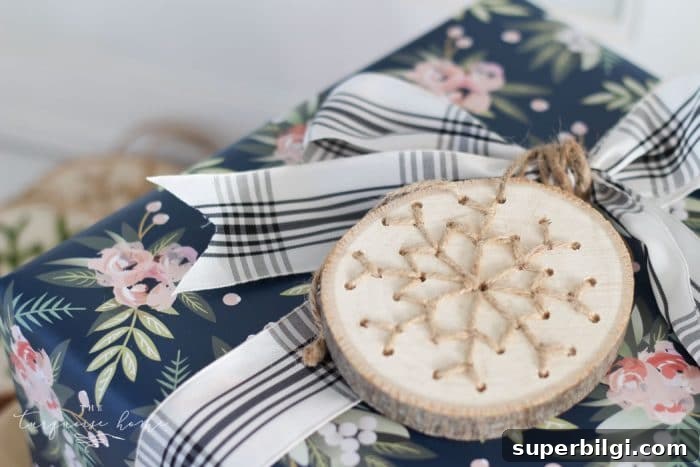
4. Use playful gift tags. Gift tags are an easy way to add charm and personality. Printable tags or unique store-bought options can finish a package beautifully—consider coordinating tags with your paper and ribbon choices.
Wrapping can be more fun when you view it as part of your holiday decorating: coordinated papers and finishes create a cohesive look beneath your tree and make giving feel extra special. Even if you’re not a natural wrapper, these small strategies help make the process easier and more enjoyable.
MORE POSTS YOU WILL LOVE:
- How to Decorate the Dining Room for Christmas
- Fun Free Printable Gift Tags
- DIY Bath Bombs + Printable Gift Tag