
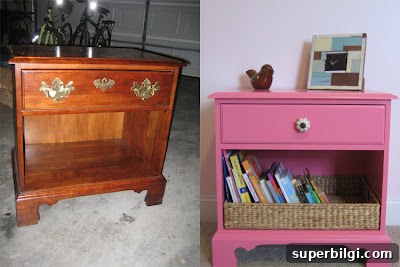
Hot Pink Nightstand Makeover: From Drab to Fab
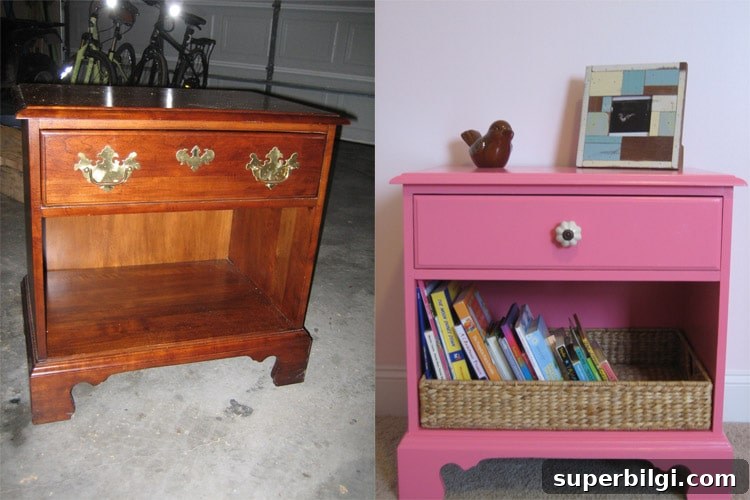
This hot pink nightstand makeover shows how a simple upcycle can transform a tired piece of furniture into a colorful focal point. A few months ago my brother-in-law gave me a set of furniture: two nightstands and a desk. I’d been searching for a nightstand or side table for my daughter’s room, so this was perfect. I decided to dress one of the nightstands up and add a bold pop of color to her space.
Why I Chose This Project
This project was a great way to recycle a solid, functional piece of furniture instead of buying new. Painting allowed me to customize the look to match my daughter’s room and introduce a cheerful color without spending much. A fresh coat of paint, new hardware, and a little creativity made an immediate impact.
Materials and Tools
Here are the main materials and tools I used for this makeover, all simple items you can find at most home improvement stores:
- Electric sander (orbital or palm sander)
- Sandpaper in medium and fine grits
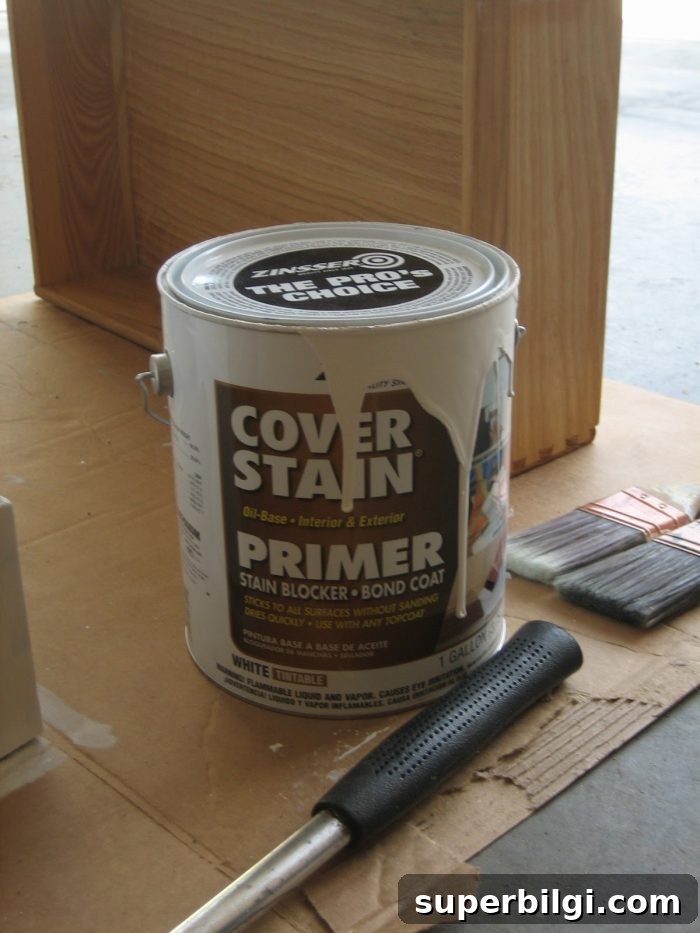
- Zinsser Cover Stain Primer (I applied two coats)
- Valspar paint in Grand Hotel Geranium Pink (from Lowe’s)
- Wood filler to repair nail holes or dents
- Small paintbrushes and foam rollers for smooth coverage
- New drawer pull (mine is from Hobby Lobby)
- Clean cloths and tack cloth for dust removal
Step-by-Step Process
I followed a straightforward painting tutorial and adapted it to suit the nightstand. Below are the main steps I took, with tips based on what I learned along the way.
1. Preparation and Removal of Hardware — I started by removing all hardware from the drawers and cabinet doors. This makes painting much neater and easier. Removing the pulls was super easy and saved time when painting tight spots.

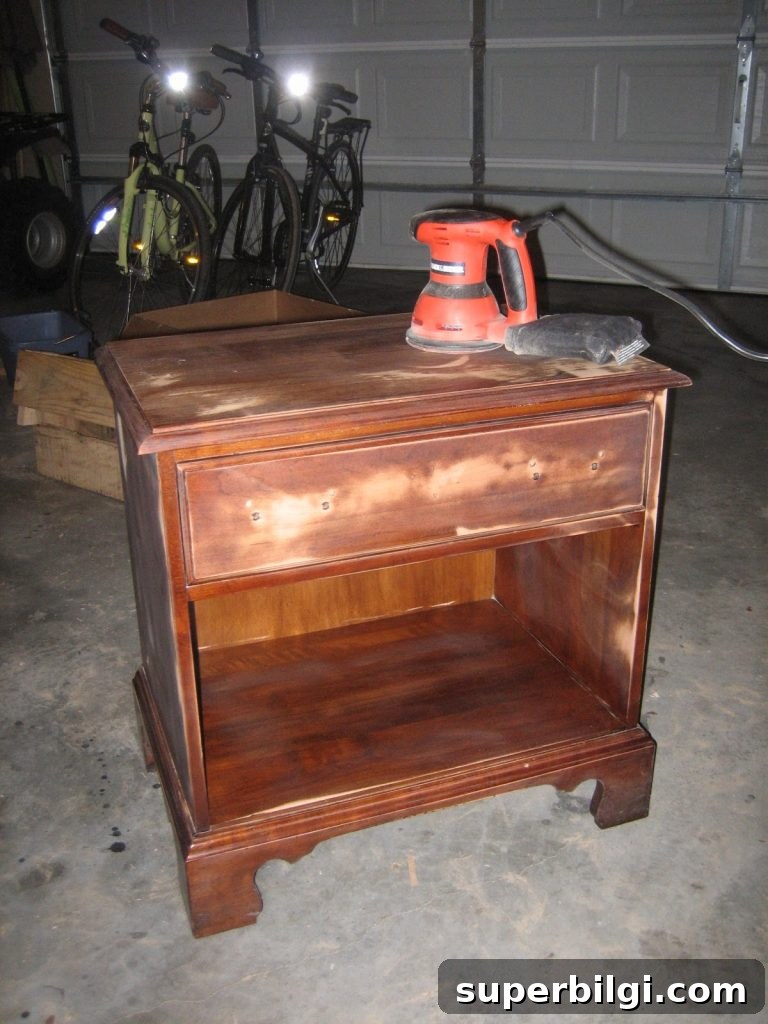
2. Sanding — I sanded the nightstand with my new sander to scuff the surface and help the primer adhere. There was a small learning curve that left faint circular marks on top in the beginning, but after priming and painting they disappeared. Use medium grit first, then finish with a finer grit for a smooth base.
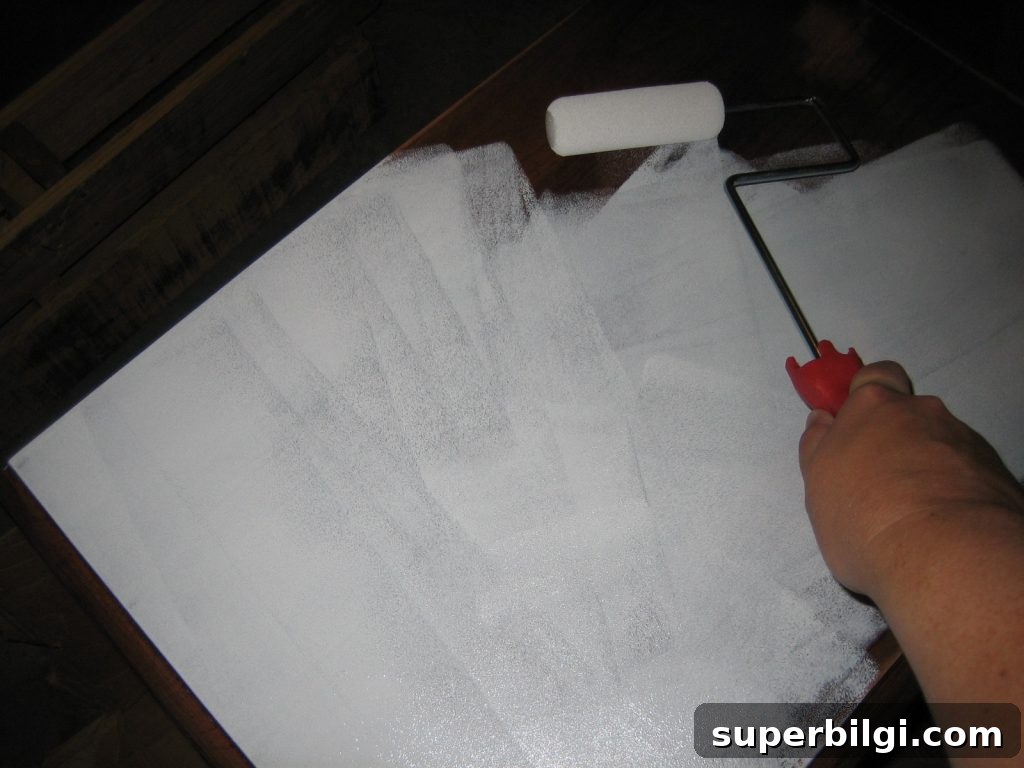
3. Priming — I applied two coats of Zinsser Cover Stain Primer to block stains and create a uniform surface for paint. Priming is especially important when going from a darker stain or finish to a bright color, and it gives better coverage so you use less topcoat.
4. Filling and Touch-Ups — I filled old screw holes and any dings with wood filler, then sanded smooth. Addressing these small imperfections before painting results in a much cleaner finish.
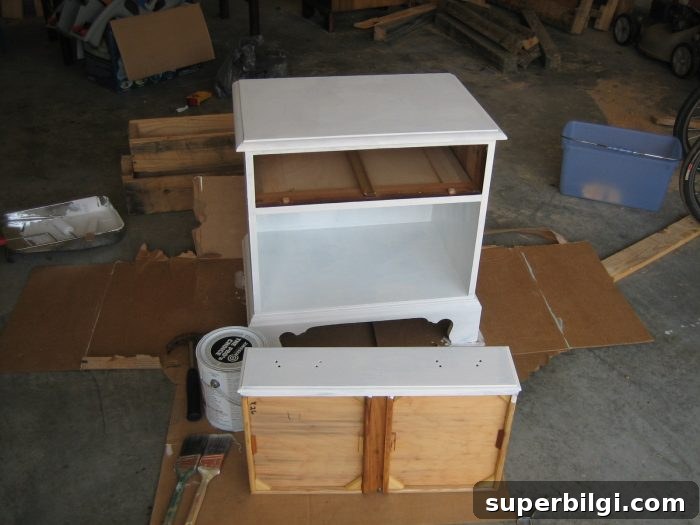
5. Painting — I used Valspar’s Grand Hotel Geranium Pink, a bold, cheerful shade that felt perfect for a child’s room. I applied multiple thin coats rather than one heavy coat to avoid drips and achieve an even finish. Let each coat dry fully before lightly sanding and applying the next coat if needed.

Final Touches and Styling
After the paint was fully dry, I reinstalled a simple drawer pull from Hobby Lobby. I also repurposed a wicker basket I’d kept from an earlier renovation. It fits perfectly in the lower space of the nightstand and is an attractive way to corral books and small toys.
Seeing the finished piece in my daughter’s room was so satisfying. The bright pink adds personality and warmth, and the upcycle kept a useful piece of furniture out of the landfill.
Care and Maintenance Tips
To keep a painted nightstand looking fresh: wipe spills promptly, use coasters for drinks, and avoid harsh abrasive cleaners. If the top gets scuffed over time, you can lightly sand the spot and touch up with the same paint.
I’m thrilled with how this project turned out — it was an affordable, creative way to give an old nightstand a new life and a fun splash of color.