
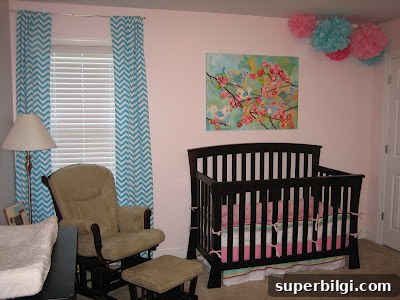
I finally gathered the courage to use my sewing machine for the first time. My initial project was a simple one: make curtains for A’s room. I’d been putting it off, but it felt like the right project to learn basic sewing techniques and add a fresh look to the space.
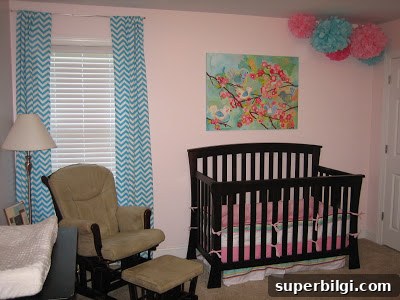
The very first attempt was discouraging. My bobbin thread kept breaking, and I couldn’t figure out the tension or the threading well enough to keep the stitches consistent. After a frustrating evening I packed everything away and told myself I would quit. But the next morning I decided to give it one more try. I unpicked the seams I had sewn, rethreaded the machine slowly and methodically, and started again from scratch. The second try taught me a lot about patience, and ultimately it worked out—practice and persistence made a big difference.
For guidance I followed a step-by-step rod-pocket panel tutorial that explained how to measure, sew straight seams, and create a simple pocket along the top so the curtain rod could slide through. The tutorial focused on making easy rod-pocket panels, which are forgiving for beginners and create a clean, tailored look when hung. I adapted the steps to suit the length and fullness I wanted for A’s room.
Choosing the fabric and the right measurements mattered a lot. I picked a fabric that complemented the room’s color palette and allowed just the right amount of light to filter in when closed. Measuring twice and cutting once saved time and frustration. I also learned to press seams as I went, which made each edge neat and helped the panels hang smoothly. These small habits improved the final result and made the curtains look professionally finished despite being my first successful sewing project.
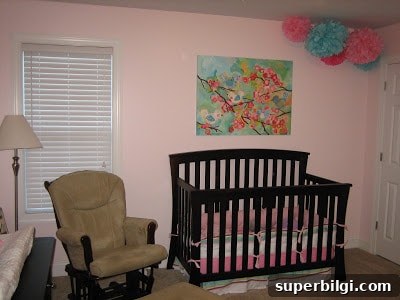
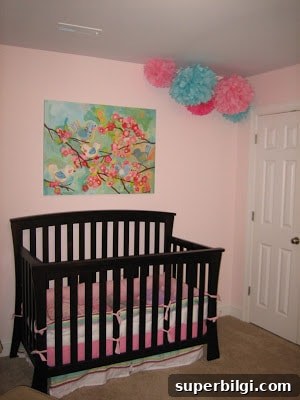
Seeing the finished panels hung in the room made all the effort worthwhile. Curtains have a remarkable ability to change the mood of a space—softening light, framing the window, and pulling the color scheme together. After hanging the new panels, the room felt cozier and more intentional. The fabric I chose added warmth without overwhelming the other elements in the room.
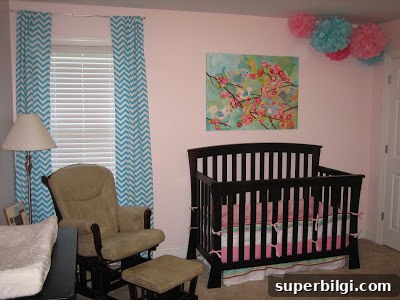
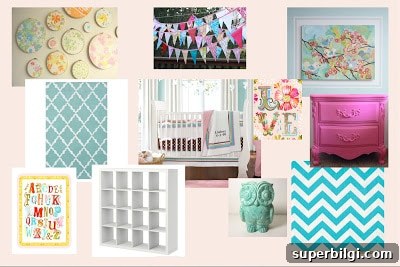
This project also inspired updates to other parts of the room. I created a design board to plan the overall look—selecting complementary textiles, accents, and storage solutions that would work together. The design board helped me visualize color balance and furniture placement, and it made future decisions about accessories and artwork much easier.
For anyone new to sewing who wants to try a similar project: start with a simple pattern like a rod-pocket panel, take your time threading and tensioning the machine, and press seams as you go. Measure carefully, allow extra length for hems, and don’t be afraid to unpick and resew if something doesn’t look right. Small mistakes are part of learning and usually easy to fix. With patience, a basic sewing kit, and attention to detail, you can achieve a polished, custom result that really transforms a room.
If you enjoyed this update and find these DIY tips helpful, please consider sharing or saving the post for inspiration. Good luck with your sewing projects, and have a wonderful day!