
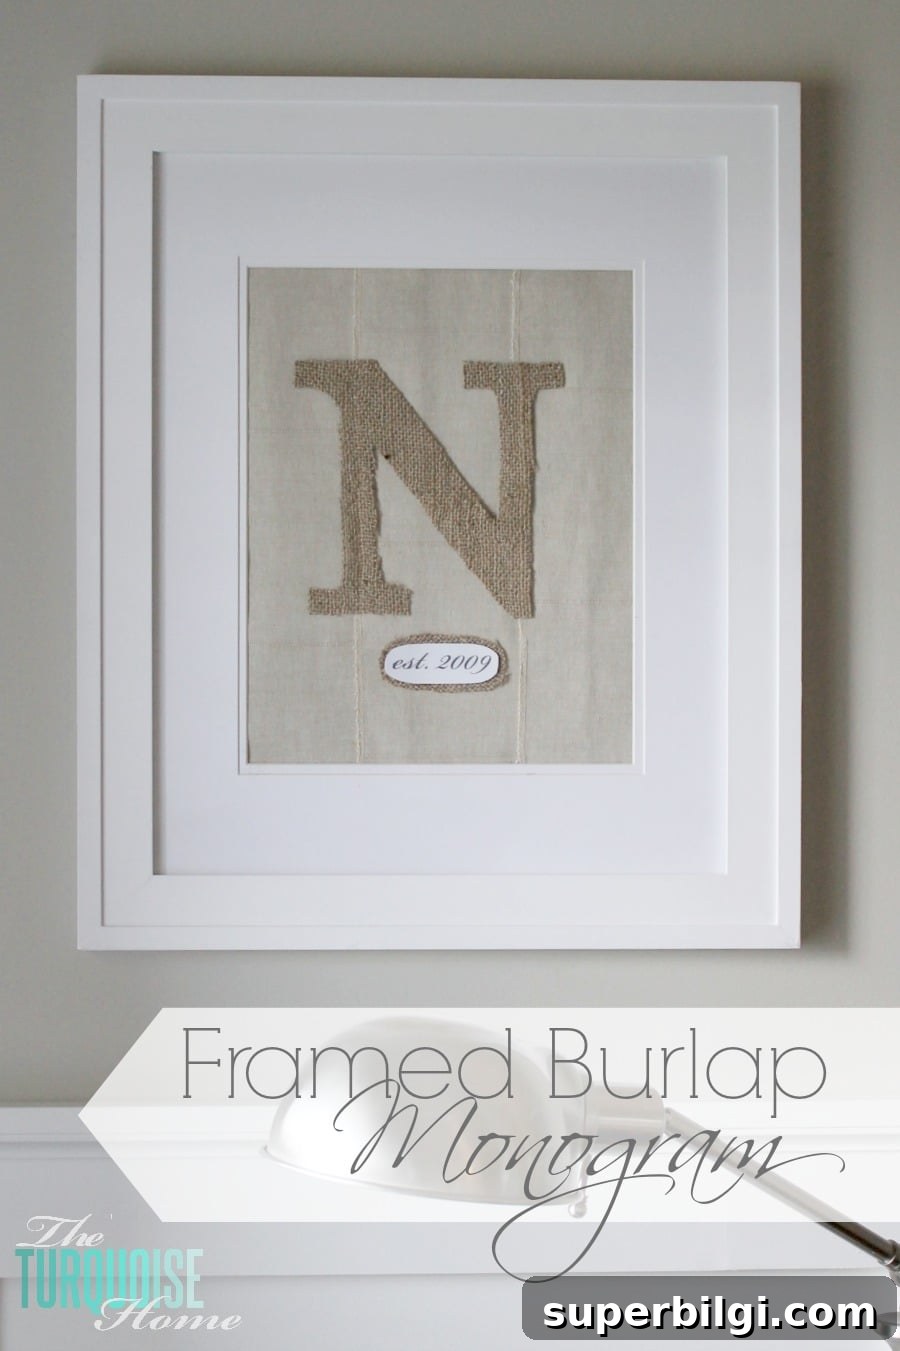
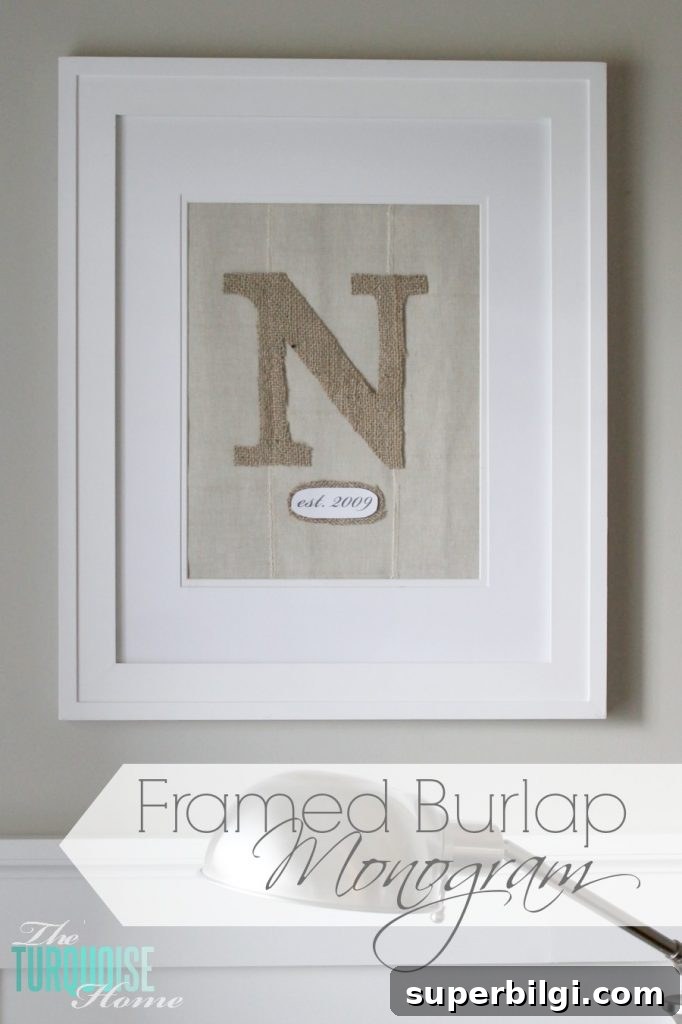
If you’ve spent any time in my reading corner lately, you might have noticed a small change: I made a framed burlap monogram from fabric scraps. It cost me nothing since I used leftovers, and it’s a simple, charming piece that updated the space for fall. I love projects that are pretty, inexpensive, and quick—this one checks all three boxes.
Burlap is one of my go-to materials for autumn decorating. I’ve used it for a fall bunting and for other accents around the house because its texture adds warmth and interest. Although many people associate burlap with fall, it can work year-round depending on how you style it.
I’d had an inspiration photo saved on my phone for a long time—something I’d seen in wedding photos and kept for reference. It might not even have been burlap originally, but I loved the look and wanted to recreate it with the burlap and scraps I had on hand.
This week I finally made my own version. From start to finish it took about 30 minutes, so it’s an easy beginner-friendly DIY project that yields a personalized piece of wall art.
I needed something to fill an 11×14 frame (with an 8×10 mat) that was sitting in the corner of my living room. The frame had been holding a favorite print called “Summer Bouquet,” but with summer over I wanted a more seasonal look. The burlap monogram was the perfect, low-effort swap.
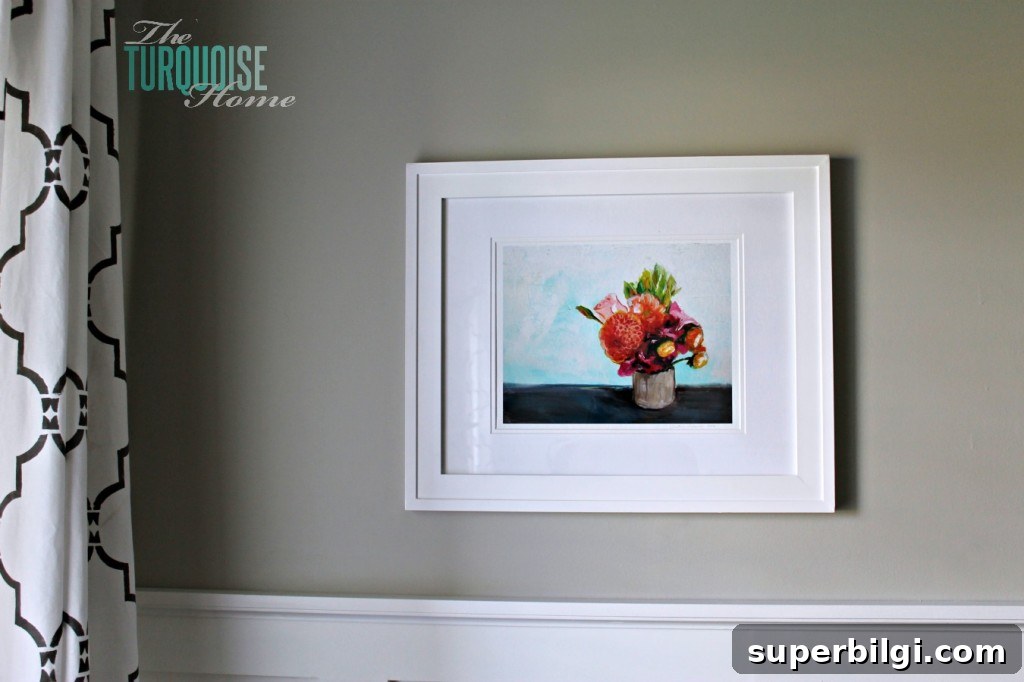
Update: I moved the Summer Bouquet print to my office and keep the monogram in that frame most of the year now—it’s versatile and looks great with different seasonal decor.
Tools You Need for a Framed Burlap Monogram
- Burlap (a scrap or a small piece is fine)
- Fabric scraps for the backing or layered background
- Card stock or printer paper for printing the letter template
- Frame and mat (I used an 11×14 frame with an 8×10 mat)
- Double-sided tape or adhesive
- Scissors and a printer or tracing method
That’s all you need. I used the burlap I received in event swag and paired it with leftover curtain fabric scraps. If you don’t have one large enough to fill the frame, layer smaller scraps—this adds visual interest and texture.
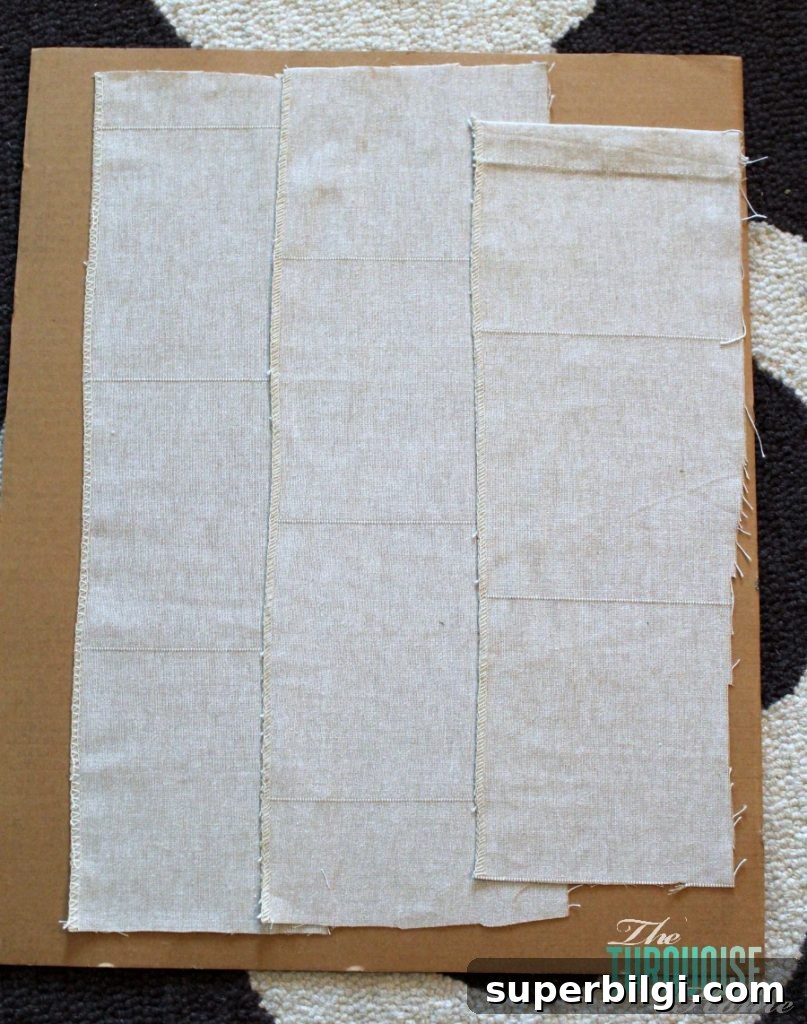
I taped the fabric layers down with double-sided tape so everything stays put but is still easy to swap out later. For the monogram, I printed a large letter on card stock using Word (Times New Roman worked fine). I cut the paper letter slightly thicker than printed so the shape would be bold enough when traced onto the burlap.
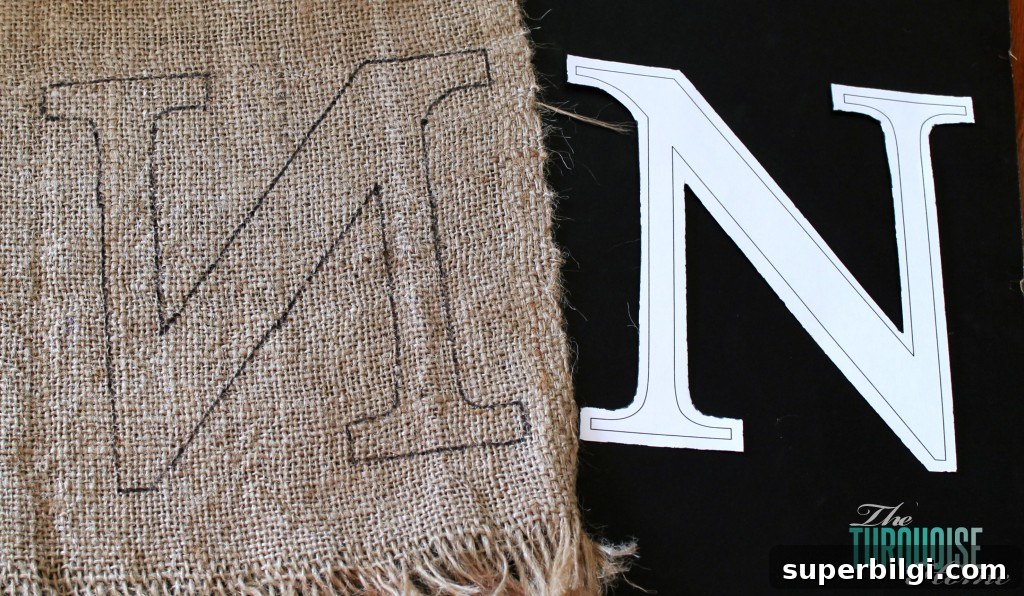
After tracing the letter onto the burlap and cutting it out, I attached the burlap letter to the layered background with double-sided tape. Using tape makes the monogram removable, so you can change the letter or swap seasonal elements without damaging the fabric or frame.
The inspiration photo included an “est.” line with a year. I liked that detail, so I printed “est. 2009” on card stock in a script font, cut it into an oval, and adhered it to a slightly larger burlap oval. I placed that beneath the monogram, letting the raw edges lend a handcrafted, imperfect charm.
I considered aging the white card stock to a cream tone with tea staining but was in a hurry, and the white looked fine from a distance—most guests won’t be inspecting it up close. If you want a more vintage look, try cream card stock or a light stain before assembling.
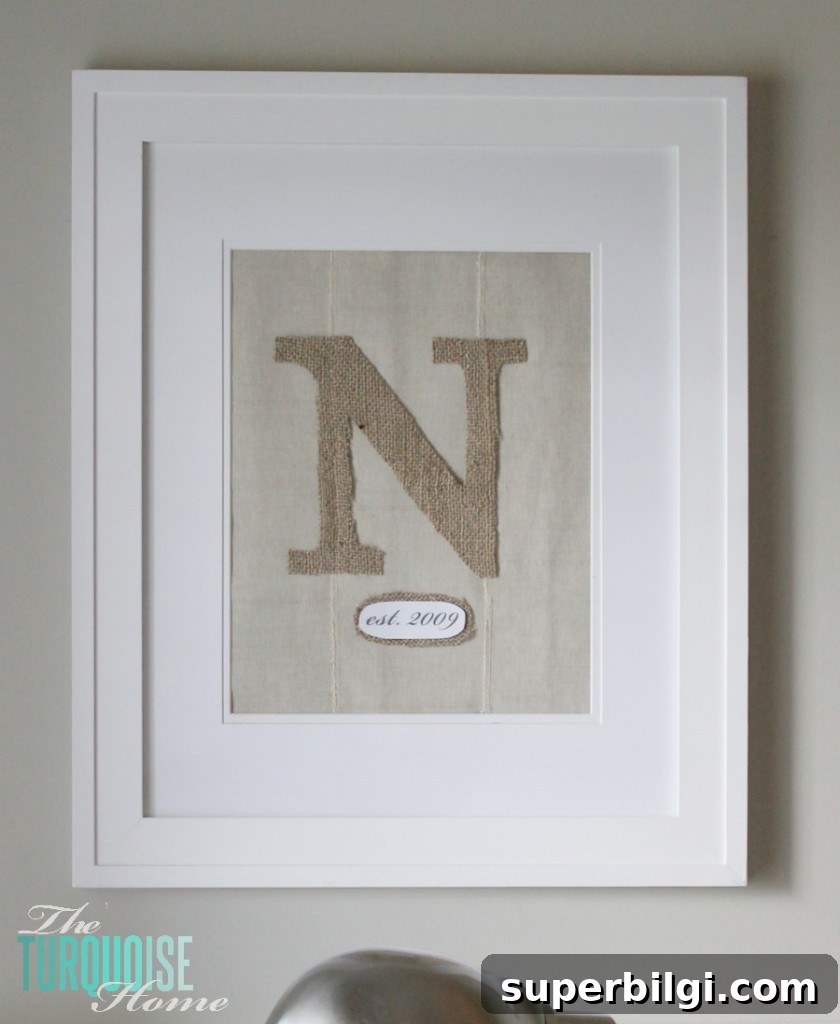
Finally, reassemble the frame and hang it where it complements your decor. I love how this piece coordinates with a fall mantel and other cozy accents. It’s a fast, handmade, and inexpensive way to personalize your space.
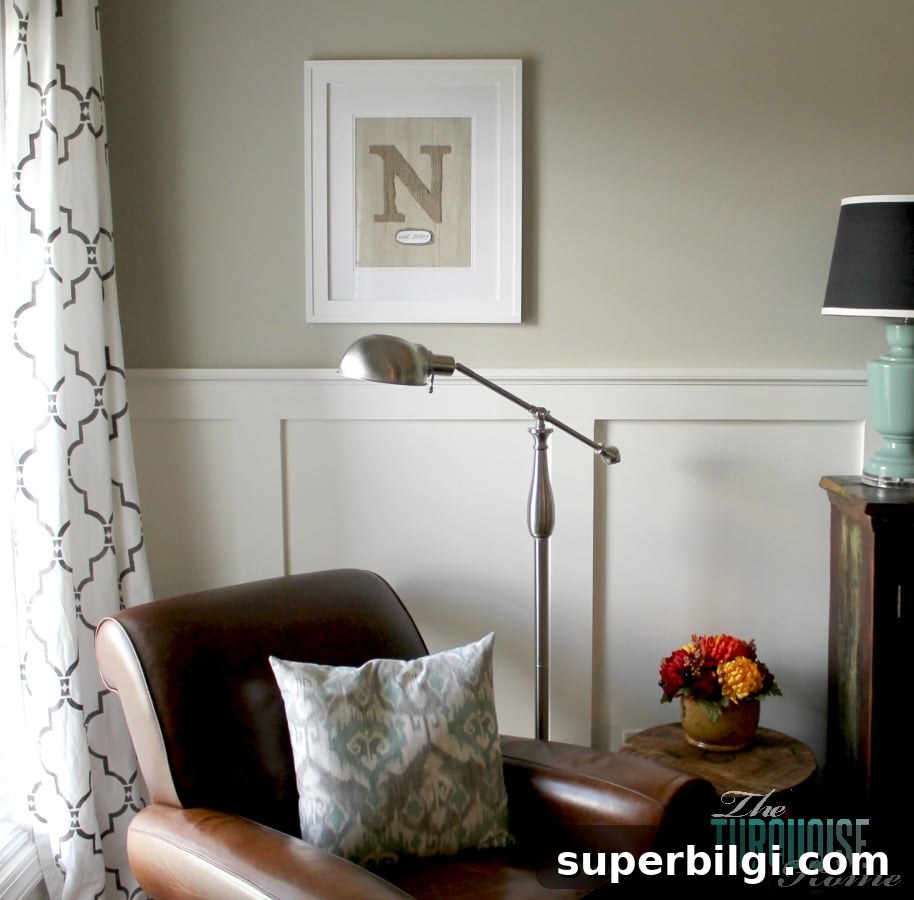
This project is perfect for anyone who likes easy DIY home decor, seasonal touches, and working with fabric scraps. If you try it, you can adapt the size, font, and embellishments to suit your style—use different letters, add a small motif, or change colors with the seasons.
Have a wonderful weekend and happy crafting!
More posts you will love:
- Quick Tip: How to Keep Canvas or Burlap from Fraying
- DIY Gold, Pink and Burlap Accessory Holder
- DIY Canvas Unicorn Craft