
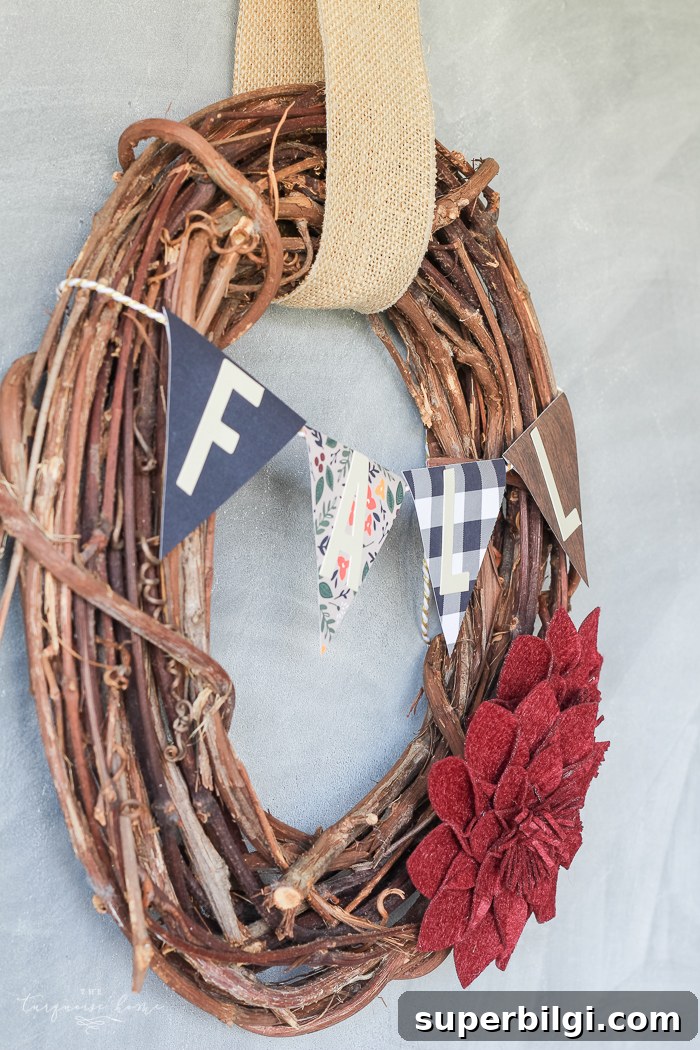
Simple DIY Target Dollar Spot Fall Wreath — Quick and Budget-Friendly
Sometimes I just need a little creative time to make a simple craft or quick DIY project. I’m not a big crafter, but every now and then I like to complete something within an hour, including cleanup (which is honestly my least favorite part). This little fall wreath was one of those fast, satisfying projects.
On a routine trip through Target, I spotted some adorable finds in the Dollar Spot: adhesive letters, scrapbook paper with autumn patterns, and felt flower embellishments. They were just the right size and style for a small grapevine wreath I already had at home, so I decided to put everything together into a seasonal accent for my kitchen.
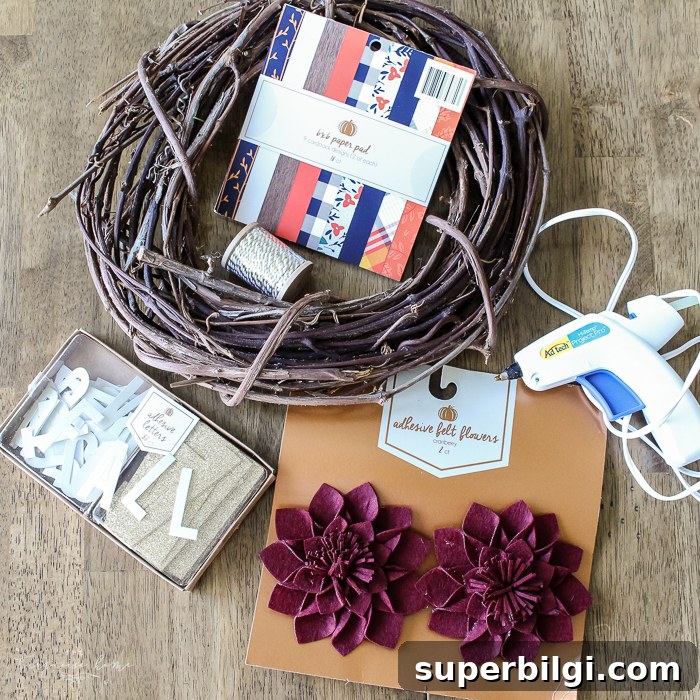
I pulled out the wreath and a few basic supplies: scrapbook paper, adhesive letters, felt flowers, and some ribbon for hanging. I also grabbed string and my glue gun, but I ended up not needing the string — sometimes the simplest approach works best.
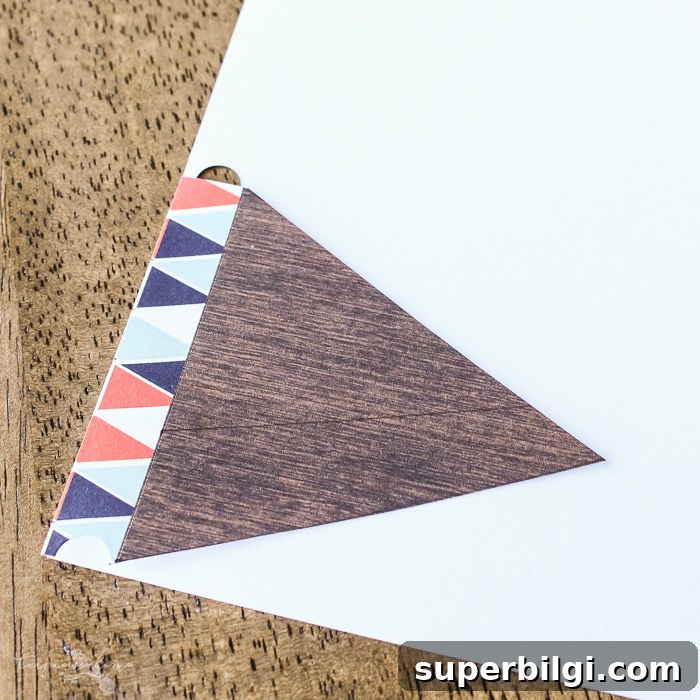
From start to finish, this craft took about five to ten minutes once I decided on the layout. The most involved part was cutting the bunting triangles from the scrapbook paper. I cut one triangle first, then used it as a template to trace and cut the remaining pieces so they’d be uniform.
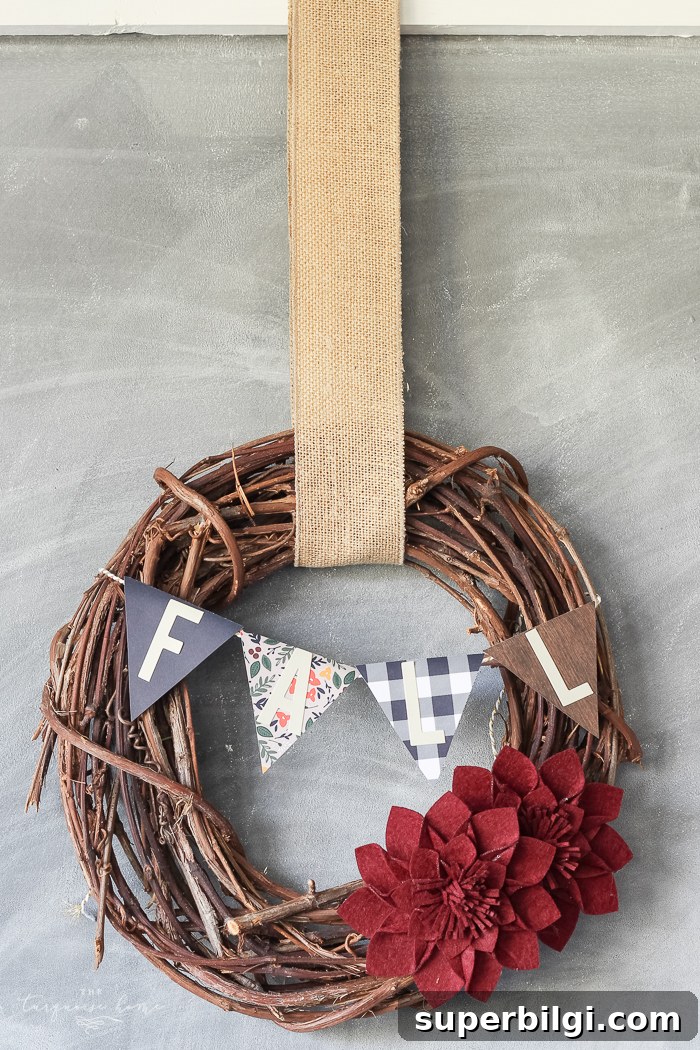
Tip: make your triangles large enough to comfortably fit the letters you plan to use. I learned that the hard way on my first try — my first triangle was too small for the letters I had, so I redrew and cut a slightly larger template. Once you have one correct triangle, trace it onto the rest of your paper and cut them out quickly and consistently.
Position the letters on each triangle before attaching them to the wreath to be sure spacing and alignment look right. The adhesive letters from the Dollar Spot are convenient, but their stickiness can be weak. For long-lasting results, reinforce the adhesive with a tiny dot of craft glue on the back of each letter.
For the central embellishment, I used two felt flowers from the same Dollar Spot haul and arranged them to one side of the wreath for a casual, asymmetrical look. Then I used a length of burlap ribbon I already had to hang the wreath over a chalkboard in my kitchen. The neutral texture of the burlap complements the grapevine and autumn paper without overwhelming the design.
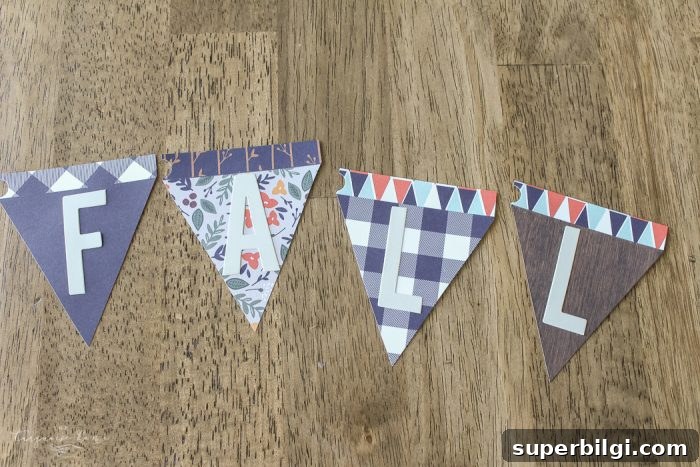
If you prefer, you can create your own letters with a cutting machine, or use stickers, stamps, or hand-lettering. You can also switch up the ribbon or add small faux leaves, mini pinecones, or tiny wooden beads for more texture. The beauty of this project is how adaptable it is to what you already have on hand.
Because the wreath is small and light, it makes a versatile accent: hang it on a chalkboard, over a mirror, on an interior door, or even use it as part of a table centerpiece leaned against a stack of seasonal books. It’s an easy way to bring a touch of fall into your home without a big investment of time or money.
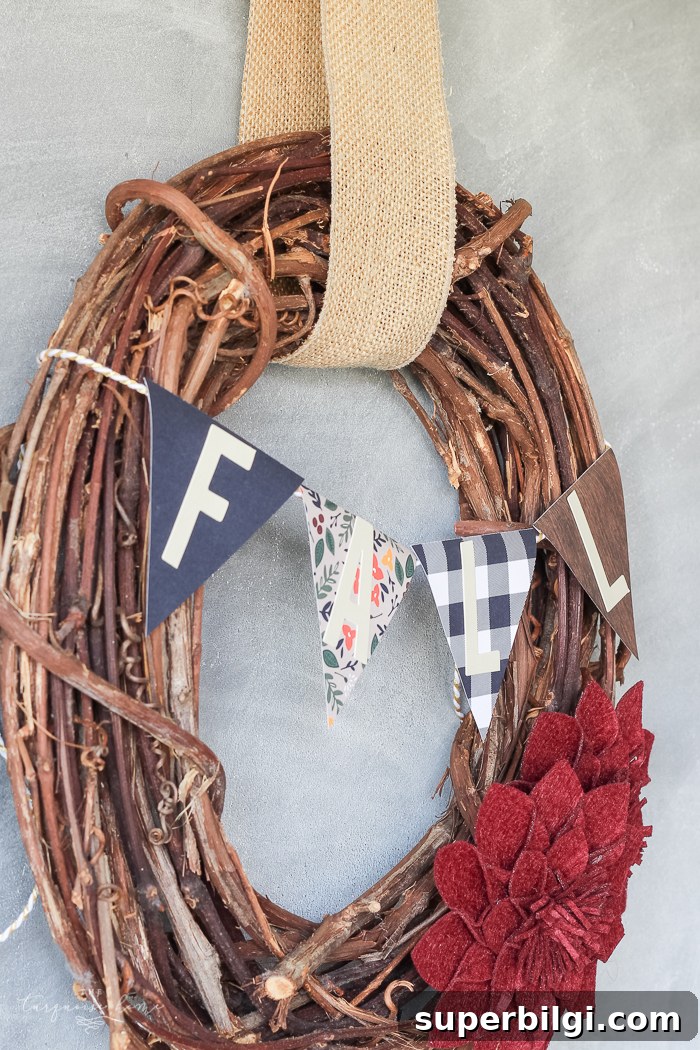
If you decide to try this quick fall wreath, I’d love to see your version. Share a photo of what you create — it’s always inspiring to see different takes on the same simple idea.