
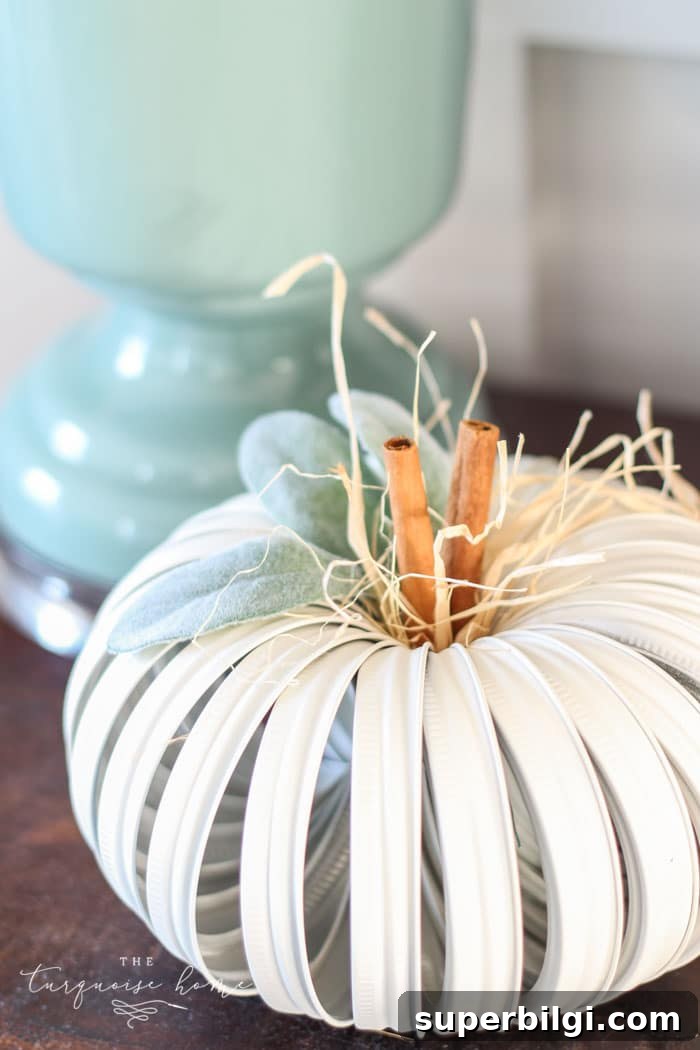
This Mason Jar Lid Pumpkin is an adorable and easy DIY craft you can finish in about 30 minutes using just a handful of basic supplies. It’s perfect for fall decorating, gift-giving, or crafting with friends.
I first made a mason jar lid pumpkin years ago when this sweet little craft began appearing in fall projects. We created them at a women’s retreat and I brought mine home to display for the season. It was so popular that the photo I took for my fall home tour got a lot of attention online. I never posted a full tutorial back then, so I’m sharing the simple steps now so you can make one too.
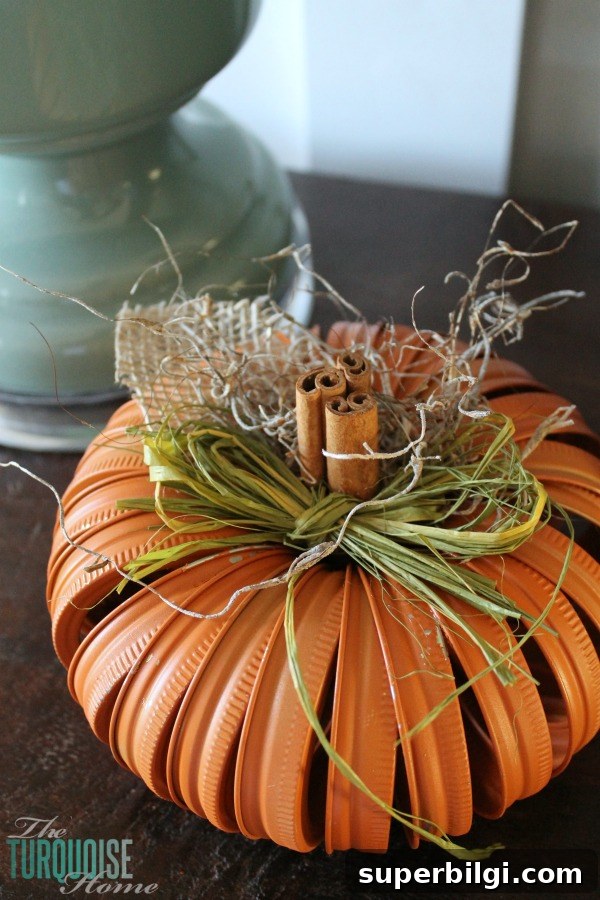
This project uses mason jar lid bands (the screw rings) rather than full canning lids. With floral wire, spray paint, and a few embellishments you can create a charming farmhouse-style pumpkin that suits neutral or colorful fall decor.
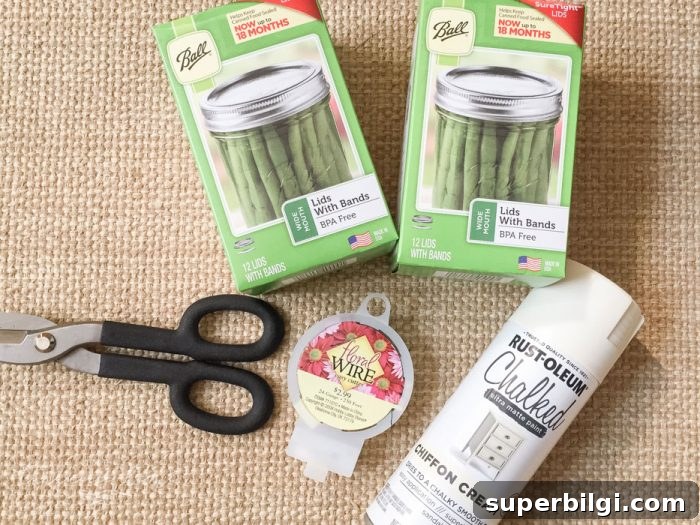
Supplies Needed for a Mason Jar Lid Pumpkin
- 24 wide-mouth mason jar lid bands (you only need the screw bands, not the flat sealing lids)
- Floral wire and wire cutters
- Spray paint in the color of your choice (I used a chalk-style spray paint)
- Cinnamon sticks for the stem
- Hot glue gun and glue sticks
- Optional embellishments: faux leaves, moss, raffia, twine, small faux flowers, or other accents
How to Make a Mason Jar Lid Pumpkin
1. Cut a piece of floral wire
Measure and cut a length of floral wire long enough to string 24 lid bands comfortably. Leave a few extra inches on each end to make tying off easier. A little extra length makes it simpler to tighten and secure the shape at the end.
2. String the lid bands onto the wire
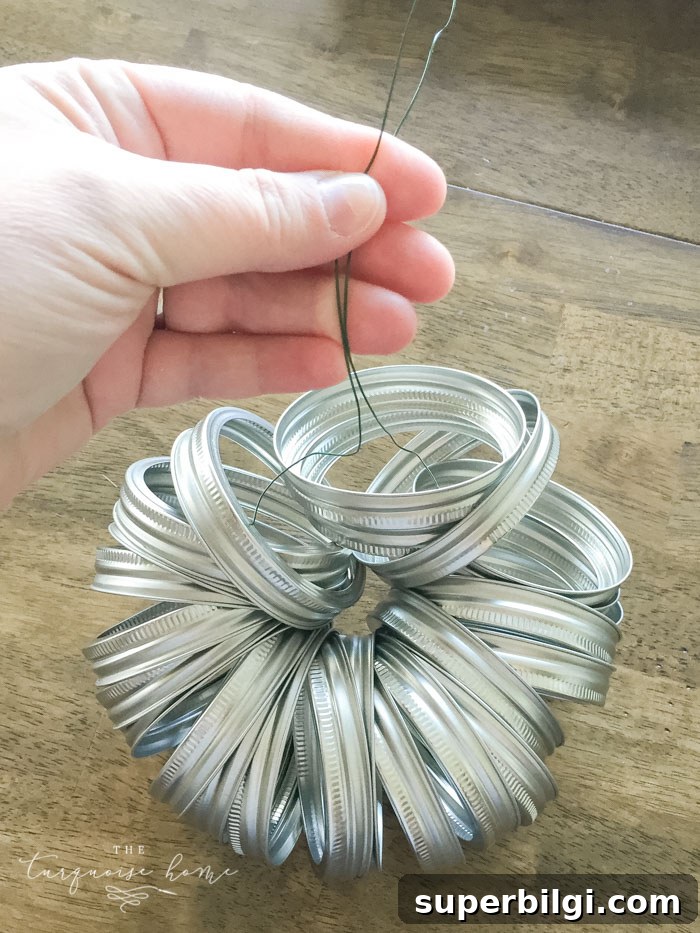
Slide the lid bands onto the wire so they all face the same direction. This creates a consistent “ribbed” look for the pumpkin when the bands are tightened and painted.
3. Tighten the wire in the middle
Pull the wire tight at the center of the bands to form the pumpkin shape. This step takes the most effort — you want the bands compacted enough that the finished piece reads as a pumpkin, not a loose chain. Leave a small central opening where the cinnamon stick or stem will be inserted.
4. Spray paint the bands
Spray paint the assembled bands in your chosen color. I used a chalk-style spray paint that went on thick and dried quickly—two light coats were enough. Allow adequate drying time between coats and before adding embellishments. Quick-drying paints help you finish the project faster.
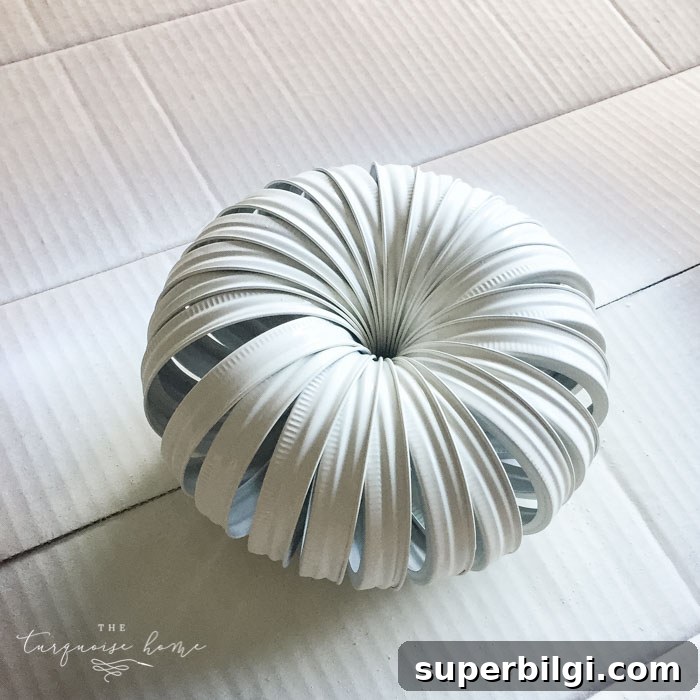
If you like a slightly weathered or vintage look, lightly sand or distress the painted surface after it has dried. This adds texture and a farmhouse feel.
5. Add the stem and embellishments
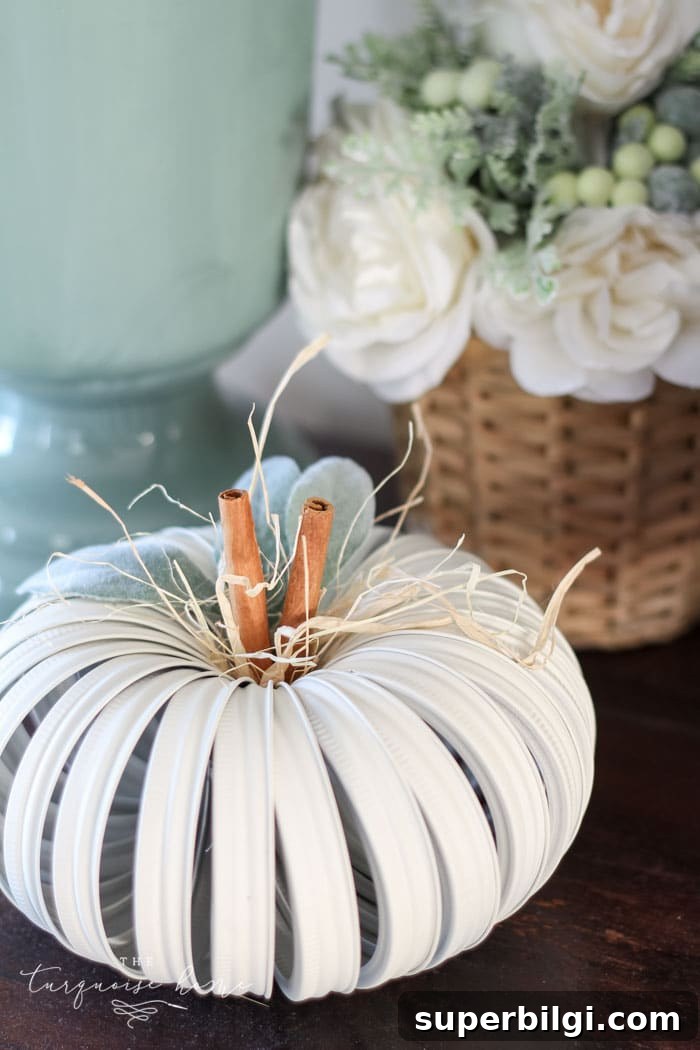
Place one or two cinnamon sticks into the center hole for a natural-looking stem, and secure them with hot glue. Then glue on your chosen embellishments: burlap or fabric leaves, raffia bows, faux lamb’s ear or eucalyptus, small pinecones, or a dab of moss. Keep the decoration proportionate to the pumpkin size; subtle accents often look more cohesive than heavy decorations.
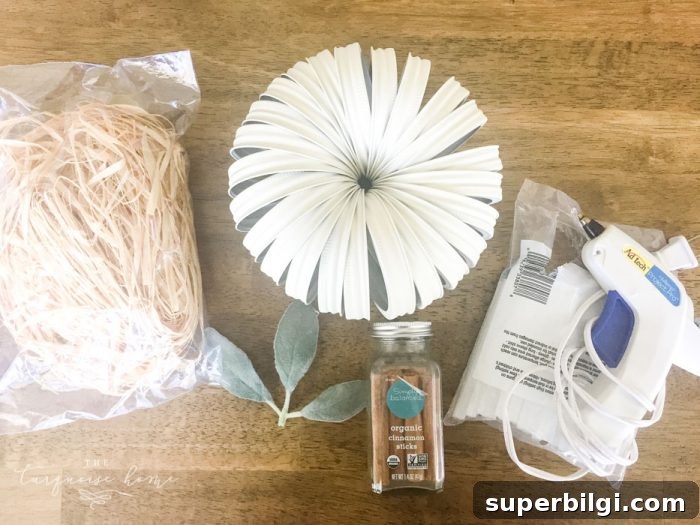
For a neutral farmhouse style, choose muted paints and natural embellishments like twine, raffia, and faux greenery. For a traditional look, use orange paint and add a burlap bow and rustic leaf accents. The design possibilities are endless.
Final Thoughts
This mason jar lid pumpkin is a quick, low-cost DIY that adds handmade charm to any fall vignette. It’s versatile—make several in different sizes and colors to create an appealing display on mantels, side tables, or entryway consoles. If you enjoy crafting, this is a satisfying project that yields a polished result without requiring advanced skills or many supplies.
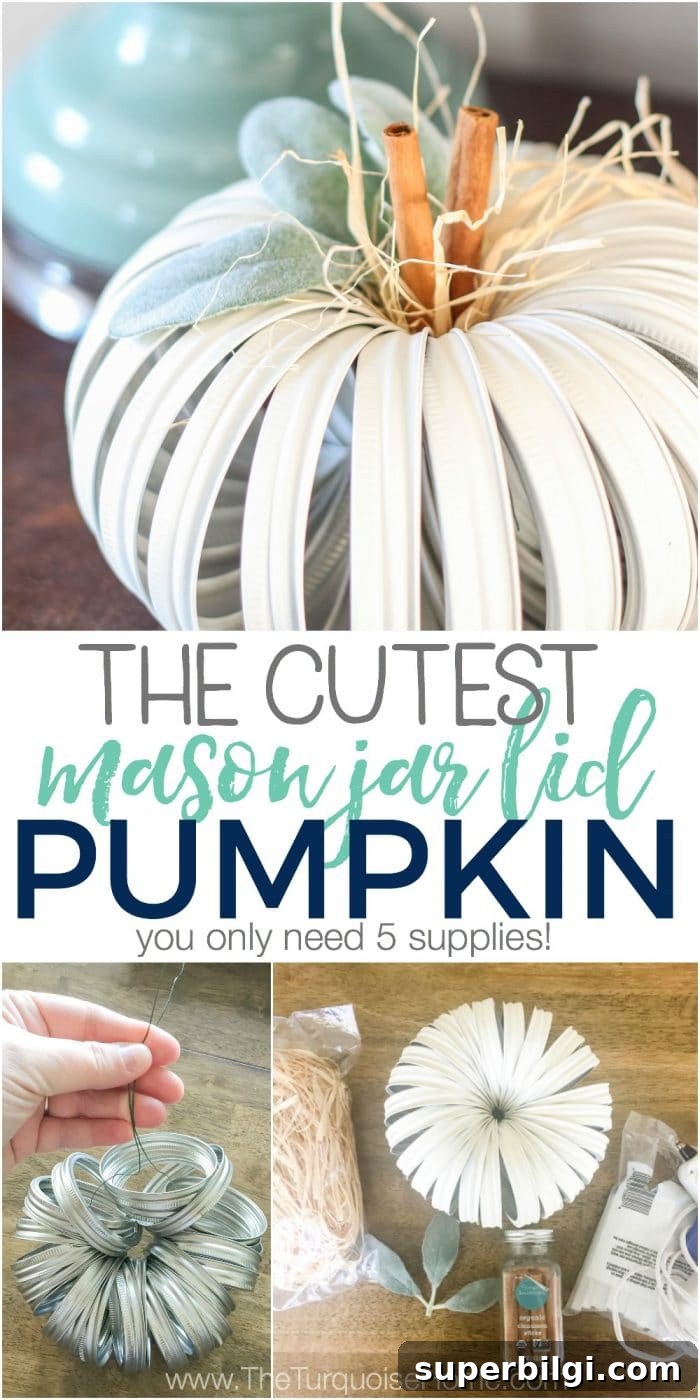
If you make one, try different paint finishes, stems, and adornments to match your decor. Whether you prefer classic orange, creamy neutrals, or soft pastels, this little mason jar lid pumpkin is a delightful accent for the season. Happy crafting—go get creative!
More fall craft ideas and inspiration:
- DIY fall wreaths you can make at home
- Cozy fall centerpiece ideas
- Free printable fall decor for quick decorating
- Dough bowl centerpiece styling for autumn
- Creative ways to add fall touches throughout your home