
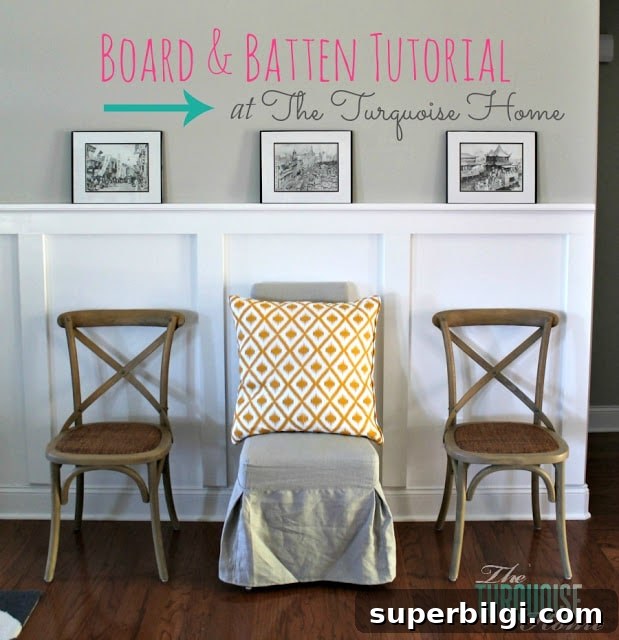
Use this straightforward DIY board and batten wainscoting tutorial to add character to your home without breaking the bank.
Board and batten is a popular finish for a reason: it brings architectural interest and definition to large, open rooms. Below is a clear, practical guide describing how I installed board and batten in my living room, including the lessons I learned along the way so you can avoid the same pitfalls.
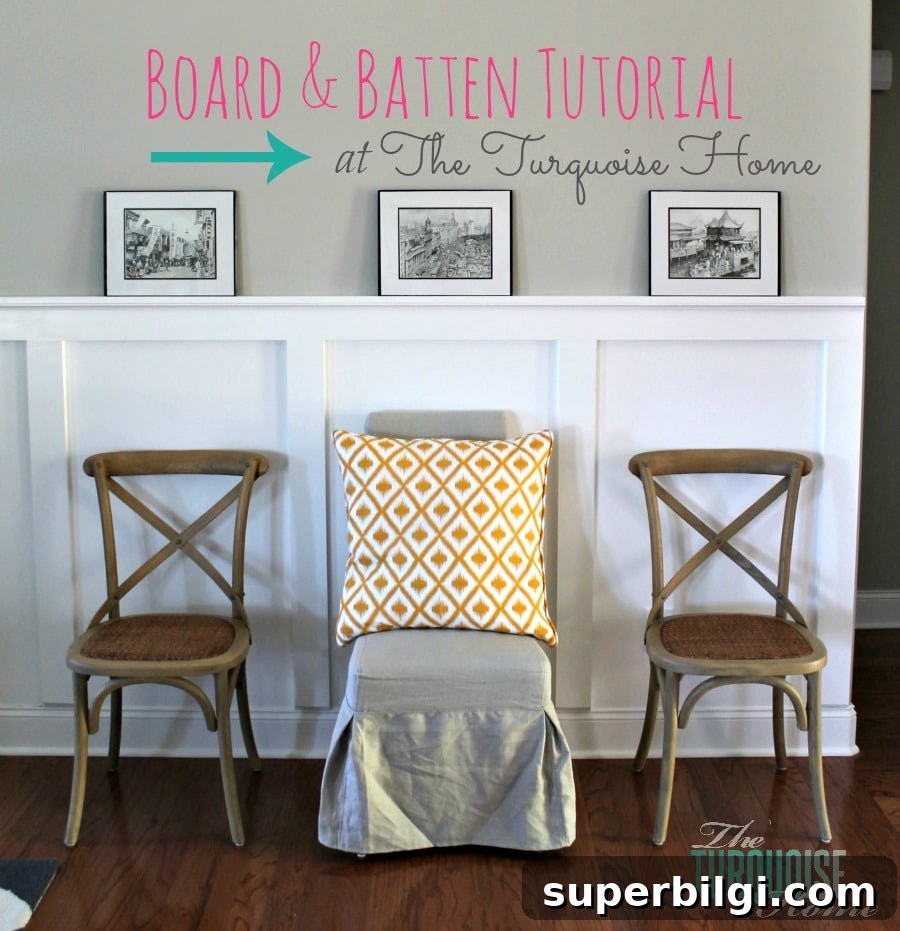
I chose to add board and batten to my living room because the open layout and tall ceilings needed more visual structure. The result helped define the space and balanced the proportions of the room.
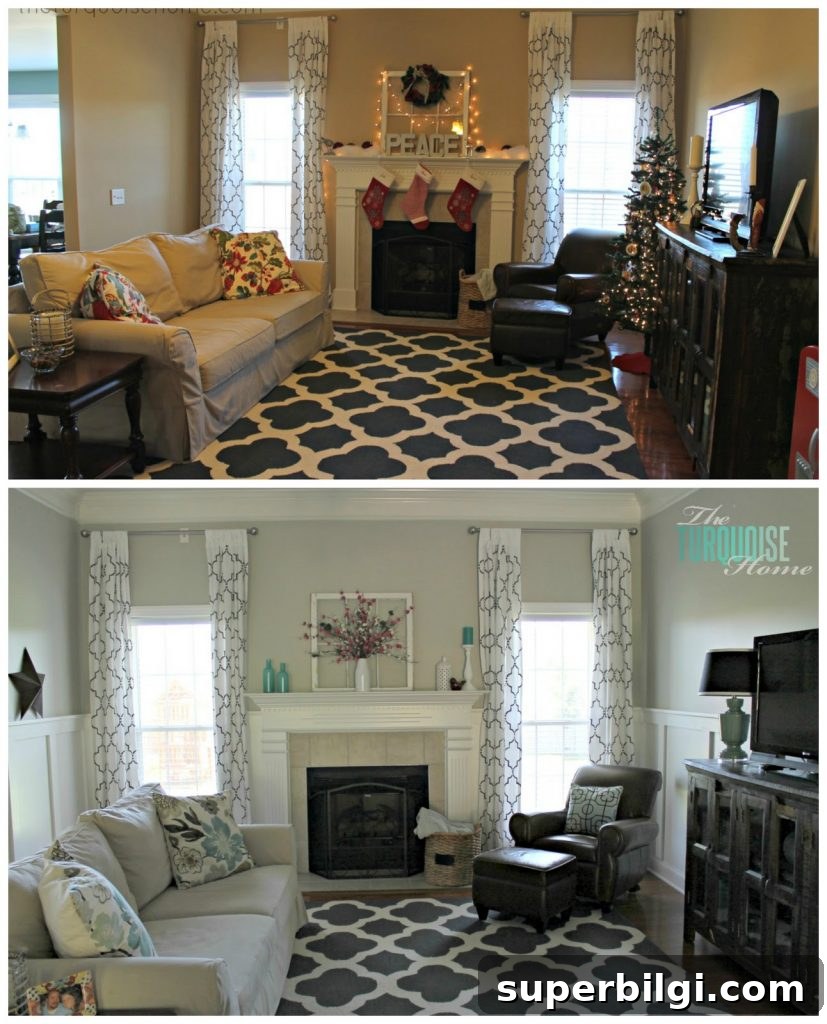
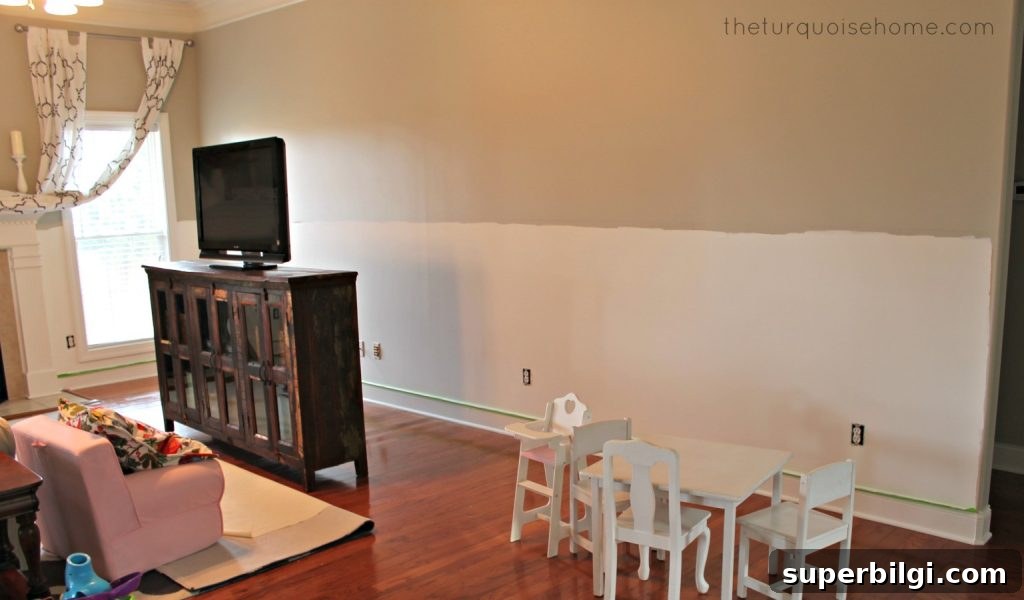
Here’s an earlier shot from when we first moved in to show how dramatic the transformation can be.

If you’re considering this project, be prepared: it’s time-consuming, especially in a large room. Expect to measure, cut, paint, nail, caulk, spackle, sand and paint again. If you have young children at home, plan for someone to supervise or take them out of the house during the loud parts—nail guns and sleeping rooms don’t mix well.
How to Install Board and Batten
1. Decide the Height of the Top Board
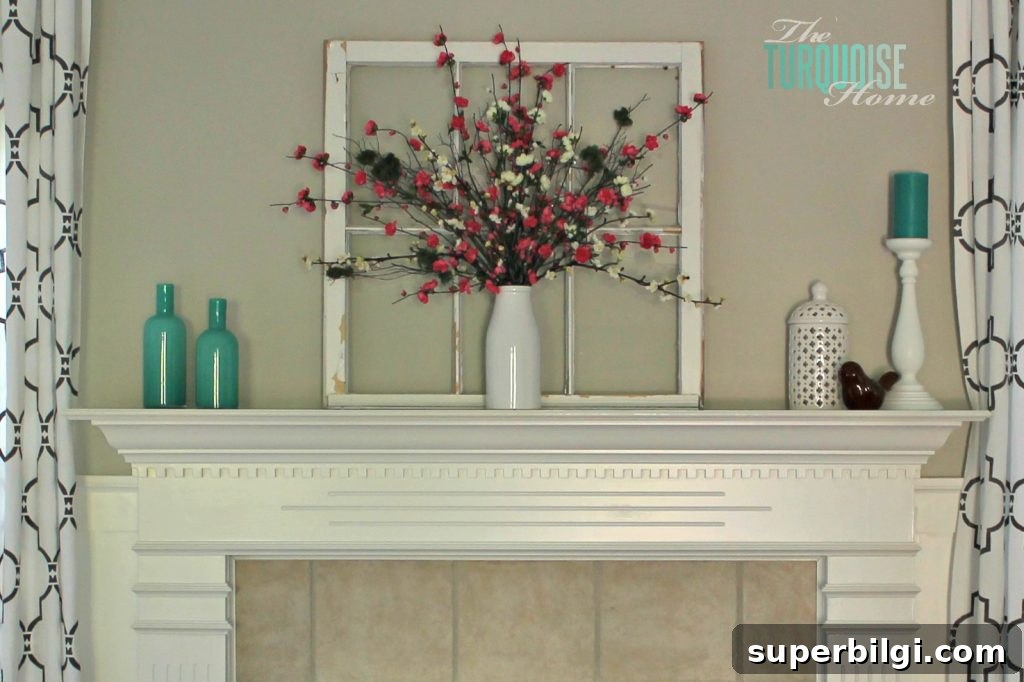
Start by choosing the vertical placement of the top horizontal rail. Consider existing architecture—such as a fireplace or mantel—and avoid splitting a wall awkwardly in half. I placed the top board just below the fireplace’s protruding detail so the fireplace architecture remained intact and the wall followed the rule of thirds for a more pleasing visual balance.
2. Draw a Level Line Around the Room Where the Top Board Will Go
Mark a continuous level line around the room at the decided height. A laser level makes this quick and accurate. Paint the wall colors before installing the trim—painting first saves time and reduces hand strain later. I painted gray above and white below the line so the trim would sit cleanly between the two colors.
3. Buy Your Boards
Choose material based on budget and the look you want. Furring strips are cheap but can be warped and often have rounded edges. Pine is attractive but costly for large rooms. MDF is an economical, smooth option and was the choice I made. Have the store rip the sheets into strips to save work at home, but confirm their cutting capability first—mistakes in cutting can force you to patch and piece later.
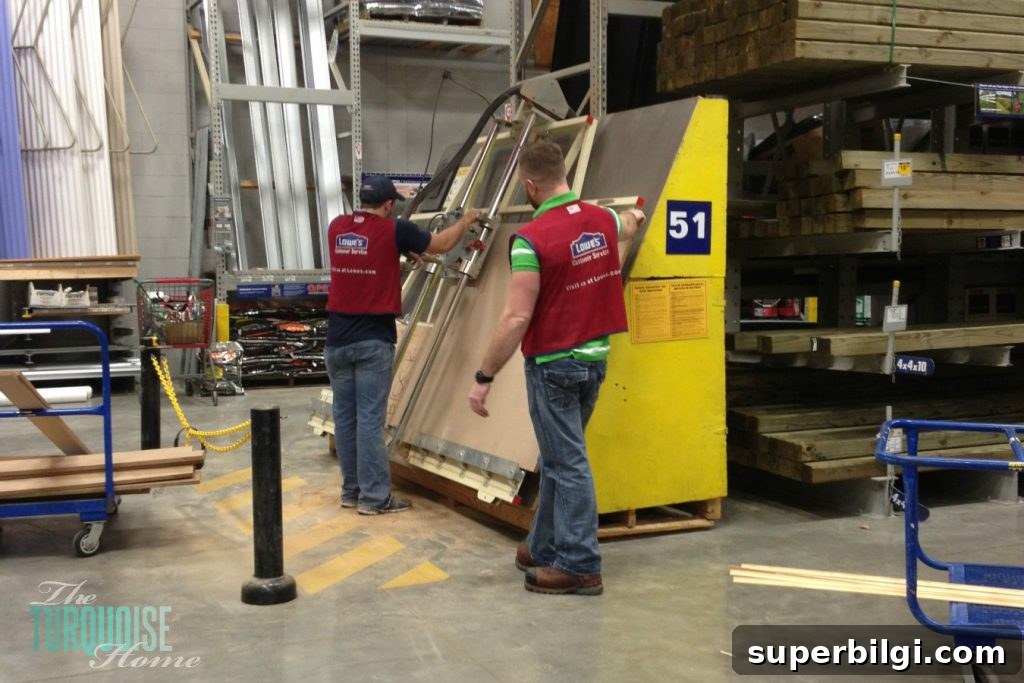
If the store struggles with long cuts, ask them to restart with a fresh sheet rather than handing you partly ruined pieces. Poorly cut boards add extra caulking, spackling and sanding work.
4. Cut the Bottoms of the Horizontal Boards at a 45 Degree Angle
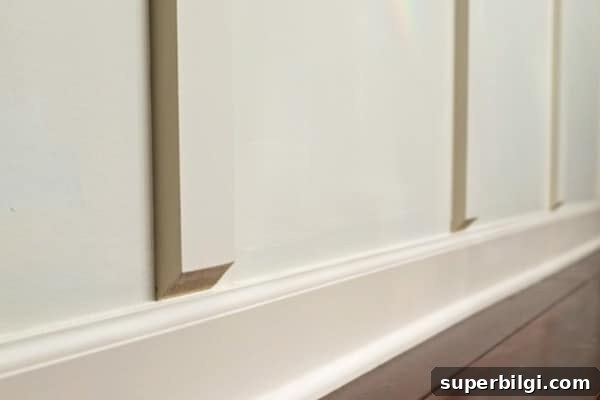
To avoid removing baseboards, bevel the bottom of the vertical boards at a 45-degree angle so they appear to rest on the baseboard rather than overlap it. Cut before painting to avoid having to repaint edges later. This trick saves time and keeps the baseboard intact.
5. Prime and Paint Boards
Prime the boards before installation to reduce the amount of finish work on the wall. I used a stain-blocking primer and applied one coat of paint before installation, then a final coat after assembly. If space or time is limited, you can install first and then prime and paint—either workflow can work well.
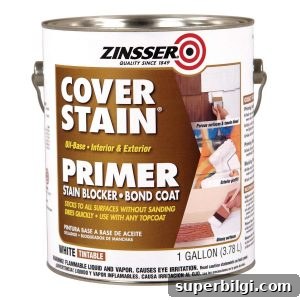
Avoid off-the-shelf whites that clash with existing trim. Compare swatches and consider a trusted shade—matching paint to your trim will make the whole job look professionally finished.
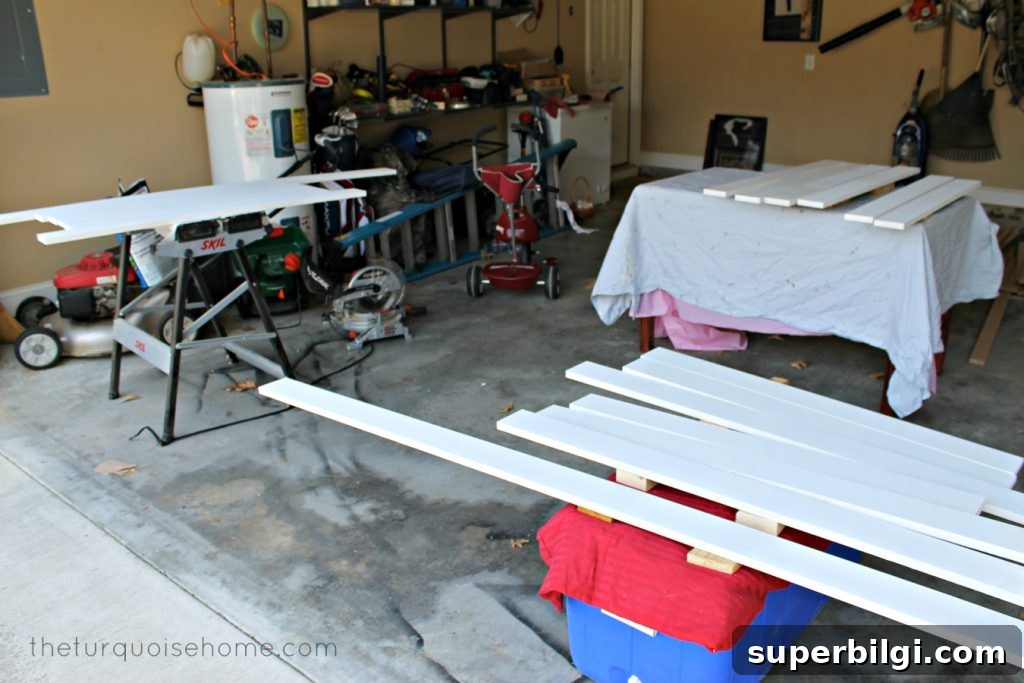
6. Install Horizontal Boards
Install the horizontal rails first, using a level for accuracy. Enlist help to hold long pieces while you fasten them with a nail gun. Do not rely on the baseboard as your level reference; walls and baseboards may not be perfectly straight.
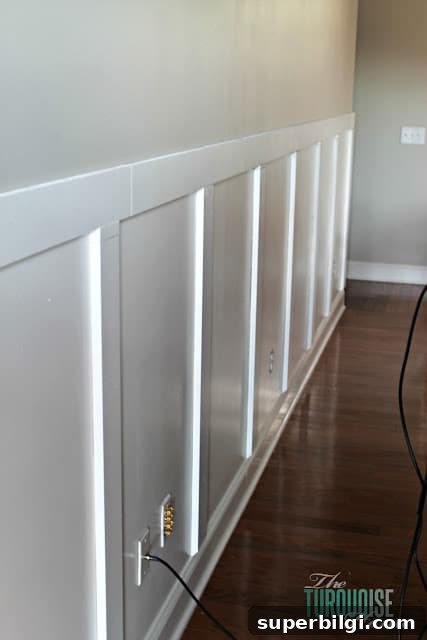
7. Install the Vertical Boards
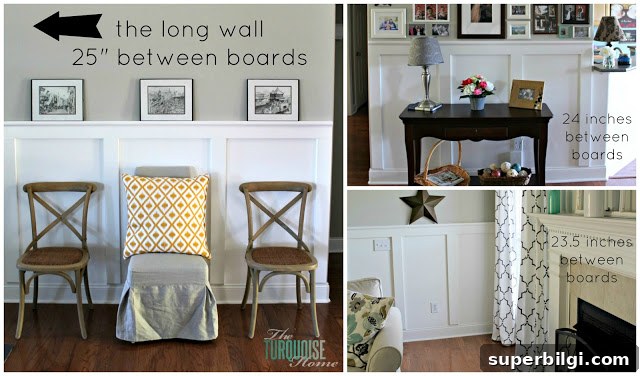
Place and fasten vertical battens next. Keep spacing consistent—on my long wall I chose 25 inches between battens. For shorter walls, center the battens for the best visual effect. Measure each placement rather than relying on previous locations to ensure alignment across the room.
8. Fill in the Gaps
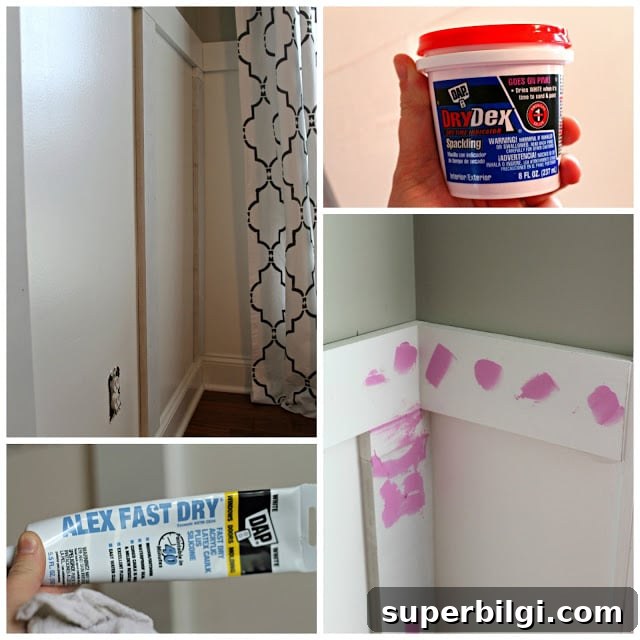
Expect to spend time caulking, spackling and sanding. If pieces were cut short or unevenly, cut custom fillers and caulk seams carefully. Before spackling nail holes, make sure all nails are driven flush; otherwise you’ll need to re-nail and re-spackle, which adds time.
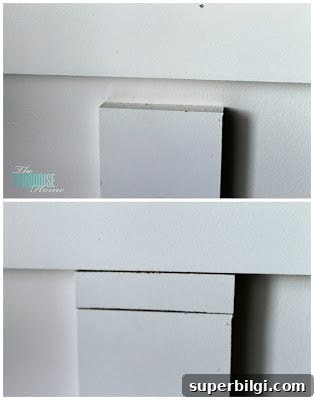
Good caulking and sanding are what make the trim read as custom millwork rather than a simple DIY. Take the time to smooth and blend edges before the final paint.
9. Install Rail Cap Pieces
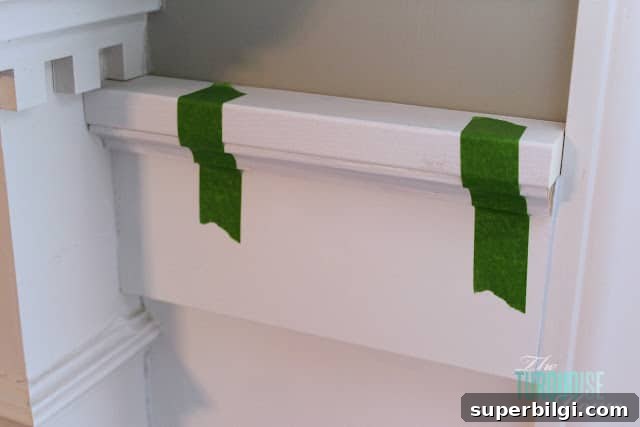
Add a cap rail on top for a finished look. I used a 1 x 2 pine cap and secured it to the top MDF rail with a nail gun. Add cove moulding beneath the cap for detail, attaching it with adhesive and tape while it dries to avoid extra nail holes in delicate trim.
10. Final Coat of Paint
Once everything is filled, sanded and dry, apply a final coat of paint to the trim and touch up the wall color where needed. This final step unifies the installation and hides minor imperfections so the trim reads as intentional and professional.
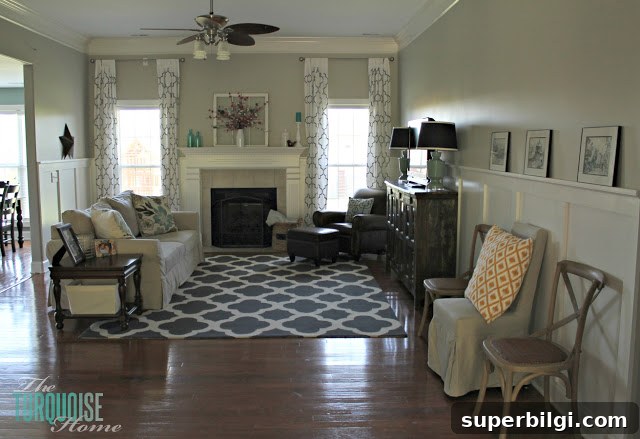
The project is labor-intensive but highly rewarding. Proper planning—confirming board cuts, prepping paint colors, arranging help for loud work—and patience during the finishing stages will yield dramatic results and add lasting character to your room.
More posts you will love:
- 5 Must Have Tools for the DIYer
- Large DIY Wall Decor Ideas
- How to Decorate a Living Room