
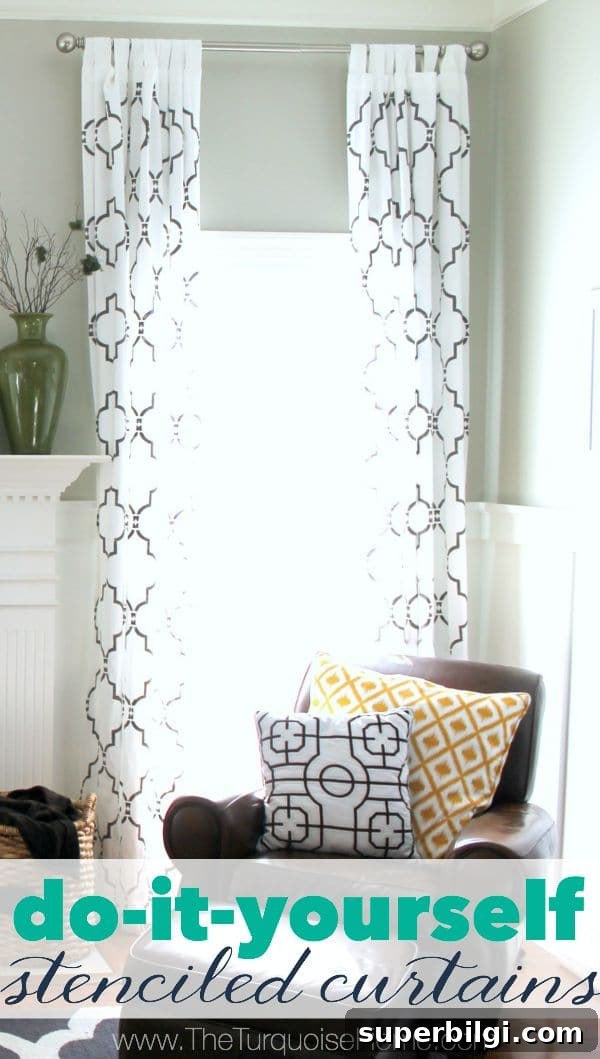
Learn how to make your own drapes. Finding curtains you love can be difficult—make your own by creating DIY stenciled curtains that fit your space and style.
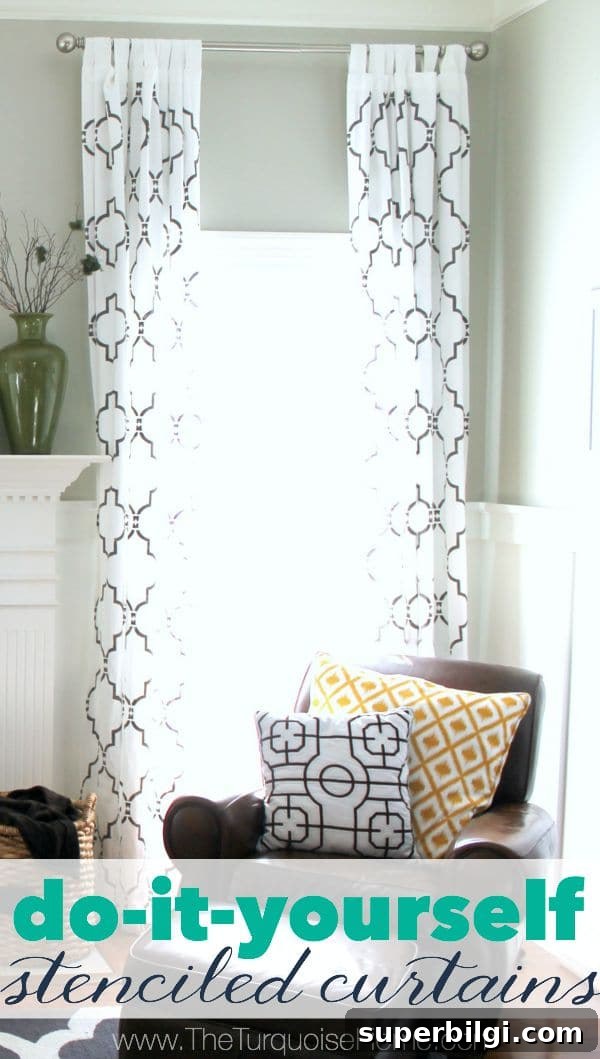
Hi there! This is a project I worked on over a few weeks: custom stenciled curtains that look high-end but are inexpensive and surprisingly simple to make.
This post originally included affiliate links for convenience. See my full disclosure for details.
I’d been hunting for the perfect curtains for my living room. With 12-foot ceilings, buying ready-made panels or custom fabric for four tall panels gets expensive fast. So instead of buying patterned drapes, I chose plain panels and stenciled them myself to get exactly the look I wanted without the cost.
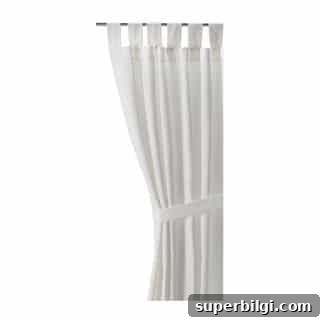
I used the IKEA Lenda curtains in the 118″ length as my base because I already liked the fabric and the price point. At under $30 for two panels, they’re a great starting point for a DIY curtain project.
For the pattern I chose a Moroccan trellis design—the Marrakech trellis allover stencil is popular and versatile. It works beautifully on curtains and can be reused on walls or other textiles, so it’s a good investment if you plan more DIY projects.
What You Will Need to Stencil Curtains
- 8 oz. of craft acrylic paint per panel (estimate; fabric absorbs paint)
- Fabric medium to mix with acrylic paint so it adheres and stays soft on fabric
- Curtains – laundered and ironed (I used IKEA Lenda)
- Stencil – a Moroccan trellis or any repeat pattern you prefer
- Foam stencil daubers for even application
- Large drop cloth or sheet to protect floors and create a clean work surface
DIY Stenciled Curtains: How To
Below are the steps I followed to stencil my curtains. The process is straightforward but requires planning and patience for consistent results.
1. Select and Mix the Paint
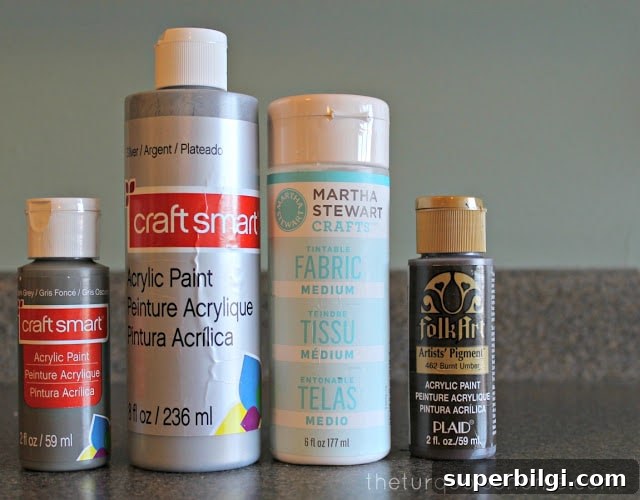
I used craft acrylic paint mixed with fabric medium so the paint wouldn’t be stiff on the fabric. Fabric soaks up paint, so you’ll need more than you think. I blended several colors to reach a greige tone that would read as neutral and coordinated with my room.
Mix I used:
2 oz. gray
1 oz. silver
1/2 oz. burnt umber
3 oz. fabric medium
That mix covered most of one panel, but I ended up needing about 8 oz. of paint per full panel. If you mix your own shade, write the formula down so you can reproduce it if you need more paint later.
The color dried into a warm greige that looks slightly brown in person—exactly what I wanted. It reads as a neutral but adds depth and texture to the curtains.
2. Prepare Your Work Area
Clear a large, flat space where you can lay out a full curtain panel. I worked on the living room floor and protected it with a queen sheet, which worked but slid around a bit. A canvas drop cloth is sturdier and keeps everything more even while you line up the stencil.
Make sure the curtain is clean and ironed so the stencil sits flat. If the curtain has vertical seams, use them as guides to help keep the pattern straight as you move down the panel.
3. Stencil One Section at a Time
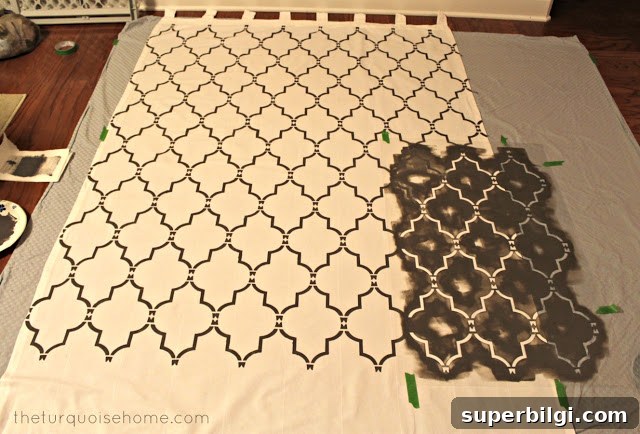
Place the stencil squarely over the first section and start at the top to ensure the pattern aligns across the width. Use foam daubers with a light amount of mixed paint and apply with an up-and-down motion to prevent paint from seeping under the stencil. Avoid brushing side-to-side.
Let each section dry enough to lift the stencil cleanly, then align the stencil with the previous pattern and continue. Repeat until the entire panel is covered. Work carefully to maintain straight lines—vertical seams on the curtain help as reference points.
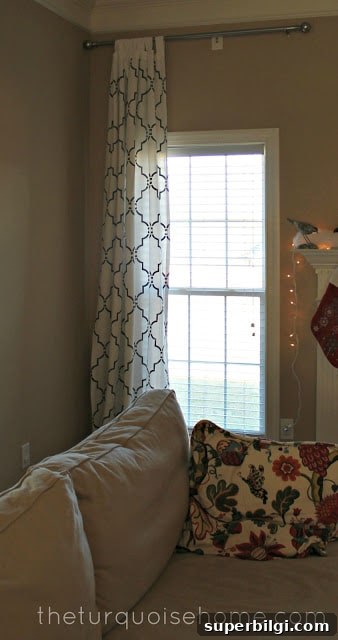
It took about an hour to stencil one panel. Expect to kneel and move around a lot—use a soft pad for your knees to stay comfortable during the process.
I finished one panel and then returned to the store for more paint to finish the remaining panels. Once all panels are complete, hang them high to accentuate tall ceilings and create a custom, cohesive look.
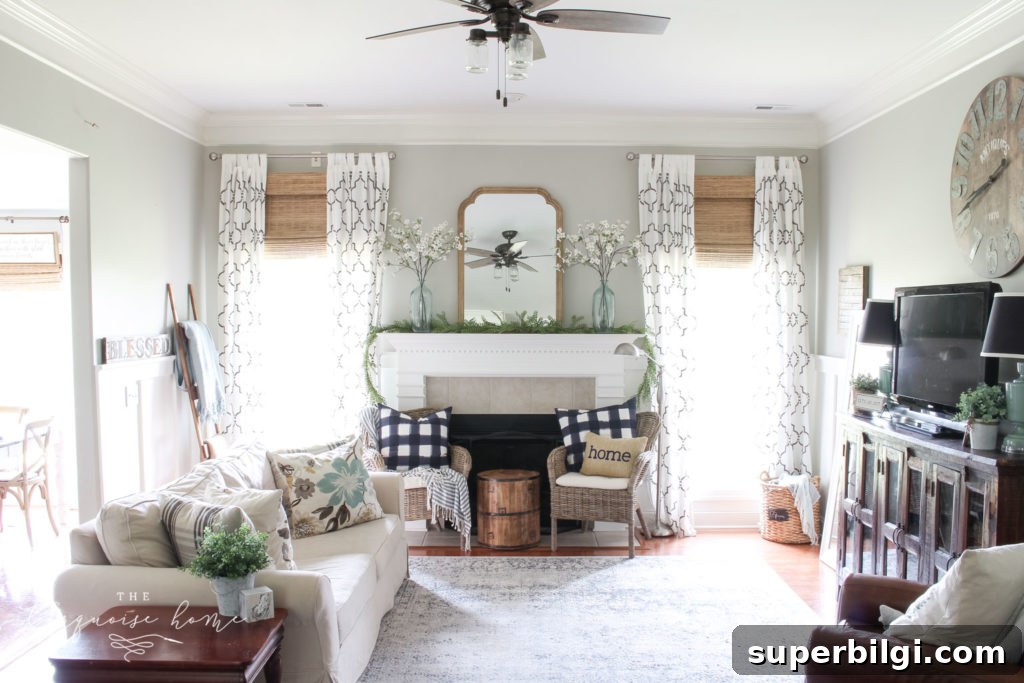
Update in 2022: We’ve since moved, but these stenciled curtains remained a favorite and drew frequent questions. They remain one of my most-loved DIY projects.
More posts you might enjoy:
- DIY Photo Transfer to Wood (step-by-step tutorial)
- Easy DIY Throw Pillow
- How to Add Curtain Trim Tape for a Custom Look
Have you ever stenciled fabric or curtains? If not, what pattern would you choose? Stenciling is a budget-friendly way to customize plain panels and achieve a designer look without costly custom drapery bills.