
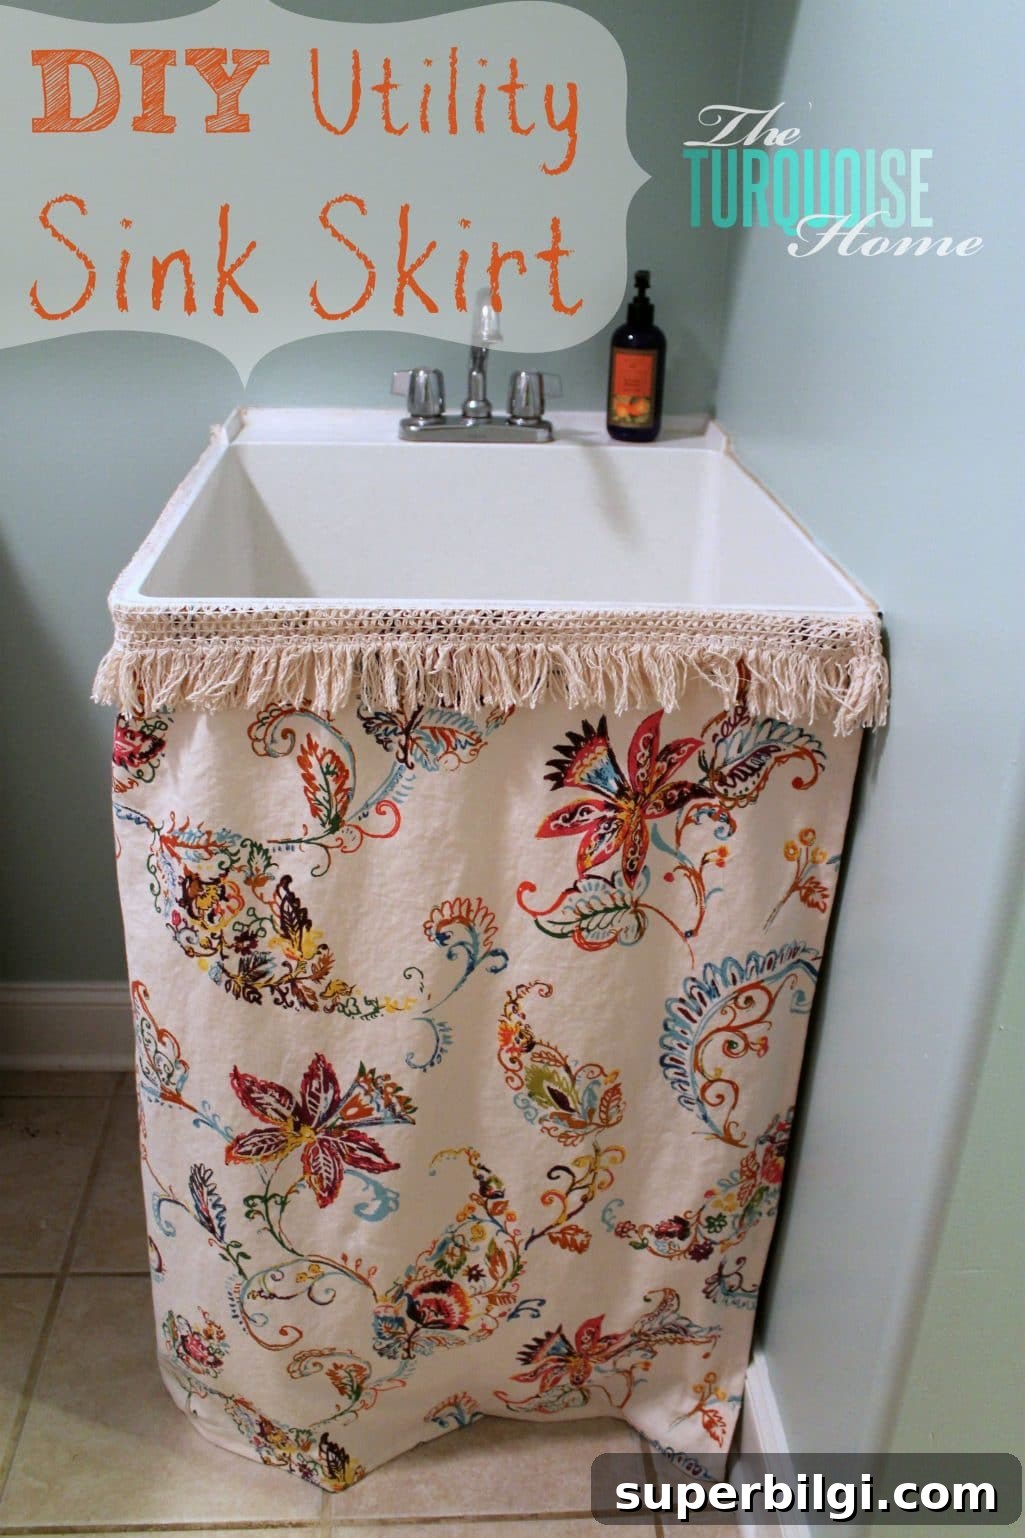
Learn how to make a simple DIY utility sink skirt to conceal the messy area underneath, add hidden storage, and give your laundry room a polished, coastal-inspired look.
I’ve been slowly updating my laundry room over the last several months, and one small project I recently completed was a utility sink skirt. It was an easy, budget-friendly way to hide paint cans and cleaning supplies under the sink while adding texture and color to the space. If you don’t have a cabinet under your sink or want a quick decorative solution, a fabric skirt is a practical DIY that transforms the look of a utility sink in just a few hours.
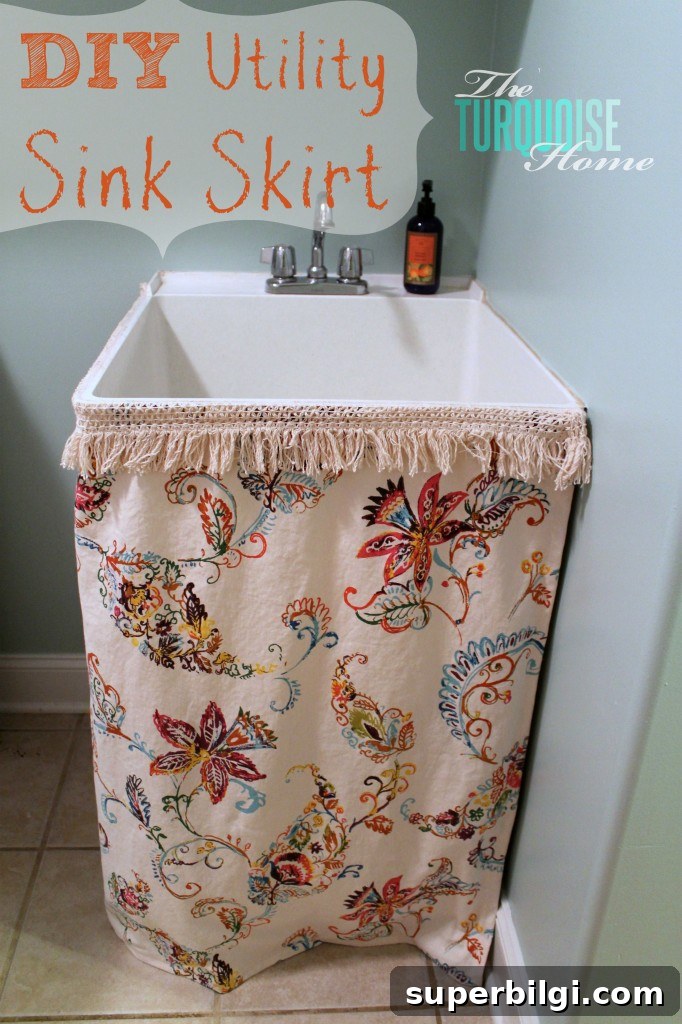
I wanted something with a coastal vibe to match the rest of the room, so I chose a light, airy fabric with fringe for a finished look. I found an affordable tablecloth in the exact print I loved and repurposed it into the skirt. You don’t need to buy yardage when a large tablecloth or curtain panel will work just as well — and sometimes at a lower cost.
Tip: if you love a fabric but it’s sold in an item you don’t need (like a tablecloth or pillow), don’t hesitate to repurpose it. It’s often more economical and gives you the exact look you want without paying a premium for decorative items.
Tools Needed to Make a Utility Sink Skirt
- Fabric or a large tablecloth
- Fabric scissors
- Adhesive Velcro (hook and loop fastener)
- Sewing machine or needle and thread
- Pins and an iron
How to Make a DIY Utility Sink Skirt
1. Measure the Sink and Plan Your Fabric
Start by measuring the width and height of the sink opening where you want the skirt to hang. Account for any overlap and the location of the faucet and supply lines. In my case, one half of a large tablecloth provided more than enough fabric — I kept the decorative fringe at the top and trimmed excess from the bottom and sides.
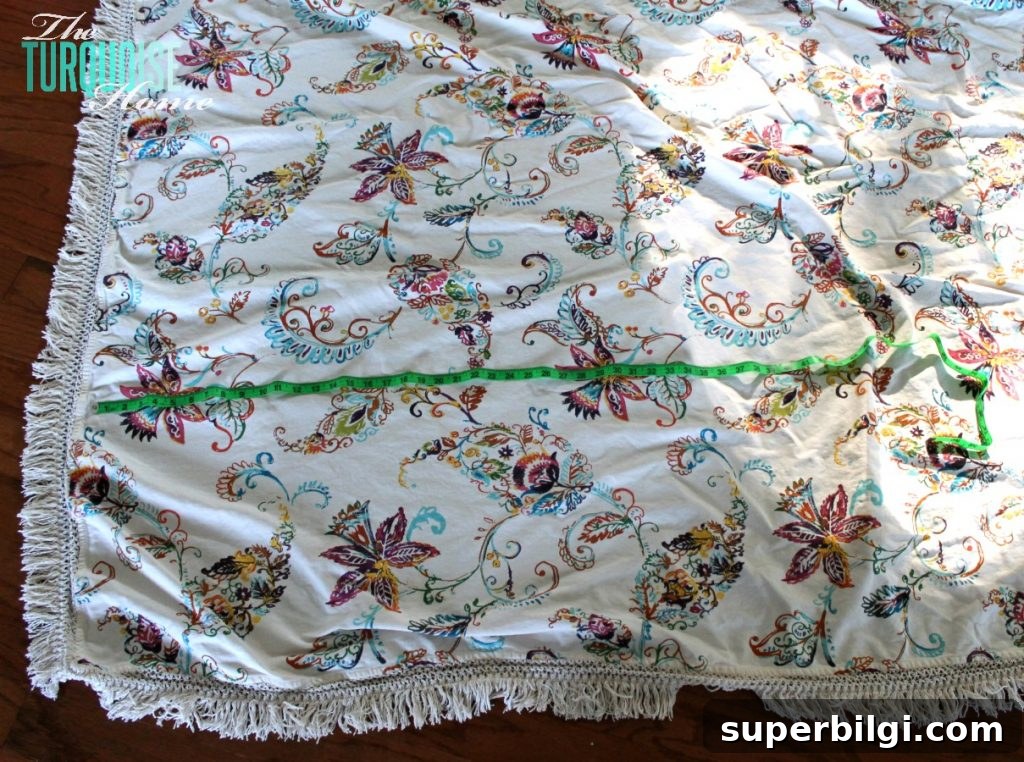
Because I wanted to preserve the fringe detail, I planned my cuts so the fringe remained at the top edge that would attach to the sink.
2. Cut the Skirt to Size
Lay the fabric flat and carefully cut away the bottom and side panels you don’t need. Keep any extra fabric — you can use leftovers for throw pillows, a matching accessory, or future projects. Cutting conservatively at first helps avoid wasting fabric; you can always trim more later after fitting.
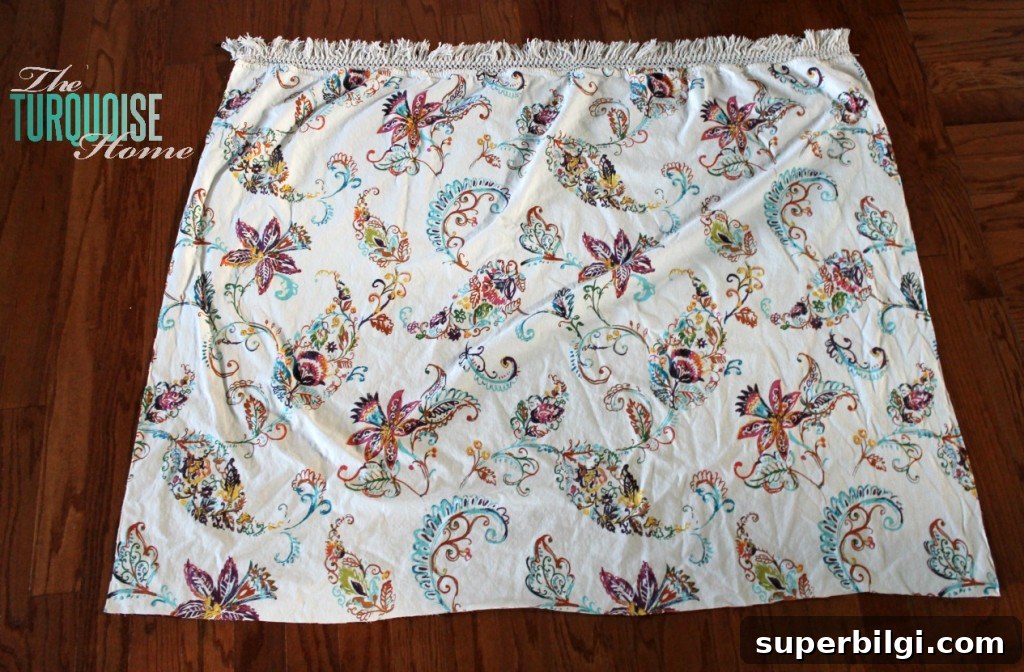
Before sewing, press the fabric with an iron to remove wrinkles and make it easier to handle. A smooth surface helps you sew straighter hems and get a neater final appearance.
3. Hem the Sides
Fold and press the side edges, then stitch a clean hem on both sides. Straight side hems frame the skirt and prevent fraying. I hemmed one side, tested the fit against the sink, and then hemmed the other side to ensure the width was just right.
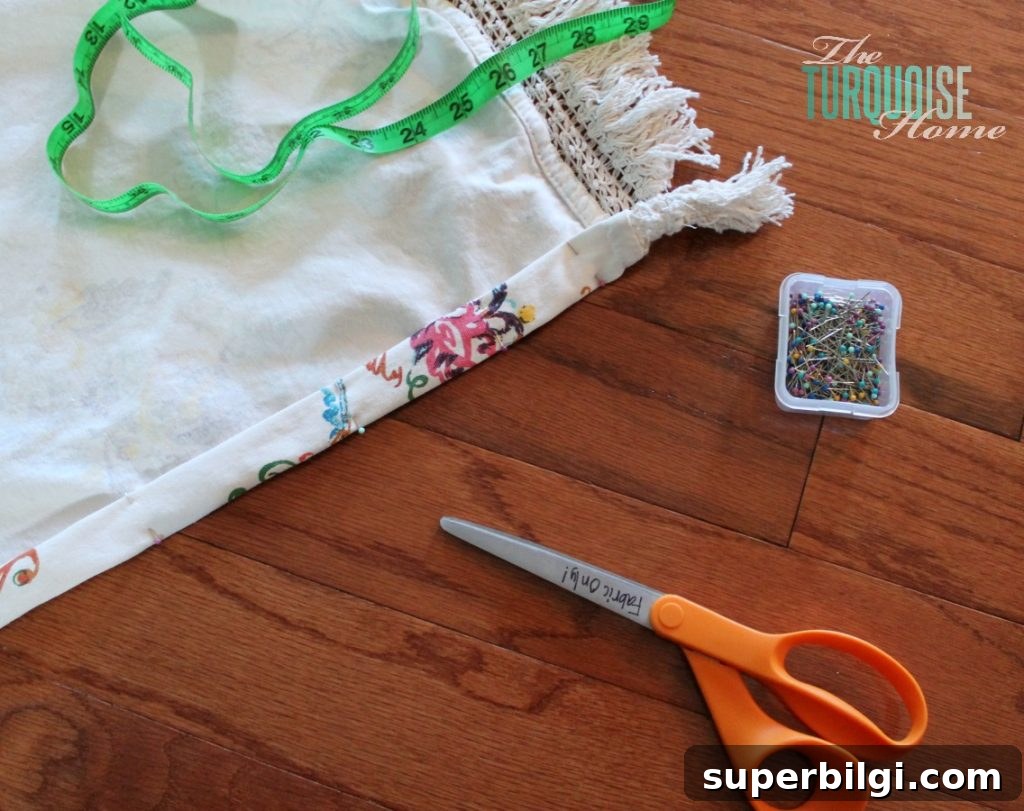
If you prefer not to sew, fabric glue or no-sew hemming tape can work for a temporary solution, though sewn hems hold up best over time.
4. Attach the Velcro to the Sink
Choose a strip of adhesive Velcro to attach to the underside of the sink lip or the area where you want the skirt to hang. Clean and dry the surface before applying to ensure the adhesive sticks well. I used the “hook” side (the rougher side) on the sink so the fabric-side Velcro could fasten to it securely.
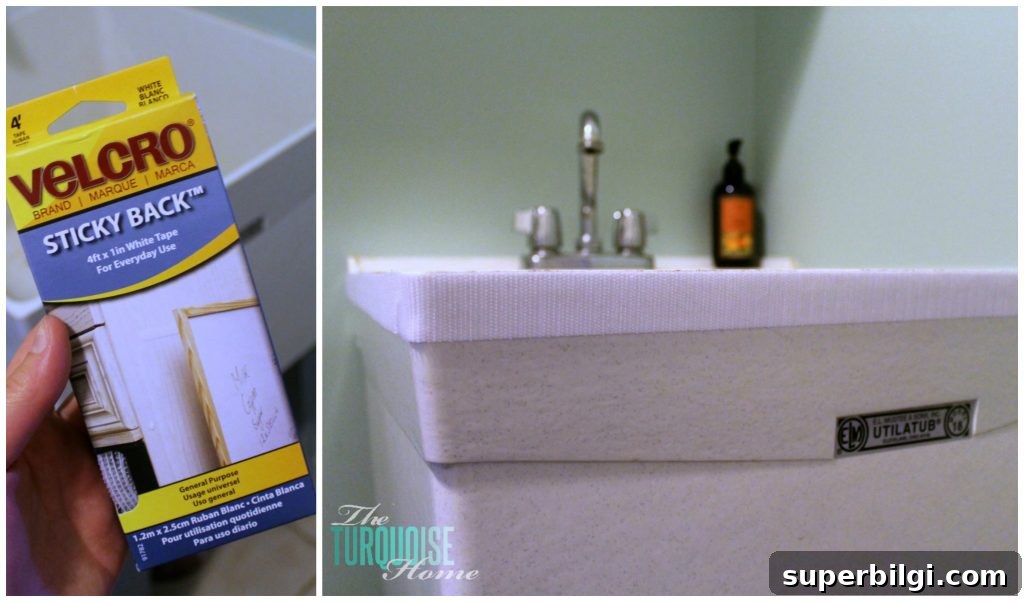
Adhesive Velcro holds well for decorative skirts. For extra security in a high-use laundry room, pilot small screws through the Velcro backing where possible, or choose industrial-strength fasteners rated for fabric and damp environments.
5. Attach the Velcro to the Fabric
Stick the softer “loop” Velcro strip to the top inside edge of the fabric where it will meet the sink. I tried sewing the Velcro to the fabric, but the adhesive made the needle sticky and the thread kept breaking. I stitched a few sections where possible and relied on the adhesive for the remainder. If you plan to wash the skirt, sew the Velcro on fully or choose a removable option to preserve the fabric.
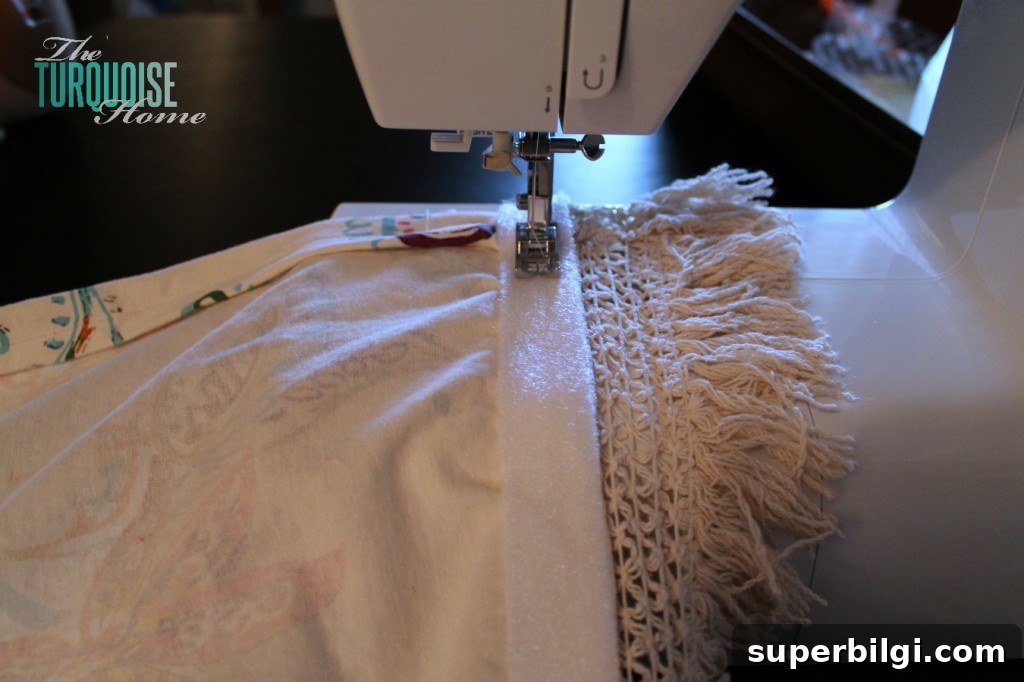
6. Hem the Bottom and Final Fit
With the Velcro attached, fasten the skirt to the sink and determine the ideal hem length. Pin the bottom while the skirt is hanging so the length is even and suits the space beneath the sink. Then sew a straight hem across the bottom. A final press gives a crisp, finished look.
The completed skirt hides unsightly items stored under the sink and gives the laundry area a coordinated, intentional appearance. Using a fabric that complements your existing décor pulls the entire room together and creates a soft, inviting focal point.
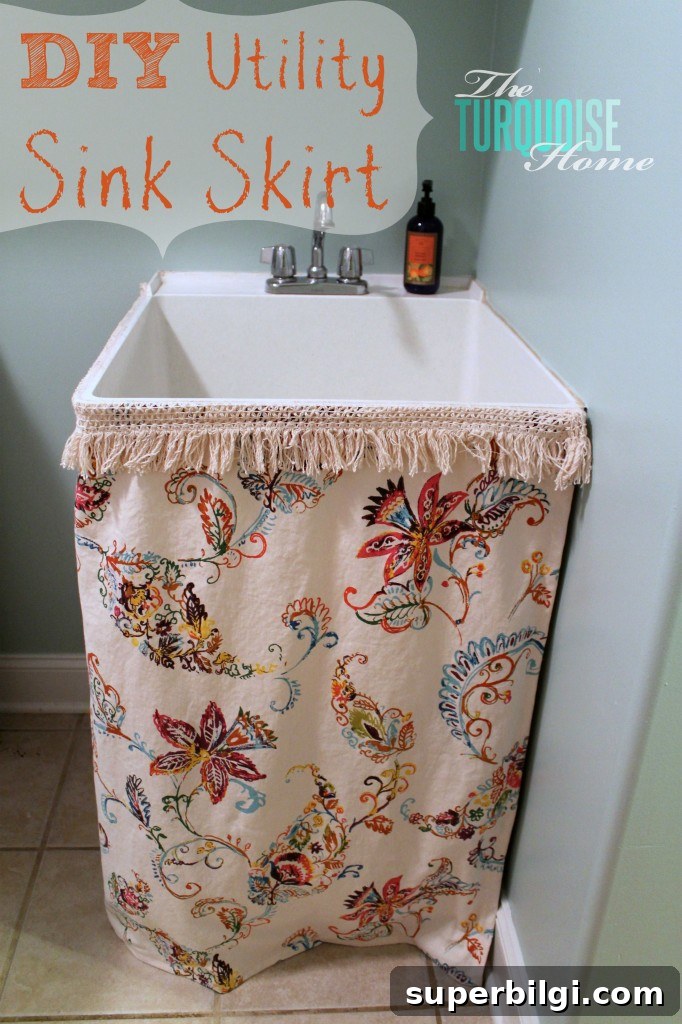
I’m excited to finish the rest of the room, but this little skirt made a big visual difference and only took a few hours. It’s an inexpensive, effective update that’s easy for most DIYers.
Before and after photos really show how much change a small fabric skirt can bring — a little effort goes a long way.
Thanks for reading. If you found this utility sink skirt tutorial helpful, feel free to save or share the idea for your next laundry room refresh.
More Posts You Will Love:
- DIY Drop Cloth Curtains
- DIY Chinoiserie Pumpkins (video tutorial)
- How to Install Peel & Stick Floor Tile
- How to Add Curtain Trim Tape for a Custom Look