
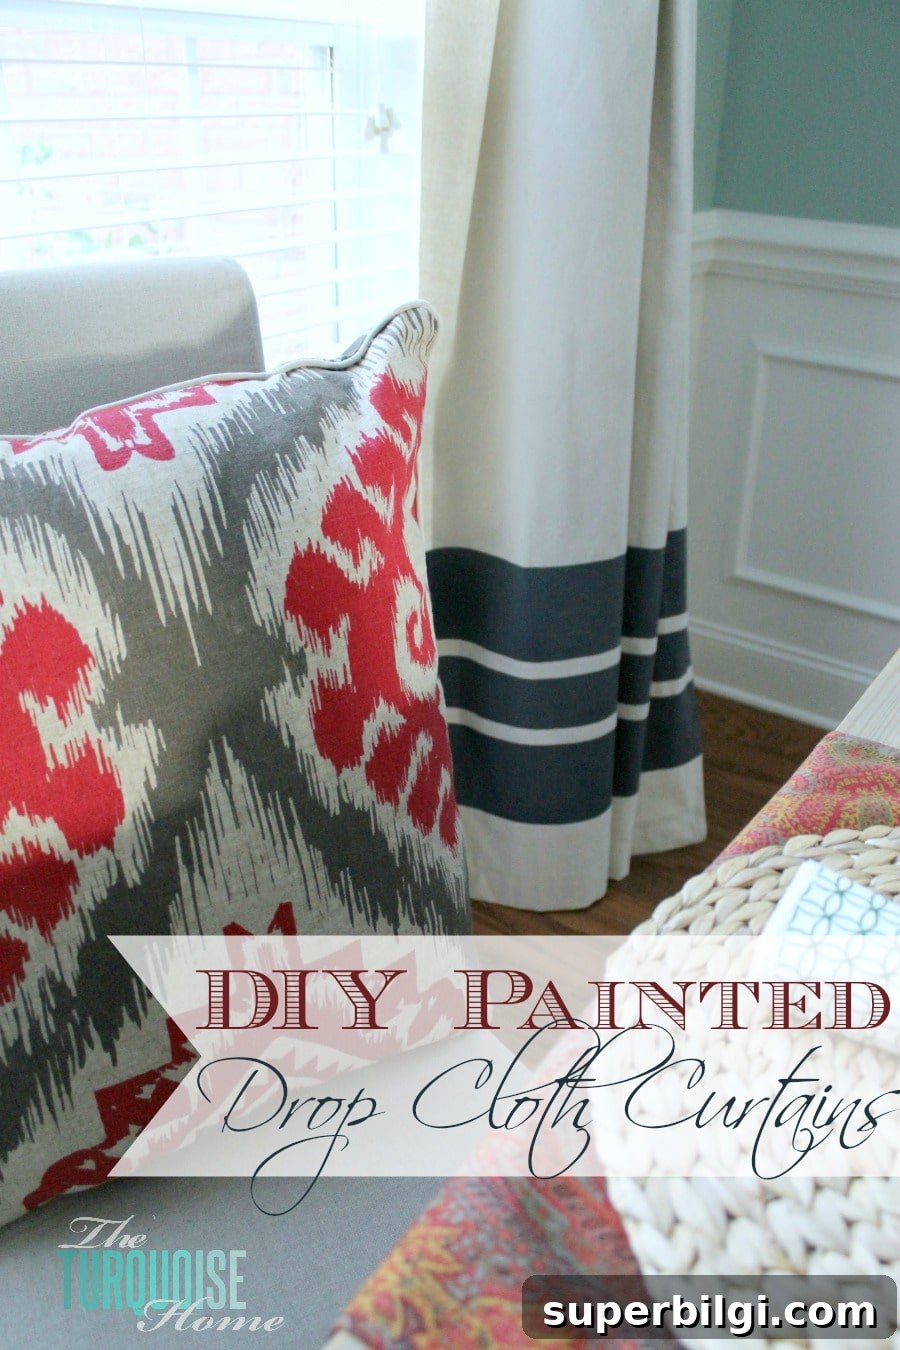
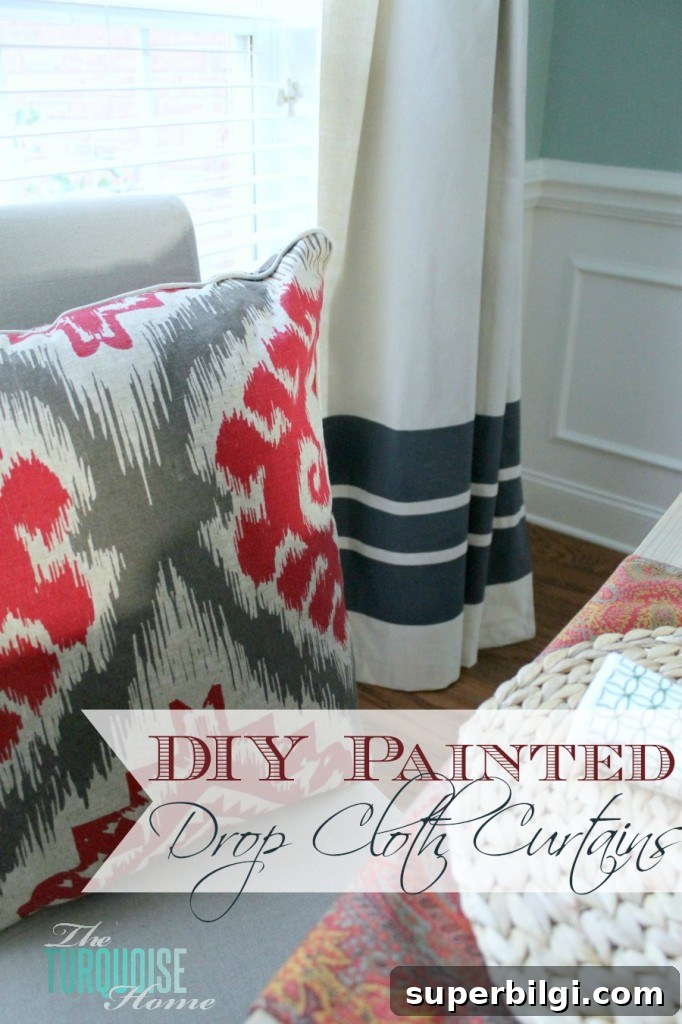
Learn how to make no-sew drop cloth curtains for a quick, budget-friendly window treatment—I added painted stripes for a personalized touch.
A few weeks ago I decided to swap the curtains in my dining room for something more neutral and versatile. My floral curtains are lovely for summer, but they felt too seasonal as a backdrop for my rustic, glam holiday décor. I plan to put the floral panels back up in spring, but for now I wanted a simpler, year-round option.
Finding curtains I truly love is rare, so I turned to a classic DIY solution: canvas drop cloths. They’re affordable, durable, and perfect for making no-sew drop cloth curtains. I bought two standard drop cloths at my local hardware store—about $10 each—so the fabric for two panels cost roughly $20.
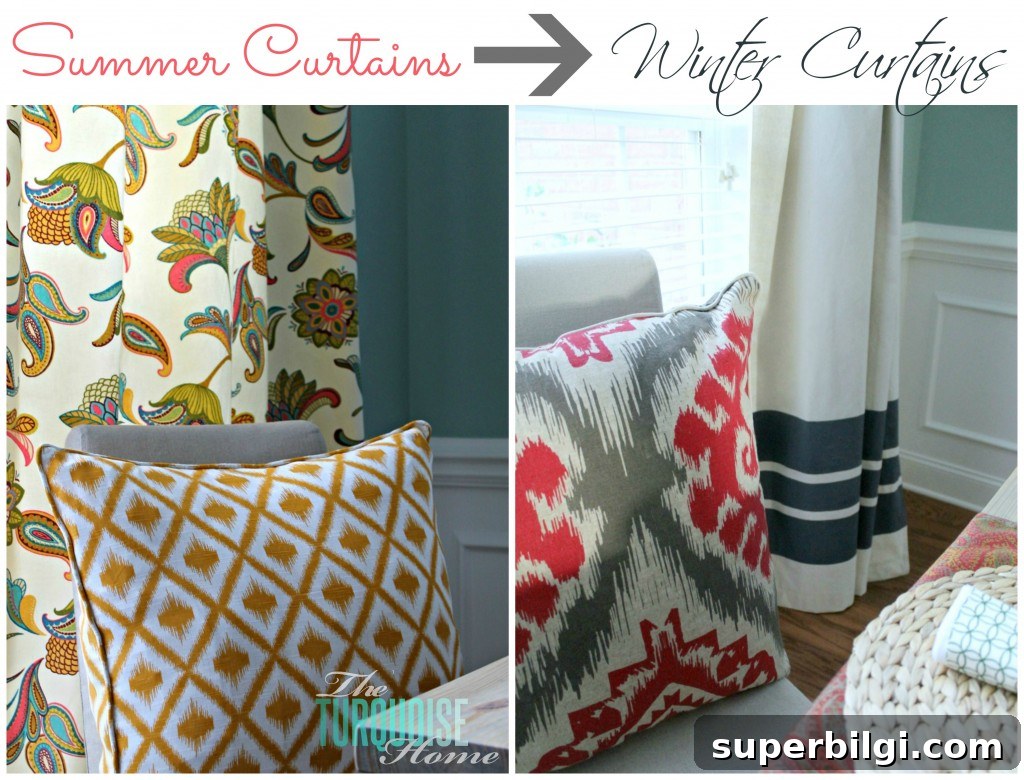
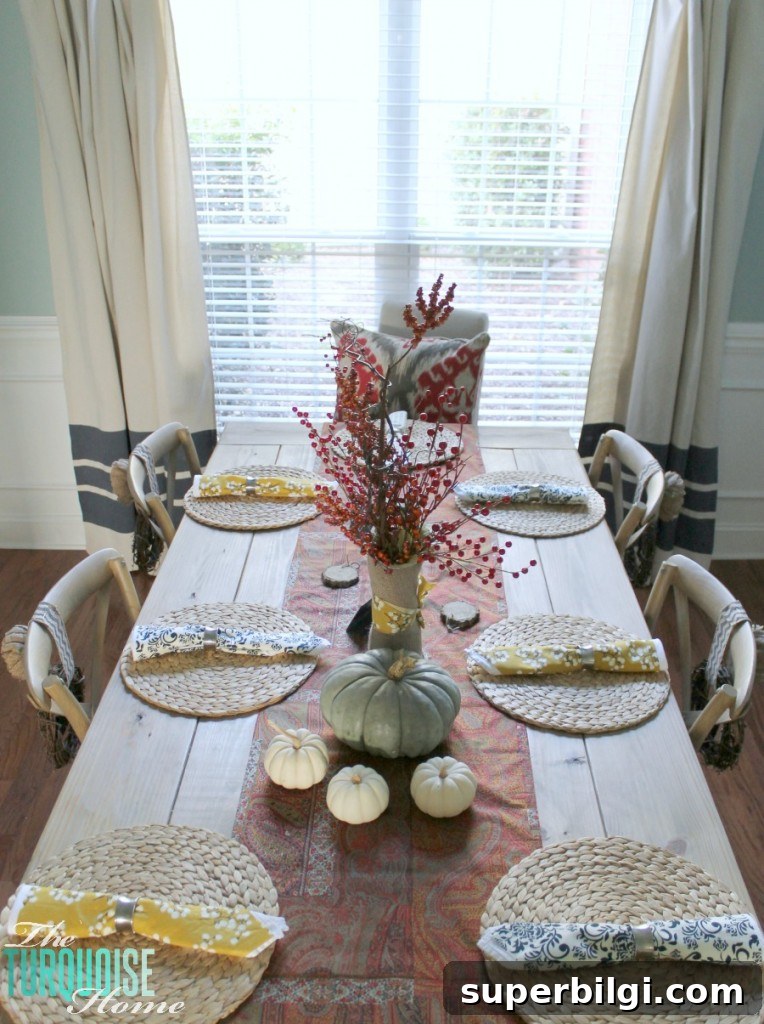
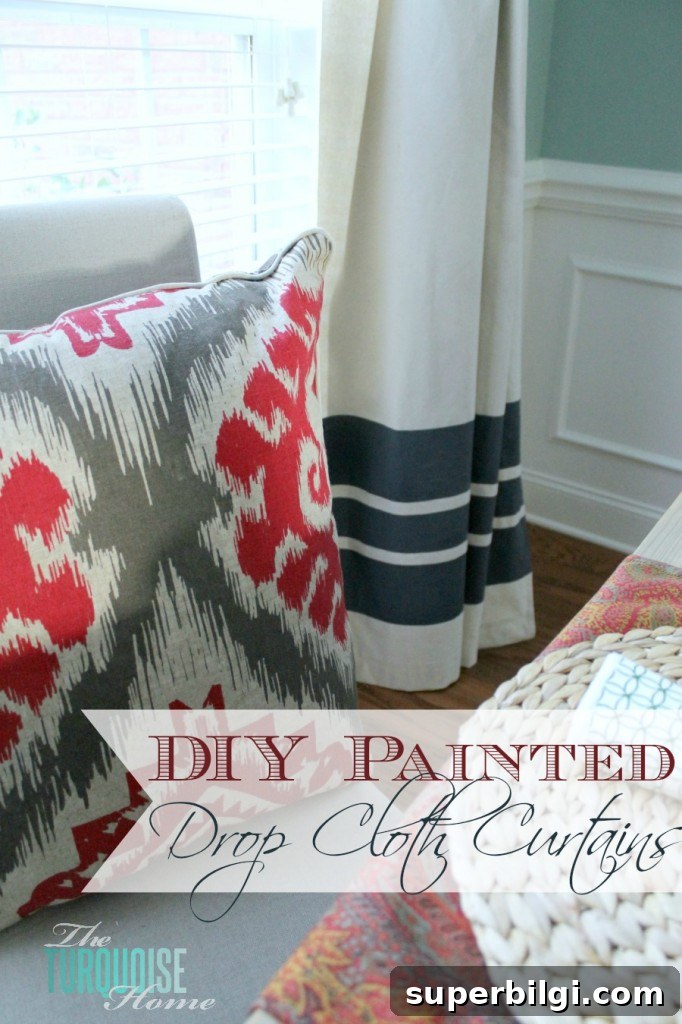
To customize the plain canvas, I painted navy stripes to anchor the panels in the room. I used leftover Hale Navy paint from a previous front door project, which saved money and ensured a rich, consistent color across the panels. Reusing paint is a smart tip for budget-conscious DIYers.
Supplies needed:
– 2 canvas drop cloths (available in the paint section at hardware stores)
– Hem tape or a sewing machine (for finishing the bottom)
– Cardstock or a straight-edge spacer for marking stripes
– Small paint roller or fabric roller brush
– Painter’s tape
– Paint (fabric-safe or interior latex works on drop cloth)
Before painting, I laundered and dried the drop cloths to soften the fabric and remove factory sizing. After washing, I ironed them flat and finished the hems. Drop cloths usually have factory hems on the sides, so I only needed to hem the bottom where I’d trimmed excess length. If you don’t sew, hem tape is an effective no-sew option that creates a clean edge without a machine.
Painting straight, even stripes took a little practice. I initially tried aligning tape based on the wall height, but that produced uneven lines across panels. Eventually I found it easier to measure up from the bottom edge of each panel, which gave consistent placement for matching stripes.
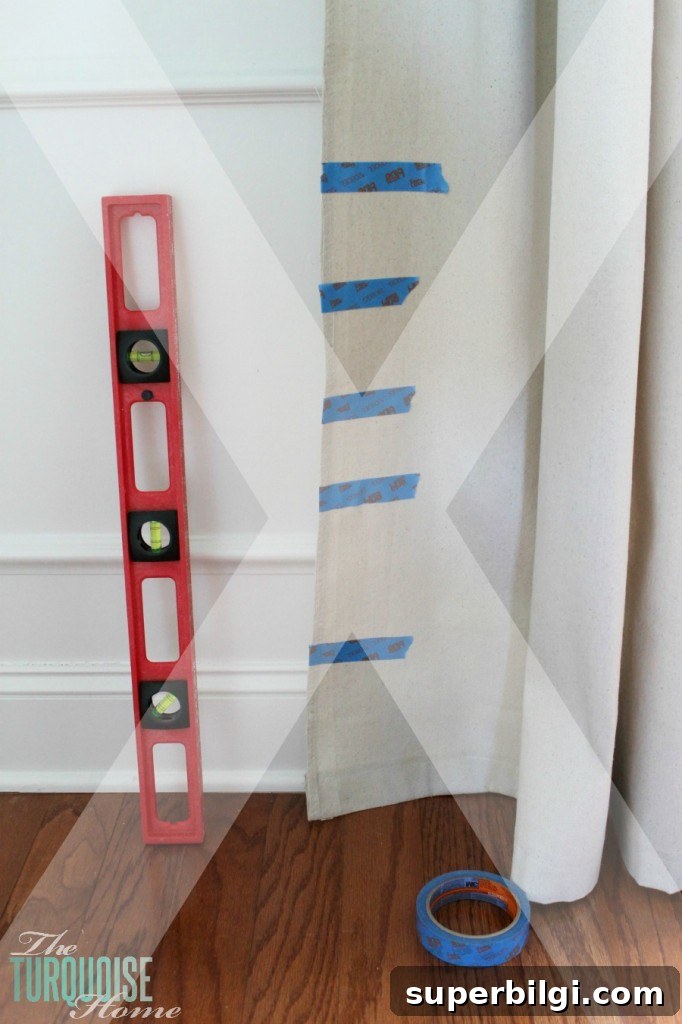
To keep spacing uniform, I cut spacing guides from cardstock. Moving the guide along the fabric as I applied painter’s tape helped maintain a straight course without constantly measuring. Work on a clean, flat surface and use a soft kneeling pad if you’ll be on the floor—painting large panels can be hard on your knees.
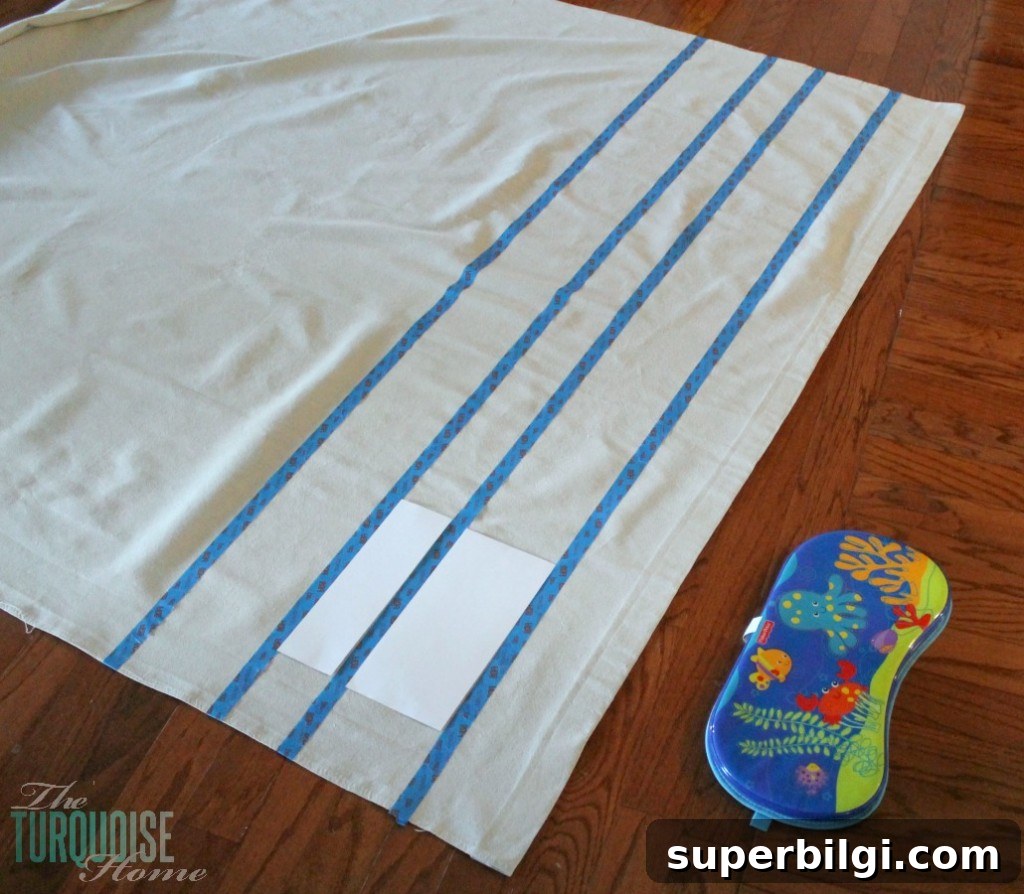
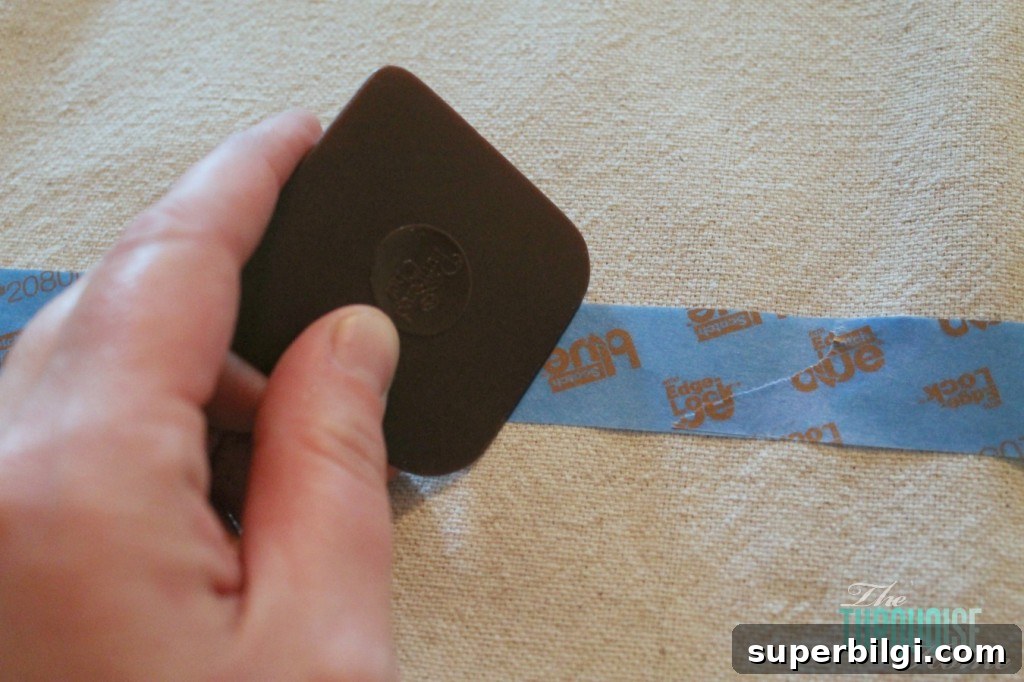
A crucial step for crisp stripes is sealing the tape edge. I pressed the tape down with a flat plastic tool—a dish scraper or an old credit card works well—to prevent paint bleed. When rolling on the paint, roll away from the tape line rather than toward it. This technique helps keep paint from seeping under the tape and results in sharp, professional-looking stripes. I also placed cardboard under the panels to protect the floor while painting.
I chose fairly wide stripes for a bold look, using the edge of the painter’s tape to mark the gap between painted areas. If you prefer a subtler pattern, narrow stripes or closer spacing will create a different visual effect. The beauty of a DIY painted curtain is that you can tailor stripe width, spacing, and color to suit your room.
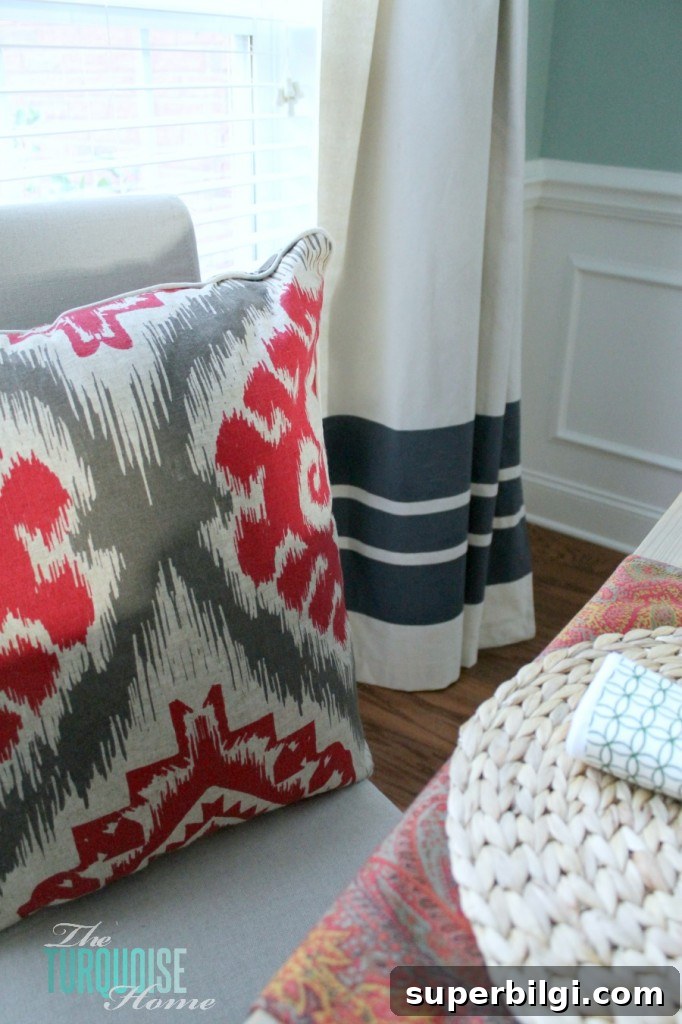
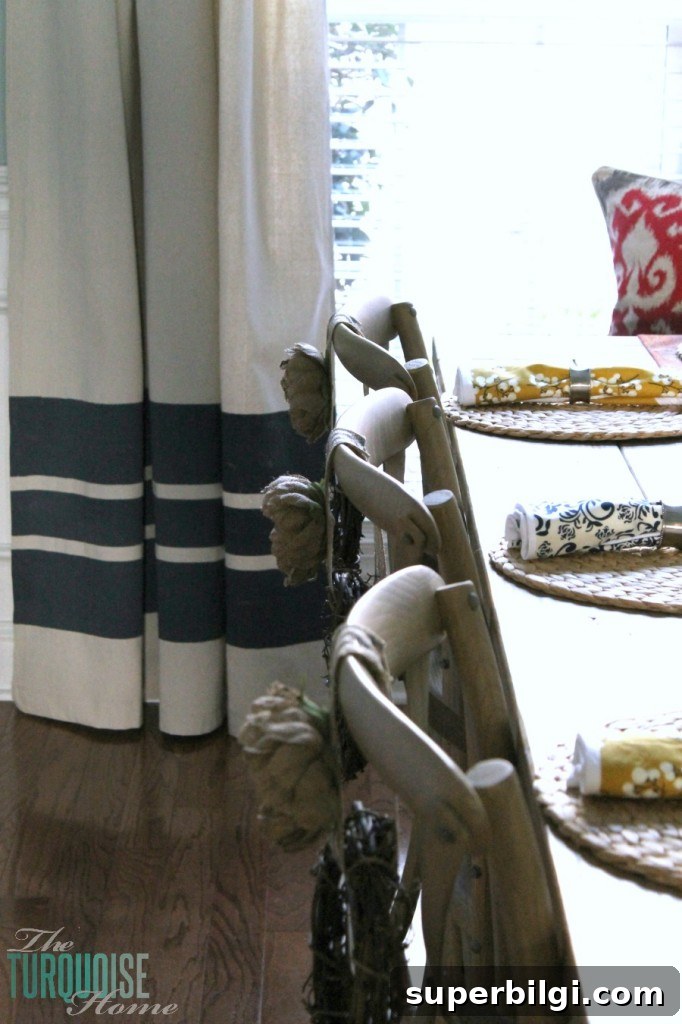
The finished panels look great and create a neutral backdrop that highlights seasonal decor. This project cost about $25 total, including the drop cloths, painter’s tape, and a small roller—less if you already have paint on hand. It’s an affordable, high-impact way to refresh windows without buying store-bought curtains.
Drop cloths are an excellent, versatile base for many DIY projects beyond curtains—table covers, slipcovers, and canvas art are just a few ideas. They’re inexpensive, sturdy, and take paint well, making them a favorite for budget-friendly home updates. Have you tried using a drop cloth for a DIY project? They offer endless creative possibilities.