
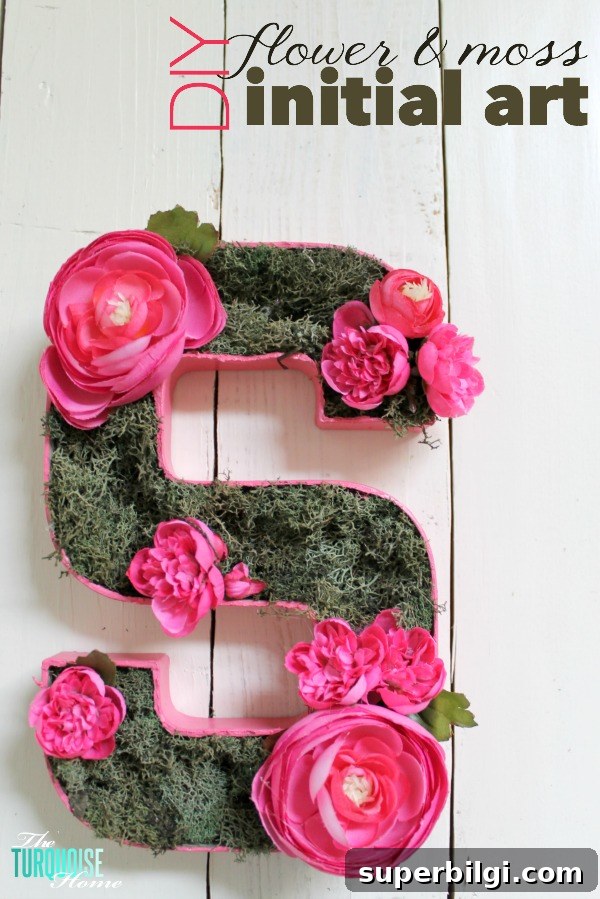
This sweet flower-and-moss initial first appeared as part of Baby G’s gallery wall. It’s a quick and affordable DIY that makes a charming accent for a baby girl’s nursery or a whimsical touch for any room.
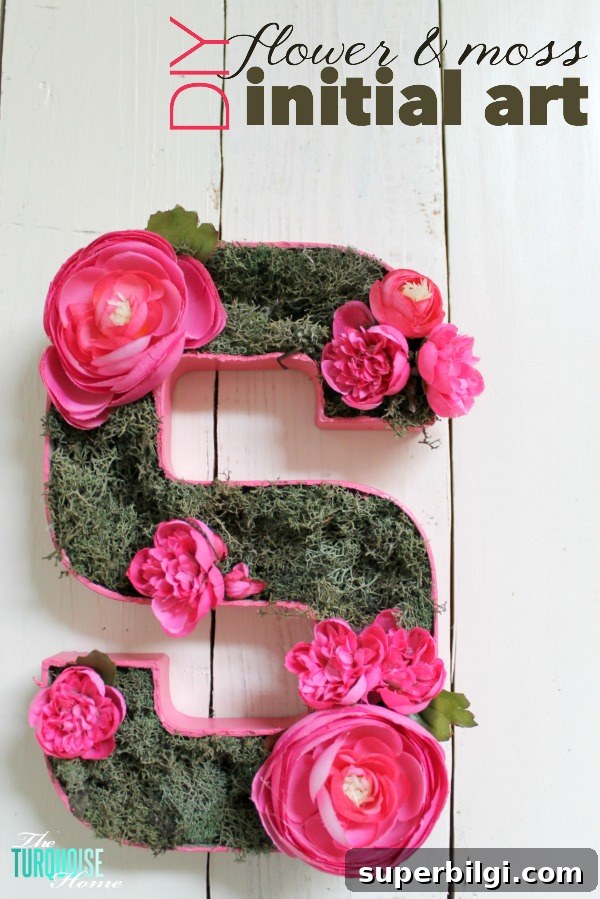
At first I planned to fill the initial entirely with faux flowers, but during the process I realized that a layer of craft moss underneath created a much cleaner, more finished look. Below I outline the materials, step-by-step instructions, and a few simple tips to help you make your own floral and moss initial.
Materials needed
- Paper‑mache letter initial (available at craft stores)
- Faux flowers in coordinating colors and sizes
- Craft moss (sheet or clumps)
- Hot glue gun and glue sticks
- Acrylic paint and a brush
- Serrated knife or bread knife for cutting
- Optional: scissors, small florist wire, and hanging hardware
Step-by-step instructions
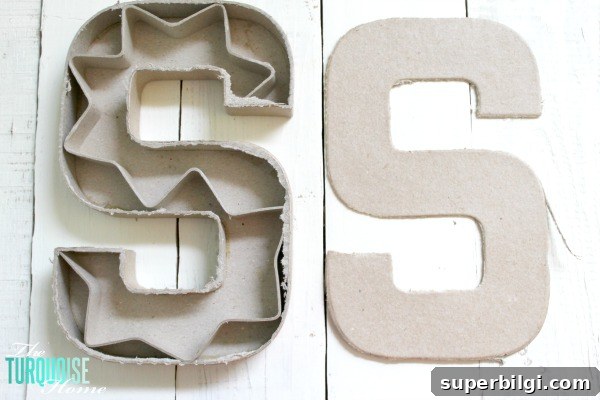
1. Cut the top open: Use a serrated or bread knife to carefully cut the top off the paper‑mache letter. Work slowly and get under one edge first—once you have an edge, the rest slices away more smoothly. Discard the paper interior and trim any loose or ragged edges.
2. Paint the exterior: Paint the outside of the letter in the color of your choice. For best results paint the visible rim and sides; if you plan to look into the letter from multiple angles, paint the inside edges as well so the finish looks polished.
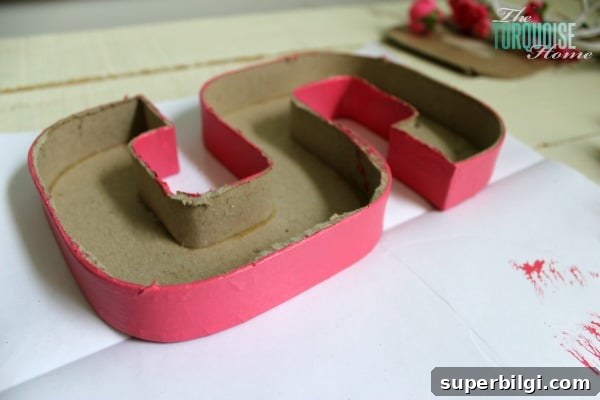
3. Add a moss base: Before gluing flowers, attach craft moss to the bottom of the open letter using hot glue. The moss hides the interior base and creates a natural backdrop for the flowers. Press the moss into the shape of the letter so it sits flat and covers any exposed paper edges.
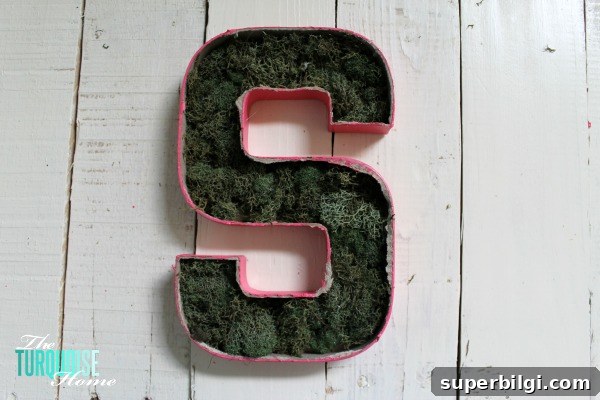
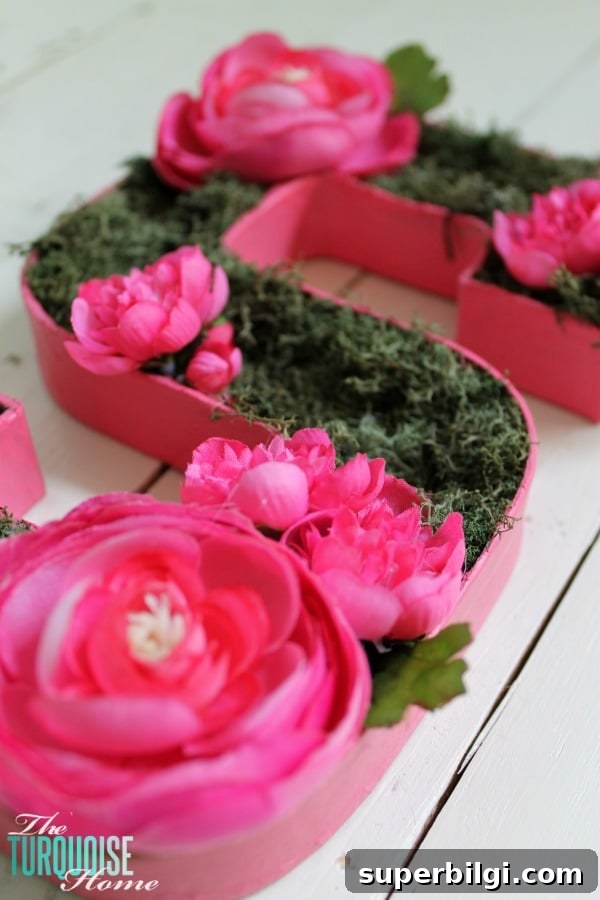
4. Attach flowers sparingly: Trim stems on faux flowers and use the hot glue gun to secure blooms to the moss and rim. I found that a restrained approach looks best—let the moss show through and place flowers in clusters instead of covering the entire interior. Mix different sizes and textures for depth.
5. Finish the rim and sides: If any paper showed along the rim, trim and touch up with paint. Add small strips or clumps of moss up the inner sides where needed to blend the interior with the rim and make the arrangement look cohesive.
Tips, variations, and hanging
- Less is often more: A few focal blooms paired with moss gives a softer, more natural appearance than completely covering the interior.
- Color coordination: Choose flowers that complement the nursery or room palette—soft pinks, creams, and sage greens work beautifully for a woodland nursery style.
- Secure heavier pieces: If using larger faux stems, add a dab of hot glue and press them into the moss so they remain stable over time.
- Alternative bases: If you prefer a different texture, consider preserved moss, sheet moss, or a mix of grasses and tiny faux succulents for a unique twist.
- Hanging hardware: Attach a picture‑hanging hook or D‑ring to the back of the paper‑mache letter for easy wall mounting. For a freestanding display, lean the initial on a shelf or place it on a small easel.
- Durability: Faux materials and hot glue make this project long-lasting and simple to dust—gently brush the blooms or use a low setting on a hairdryer to remove loose dust.
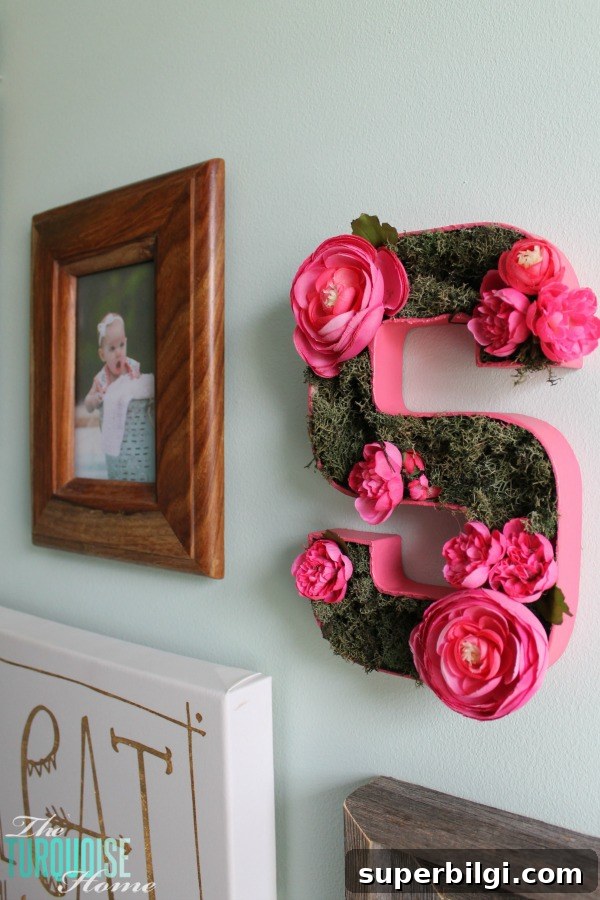
There were a few small adjustments along the way—trimming uneven edges, painting additional rims, and adding moss up the sides—but those little changes made the finished piece look professionally styled. The result is a delicate, charming initial that’s perfect for a baby girl’s woodland nursery gallery wall or a sweet personalized gift.
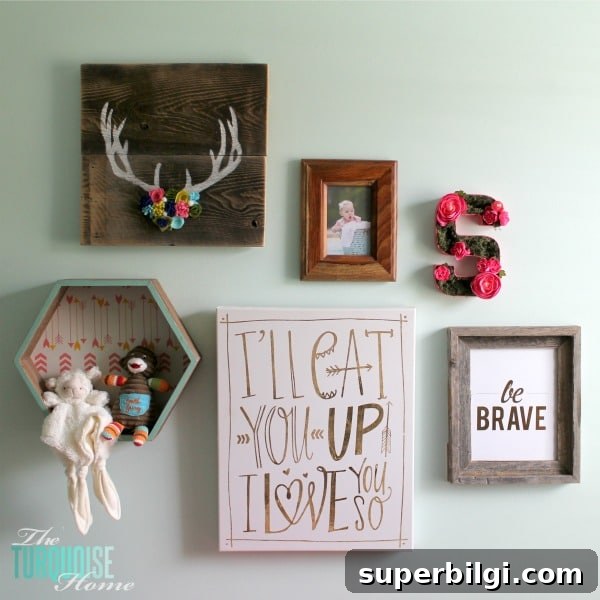
If you enjoyed this project, try making initials in different sizes, or combine multiple letters for a name display. It’s an inexpensive, customizable craft that adds a lot of personality and warmth to a nursery or any space in your home.
More simple crafts you might like:
- Mason Jar Lid Pumpkin Craft
- Tissue Paper Stained Glass Valentine’s Kid Craft
- DIY Wood Bead Garland with Tassels