
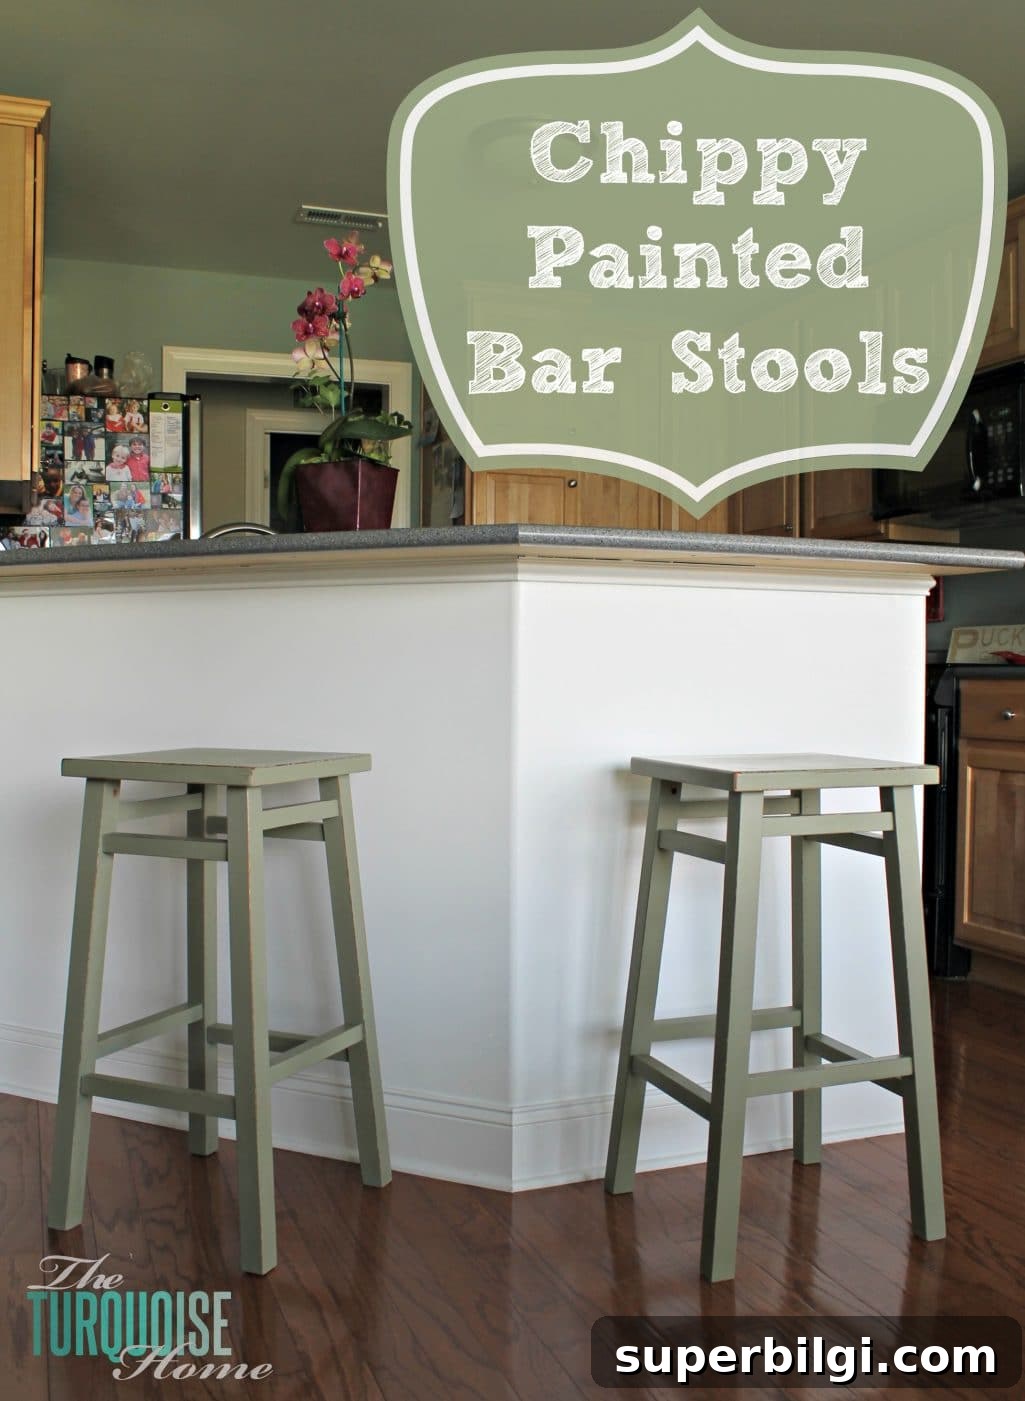
A couple of weeks ago I shared on Facebook that I’d bought Annie Sloan Chalk Paint for the first time. After years of watching others transform furniture with chalk paint, I finally decided to try it myself.
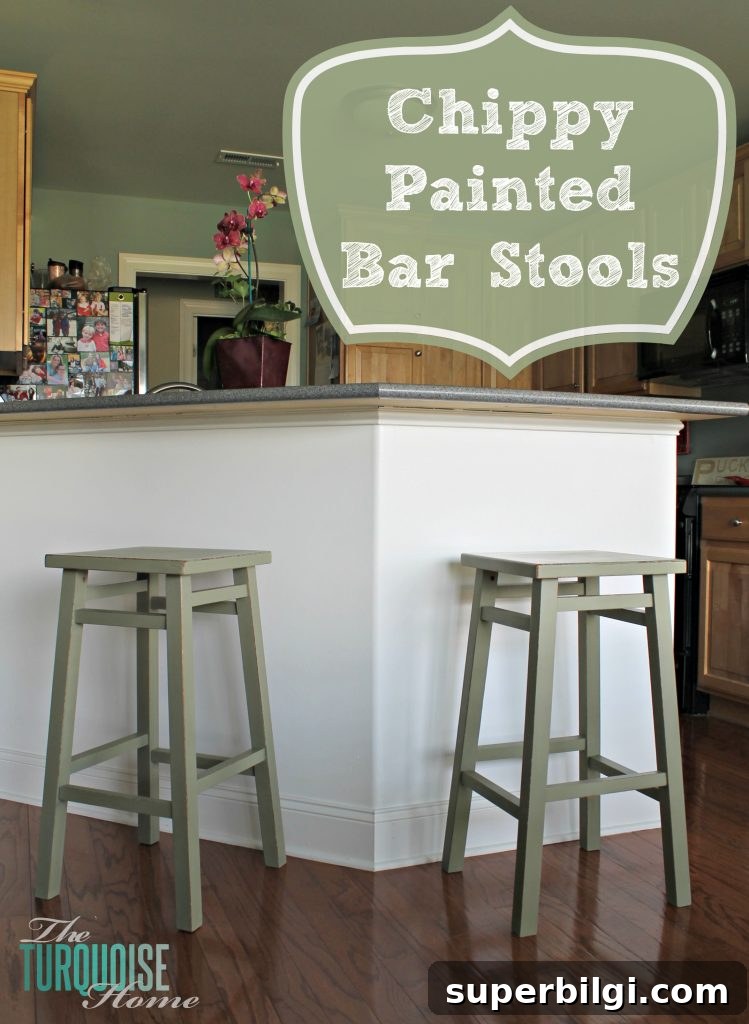
Originally I bought the paint to refresh a well-loved dresser I picked up on Craigslist, but the kitchen bar stools begged for attention first. In their original finish they blended into the floor, so they never stood out the way I’d hoped. I wanted a simple bar stool makeover that would give the kitchen more character without a huge time commitment.
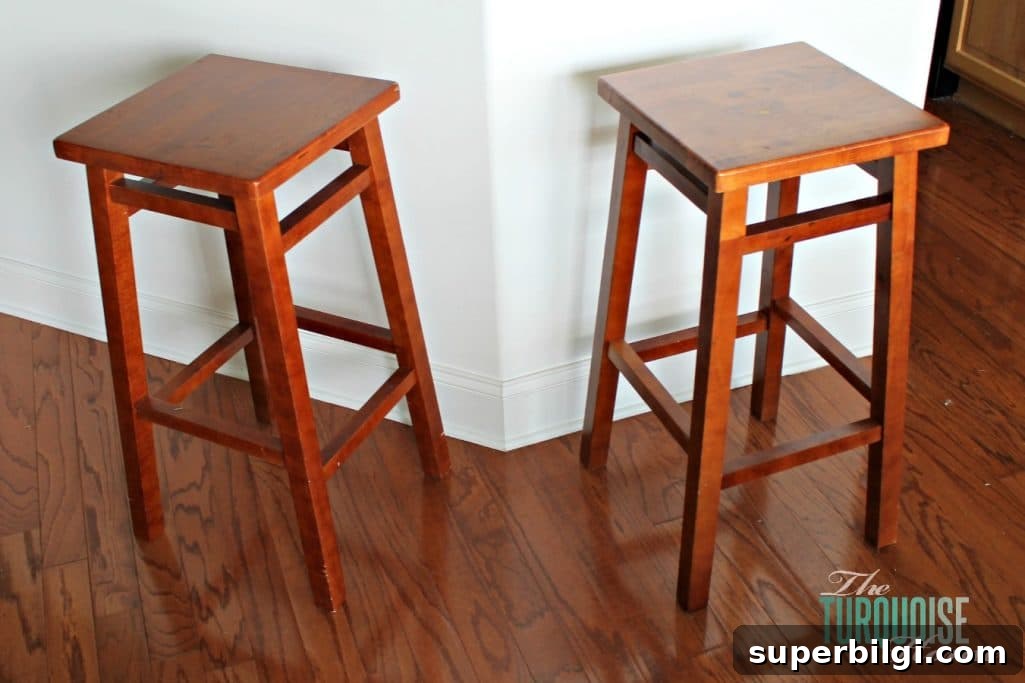
If you’re wondering why I had stools that matched the floor, it’s because a friend passed them along during a closet cleanout as part of our Project Simplify. I’d been hunting for inexpensive used stools, so getting these for free was perfect. I still want a third matching stool, but when I find one I’ll paint it the same color so the set will look cohesive.
Searching Pinterest for bar stool ideas gave me plenty of inspiration—dipped metallic legs, vintage-industrial styles, painted seats—so I curated a few favorites on my kitchen board. Two images that stood out to me were a gold-dipped pair and a vintage-industrial set, both of which influenced my vision for a subtle, stylish update rather than a full overhaul.

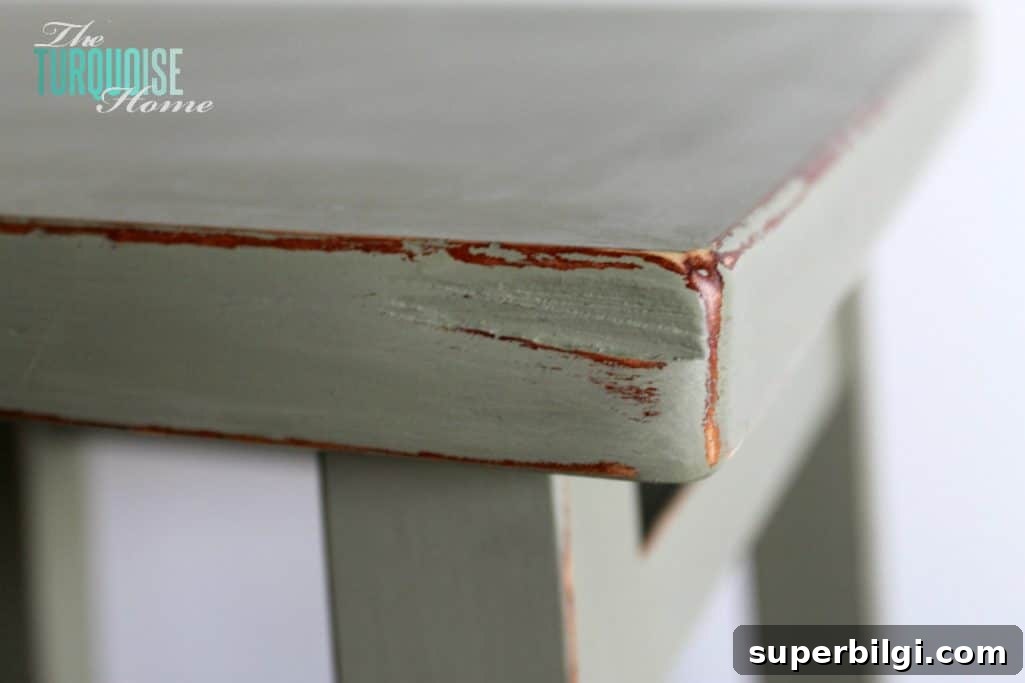
These stools were a great first project for learning chalk paint techniques. I applied two fairly thick coats because the first coat didn’t feel opaque enough to me, and the second coat ended up providing fuller coverage than I expected. After painting, I experimented with waxing and distressing. I’d read that waxing before distressing can reduce the chalky dust that often comes with sanding chalk paint, so I applied a layer of wax first.
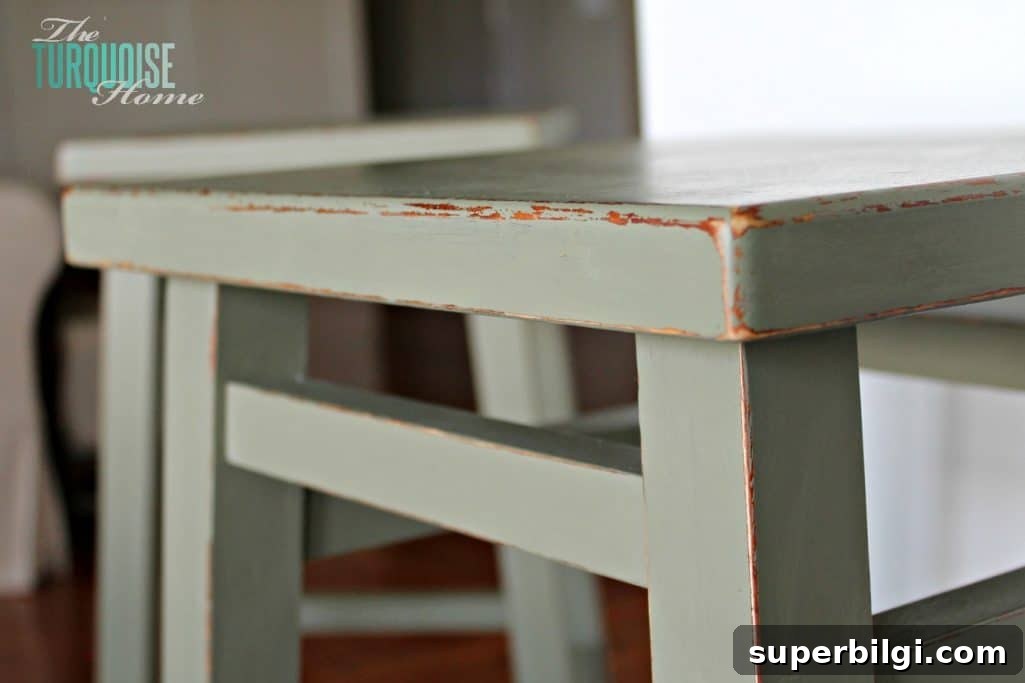
When I sanded to distress the stools, I ended up removing more paint than I intended—partly because I sanded through both the wax and the paint. I didn’t distress as heavily as planned, but applying a second coat of wax and then buffing brought a nice, durable finish and softened the overall look. It was a lot of steps—painting, waxing, distressing, additional waxing and buffing—but the result felt worth it.
One common gripe about chalk paint is that it often claims “no prep” and “no primer required,” yet finishing it typically involves waxing or sealing. I found waxing far more enjoyable than priming: it felt artisanal and gave me control over the sheen and protection of the surface. For anyone tackling chalk paint for the first time, expect a two-step process: paint, then seal with wax or a protective topcoat.
Overall I’m pleased with how the stools turned out. They no longer blend into the floor and instead add a subtle, stylish accent to the kitchen. The color I chose was Annie Sloan’s Chateau Gray, which reads as an olive-green in my space—exactly the warm, muted tone I wanted. I’ll share more about color choices and the dresser project in a future post.
Have you used chalk paint on furniture? What tips or techniques worked well for you—especially for distressing and sealing painted pieces? And what’s your favorite chalk paint color for updating chairs or stools?