
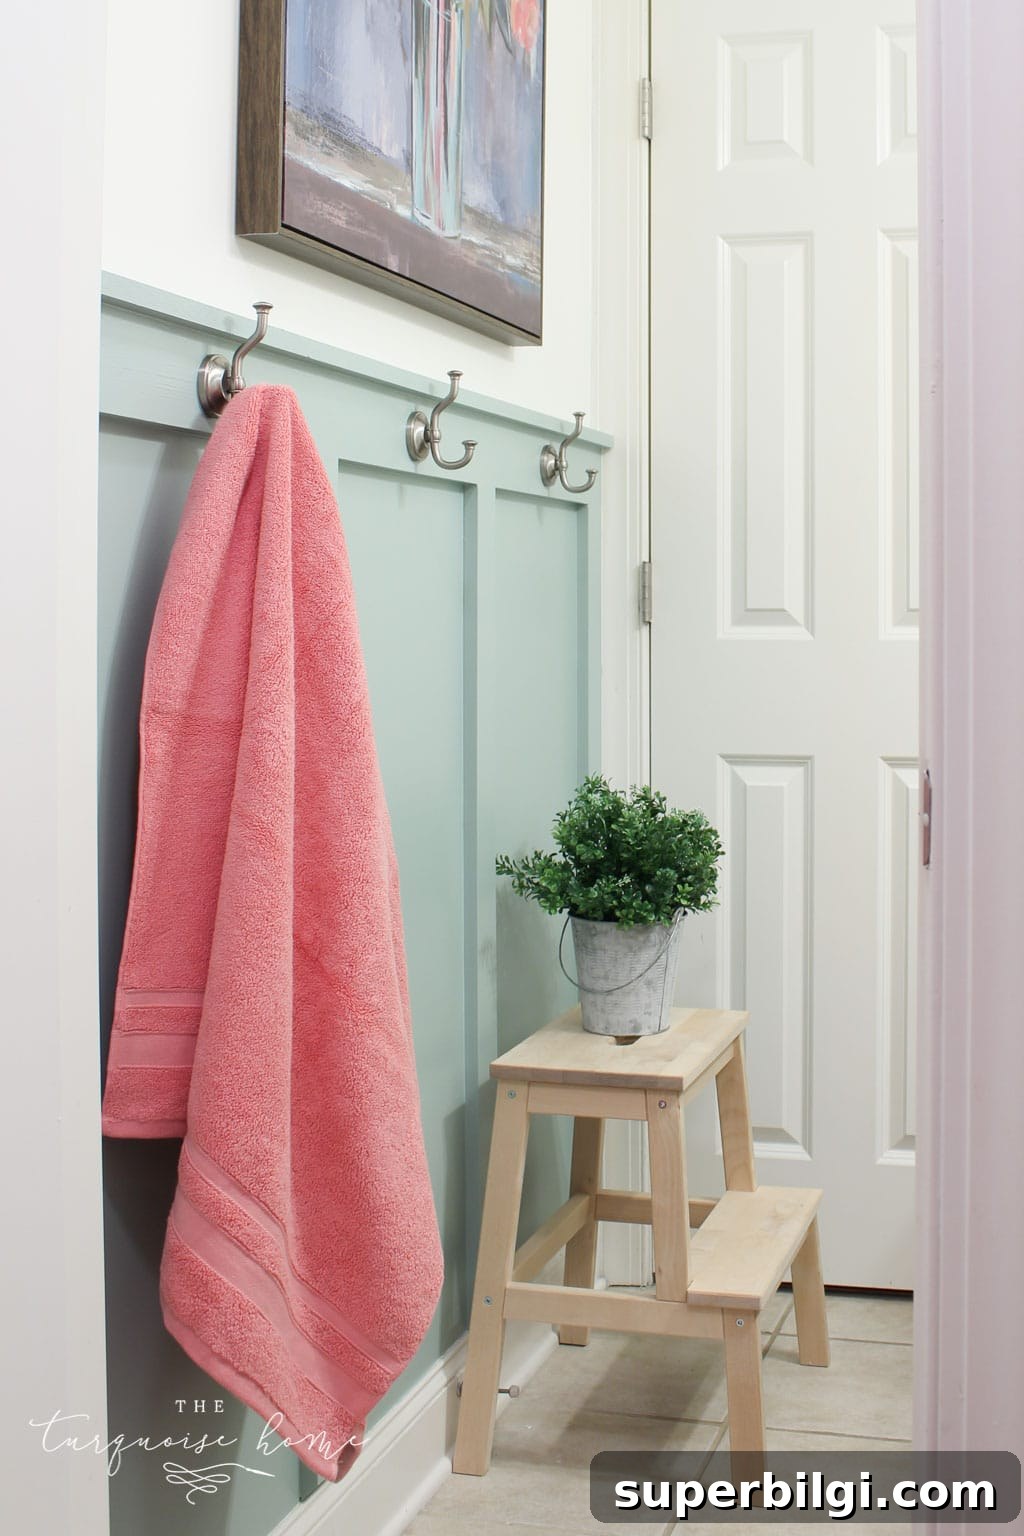
Learn an easy, budget-friendly way to install board and batten in your home, with tips for preserving baseboards, saving time on painting, and creating big impact with a small DIY project.
I first installed DIY board and batten walls in my living room years ago. It was a big job because I was new to DIY and the room was large, but the result was worth every hour: simple materials transform a plain wall into a striking architectural feature.
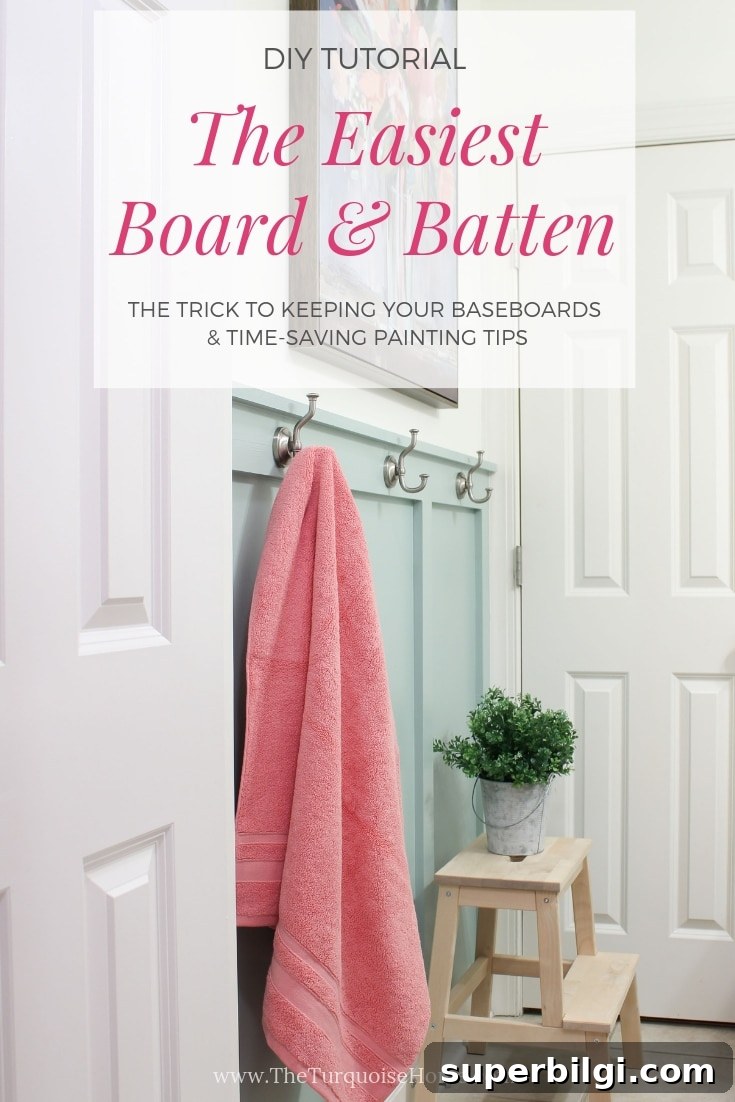
More than a decade later, that project is still one of my favorites. When I planned a refresh for my girls’ bathroom, I wanted a high-impact solution that also provided a practical place for hooks. Board and batten was the perfect fit.
At first I considered painting everything white, but I decided the space needed color. I settled on painting the battens in a blue-green shade to add personality to the small room. The result? I love it—this approach is especially fun in bathrooms, laundry rooms, closets, or any small space where a bold accent can make a big difference.
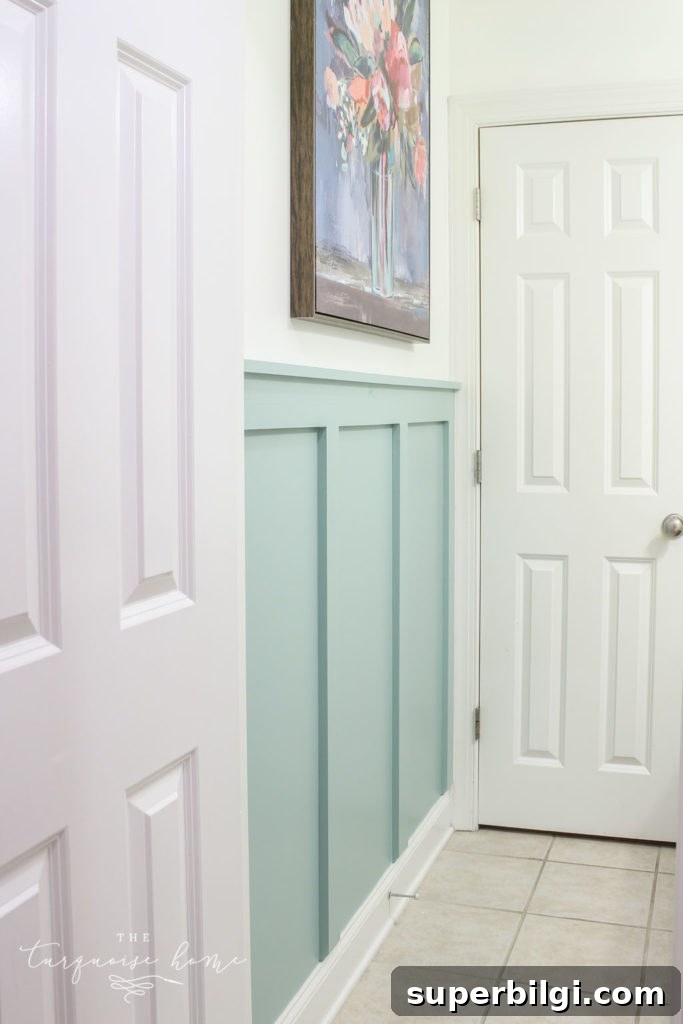
This article walks through what board and batten is, how much a small project might cost, planning tips, the supplies you’ll need, and step-by-step instructions so you can tackle this DIY with confidence.
What is Board and Batten?
Board and batten is a style of wall paneling that originated on exteriors and has become popular indoors. It pairs wider flat boards with narrow vertical strips (battens) placed over the seams to create dimension and texture. The look is versatile—suiting styles from modern farmhouse to minimalist—and is commonly used in bathrooms, bedrooms, hallways, and entryways to add architectural interest.
How Much Did the Project Cost?
For a small bathroom project, the materials for my board and batten walls (boards and paint) cost $42 when I did the work in 2016: about $25 for boards and $17 for paint. Prices for lumber and paint fluctuate, so expect current costs to be higher. Still, board and batten is typically an affordable way to update a room, especially when you choose budget-friendly materials like furring strips, MDF, or lattice for the battens.
I used common pine boards because they were straight and had neat squared edges, and the project area was small enough that the extra cost made sense. For larger areas, consider less expensive alternatives and double-check boards for straightness before purchase.
The Planning Phase
Before you buy materials or cut boards, sketch or visualize your plan. Ask yourself:
- Board and battens or battens only? If your walls are textured, installing full boards creates a smooth base. Smooth walls can often use just vertical battens and a top rail, saving time and money.
- Color choices — Decide whether you’ll paint the trim and battens the same color as the wall or a contrasting shade for emphasis. I used a light neutral and a blue-green accent for the battens in the bathroom.
- Top board height — Common choices are one-third or two-thirds up the wall; one-third is often the most visually pleasing. Consider hooks, artwork, built-ins, or other room features when choosing the height.
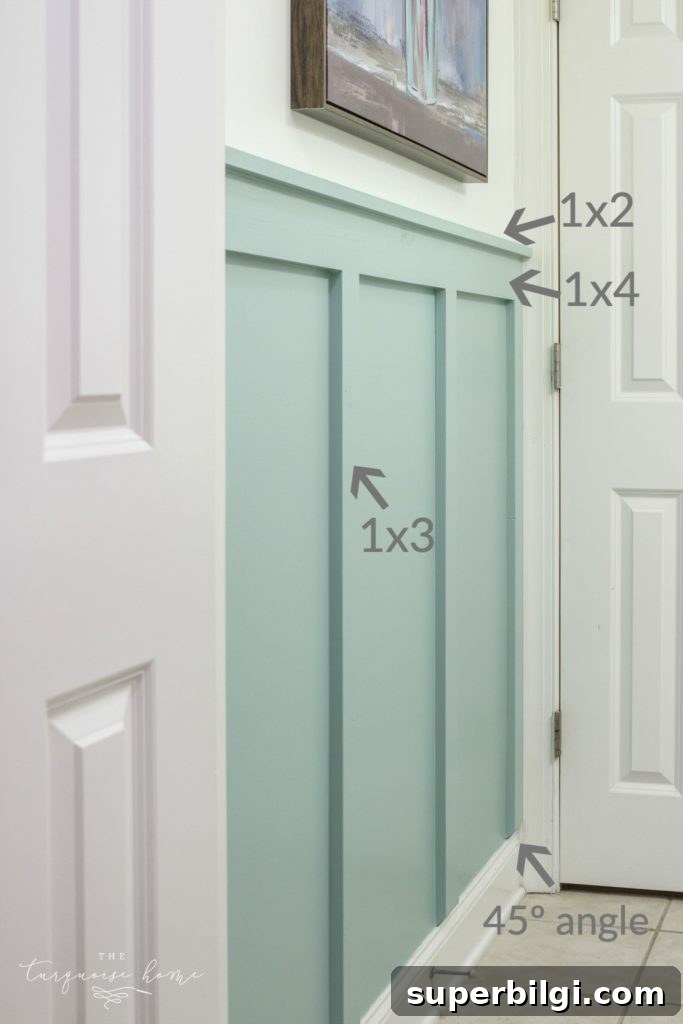
- Baseboards — Will you keep existing baseboards or replace them? If keeping them, cutting the battens’ bottoms at a 45° angle helps the battens look like they sit on top of the baseboard rather than overlapping it.
- Board size and layout — Decide on battens spacing, whether you’ll have one or two horizontal rails, and whether the bottom horizontal board will sit above existing baseboards or replace them.
Think through these options so you can buy the right materials and avoid surprises mid-project.
Supplies for DIY Board and Batten
- Boards — Choose sizes based on your design. A common layout uses:
- 1 x 4 for the horizontal piece across the wall
- 1 x 3 for vertical battens (cut to height)
- 1 x 2 for a top ledge or shelf
- Paint — Primer plus topcoat. For a small bathroom I used less than a quart, but adjust to your room size.
- Primer — Prime raw wood before painting.
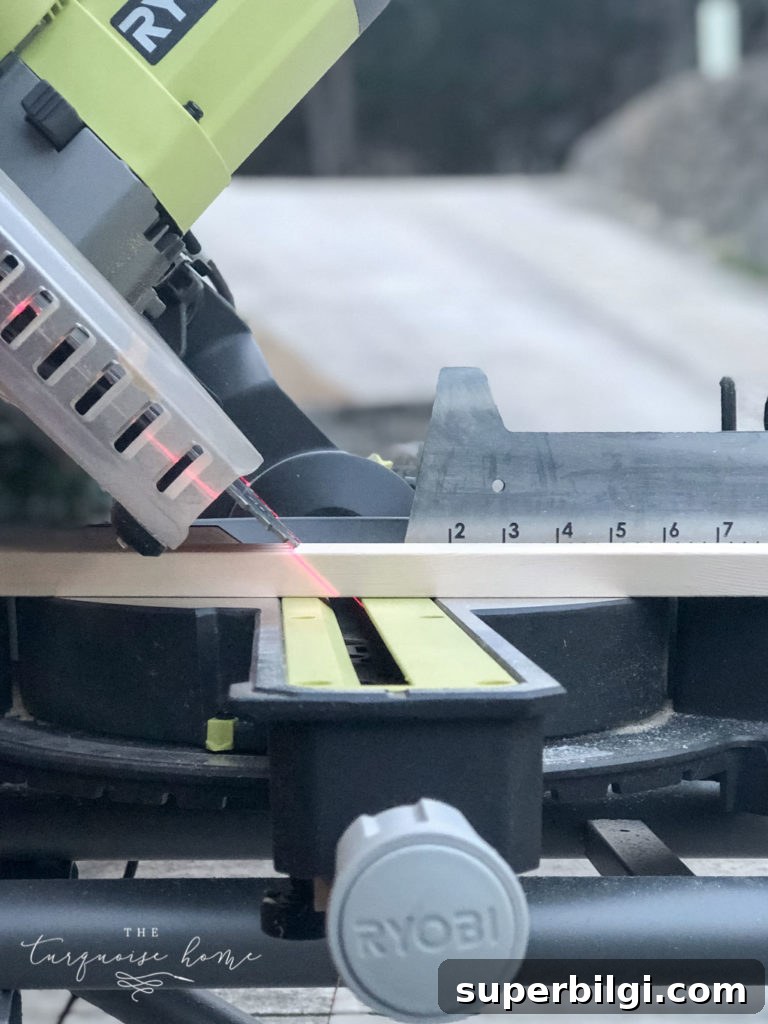
- Saw — A miter saw is handy for accurate cuts and 45° angles; a hardware store can also cut boards if needed.
- Nailer or nails — A brad nailer speeds installation; you can also use a hammer and finish nails.
- 2″ brad or finish nails
- Level and/or laser level
- Spackling compound — For filling nail holes
- Paintable caulk — For sealing seams
- Sandpaper (medium to fine grit)
- Optional: liquid nails for extra adhesion
This project uses basic tools and is suitable for a motivated beginner.
Instructions for DIY Board and Batten
1. Start at the Top
Decide and mark the height of your top horizontal board. Visually, placing the rail about one-third up the wall is often most appealing, but practicality—like the height for hooks or artwork—should guide your choice. I placed mine 42″ above the baseboard to allow reachable hooks for the kids.
2. Plan Your Battens
Map where each vertical batten will go. If possible, align battens with wall studs (use a stud finder) and decide their spacing. I positioned battens to finish cleanly at the wall ends; that final edge really completes the look.
3. Cut Your Boards
Measure and cut each vertical batten to fit—account for uneven baseboards by measuring individually. If you keep existing baseboards, consider cutting the bottom of the battens at a 45° angle so they appear to rest on the baseboard rather than overlap it. Thinner battens, like lattice, don’t usually need the angle cut.
4. Paint Everything First
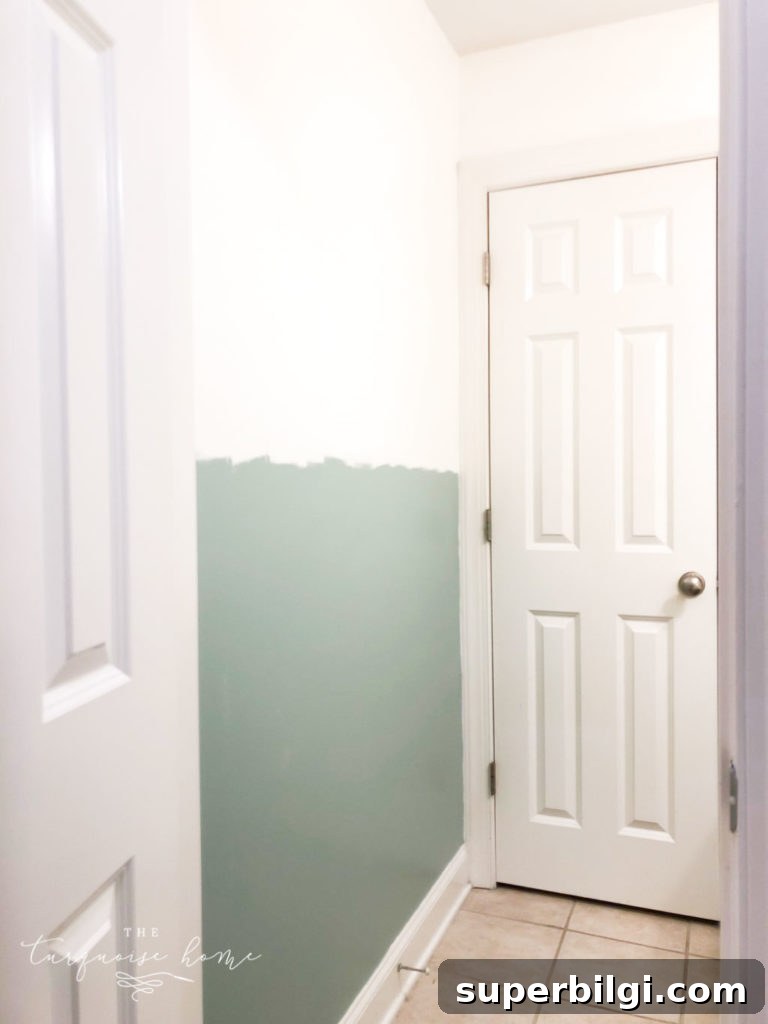
Big time-saver: prime and paint the wall and the boards before installing them. Paint the wall up to the top-rail line, prime raw boards, then apply your finish coats to the boards. After installation you’ll usually only need one quick touch-up coat to cover patched nail holes and seams.
5. Mark Where Each Board Will Go
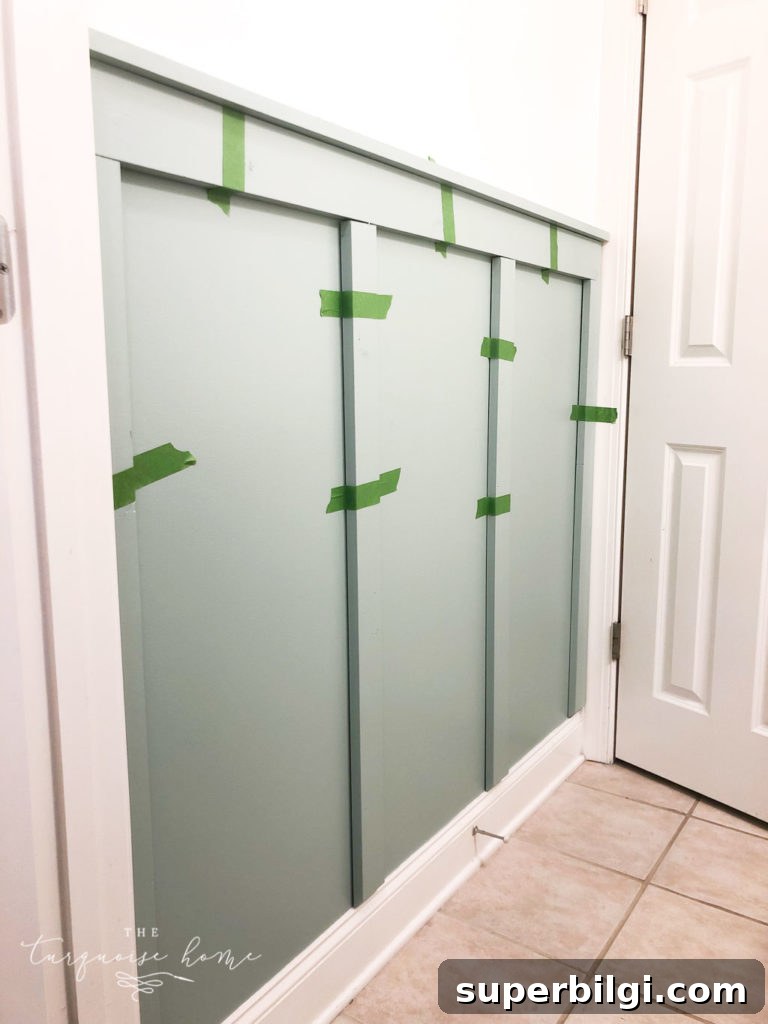
Before nailing anything, mark or temporarily tape boards to the wall to check spacing and appearance. This quick visual test helps avoid mistakes and ensures your layout feels balanced.
6. Install the Horizontal Board First
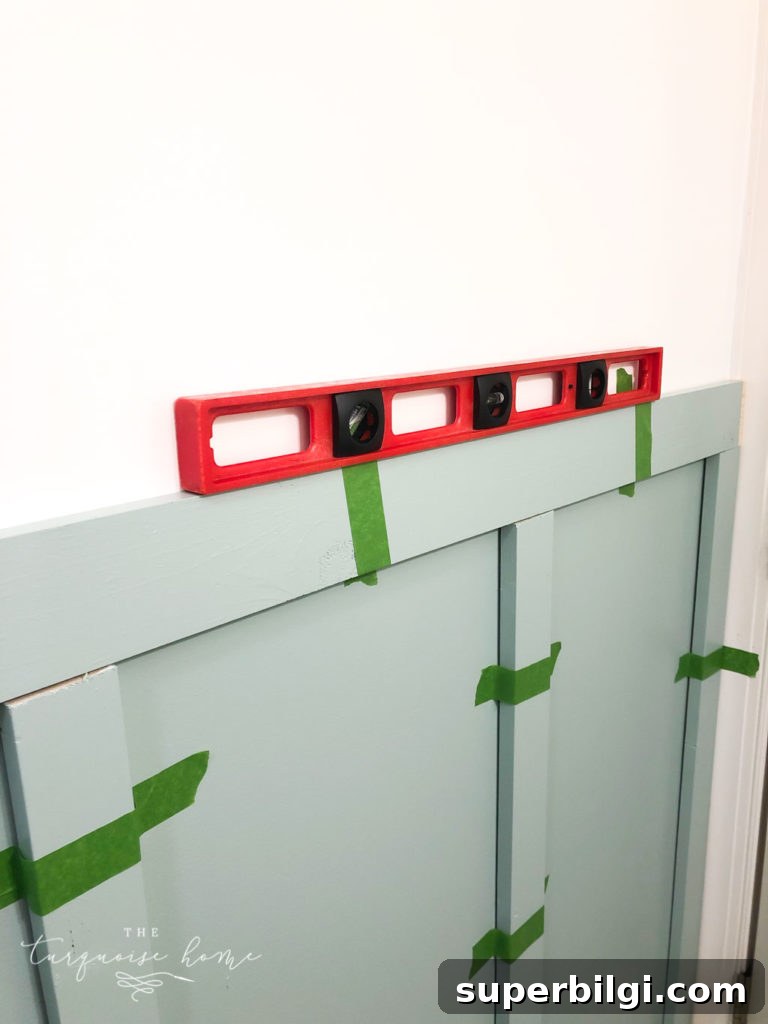
Use a level or laser level to make sure the top board is perfectly straight. Nail it into studs where possible, using 2″ brad nails or finish nails. Adhesive can be added for extra hold, but pure mechanical fastening makes future removal easier.
7. Install the Vertical Battens
Nail each vertical batten in place, checking level as you go. Fasten to studs when you can. Use enough nails to secure the boards without creating excessive holes to fill later.
8. Patch Nail Holes
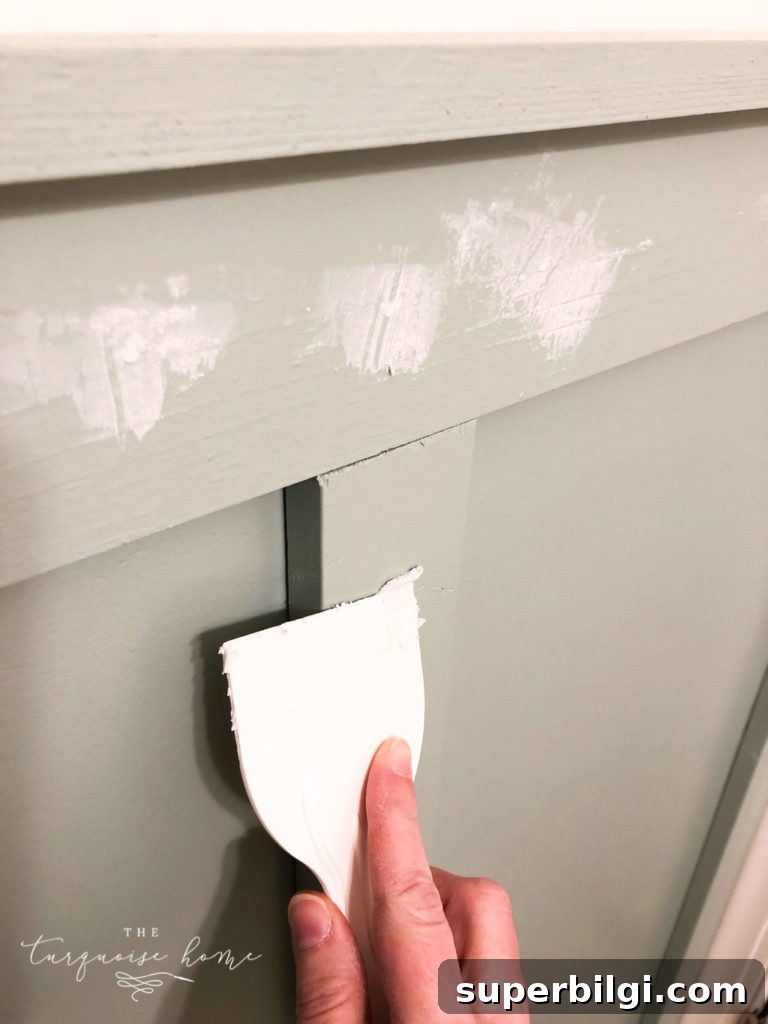
Fill nail holes and any imperfections with spackling compound. Because brad nail holes are small, they’re quick to patch and sand smooth.
9. Caulk Seams
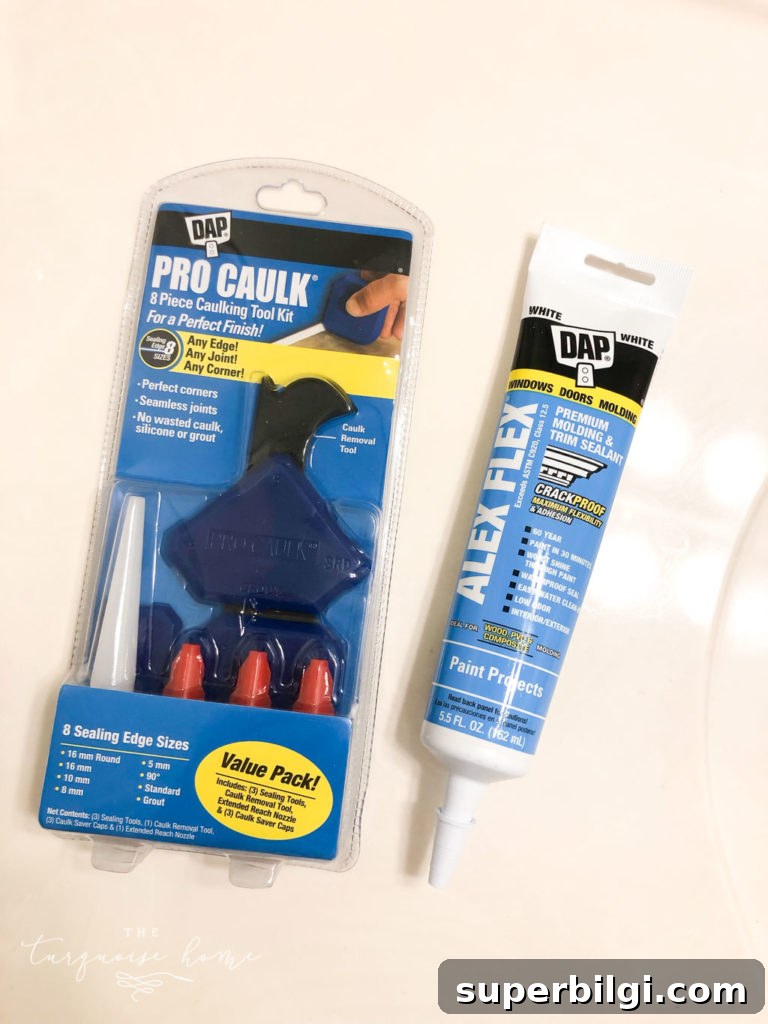
Run a thin bead of paintable caulk along seams and smooth it for a clean joint. There are finishing tools available, but a damp cloth or your fingertip can work—wipe carefully and clean your skin afterward.
10. Sand Smooth
After spackling and caulk dry, sand until smooth. Feather edges so the transition between trim and wall is seamless.
11. Final Paint
Apply a final coat of paint over patched areas and caulk lines, then step back and enjoy your refreshed space. Board and batten creates instant architectural detail and elevates even the smallest rooms.
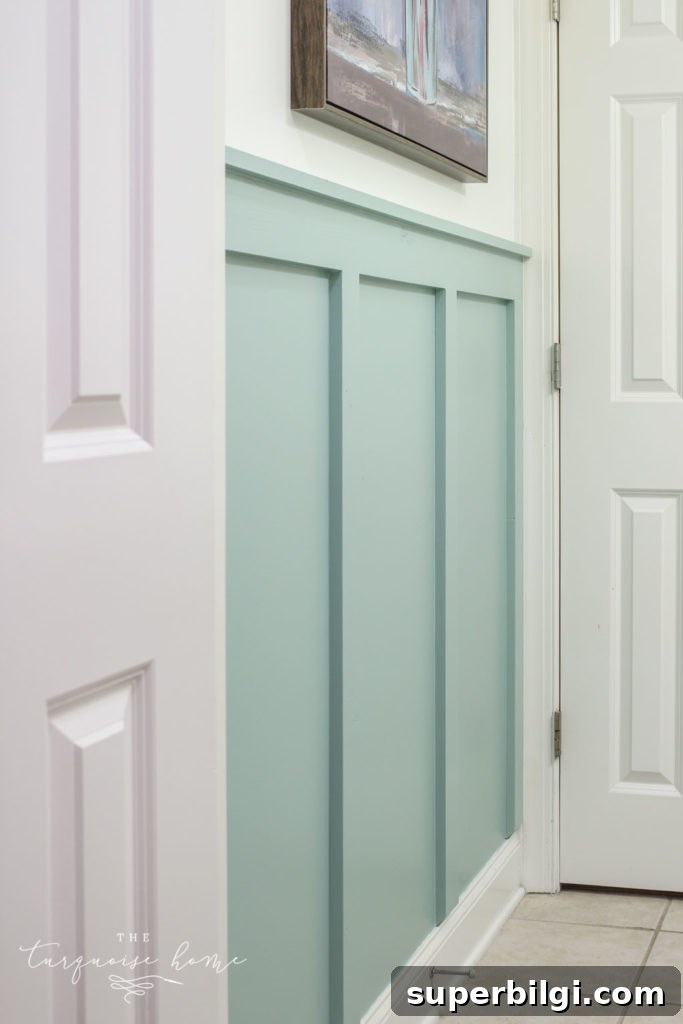
Although there are several steps, the process is straightforward and very achievable for a determined beginner. Start with a small room if you want practice before tackling a larger space.
Related project ideas to consider:
- A guide to wall trim and molding options
- How to frame a canvas on a budget
- Seasonal decor projects like a rustic door hanger
- Large DIY wall decor ideas
- Paint color spotlights and comparisons