
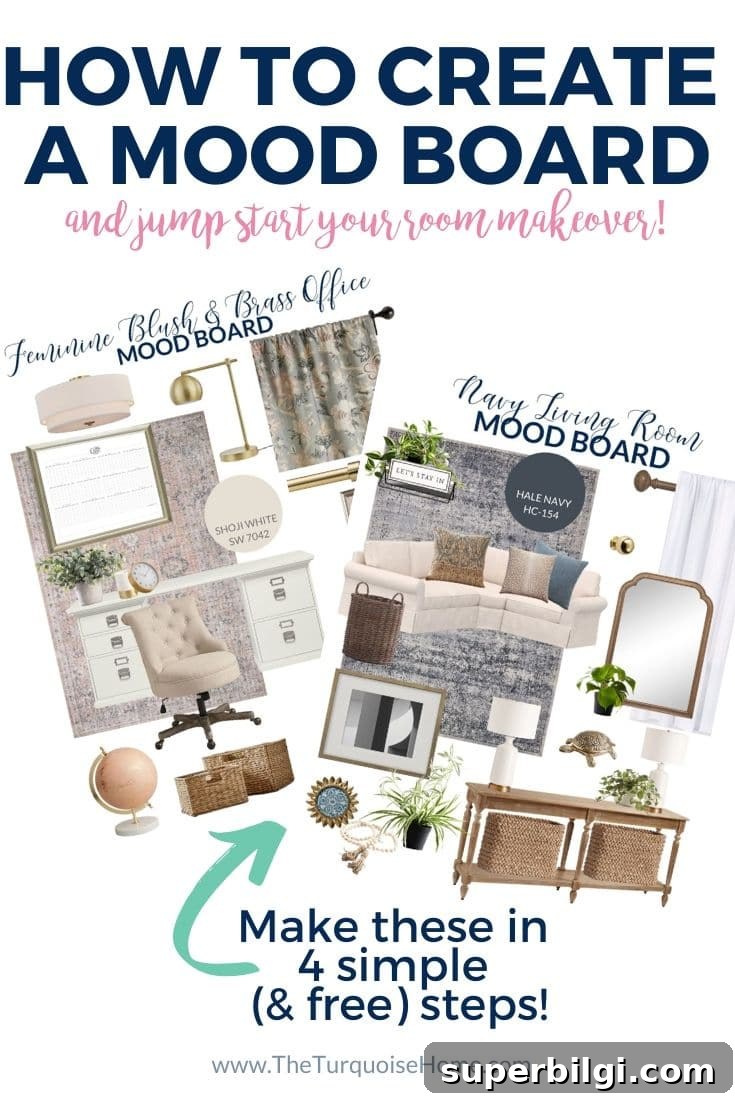
Create a design mood board every time you start a room makeover. It’s simple, quick, and helps you visualize the space before you buy anything or paint a wall. A mood board is the best way to plan a room design.
After I shared my office makeover vision board, many readers asked how I put it together. Today I’ll walk you through how to make a mood board so you can jump-start your own room refresh.
This post contains affiliate links for convenience.
Before you begin a mood board, consider reading the post titled “How to Start a Room Makeover” for the preliminary steps to take before creating your board.
I’ve been making design boards since I started blogging, and the tools for creating them have improved a lot. It’s much faster now than it used to be to assemble a polished vision board.
I often use Canva Pro because it speeds the process, but you can make an effective mood board for free. Below I’ll explain a no-cost method alongside tips for using paid tools if you already have them.
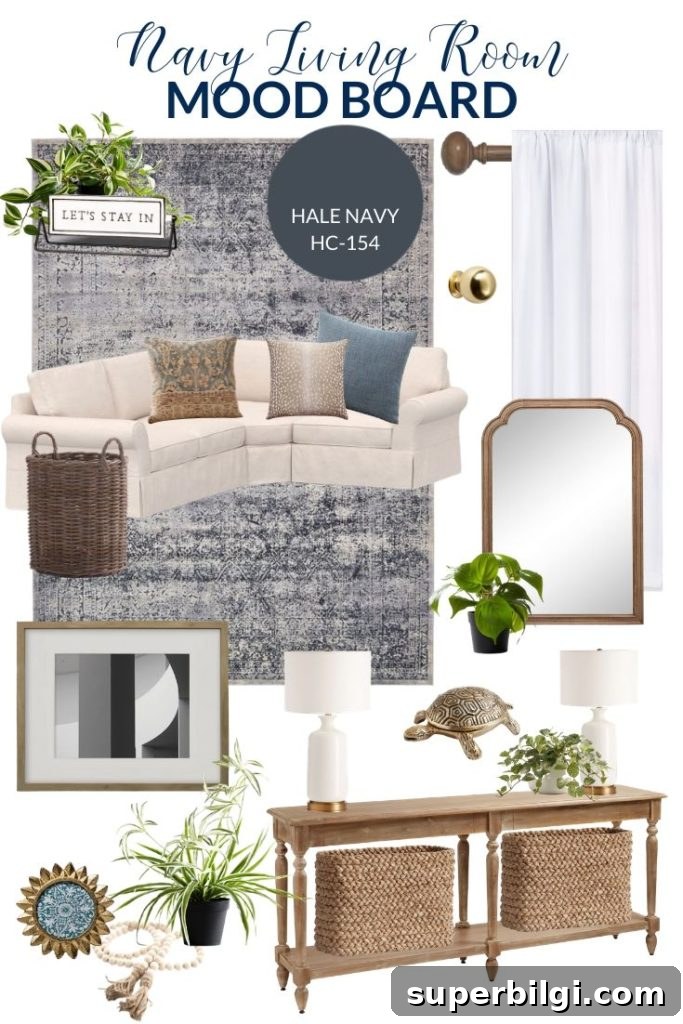
Faux Wandering Variegated Tradescantia Plant | “Let’s Stay In” Sign | Wood Curtain Rod | White Curtains | Vintage-Style Navy Rug | Sectional Sofa (Twill, Parchment) | Palna Pillow Cover | Midnight Blue Linen Pillow Cover | Animal Print Pillow Cover | Large Wicker Basket | Wood Framed Mirror | Faux Pothos Plant | Gallery Frame | White & Brass Lamps | Brass Turtle | Faux Potted Fittonia Plant | Starburst Frame | Wooden Beads with Tassel | Faux Potted Variegated Spider Plant | Console Table | Console Table Baskets
The main goal of an interior design mood board is to see how everything works together visually. Even when a concept feels clear in my head, creating a vision board confirms that colors, scale, and styles harmonize.
If something feels off on the board, you can swap elements without buying or returning products. That saves time, money, and hassle during the actual makeover.
Steps to Create a Design Board
If you prefer, I’ve captured these steps in a video demonstration later in the post.
1. Find and Save Design Elements You Want to Use
Browse retailers and image sources for photos of items you already own or items you’re considering. Save images to your computer, choosing photos with plain or minimal backgrounds when possible. Images with white backgrounds are easiest to work with.
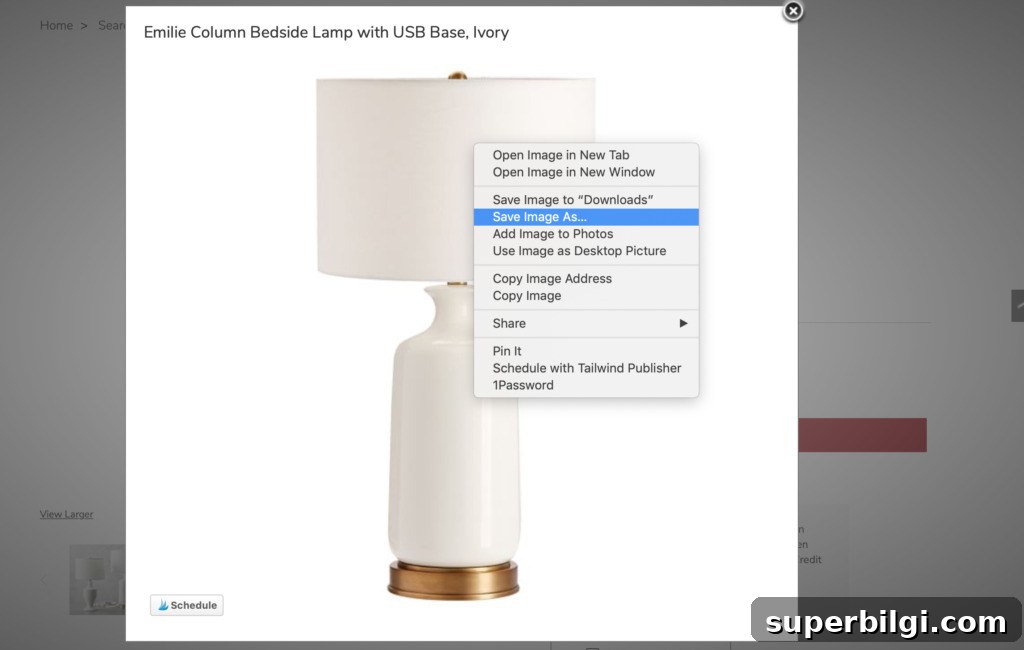
On a laptop or desktop, right-click and select “save image as.” Some sites require you to open the image larger before saving. If an image can’t be saved directly, take a screenshot and crop it. On a Mac, pressing Command-Shift-4 captures a selected portion of the screen to your desktop.
2. Remove Image Backgrounds and Save as PNG Files
Removing backgrounds isn’t mandatory, but it produces a cleaner, more realistic board because items can overlap and appear in front of one another. If you use a design app that offers a background remover, try that first.
There are paid and free background-removal tools. If you don’t have access to a paid service, search for a free background remover and use one that produces a clean transparent background. Download each edited image as a PNG to preserve transparency.
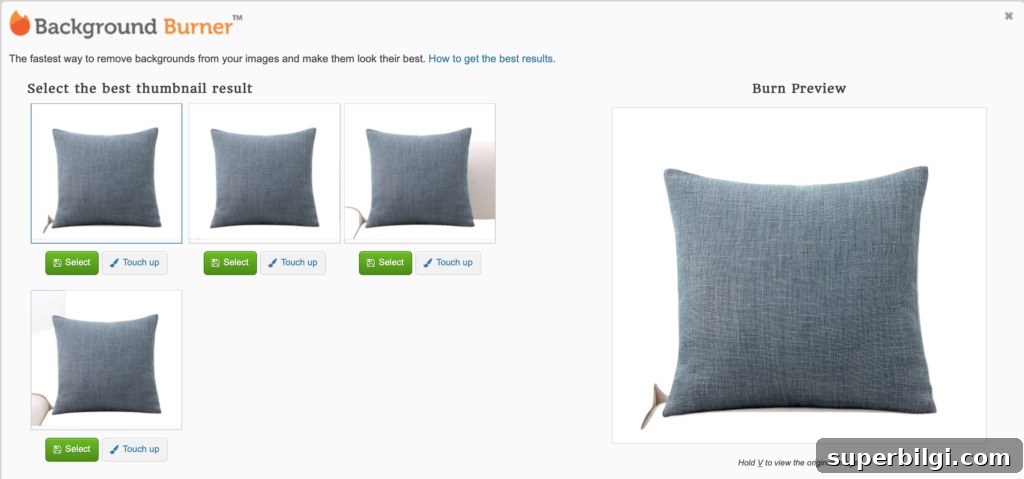
If the automatic result isn’t perfect, most tools let you touch up the mask manually using add/remove brushes. Keep working until the subject is cleanly separated from its background, then export as PNG. Repeat for every item you plan to include.
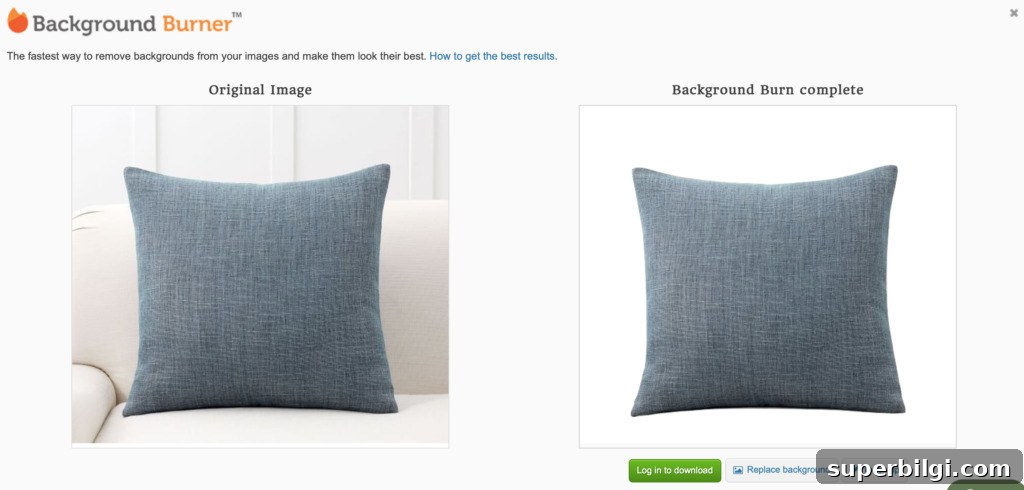
Removing backgrounds makes it easy to layer objects and maintain a natural look, so a lamp can sit in front of a sofa, or a plant can appear partially behind a console table.
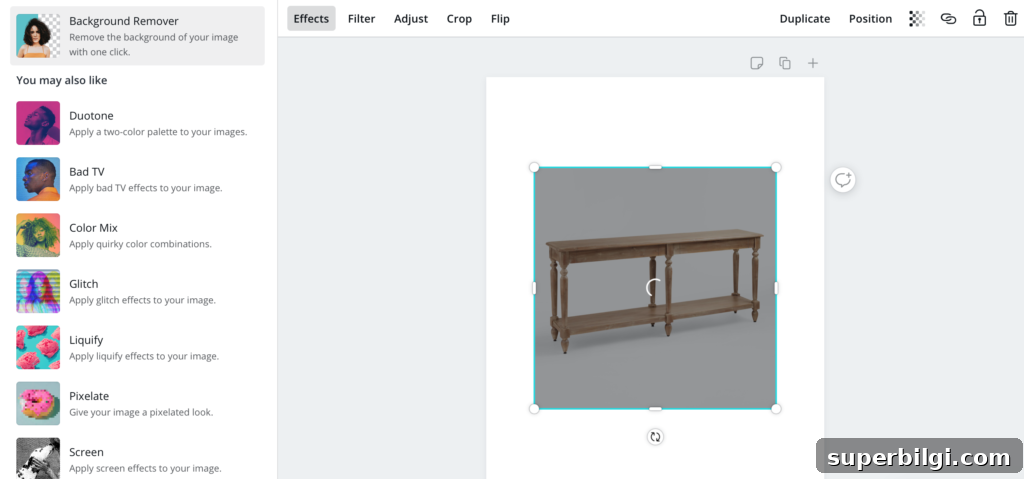
Try several removal tools to find the workflow that suits you best. Some services are instant and free, others require sign-up or a small fee but offer finer control.
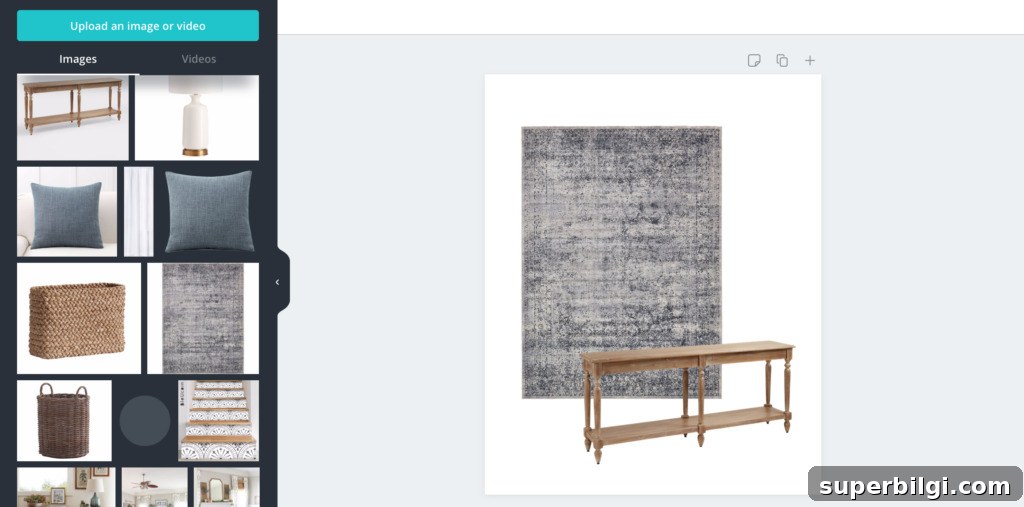
3. Create a New Design and Upload All Images
Open your design app and create a new canvas. Many people use Canva because it’s easy, but any editor that supports PNGs and layers will work. Choose custom dimensions—I often use 735 x 1102 pixels—but pick a size that suits your needs.
Upload all your PNG images to the project so they’re ready to arrange on the canvas.
4. Rearrange the Items on the Board Until You Like the Composition
Drag images onto the canvas and move them until the composition feels balanced. Use tools to bring items forward or send them back so objects layer correctly. You can duplicate items to repeat accessories or show different placements of the same piece.
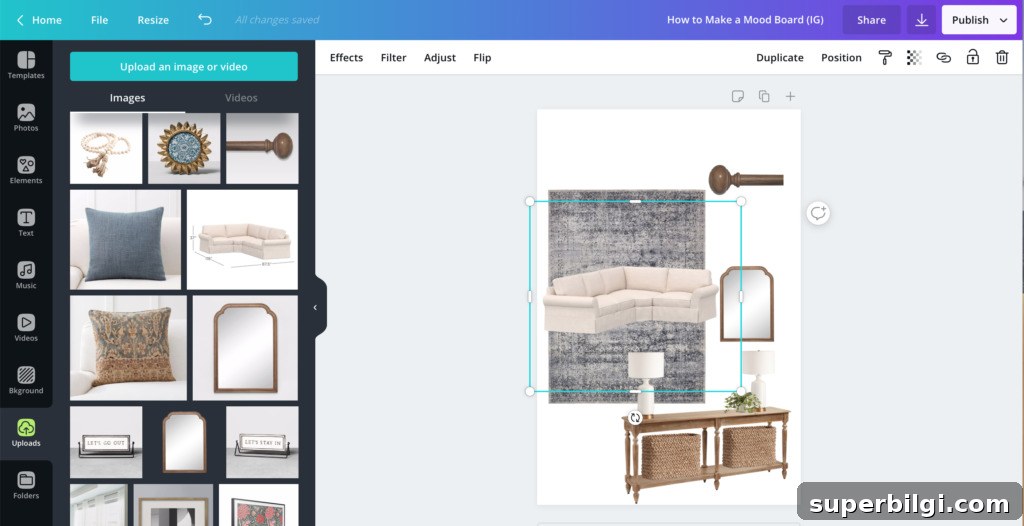
Start with large elements—sofas, rugs, tables—then add medium and small accents. Adjust scale and spacing until the whole board reads like a cohesive room. This step helps you avoid costly mistakes and design regrets later on.
That’s it. I use mood boards for every room makeover because they help me make confident choices about furniture, finishes, and lighting without unnecessary returns.
Video: How to Create a Mood Board
Watch the video demonstration to see this process in action and follow along step by step.
Once your board is finished, share it with friends or family to gather feedback, or keep it as your reference while shopping and decorating.
If you have questions, leave a comment below and I’ll help where I can.
More Posts You Will Love:
- Butler’s Pantry Ideas: 10+ Beautiful And Functional Designs
- Traditional Dining Room Reveal
- 16 Economical Laundry Room Ideas
- 7 Ways to Refresh a Kitchen
- Above Bed Decor: 12 Ideas for Decorating that Odd Space