
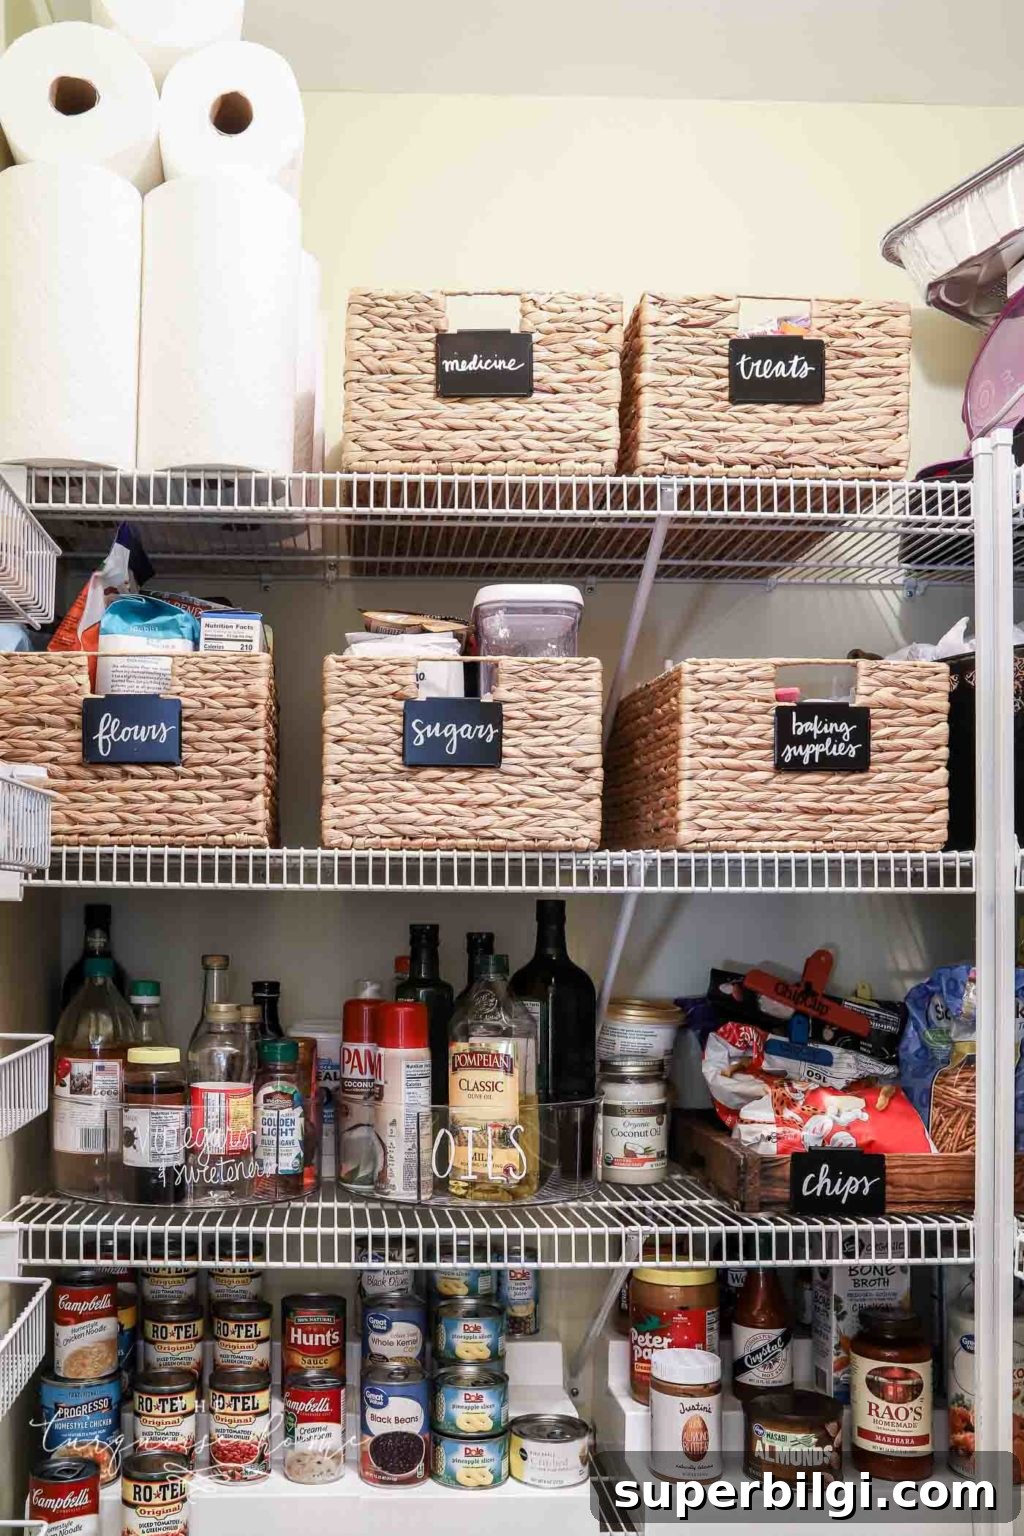
Learn how to organize a pantry with practical tips and tricks to make it feel bigger and run more efficiently.
An organized pantry saves time and money and eliminates the frustration of searching for items you already own or accidentally re-buying staples. The following guide walks through decluttering, planning, and organizing a pantry—whether it’s a few cabinets or a full walk-in space.
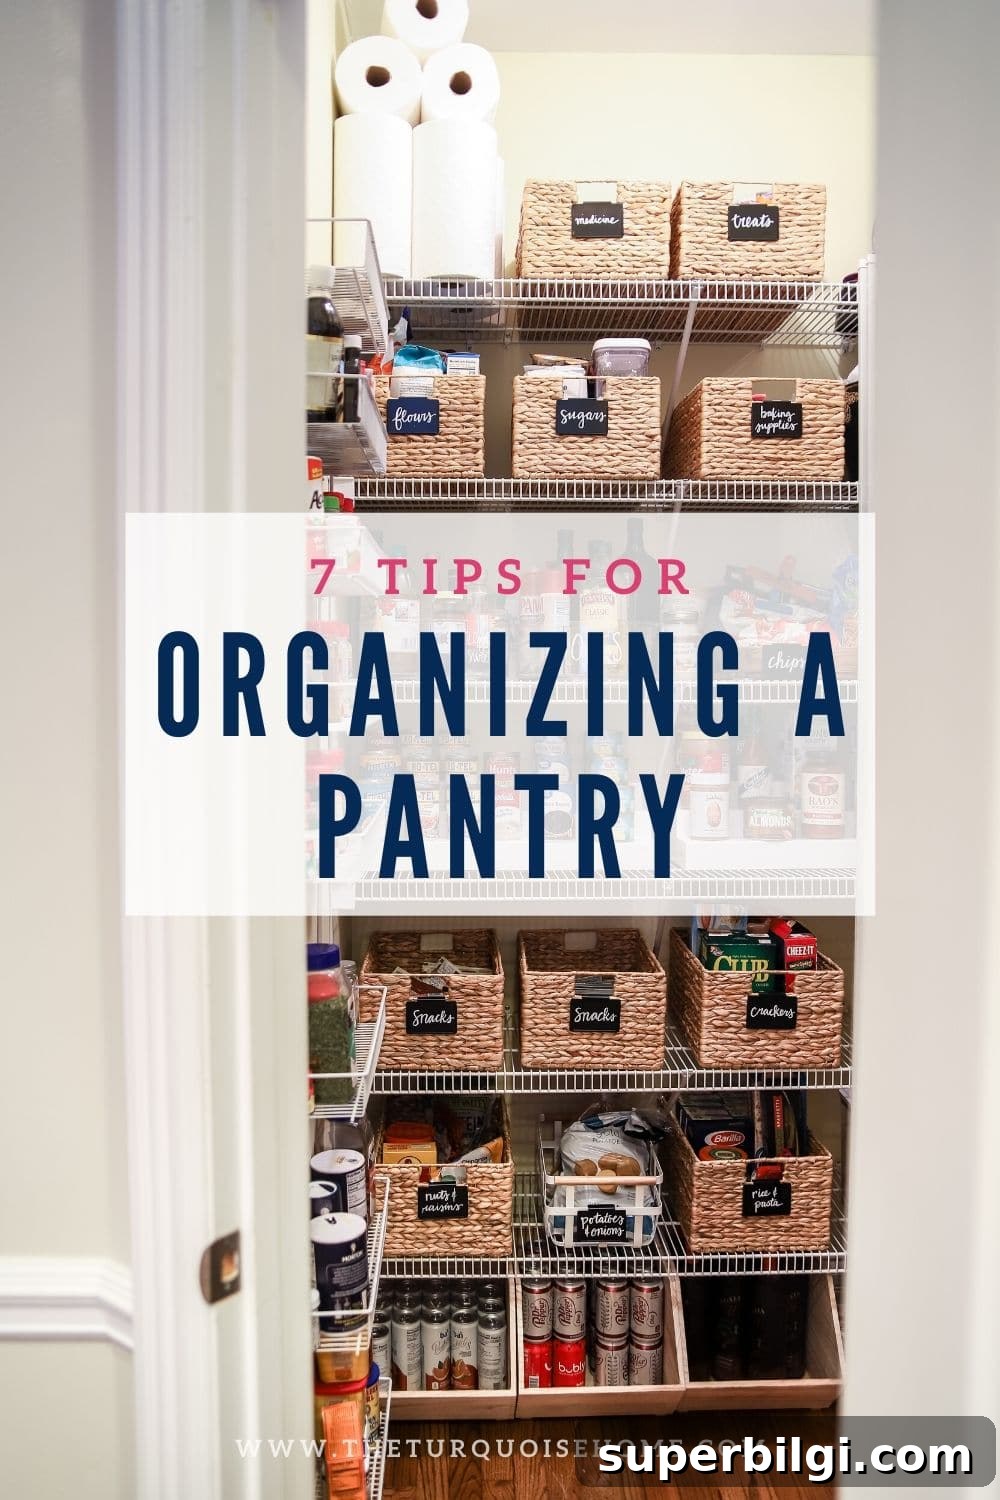
I nearly cry tears of joy every time I open my newly organized pantry. At 38, this is the first time I’ve had a walk-in pantry, and it’s been a game changer. Whether your food is stored in multiple kitchen cabinets or on walk-in shelving, these practical, tried-and-true tips will help you create a pantry that is both beautiful and functional.
We moved into this house recently and tackling the pantry was my first priority because its disarray was driving me crazy. I tried to tidy around items that were still in place, but real organization required emptying the space first.
Our Family Pantry Stats:
- Family of four: two adults and two young children
- No pets
- We cook dinner roughly five nights a week and pack lunches daily
- We shop in bulk for snacks, pasta and pantry essentials
- Walk-in pantry with two walls of wire shelving and a side spice storage piece; ceilings are 9 feet tall
- Wire shelving will be replaced eventually, but it’s not an immediate priority
Note: Read through the steps below before you begin. Measure your space and order baskets, bins, and other organizing pieces before you start the decluttering process.
How to Declutter a Pantry
Decluttering is the essential first step—organizing with everything still in the pantry rarely works. Think of this as the foundation: removing, sorting, and deciding will make the organizing stage simple and effective.
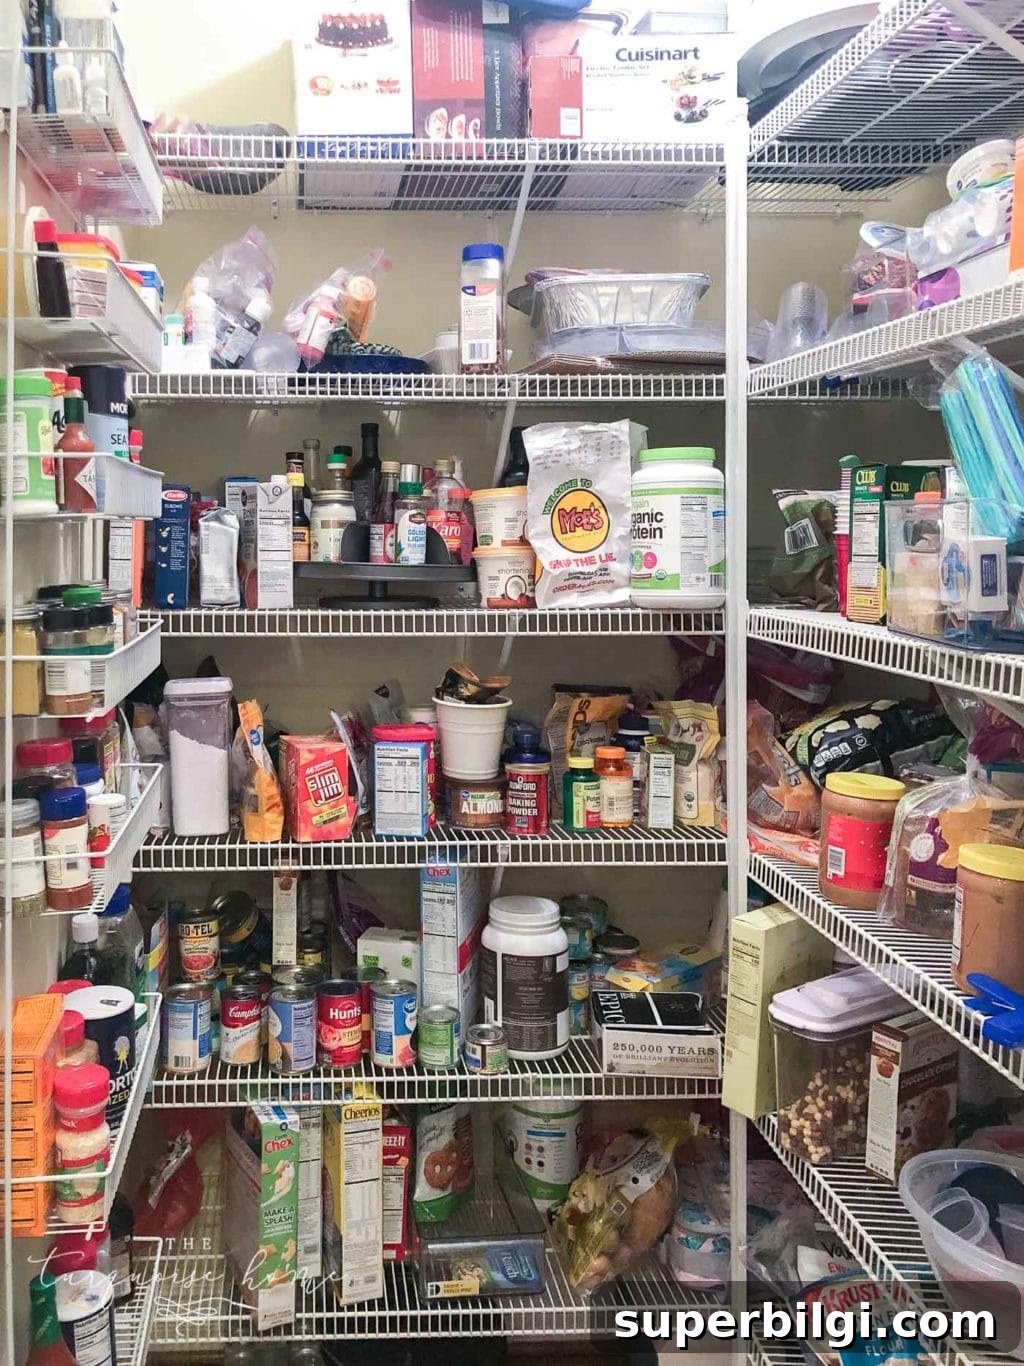
Step 1. Remove Everything from the Pantry
Take everything out except items you’re certain will stay where they are, such as permanent serving pieces. Empty the shelves so you can clean and evaluate each item. Expect the space to look worse before it looks better—that’s normal.
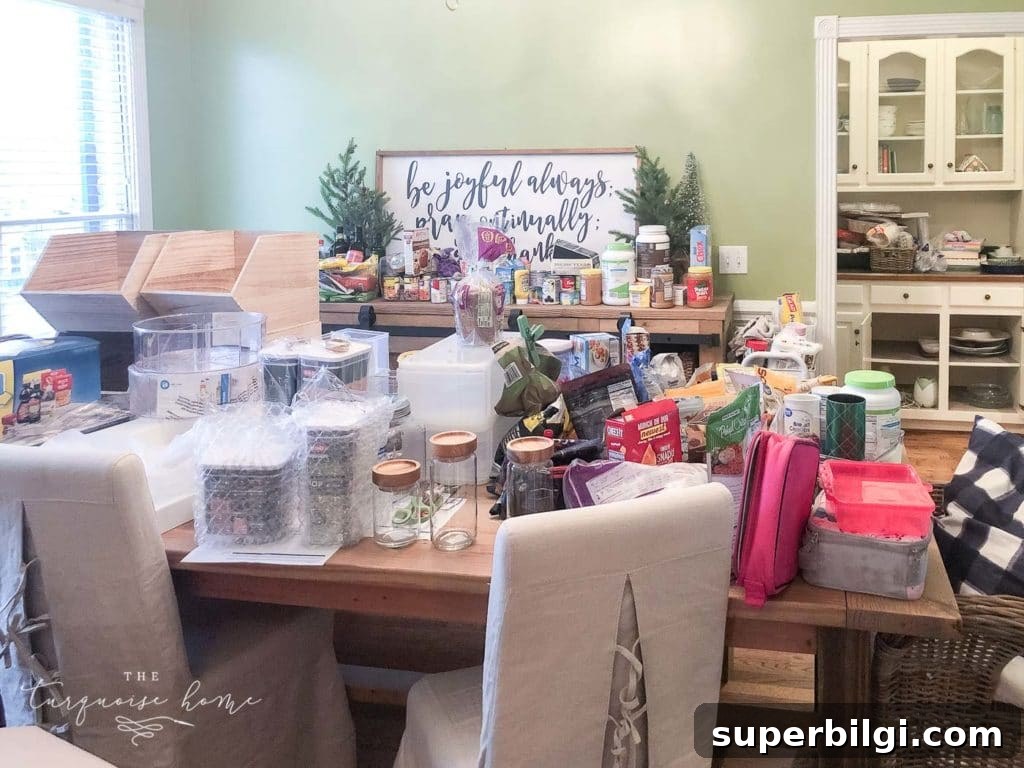
Step 2. Sweep the Floor and Wipe Down the Shelves
Clean the space thoroughly. Dust and crumbs collect over time, and starting with a clean surface helps everything look and feel fresh.
Step 3. Group Similar Items & Discard Expired Foods
Sort items into categories—baking goods, snacks, oils, canned goods, etc.—and check expiration dates as you go. Toss anything expired.
Step 4. Donate Non-Expired Items You Won’t Use
If you have surplus items you know your family won’t eat—extras from an event or duplicates—donate them. This clears space and helps others.
Step 5. Move Items to a More Appropriate Space
If an item belongs elsewhere in the home (serving ware, bulk paper goods, or overflow dishes), move it. Freeing pantry space for food storage improves access and safety—heavy or fragile items are better stored in lower, more accessible cabinets.
Walk-In Pantry Organization Ideas
With decluttering complete and items grouped, you can begin planning the layout. Think about visibility, reachability, and visual cohesion—this will help you maintain the system long-term.
If budget is tight, use what you already have and update containers over time. If you can invest in cohesive storage pieces, choose durable baskets and bins that reflect the look and function you want for the space.
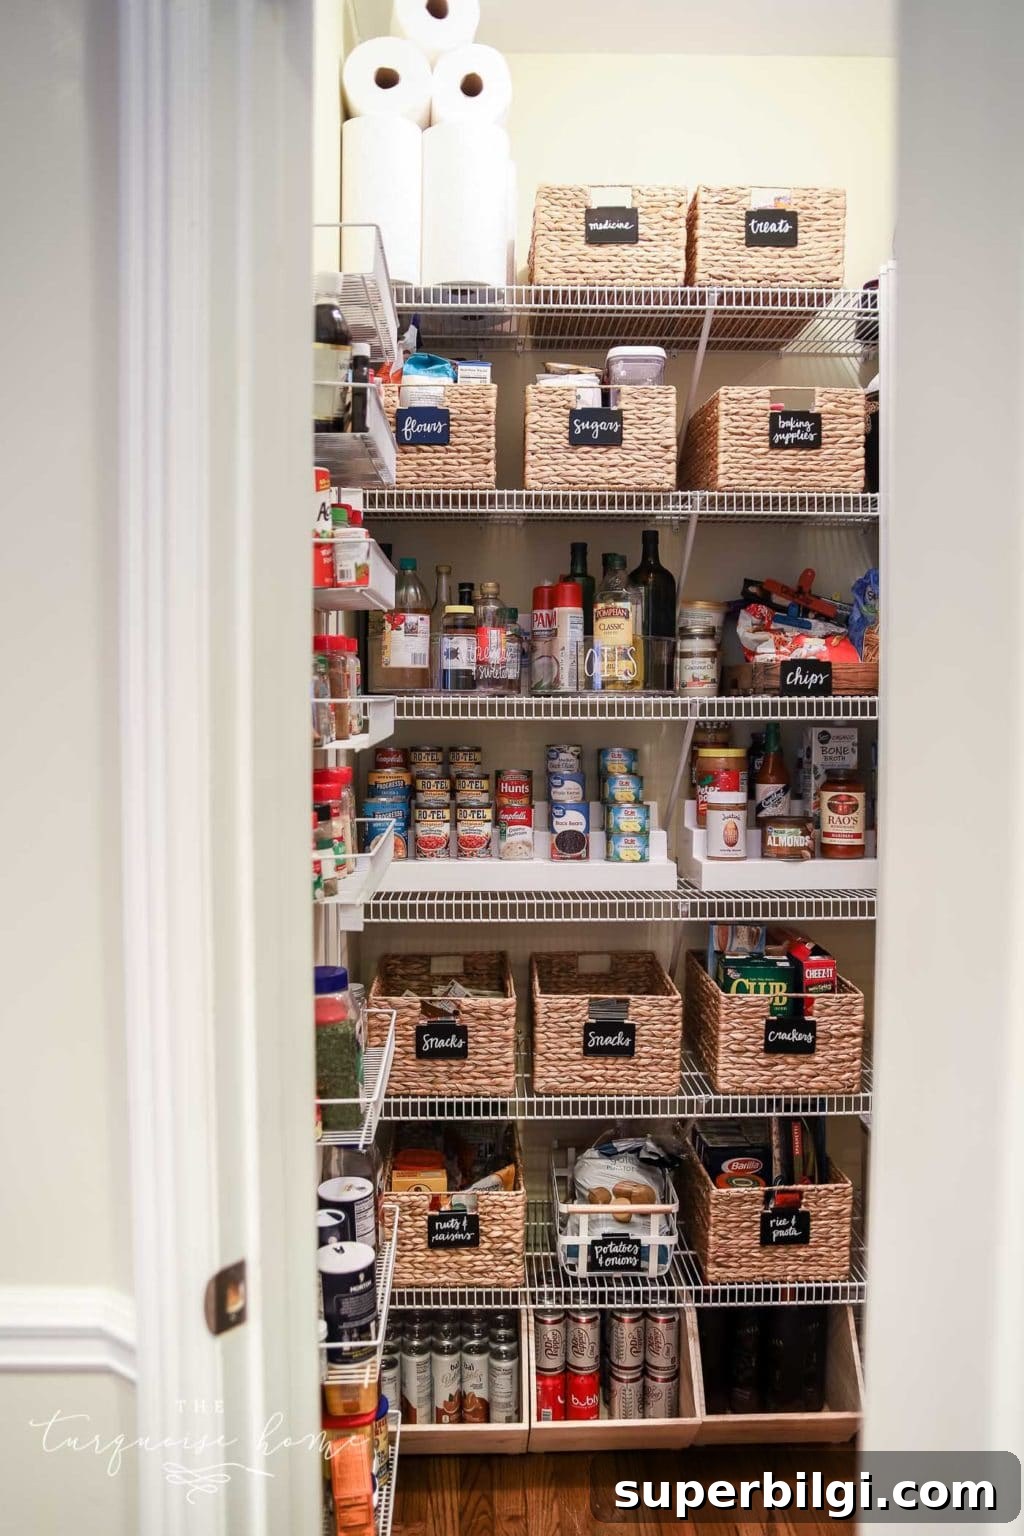
Step 1. Measure Your Space
Measure shelf width, depth and height, and note any obstacles such as light switches, vents, or uneven shelving. Accurate measurements prevent ill-fitting purchases and help you choose the right baskets, risers, and canisters.
Step 2. Think Through What You Need to Store
Consider your typical inventory: bulk cans, dry goods you want to decant into canisters (flour, sugar, rice), snacks in baskets, or oils and vinegars that benefit from round storage or turntables. Plan containers around your real needs.
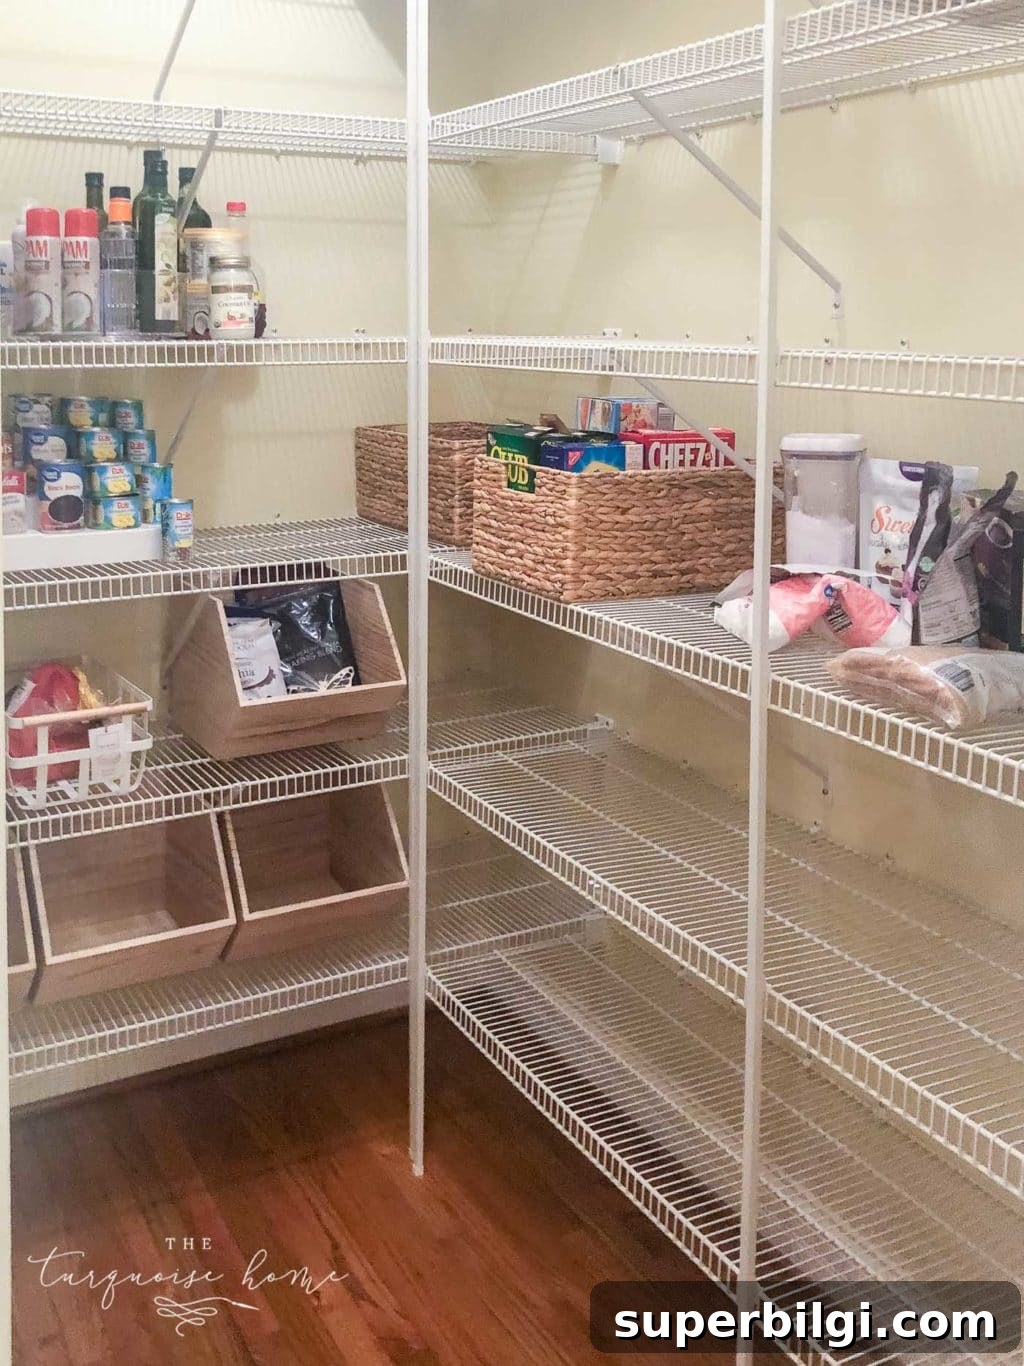
Step 3. Buy the Containers You Need—and a Few Extras
Choose between opaque bins for a uniform look or clear bins for quick visual inventory. Order slightly more than you think you need; returns are usually easier than multiple small shipments when you’re mid-project.
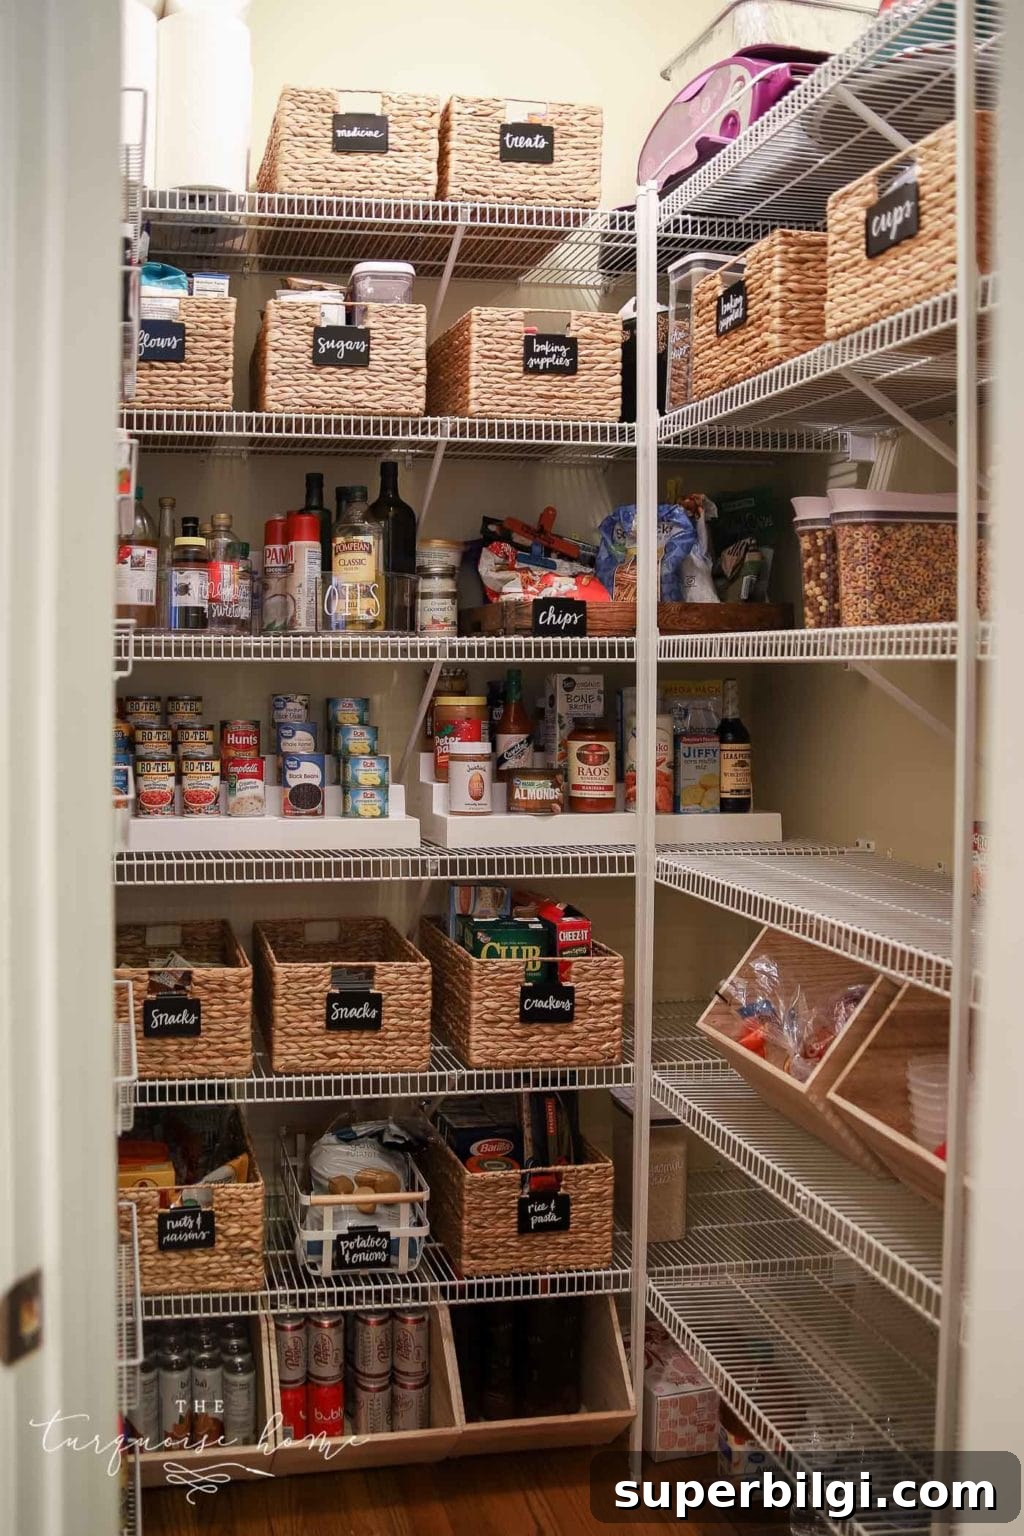
Step 4. Organize the Contents Systematically
Lay out containers on a work surface first and experiment with placement on shelves. Place everyday items at eye level, heavy items low, and seldom-used items high. Keep like items together so shopping and meal prep are faster.
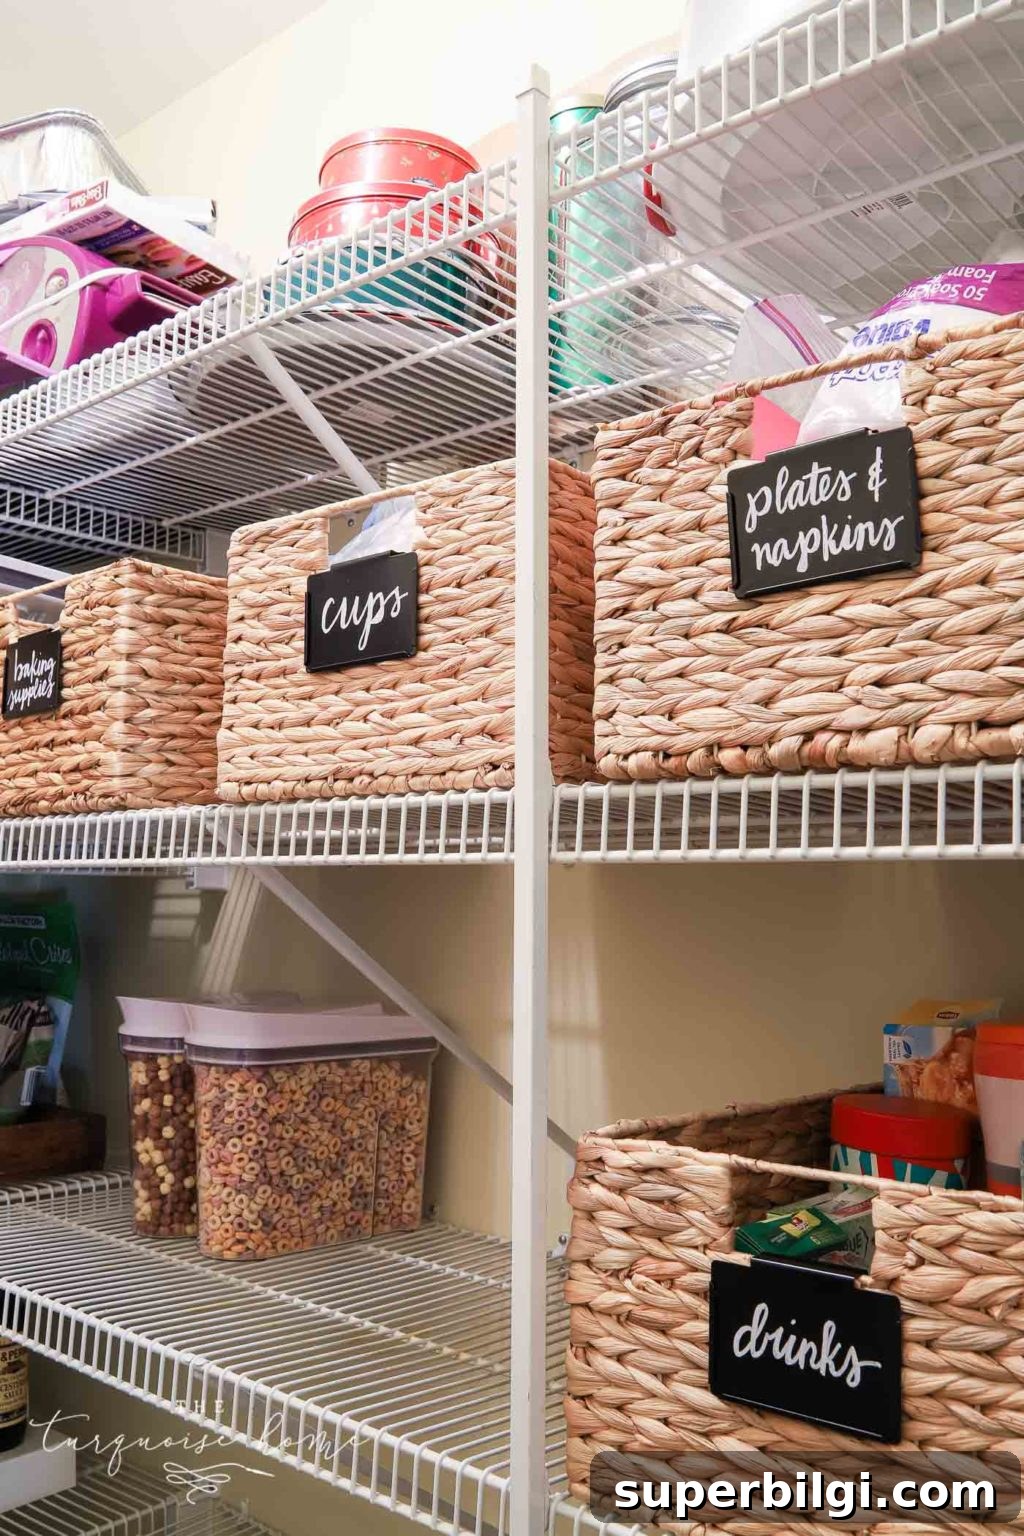
How I Organized My Pantry — Tips and Tricks
Below are the specific solutions I used that worked well for my family and layout. Use these ideas as inspiration and adapt them to your needs.
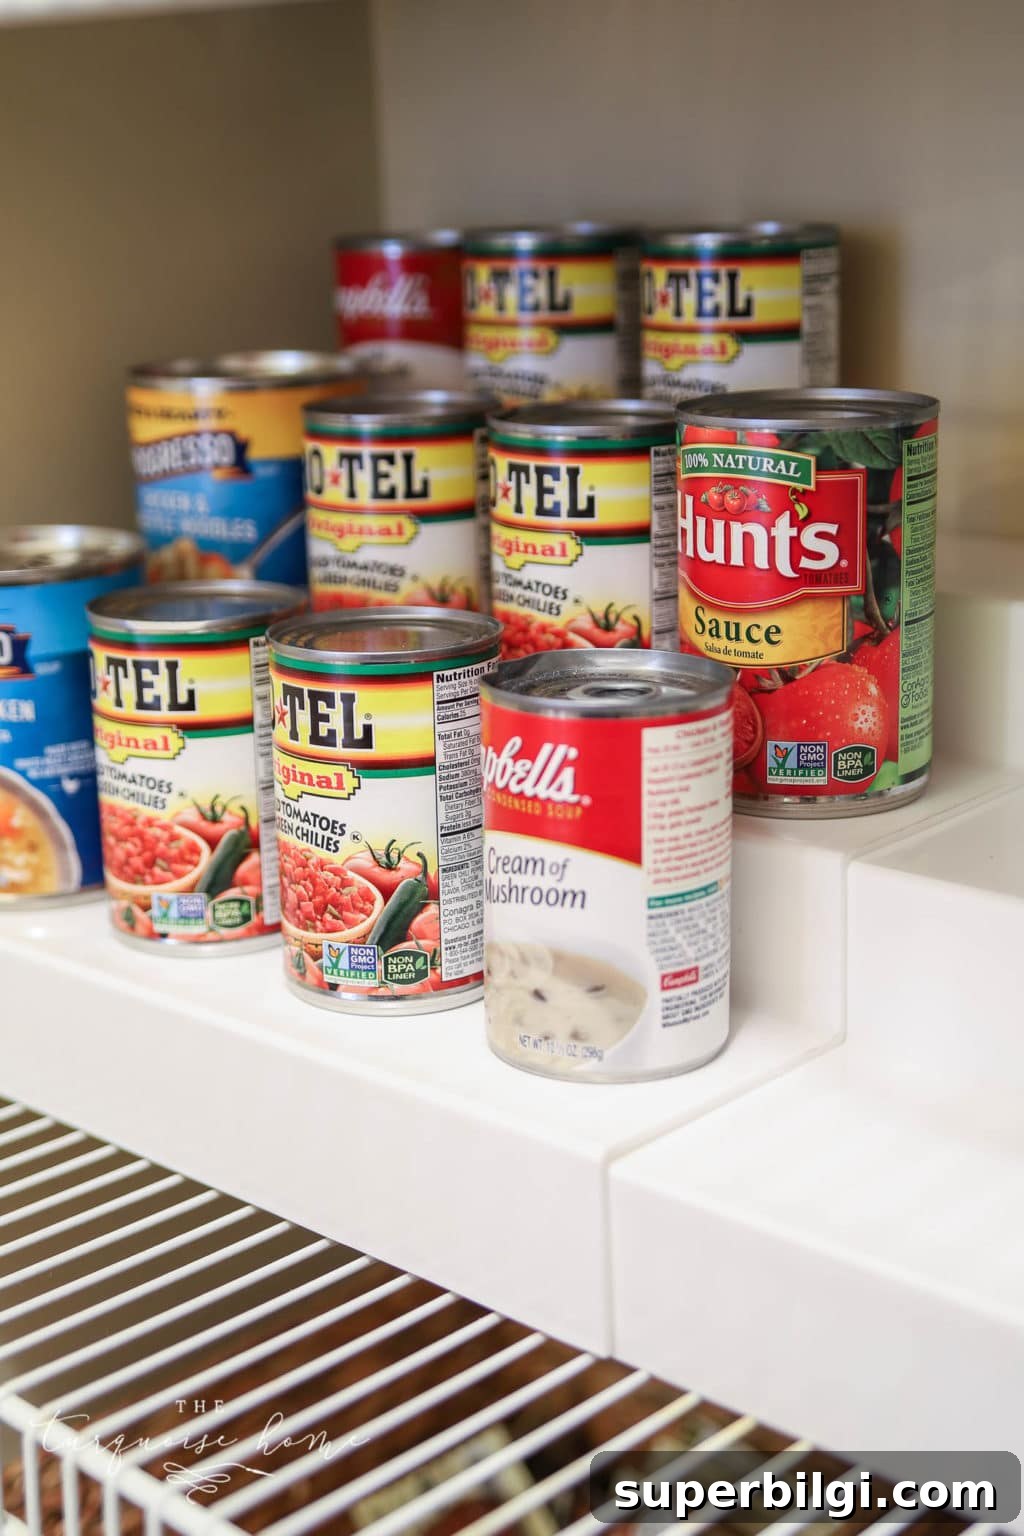
1. Use Can Risers for Cans and Back-Stock Items
Can risers keep cans visible and accessible by elevating rows so labels are easy to read. For larger jars and similar back-stock items, choose oversized risers that accommodate full-sized cans and jars.
2. Label Everything That Needs It
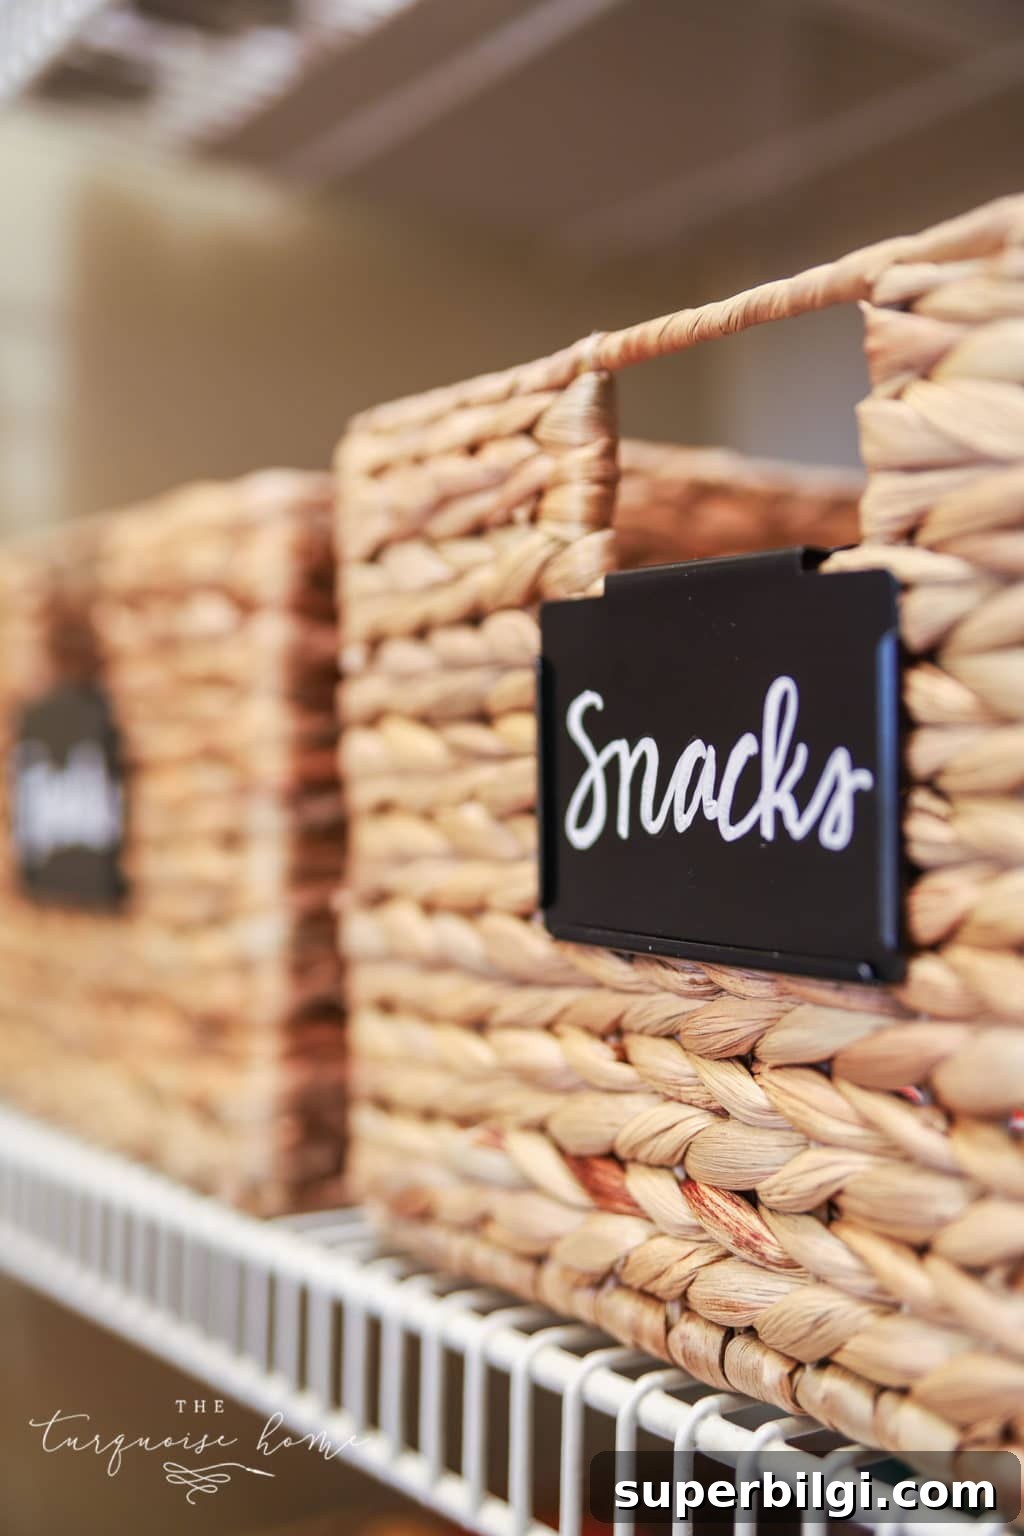
Labels make daily use and upkeep easier—no more guessing where rice or pasta lives. Chalkboard labels, printed tags, or simple removable stickers all work. You don’t need to label every single item; use labels where they add clarity.
3. Categorize in a Way That Makes Sense for Your Family
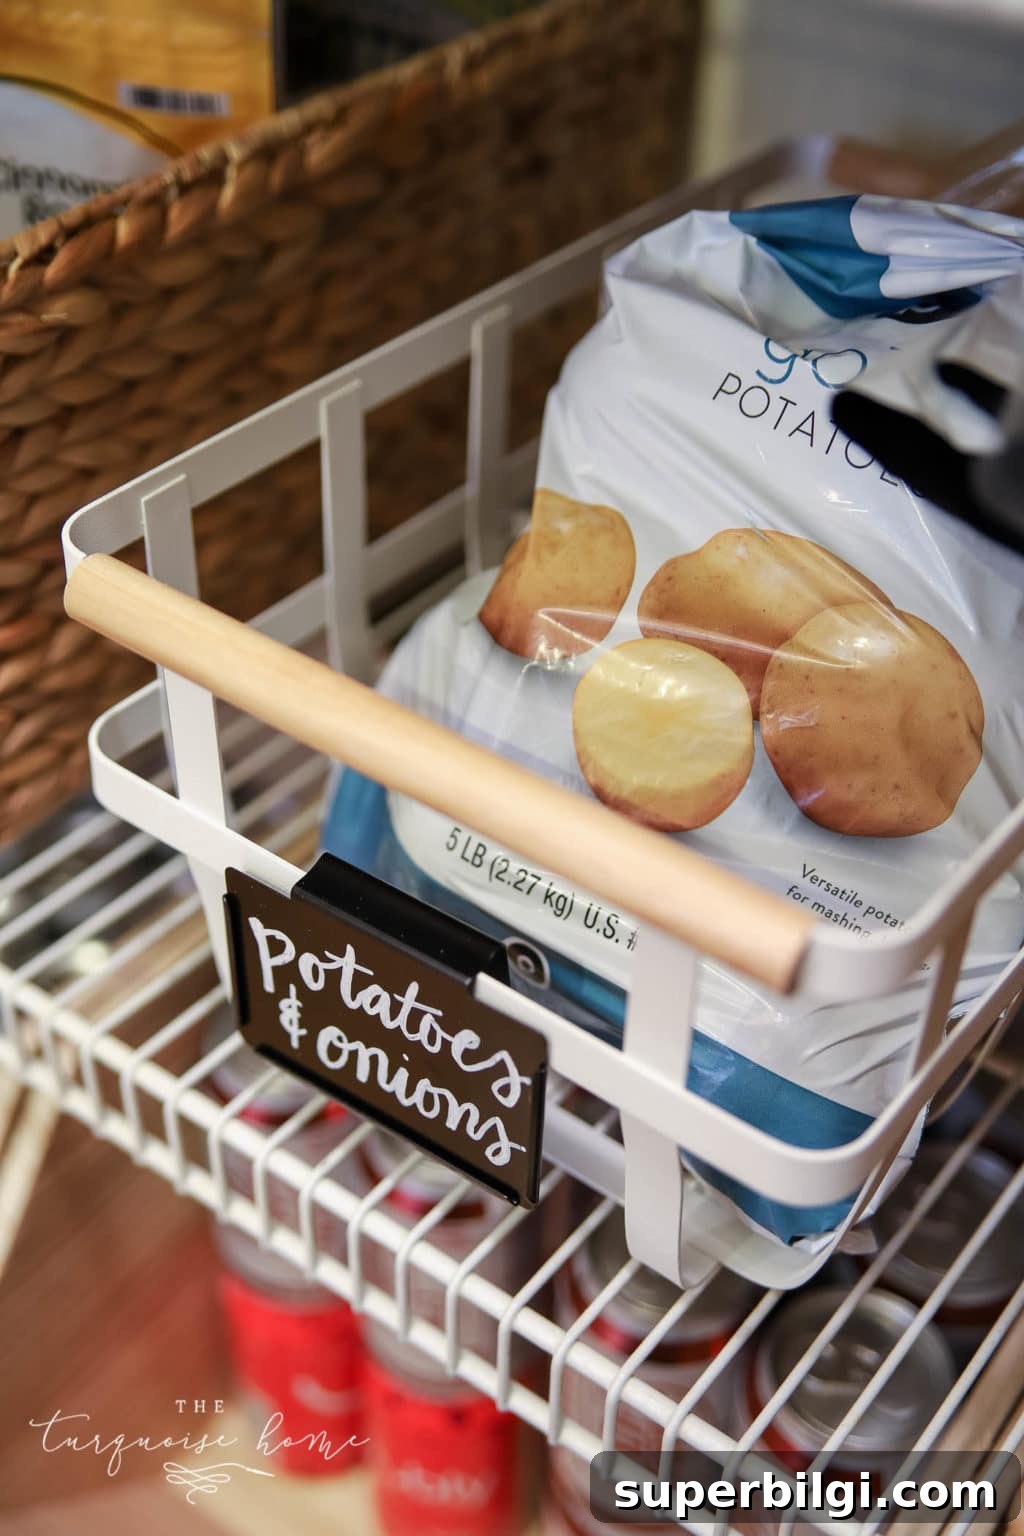
Group items by use—breakfast, lunch, dinner, snacks, baking, beverages—or by type, like grains, canned goods, and condiments. Organize to match how you shop and cook so routines are streamlined.
4. Use Extra Wall Space or the Back of the Door
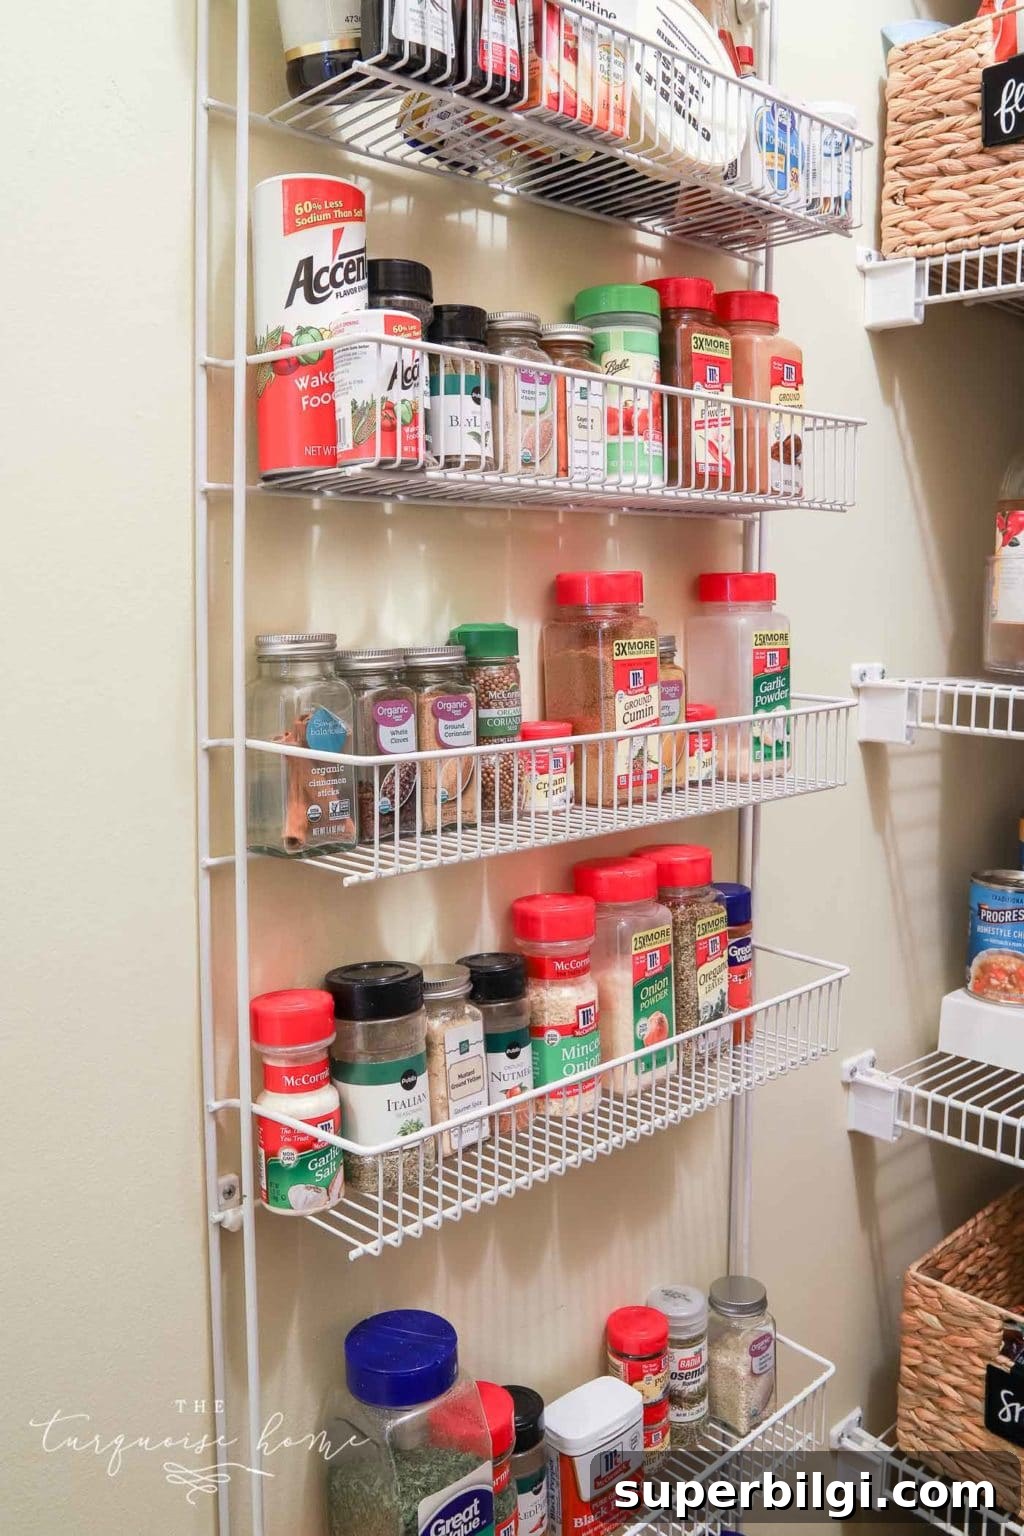
Hooks, hanging pocket organizers or narrow racks on the back of the pantry door can store wraps, small tools, or spices. Vertical wall space is often underused—install narrow shelves or peg racks for small items and maximize every inch.
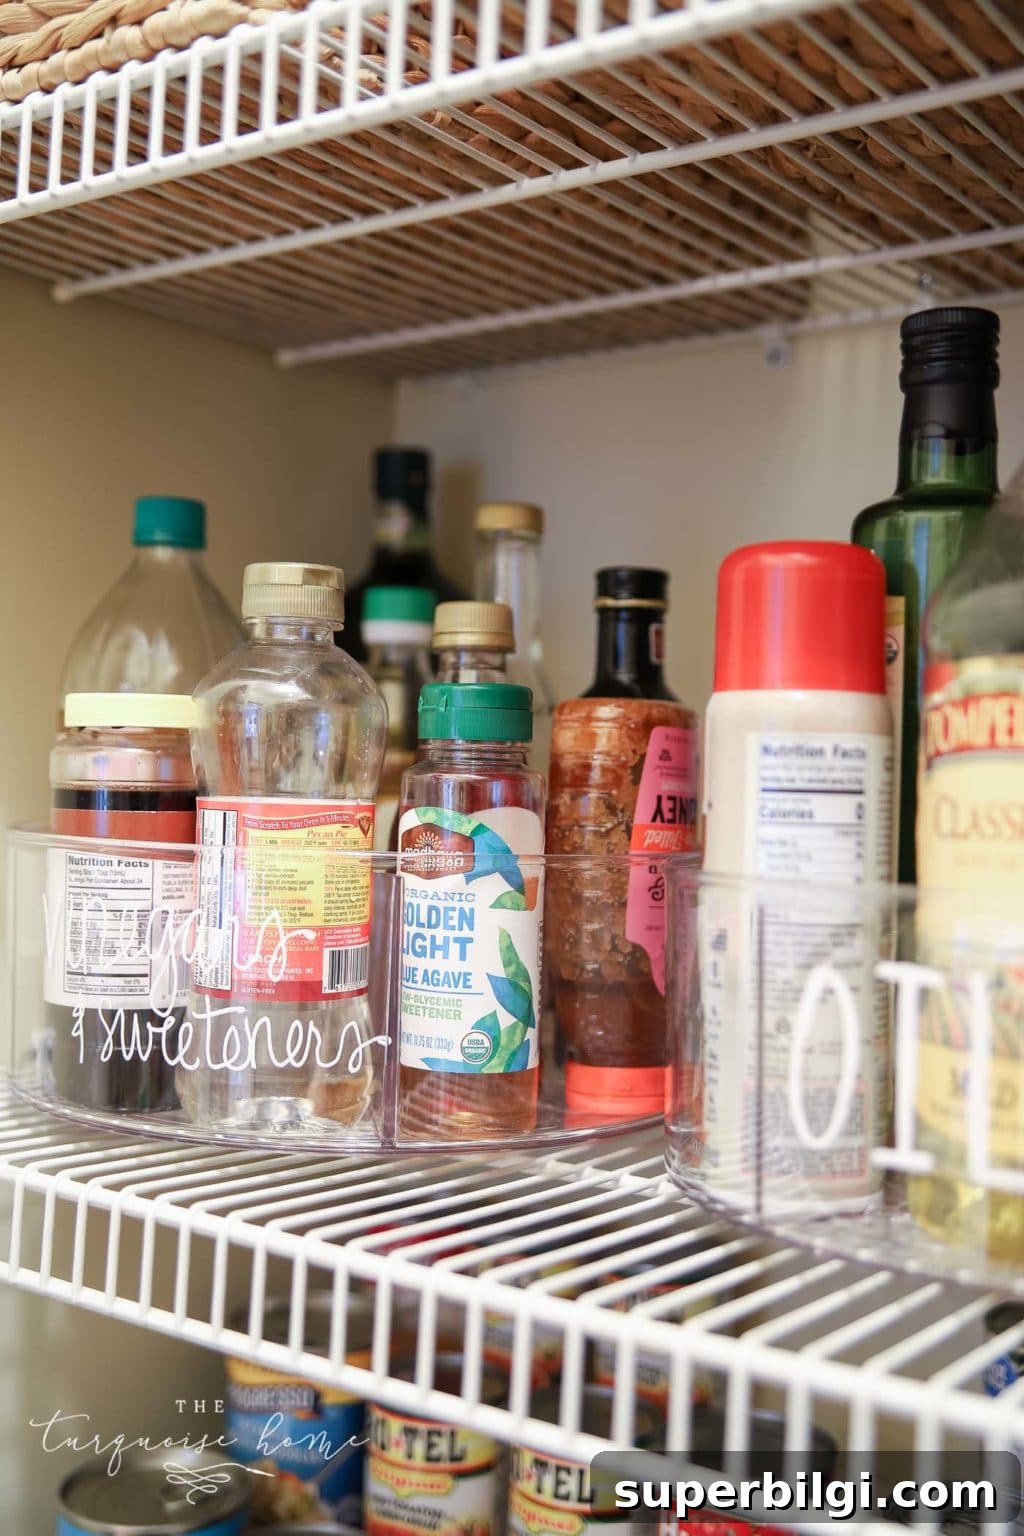
5. Use a Lazy Susan for Round Containers and Corners
Turntables keep oils, vinegars, and small jars from toppling on wire shelves and make back-row items accessible with one spin. They’re especially useful in corners where visibility is limited.
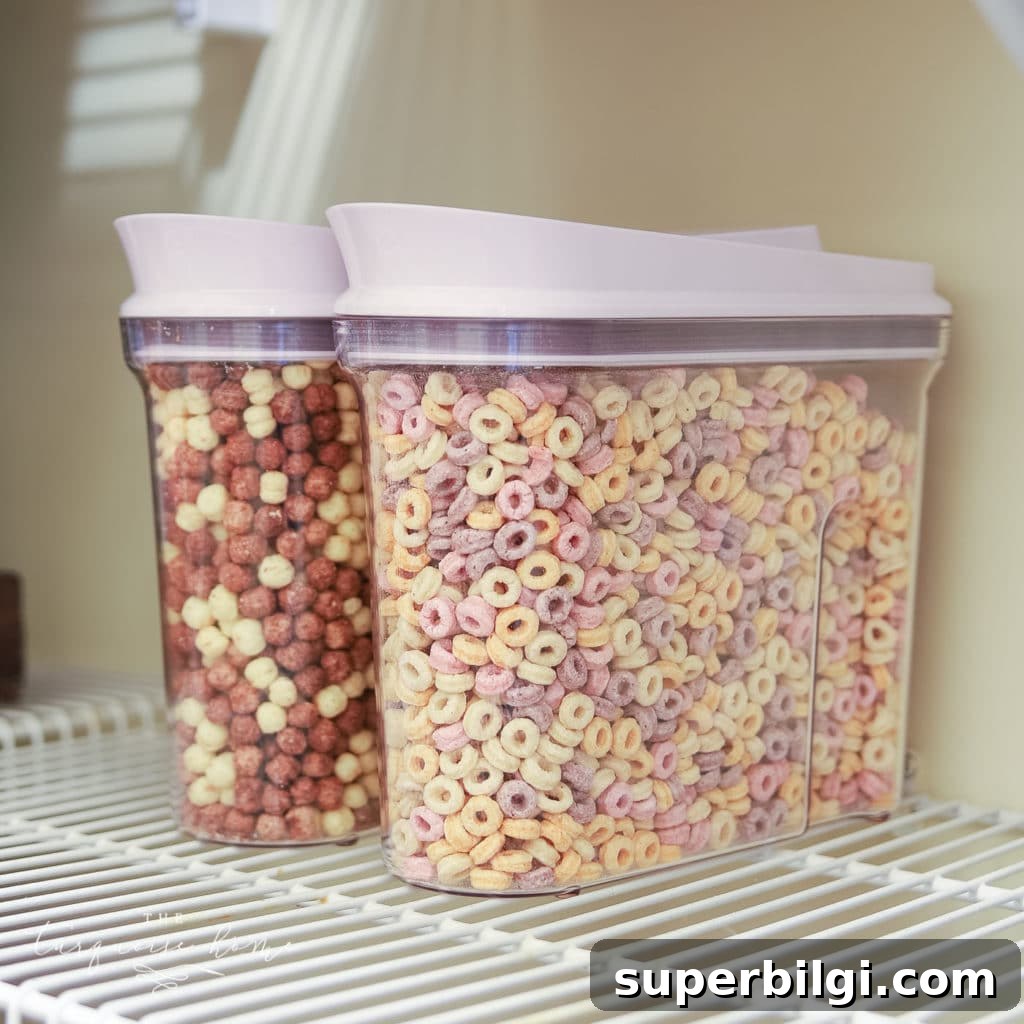
6. Put Frequently Used Items in Canisters
Decant staples you use frequently—cereal, rice, flour, and baking chips—into canisters or dispensers for freshness and ease of use. Keep less-used bulk items in their original packaging if decanting isn’t practical.
7. Use Reach-In Bins for Larger Items
Stackable wooden or plastic bins on the floor corral drinks, bulk items, and oversize containers so nothing rolls to the back and gets lost. They keep heavy items accessible and contained.
Final Thoughts
An organized pantry transforms daily routines: meal prep is faster, groceries are easier to manage, and the space is more inviting. Start with decluttering, measure your space, buy the right containers, and organize by how your family actually uses the pantry. Small systems—labels, risers, canisters and bins—make a big difference.
If you have additional pantry tips or clever storage hacks, share them in the comments. Happy organizing!
More Posts You May Like:
- How to Decorate Kitchen Counters {Decorating 101}
- How to Organize a Messy Garage
- How to Declutter an Entire Room in 5 Simple Steps