
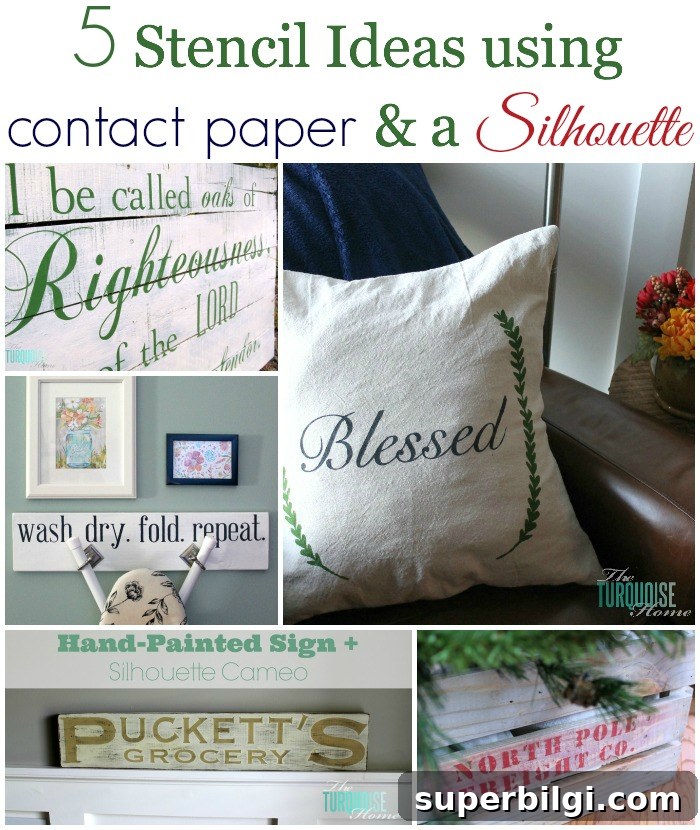
Get five practical tips for creating durable, temporary stencils from contact paper using a Silhouette cutting machine. Adhesive shelf liner—often called contact paper—is inexpensive and makes excellent stencils for painted signs, pillows, crates, and more.
I truly enjoy working with my Silhouette Cameo. I use it frequently to cut stencils from contact paper because the adhesive surface adheres well to most projects, giving crisp paint lines and easy placement. Contact paper is affordable, widely available, and a great alternative to traditional stencil materials.
5 Stencil Ideas with Contact Paper and a Silhouette
A Silhouette machine opens up a world of possibilities for custom stencils. Below are five simple project ideas that work especially well with contact paper stencils: pallet signs, an ironing board hanger, a stenciled pillow cover, wooden crates, and hand-painted home décor pieces. These projects are quick to customize and perfect for beginners and seasoned crafters alike.
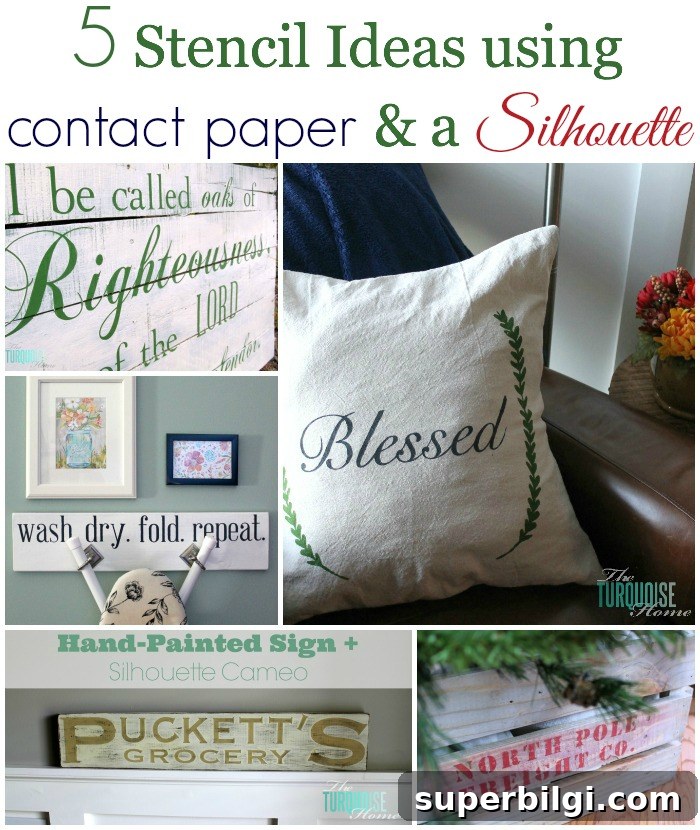
Pallet Signs / Ironing Board Hanger / Pillow / Crate
I’ve completed several projects using contact paper stencils and the results have been consistently clean and professional-looking. For lettered signs, pillows, and small furniture accents, the adhesive backing prevents paint bleed and makes positioning easy. In some early projects I used double-sided adhesive before discovering how simple and effective contact paper is—now it’s my go-to material for temporary stencils.
If you love designing your own graphics, the Silhouette software makes it easy to adjust fonts, sizes, and shapes so each stencil fits your project perfectly. Below are practical tips and workflow steps I use every time to ensure a precise cut and clean painted edges.
5 Tips for using Adhesive Shelf Liner and a Silhouette
Here are reliable tips I’ve learned to get the best results when making stencils from adhesive shelf liner with a Silhouette cutter:
1. Machine settings. Use blade and speed settings that cut through the top adhesive layer but leave the paper backing intact. This lets you remove the unwanted vinyl without cutting through the protective backing. Also, turn off the cutting mat option when cutting rolled contact paper so the machine treats it as a sheet feed.
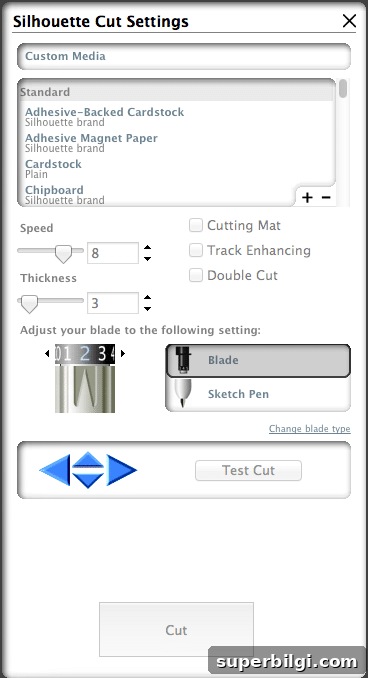
2. Feed without a cutting mat. For most shelf liner rolls, simply feed the material directly into the Cameo. Removing the need for a cutting mat speeds the process and prevents wrinkling or shifting that can occur when using an adhesive mat.
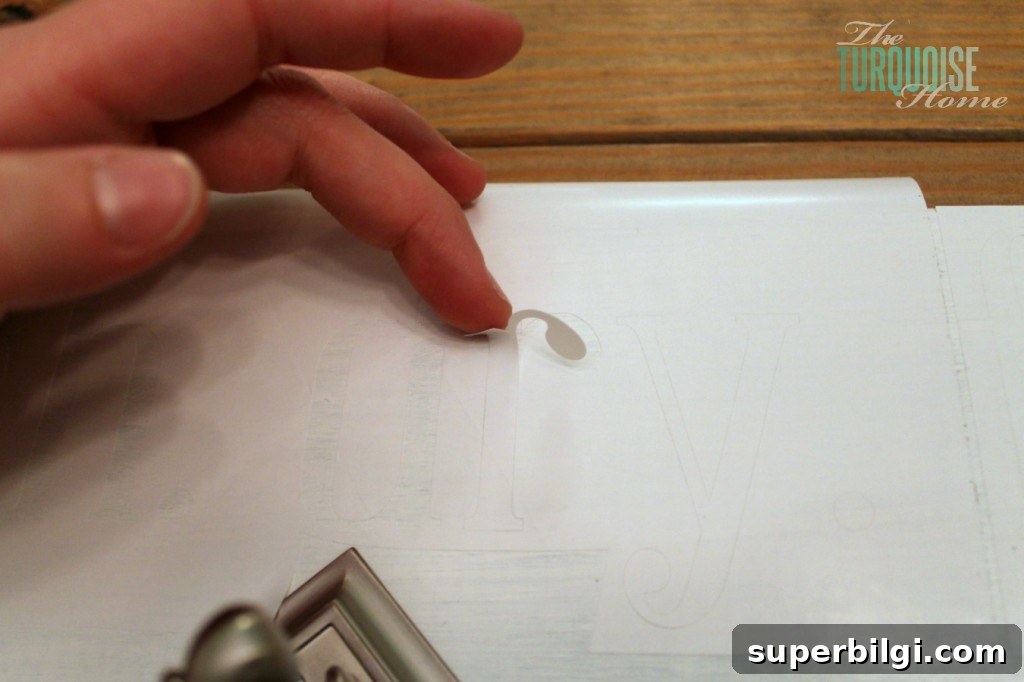
3. Keep the backing intact while peeling. When you peel the backing away, try to remove it in a single piece. This keeps your stencil components spaced correctly and makes transfer and placement much faster. If you want even greater control, use transfer paper to lift and transfer detailed sections.
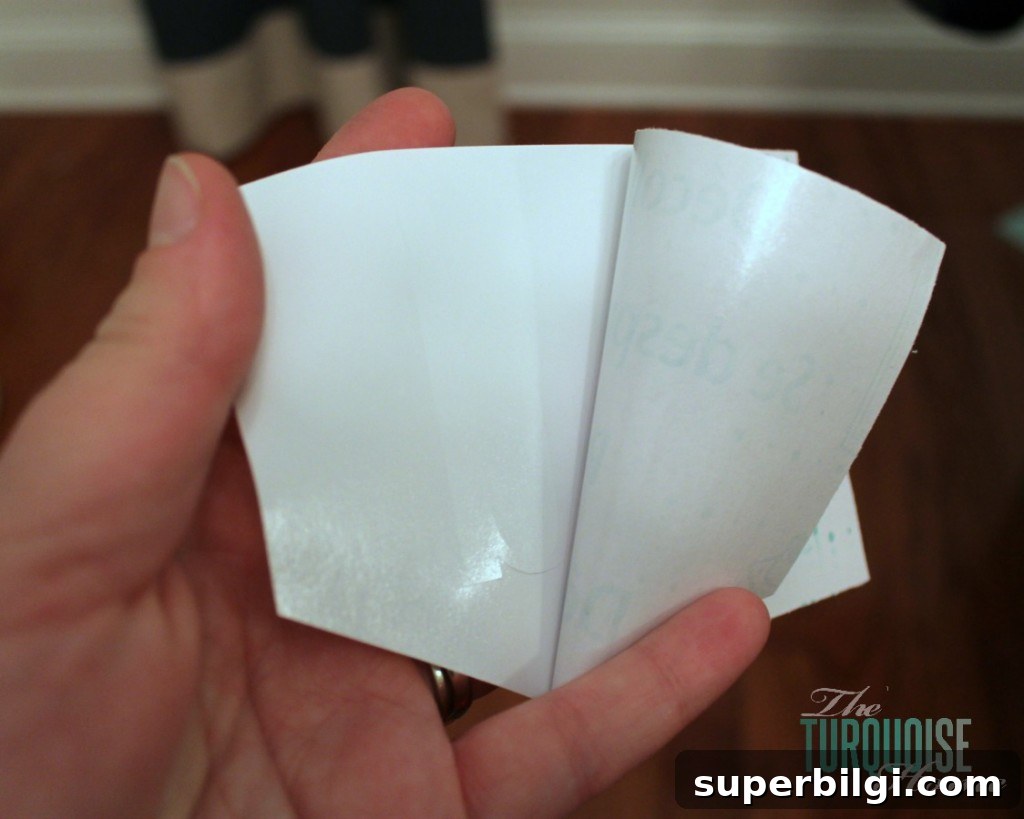
4. Weed carefully. “Weeding” is the process of removing the excess contact paper from the cut design. Take your time to remove small bits around letters and detailed edges so paint only reaches the intended stencil openings. A small hook tool or tweezers can help with detailed weeding.
5. Seal edges with Mod Podge (or clear medium). Before painting, brush a thin layer of Mod Podge or another clear-drying sealing medium around the edges of the stencil openings. This seals any tiny gaps where the adhesive might not be perfect and prevents paint from seeping underneath. The seal dries clear and helps create the cleanest possible paint lines.
Extra tips: test your stencil on scrap material first, use a stencil brush or lightly loaded foam roller to minimize paint bleed, and remove the stencil while paint is tacky but not fully wet for the sharpest edges. Clean and reuse contact paper stencils carefully if the adhesive holds; otherwise, replace them for best results.
Hopefully these tips will help you create your own contact paper stencils and inspire new projects. With a Silhouette Cameo and some adhesive shelf liner, you can produce consistent, crisp stencils for home décor, fabric, wood, and more.
If you’re shopping for a cutter, consider a Silhouette Cameo bundle or similar cutting machine to get started; the extra tools and blades included in many bundles make stencil cutting easier and more versatile.
More Posts You Will Love:
- DIY Stenciled Burlap Art + Free Silhouette Stencil Files
- Sunshine and Summertime: a DIY Stenciled Drop Cloth Throw Pillow
- Mason Jar Lid Pumpkin Craft
- How to Make a Felt Garland + Valentine’s Day Chalkboard