Learn how to make a simple DIY bunting with just a few craft supplies. This quick project is a great way to use fabric scraps and add charming seasonal decor to a mantel, bedroom, party, or doorway.
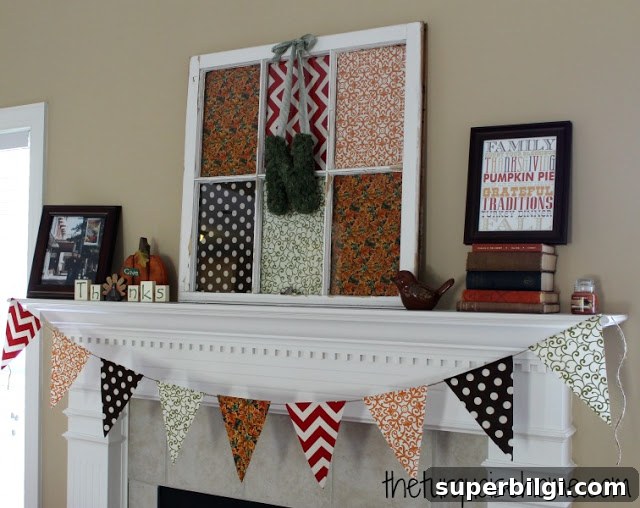
I promised to share the bunting tutorial from my fall mantel. The project is straightforward, perfect for beginners, and you don’t need a sewing machine—hot glue works well. Below I explain the exact measurements I used, alternatives, and tips to customize the bunting for different spaces and styles.
Supplies Needed to Make Bunting:
- Jute, string, or ribbon — long enough to span the area you want to decorate
- Small fabric pieces or scraps (cotton prints, linen, or burlap work well)
- Graph paper or plain paper for a template (optional)
- Card stock or thin cardboard to make a reusable template
- Hot glue gun and glue sticks
- Ruler or measuring tape
- Iron (for creasing and pressing)
- Scissors or rotary cutter
Instructions for Making DIY Bunting Decor
1. Make a Template
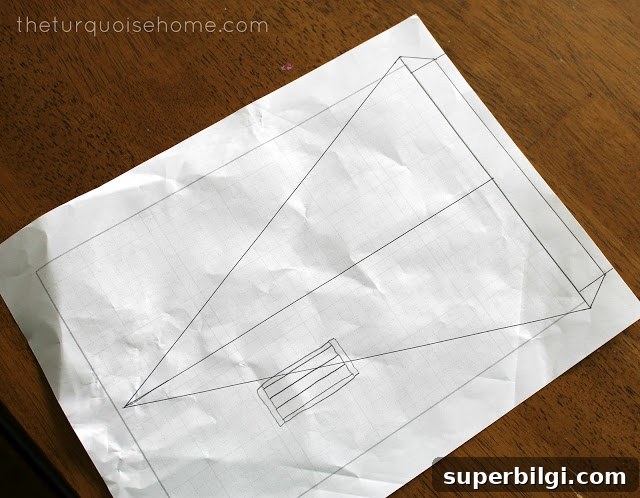
Start with a piece of graph paper to help keep proportions even. My template was 7 inches wide across the top and 9 inches from the top center down to the point. To create a top flap that folds over the jute, add about 1 inch to the top and make the top edge slightly narrower than the full 7 inches so the flap will wrap and glue securely.
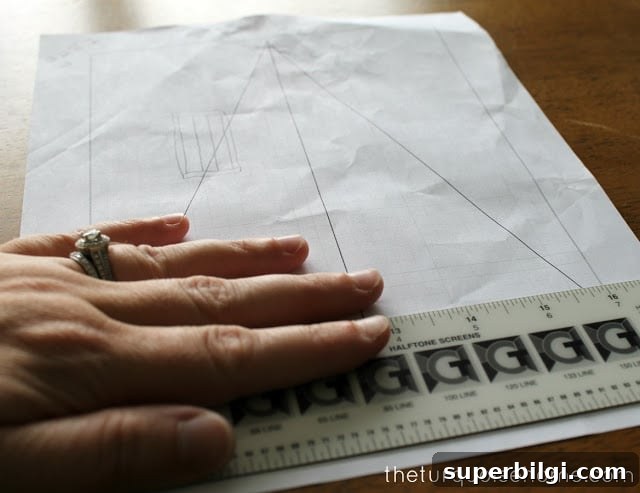
Cut the paper triangle and trace it onto card stock or thin cardboard to create a sturdy template you can reuse. A firm template prevents stretching or distortion while tracing directly onto fabric.
2. Cut Out Fabric with the Template
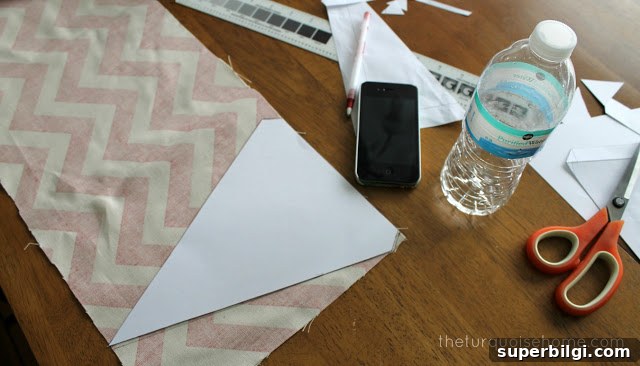
Lay your fabric flat and trace the template on the wrong side of the fabric. If you have patterned fabric, arrange the template to highlight a favorite motif. Cut carefully with sharp scissors or a rotary cutter for clean edges.
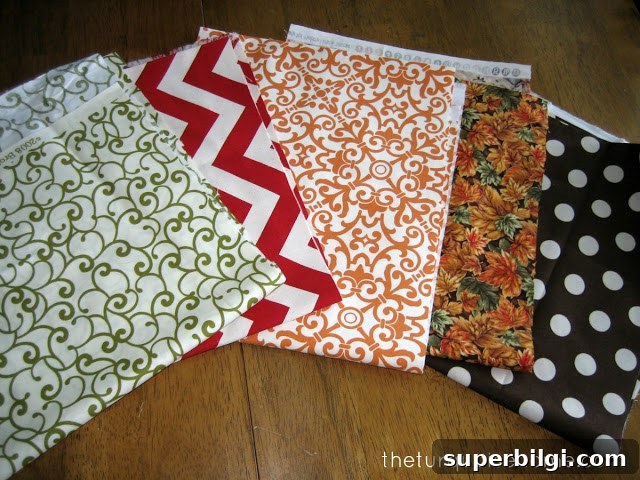
Trace and cut all the pieces you’ll need. For a mantel or short banner, 8–12 flags may be enough; for longer spans, cut more pieces. To calculate how many flags you need, measure the total length and divide by the approximate width plus desired spacing (for example, a 7″ flag plus a 1–2″ gap between flags).
3. Iron Down Top Flap
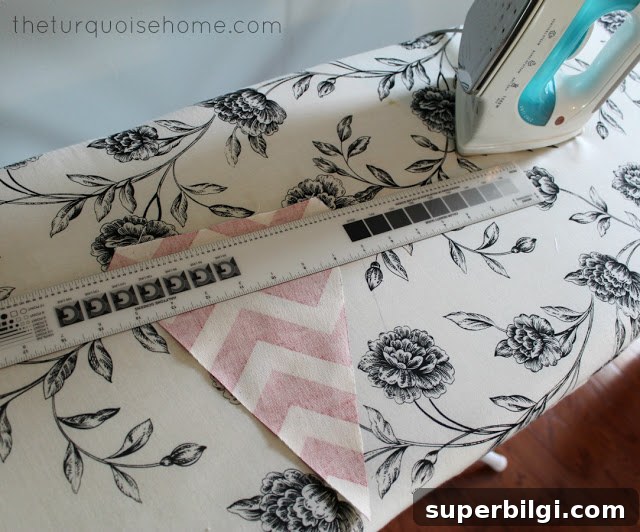
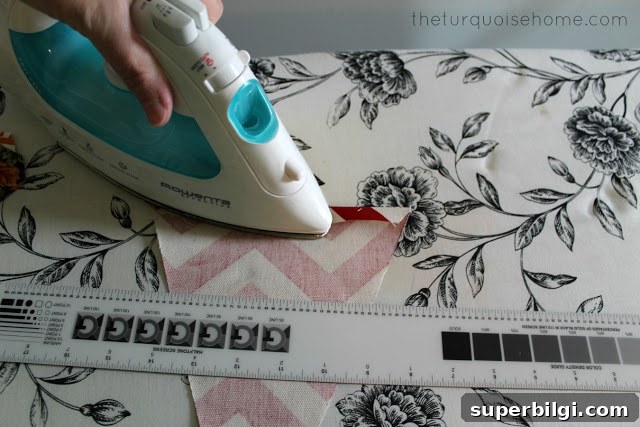
Press each flag with an iron to remove wrinkles and to set the top flap fold. Use a ruler or straight edge to create a crisp crease along the flap, then iron while holding the crease in place. This helps the flap fold neatly over the jute so the glue bonds flat and cleanly.
If your fabric frays easily, you can finish edges by folding the sides slightly inward before gluing, or use a narrow line of fray-check along raw edges. Another option is to sew the top flap down with a simple straight stitch for extra durability.
4. Use Hot Glue to Attach Each Flag to the String or Jute
Place a line of hot glue inside the folded flap, lay your jute or ribbon across the top where you want it to sit, and press the flap down over the cord. Hold for a few seconds until the glue sets. Work in small sections to avoid the glue cooling before the flap is positioned.
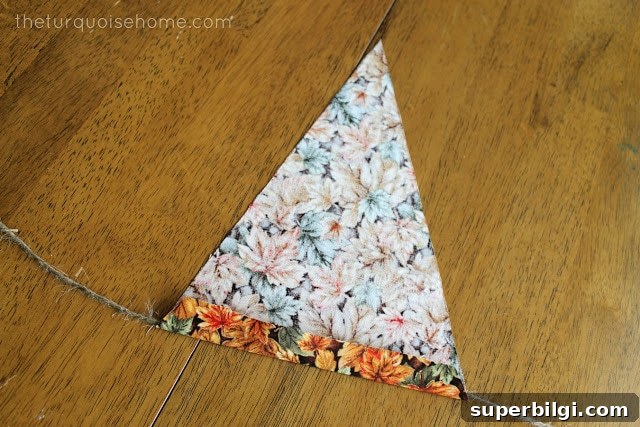
Space flags evenly along the jute as you attach them. Lay the completed bunting out straight on a table or floor first to check spacing and make any adjustments before hanging. If you prefer a more durable finish, sew the flap in place instead of using glue.
Once all flags are attached, hang the bunting from hooks, nails, or adhesive strips. For a mantel, drape the jute slightly for a soft, casual look or pull it taut for a cleaner, classic banner shape.
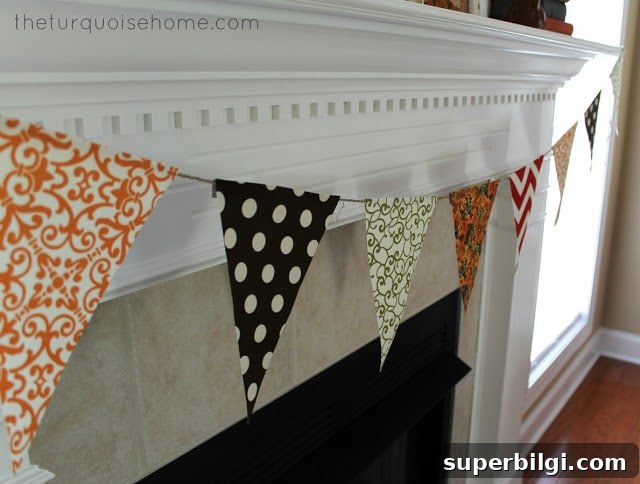
Customize and Care: Use coordinating fabrics for a cohesive theme, or mix prints for an eclectic, cottage-style garland. If you use delicate fabrics, add a lightweight interfacing to give them more body. Store flat or rolled to avoid creasing, and spot-clean with a damp cloth when needed.
I hung this bunting on my fall mantel, and it added the perfect handmade touch. I’m planning another version for Miss A’s room using softer pastels and thinner ribbon.
More Posts You Will Love:
- DIY Rag Garland for Spring
- How to Make a Felt Garland + Valentine’s Day Chalkboard
- How To Hang Garland On the Stairs