
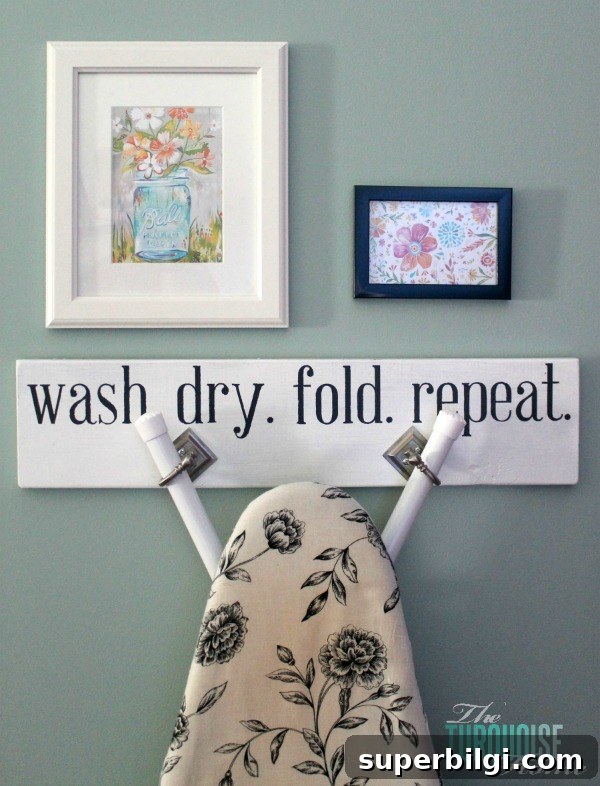
I’m sharing how to use a French cleat picture hanger now that I finally mounted my ironing board hanger on the wall!
How I finally got the ironing board hanger up (and why a French cleat picture hanger made the difference)
If you follow DIY projects, you might remember the ironing board hanger I built last year as a DIY ironing board hanger. I certainly do — it lived in various corners of the house for months, alternately serving as a play item for Miss A and a place to collect clutter. For a long time I couldn’t find the right hanging method for a wooden board designed to hold an ironing board, so it stayed unmounted until recently.
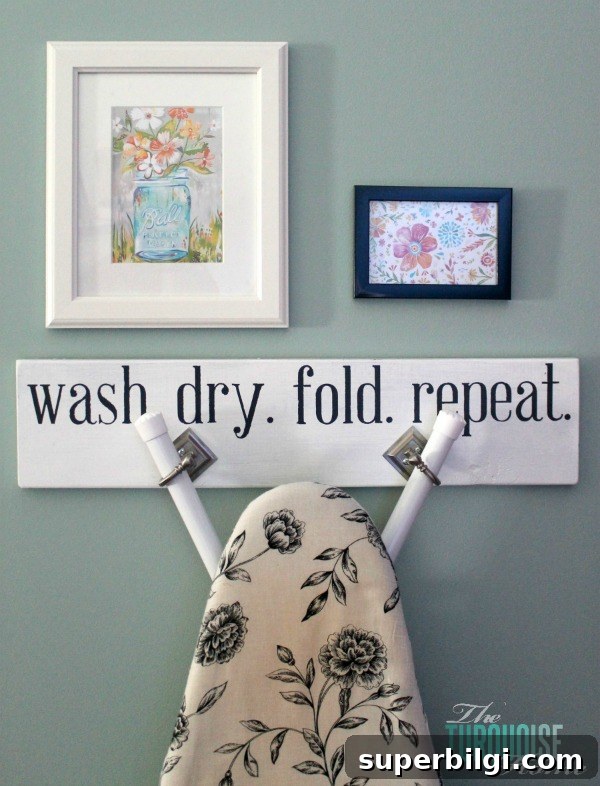
At first I tried command strips, which worked well enough for staging photos on the dining room wall. Bloggers often stage items in different rooms for better light or a prettier background, and that’s what I did to get a few Pinterest-ready shots. But when I tried the same approach in the laundry room the hanger eventually gave way — in the middle of the night — which led to a very surprised dog and a very relieved husband. Learning moment: velcro strips are not the best solution for something that carries weight and gets used frequently.
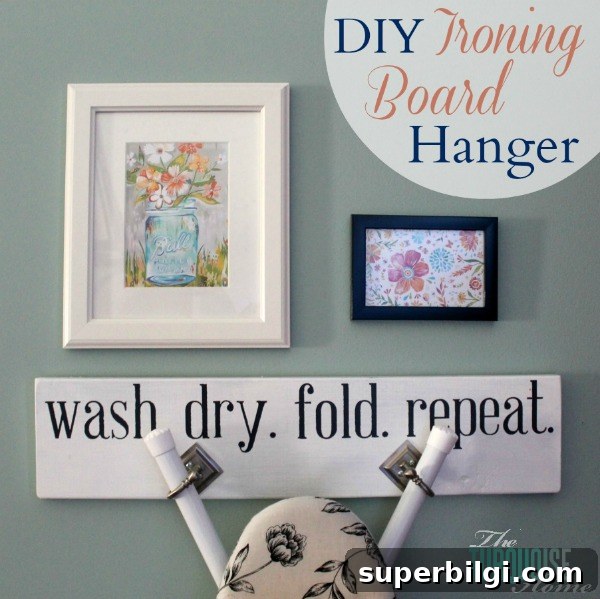
I then tried D-ring hooks attached to the back of the board, but that caused the board to pull away from the wall whenever I lifted the ironing board into its hanger. Clearly I needed a stronger, more stable hanging solution that kept the board flush against the wall and could safely bear the load.
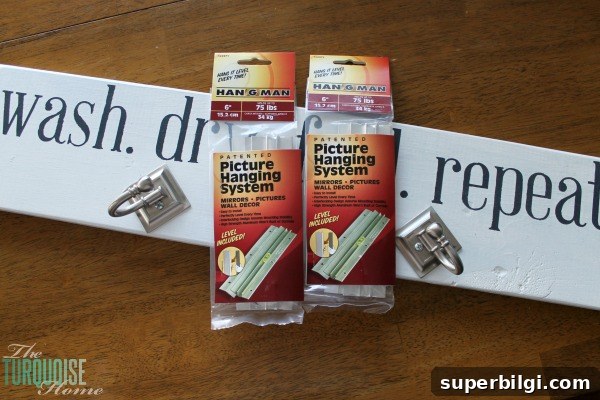
While browsing the hardware store I spotted French cleat picture hangers and thought, why not? A French cleat picture hanger is a simple, reliable system for mounting heavy or bulky items because it distributes weight and allows the hung object to sit flat against the wall. One cleat mounts horizontally to the wall (ideally into studs), and the matching cleat screws to the back of the object. The two cleats interlock when the piece is hung, creating a secure, flush mount.
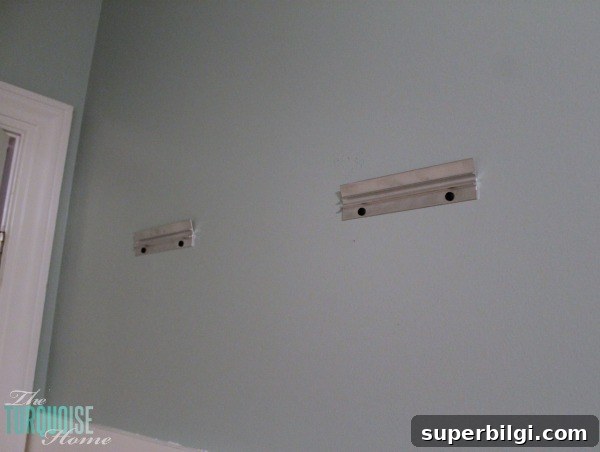
Installation was straightforward. I located and marked studs so the wall cleat would be screwed solidly into framing. I leveled and attached the wall cleat with long screws, then screwed the matching cleat to the back of the wooden hanger. Once the two cleats were in place, I simply rested the hanger cleat on top of the wall cleat and the board locked into position — no bulky brackets, no wobble, and the hanger sits perfectly flush against the wall.
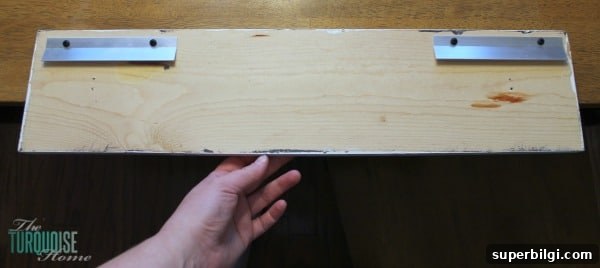
Because the French cleat spans a wider area, it’s easier to hit at least one stud and it spreads the load if you use multiple screws. If you don’t have studs exactly where you need them, use appropriate anchors rated for the weight. I found this method much more secure than D-rings or adhesive strips, and it gives a clean, professional look.
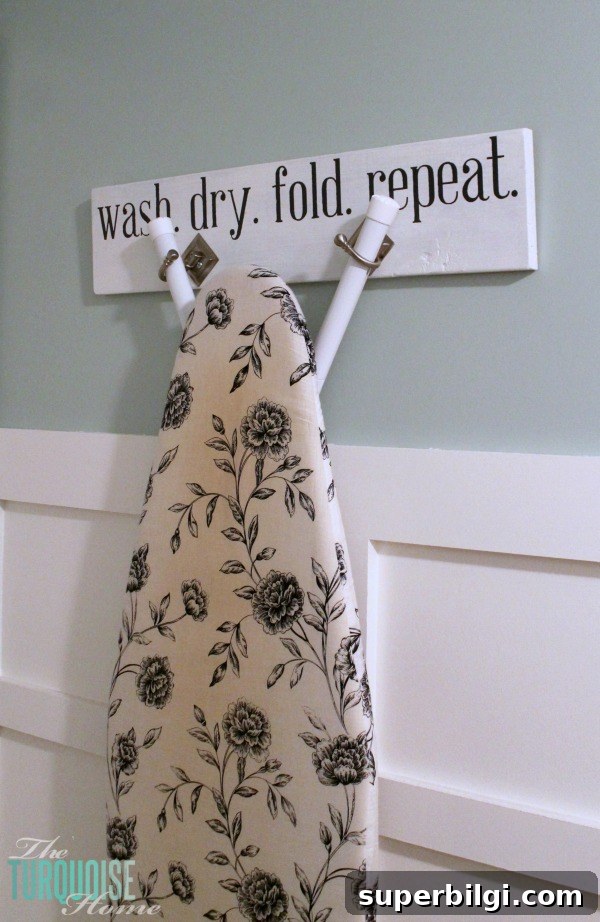
Now the ironing board is off the floor and no longer collecting dust in a corner of the bedroom. The hanger keeps the board accessible and tidy in the laundry room, and it’s one less thing to trip over. It also feels great to finally check another task off the ongoing laundry room to-do list — the board and batten is done, and this was a small but satisfying step toward finishing the space.
If you’re wondering whether French cleat picture hangers are worth trying, I’d say yes for heavier or oddly shaped items like ironing boards, cabinets, or bulky wall art. They’re easy to install, very stable, and they make the mounted piece sit flush against the wall.
Did you already know about these picture hangers? And on a lighter note: any suggestions for a fresh, cute ironing board cover? Mine looks a little singed and is definitely ready for an update.