Are you tired of looking at bare, boring windows? Cornice boards add a touch of elegance and style and make a perfect finishing touch for any room. With a little time and effort, you can create your own DIY cornice boards at home.
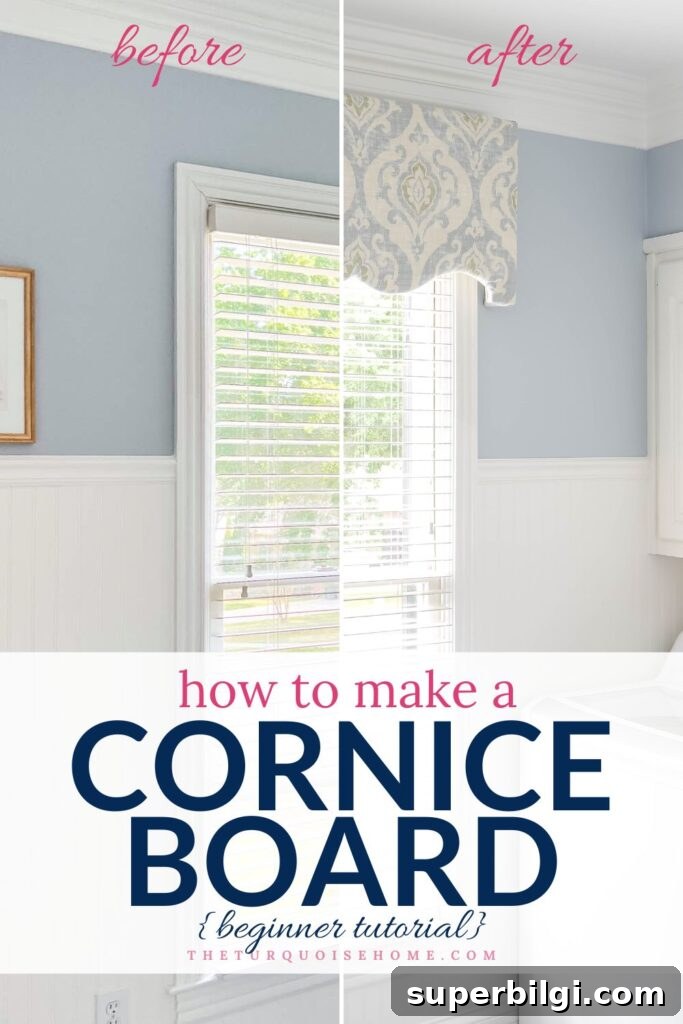
I’ve been working on renovating my 1990s basic laundry room for over a year, and I’ve finally finished the next piece of the makeover. I’m nearly at the finish line, and the room is coming together beautifully.
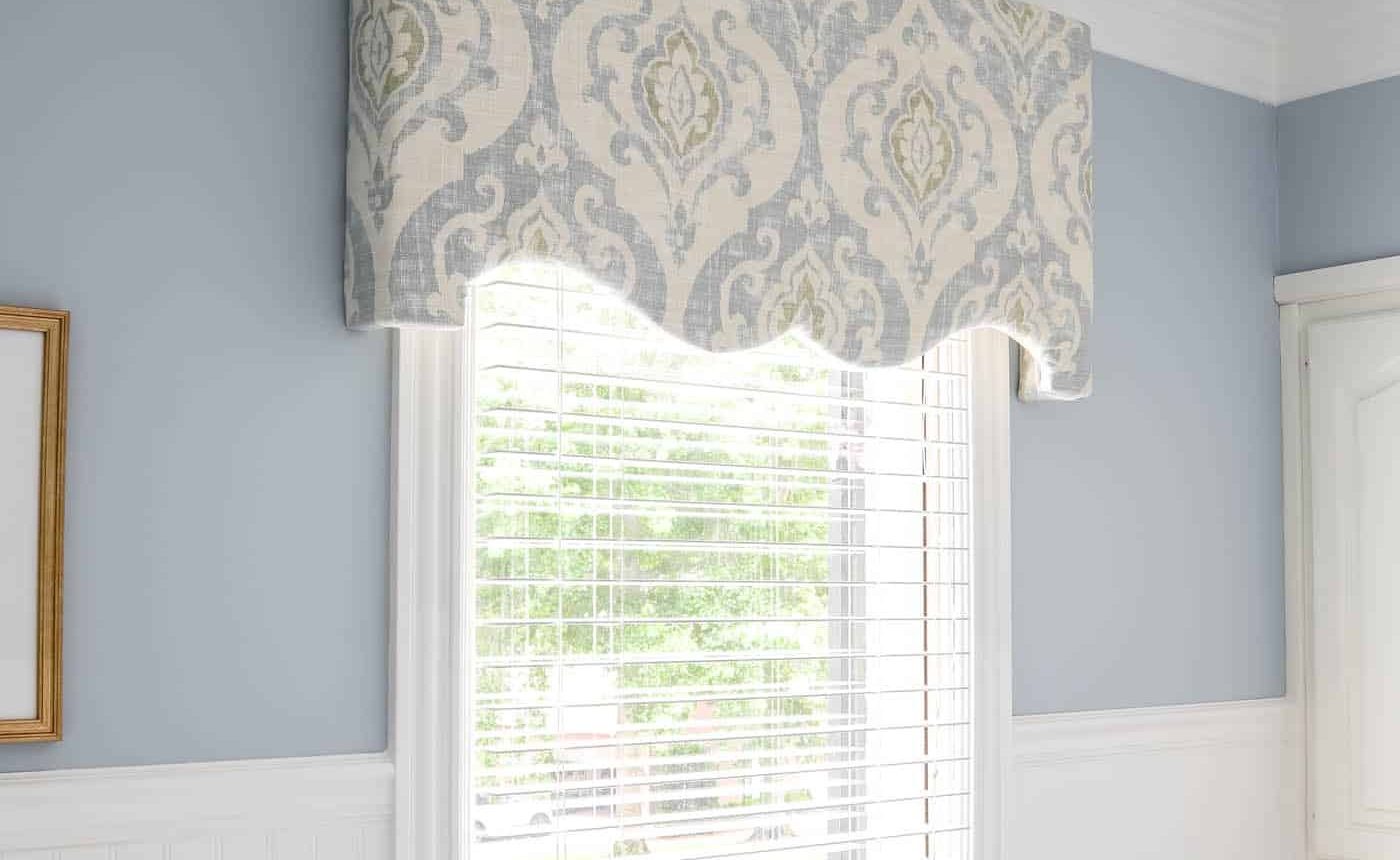
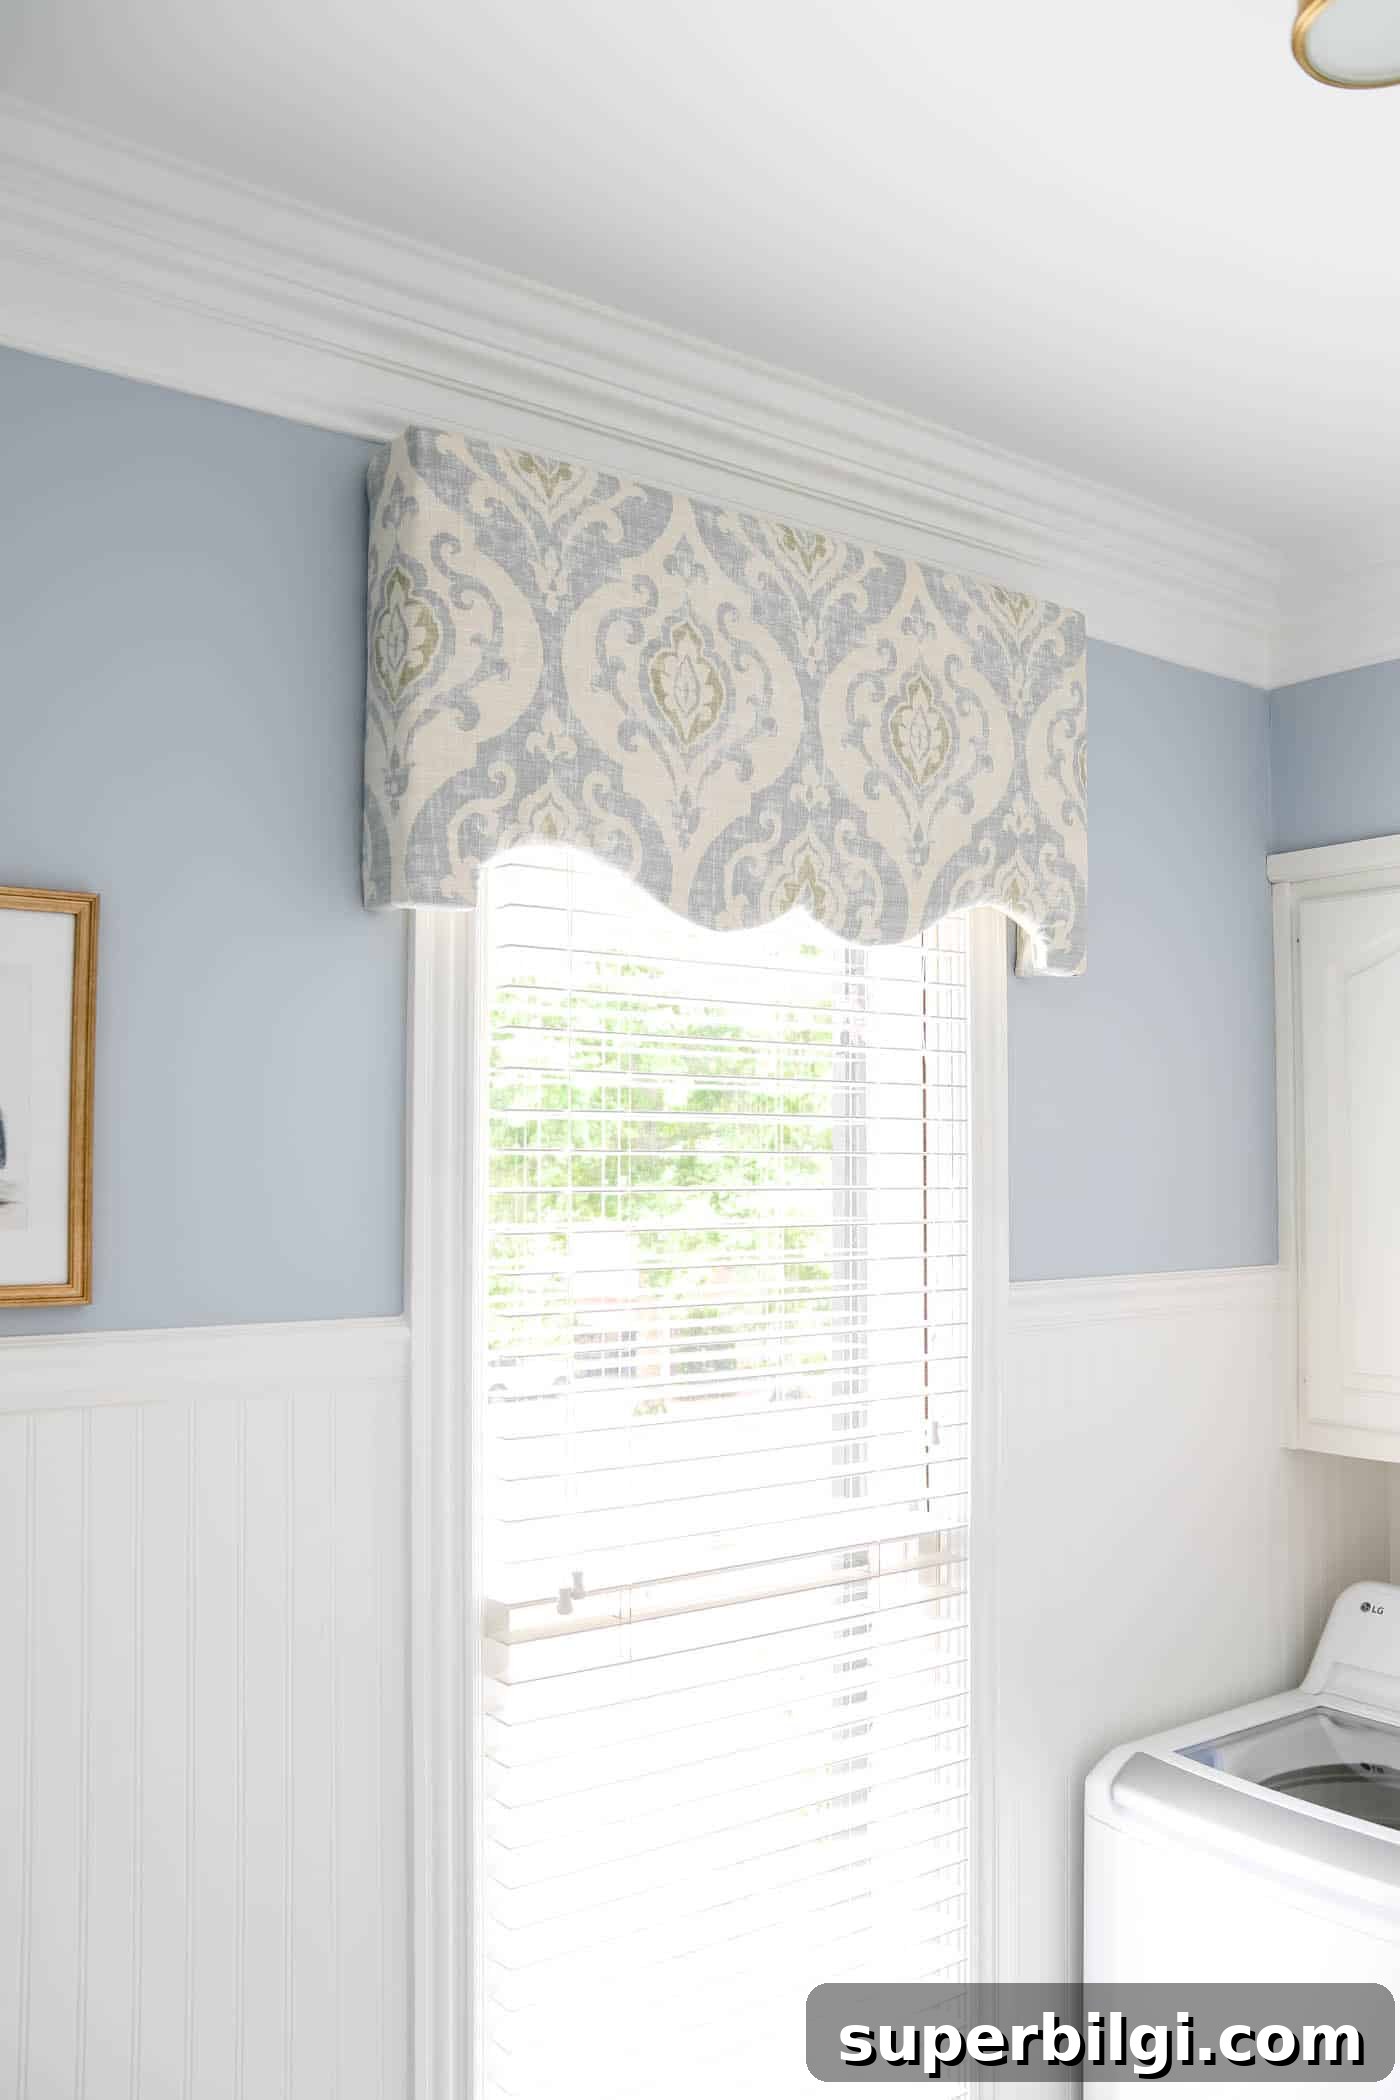
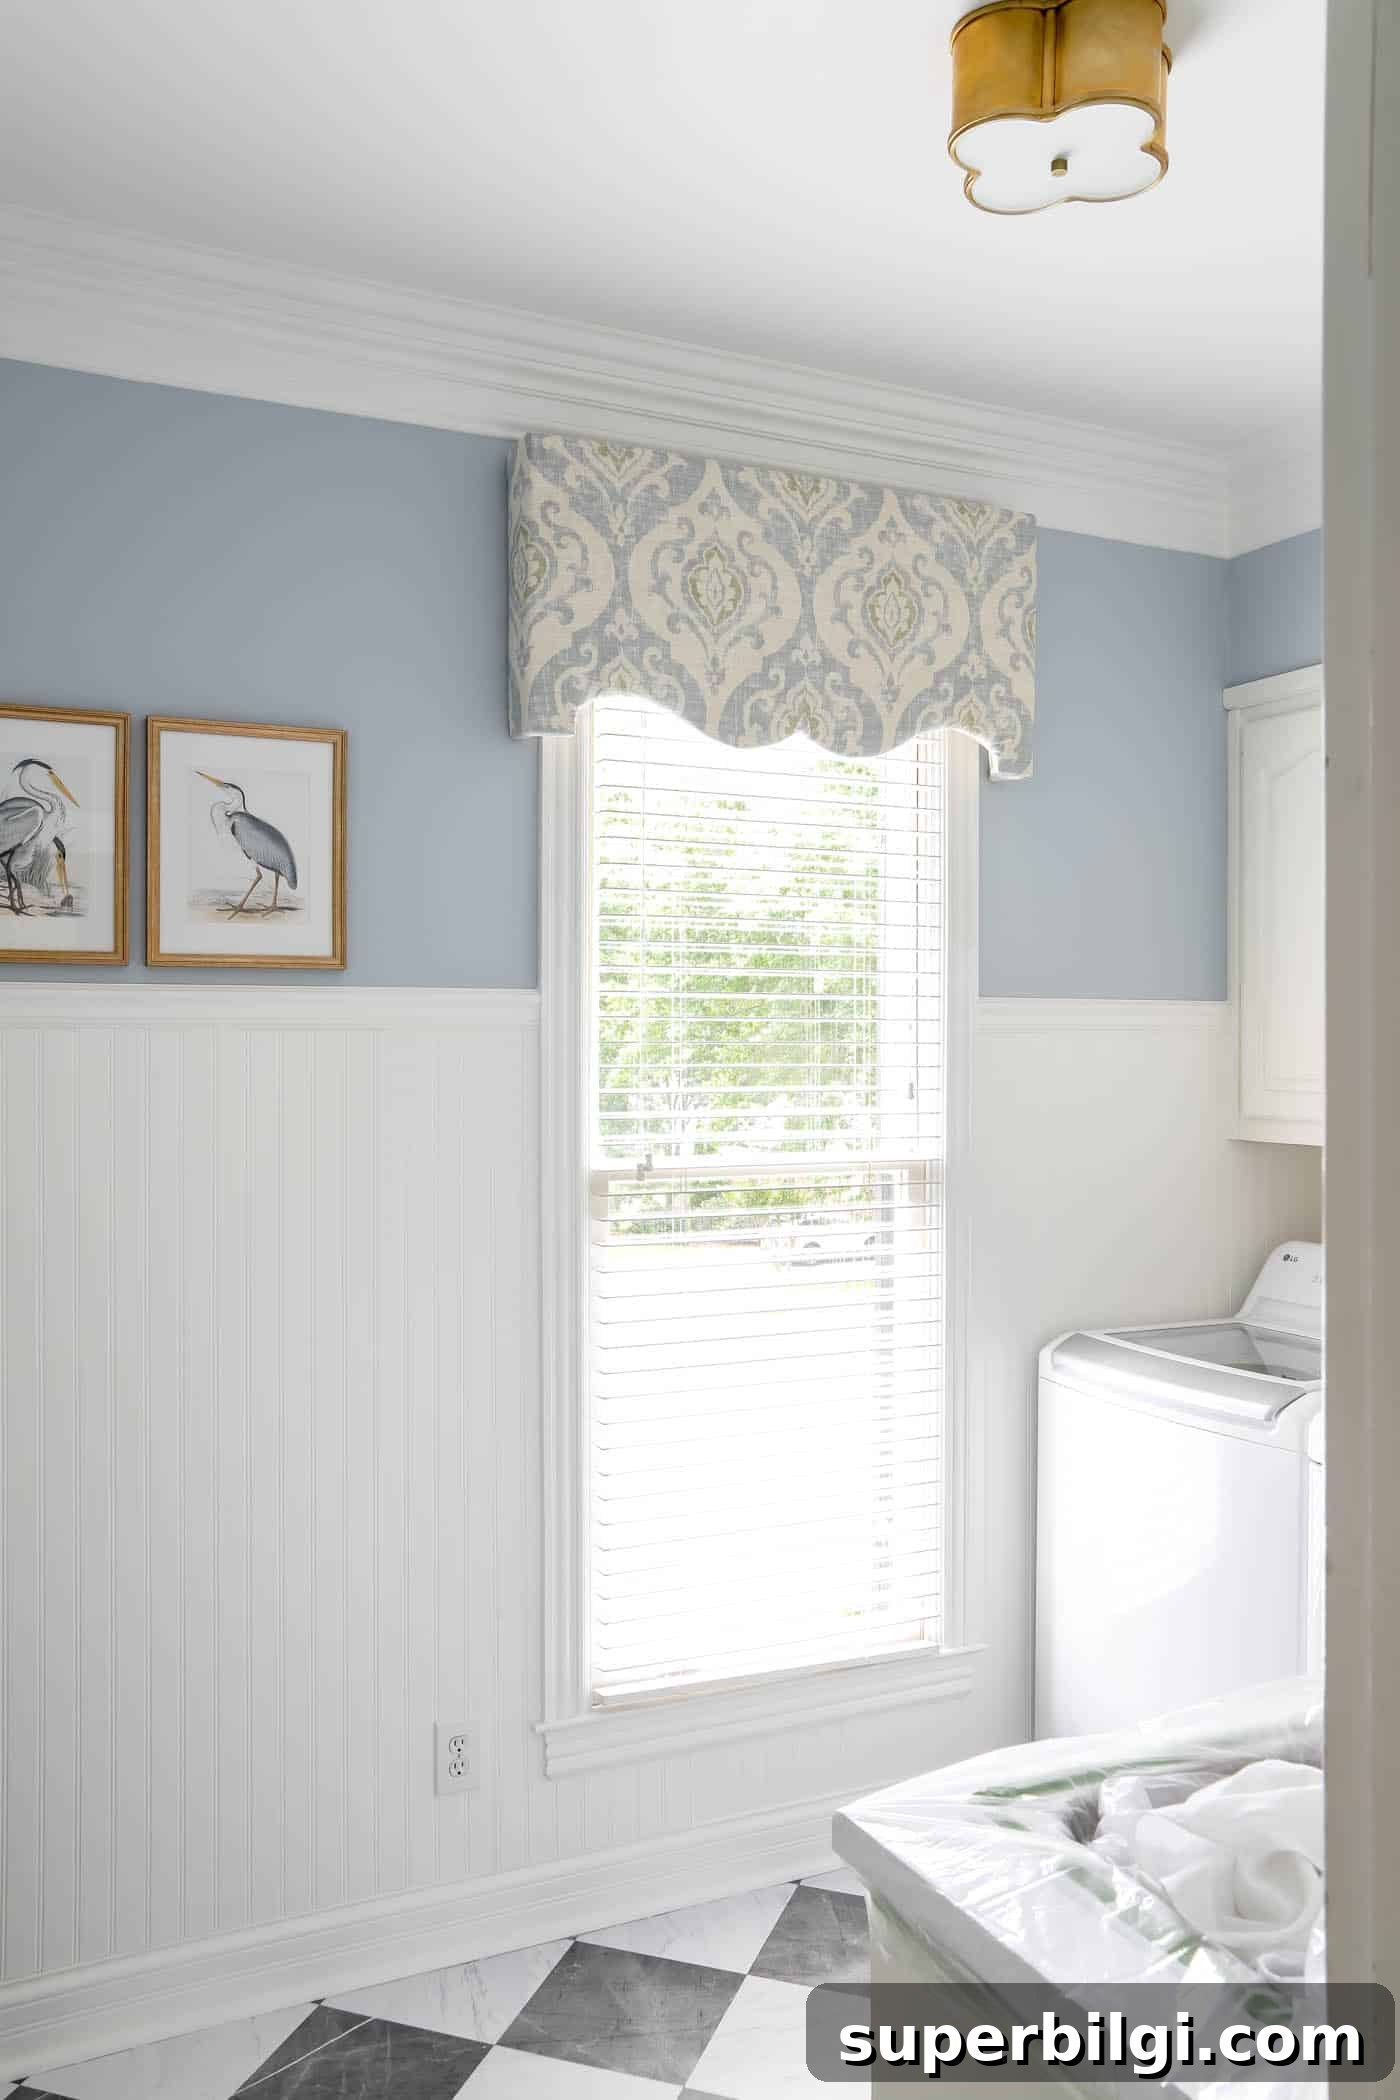
There was color in the walls and the artwork, but the room needed pattern. This fabric-covered cornice board was the perfect finishing touch. Curtains would have gotten in the way of laundry tasks, so a cornice board was the ideal choice.
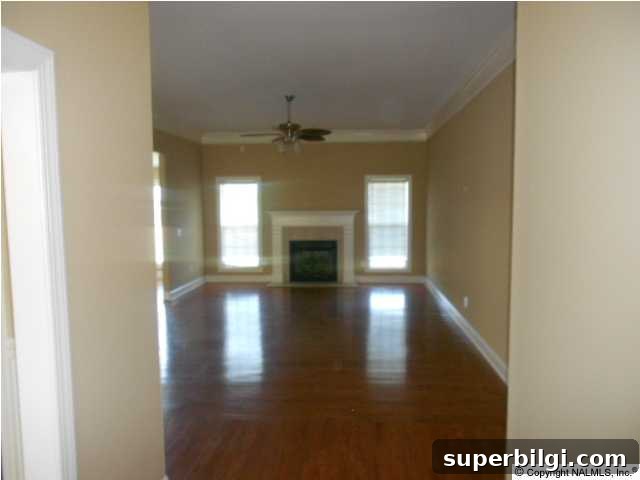
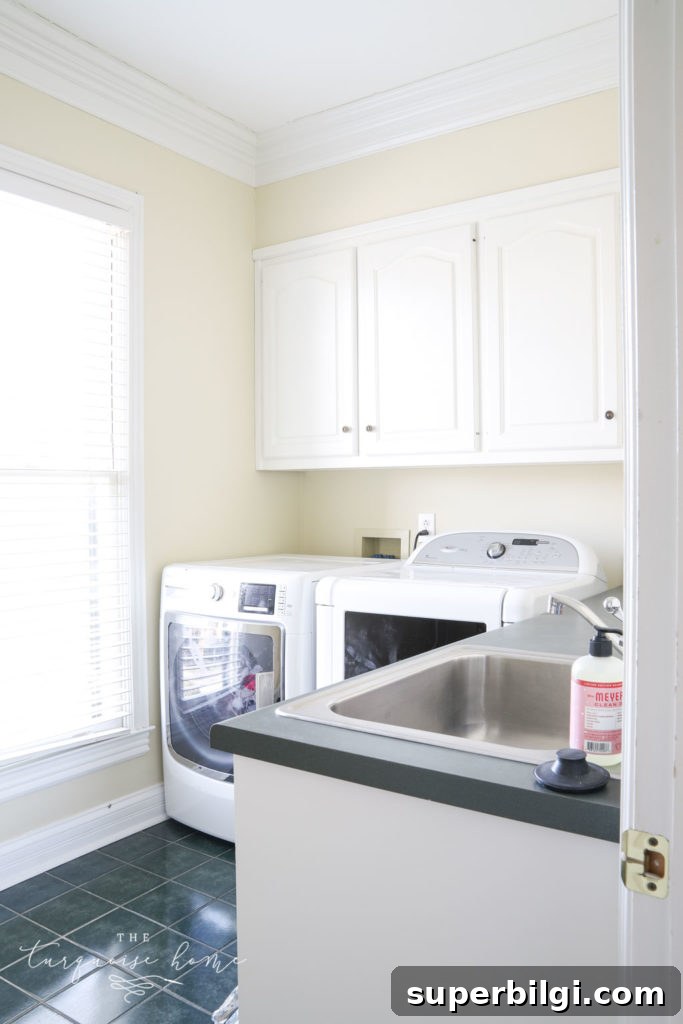
This is how the laundry room looked when we moved in.
Below is how it looked just before I started this cornice project. Scroll to the end to see the final reveal.
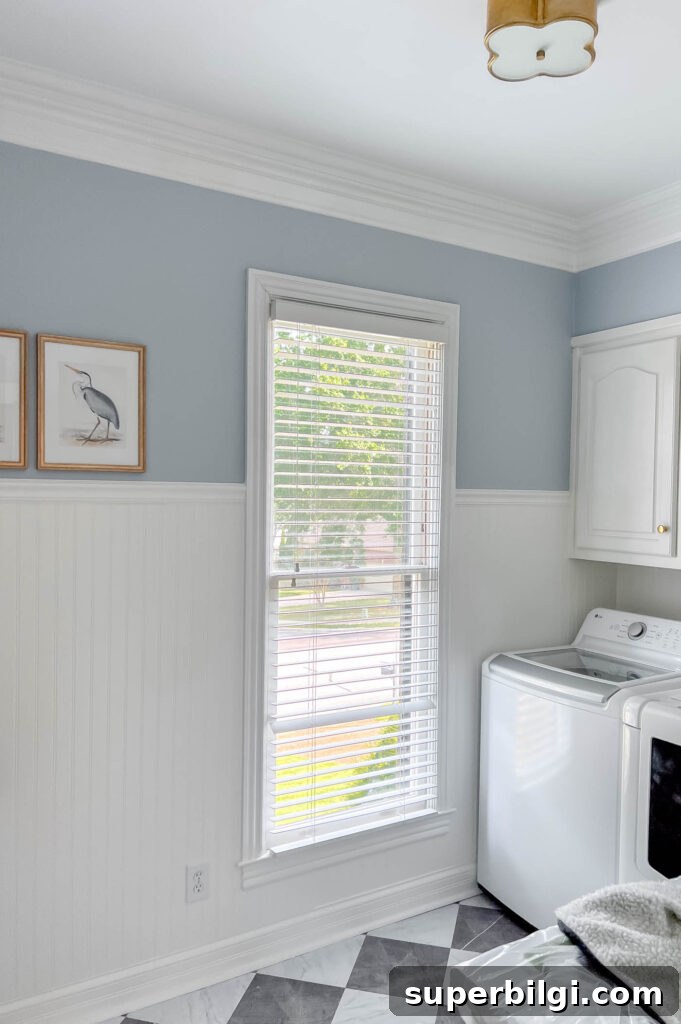
So far, I’ve completed several updates:
- Installed peel-and-stick vinyl tiles on the floor
- Installed beadboard and a chair rail
- Painted the walls Simply White and Heather Blue
- Moved the drying rack to a different wall
- Moved the mops and brooms behind the door
- Added artwork
- Changed the light fixture to a beautiful flush mount
- And now finished the cornice board
I also painted the old countertops to resemble marble, which helped complete the laundry room makeover.
What are cornice boards?
Cornice boards are decorative, stationary window treatments mounted above a window. Constructed from wood, fabric, or a mix of materials, they can be formed into simple boxes or more ornate shapes to complement any decor.
They are typically used to conceal window hardware and to add a tailored, finished look to a room. Any novice DIYer can make one with basic supplies in just a few hours—it’s an accessible beginner project.
DIY Cornice Board Ideas and Styles
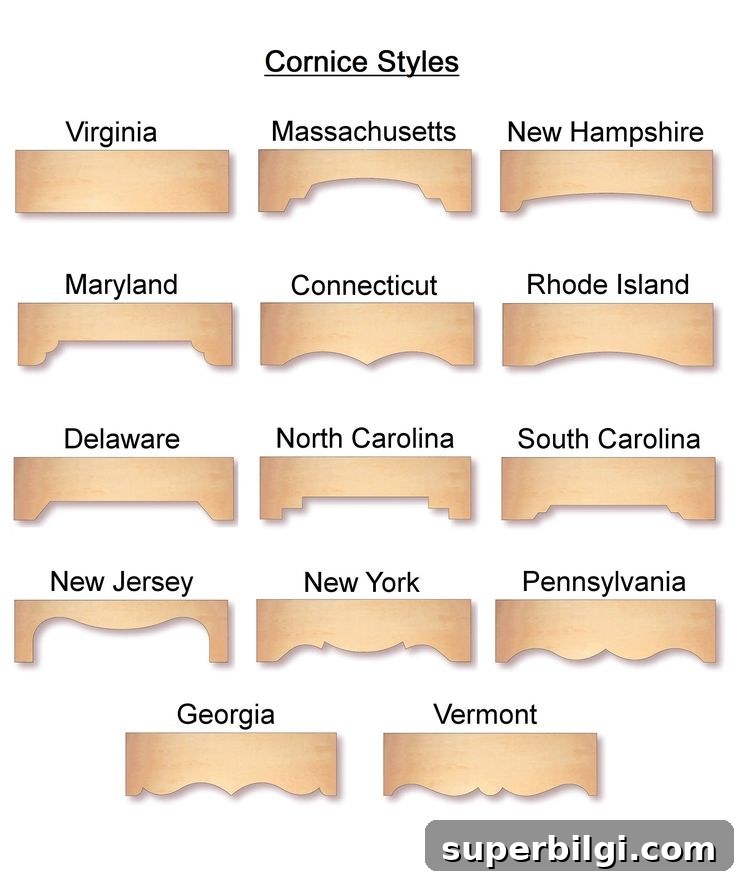
One of the best advantages of making your own cornice board is the ability to customize the shape to fit your style. A simple rectangular cornice is the easiest to build, but you can introduce curves, scallops, or other decorative edges for a more traditional or ornate look.
For my laundry room, I chose a Pennsylvania-style cornice with a curved center. The curve adds personality and looks lovely covered in patterned fabric.
If you’re unsure about a shape, make a full-size paper or cardboard template and hold it over the window. It’s far cheaper and easier to tweak a cardboard template than a piece of wood.
This post contains affiliate links for your convenience—please see the site’s disclosure policy.
How to Measure for a Cornice Board
Before cutting wood, determine the best size for your cornice board. There’s some flexibility depending on your window and the finished look you want.
Start with the window width, including trim, and add about 4–6 inches. That allows the cornice to extend roughly 2–3 inches beyond the casing on each side for a balanced appearance.
Next, choose the height. The board should be tall enough to hide blinds, shades, or curtain hardware without covering more of the window than necessary.
For my laundry room I made the cornice 19 inches tall, enough to conceal the hardware and sit nicely beneath the crown molding.
Finally, decide the depth—how far it will project from the wall. You need clearance for trim and window treatments and enough room to install the finished piece.
These dimensions determine the plywood size you’ll need. I used a piece of plywood about 23/32 inches thick to provide strength for mounting brackets.
One note: My cornice projects about 3.5 inches from the wall. That cleared the blinds and trim but made it tight when using a drill beneath the board. If I were to build another, I’d allow a little more clearance or use a different hanging method.
Holding a cardboard or poster board template over the window before cutting your wood is an easy way to ensure the proportions work.
Before You Start
Choose Your Fabric
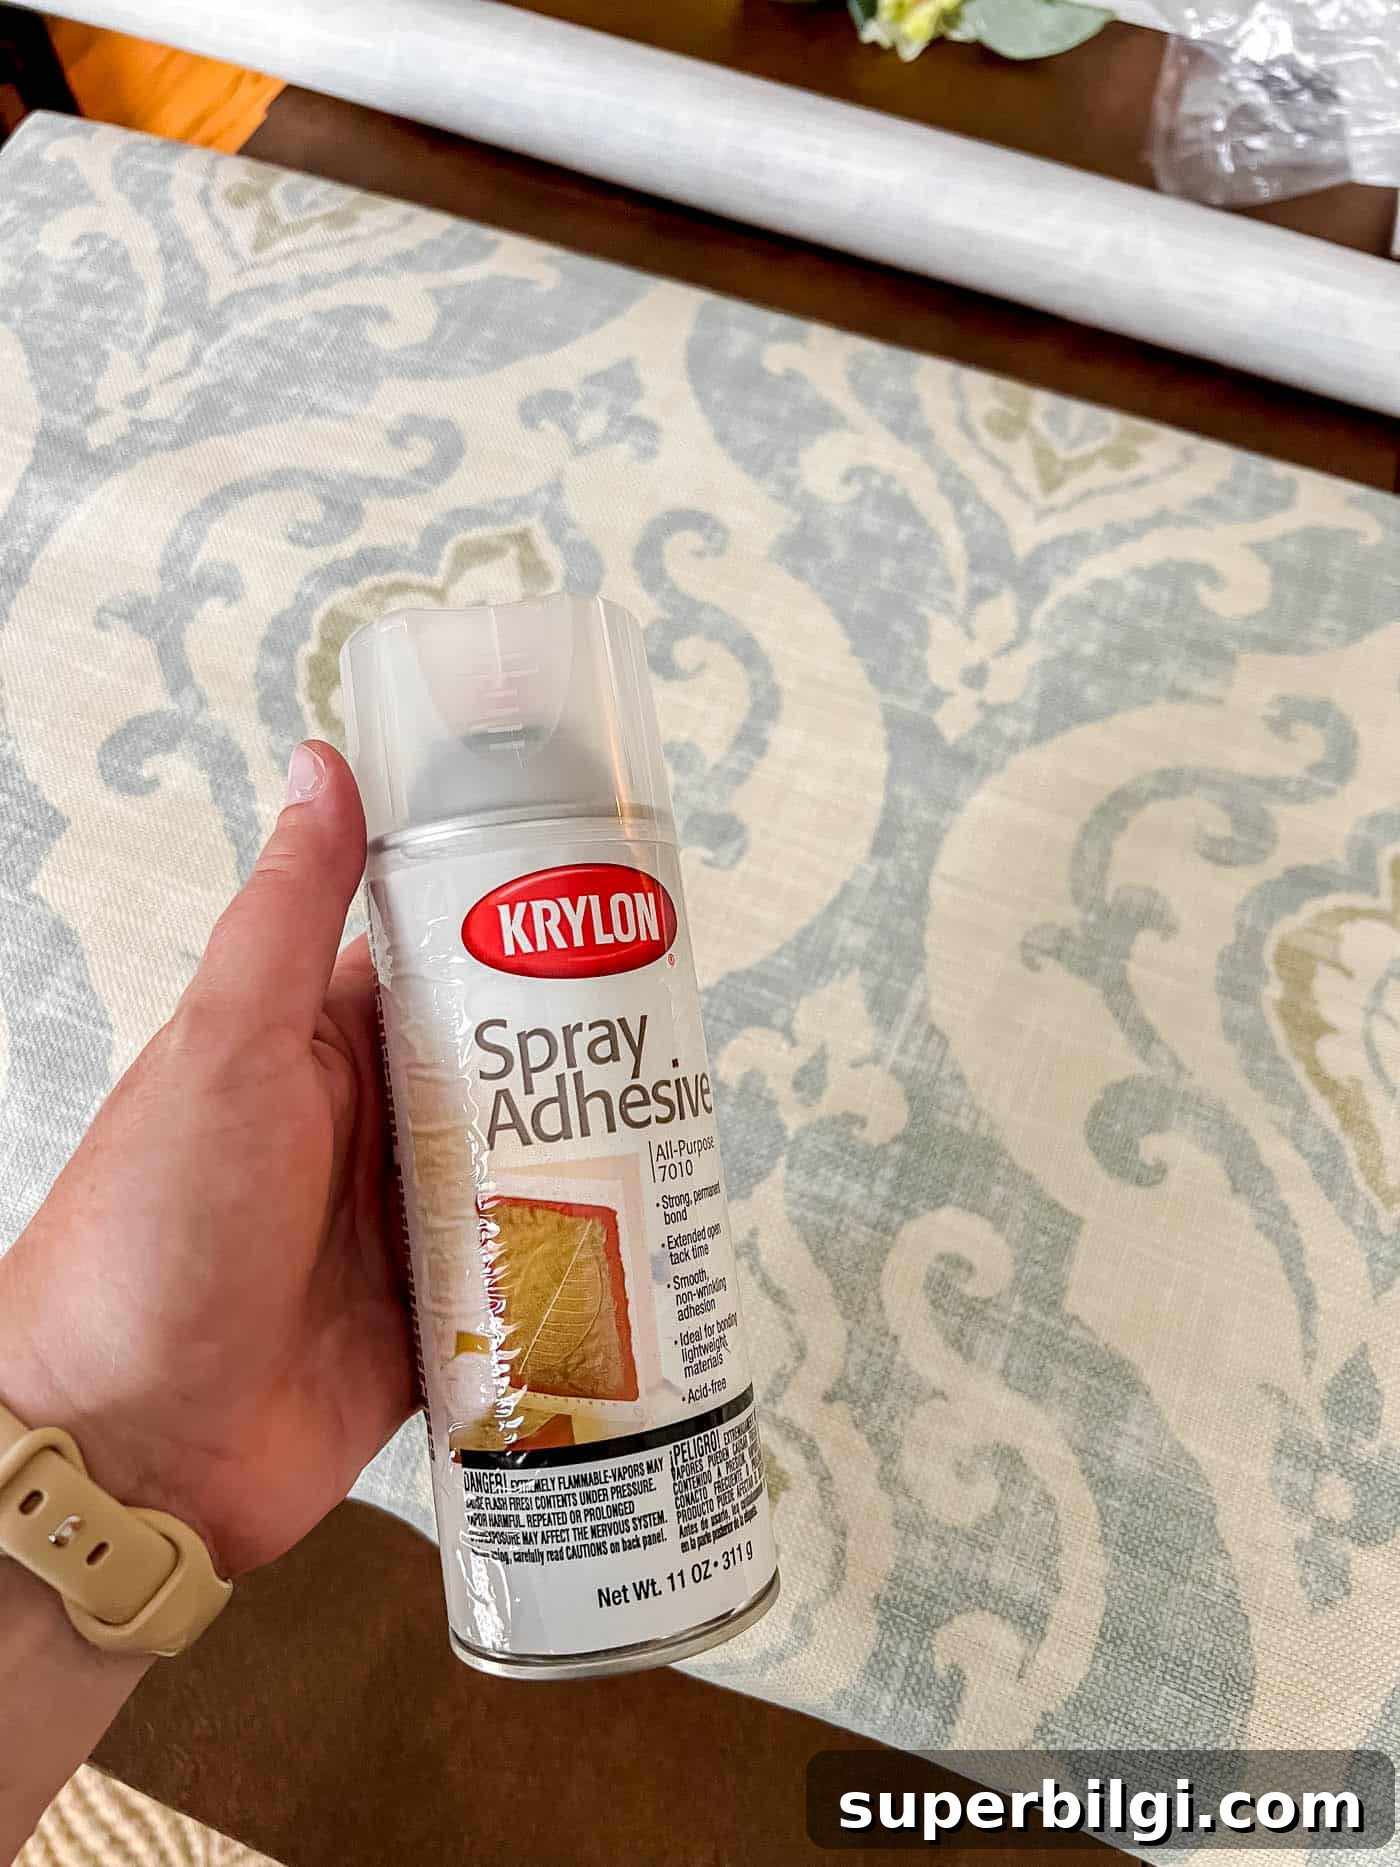
Choose a medium-weight upholstery or home decor fabric—linen, canvas, polyester, or a cotton/poly blend are good choices. Medium-weight fabrics fold neatly over the board without pulling or wrinkling excessively. I used a blue and green damask fabric that centered nicely for the look I wanted.
A patterned fabric can make the cornice a focal point. If you use a pattern, ensure you can center the design across the front for a balanced finish.
Supplies Needed
To create a fabric-covered cornice board you’ll need some basic tools and materials:
- Poster board or cardboard for a template
- Pencil and scissors
- 3/4″ thick plywood or equivalent boards for the face
- 1 x 4 boards for the sides and top (or cut from plywood)
- Fabric to cover the cornice (usually one yard is sufficient for a standard size)
- Poly-fil batting or cushion padding to soften the edges
- Staple gun and staples
- Drill
- Saws: circular saw and jigsaw (a miter saw is helpful for straight cuts)
- Wood glue
- Several L-brackets and screws for mounting and reinforcement
- Corner braces for a sturdy assembly
- Optional embellishments like corded trim or fringe
- Optional backing fabric to finish the rear
How to Make a DIY Cornice Board with Fabric
Below are the basic steps to build a fabric-covered cornice board. Follow these carefully for a polished result.
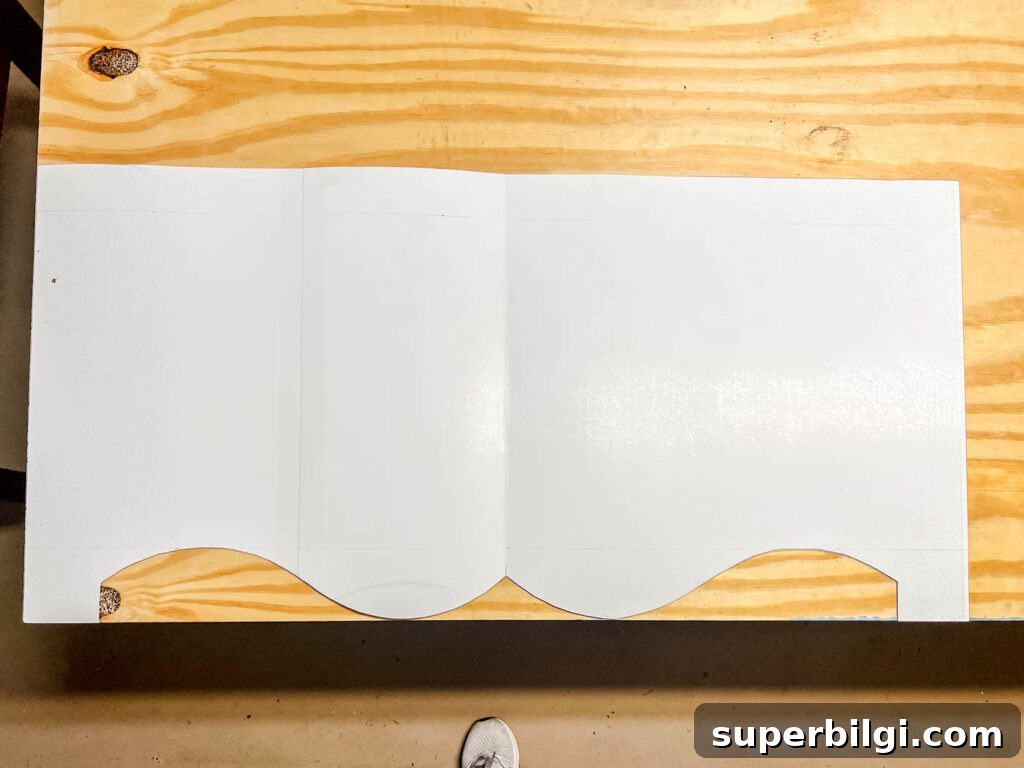
Step 1: Make a Template
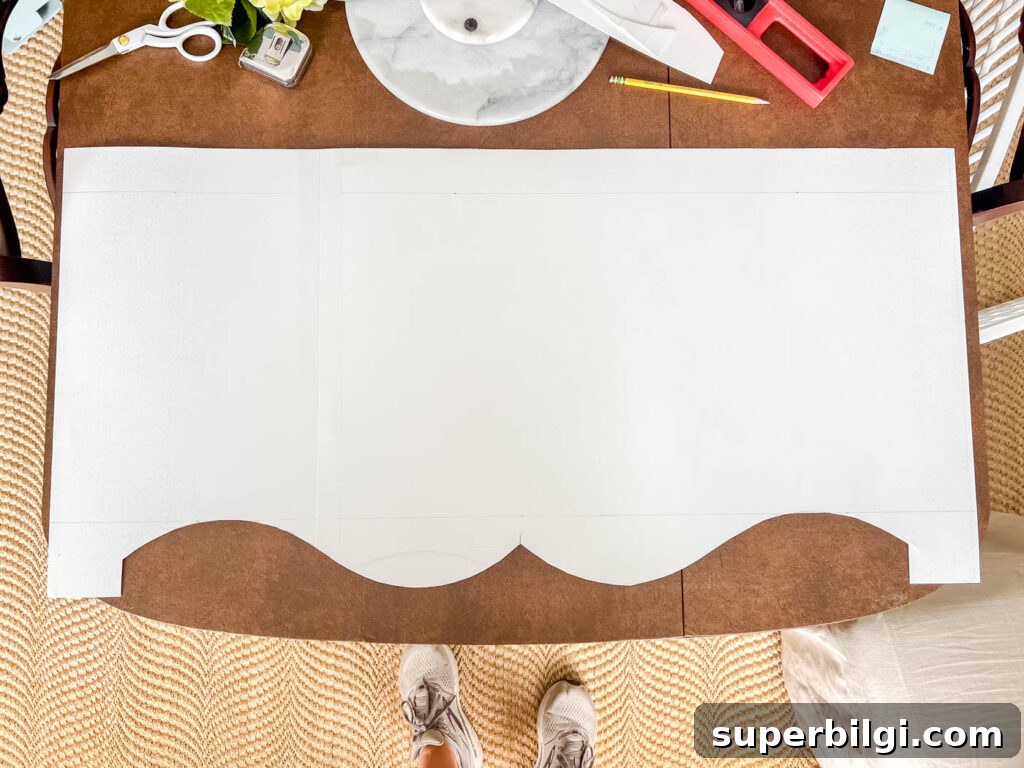
If you plan to build anything other than a simple rectangular box, make a template. Tape together two pieces of cardboard or poster board to reach the full size, then draw your shape. I used a circular object to create the Pennsylvania-style curved center.
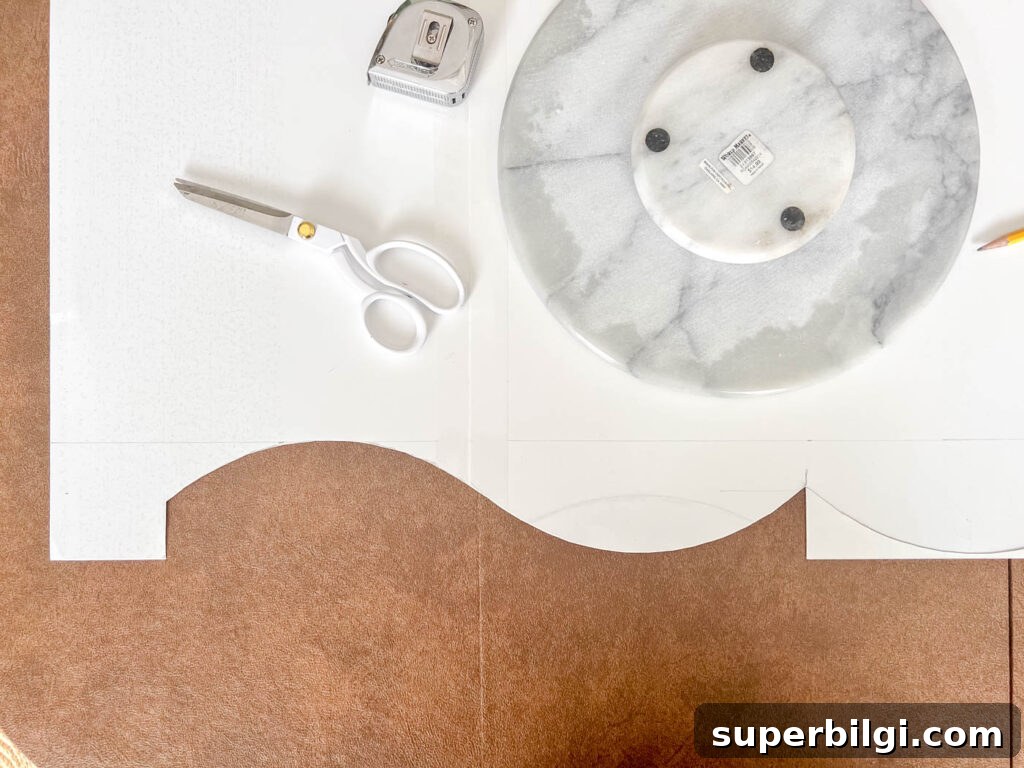
Cut out the template and hold it above the window to confirm the proportions before transferring the shape to wood.
Step 2: Cut the Plywood
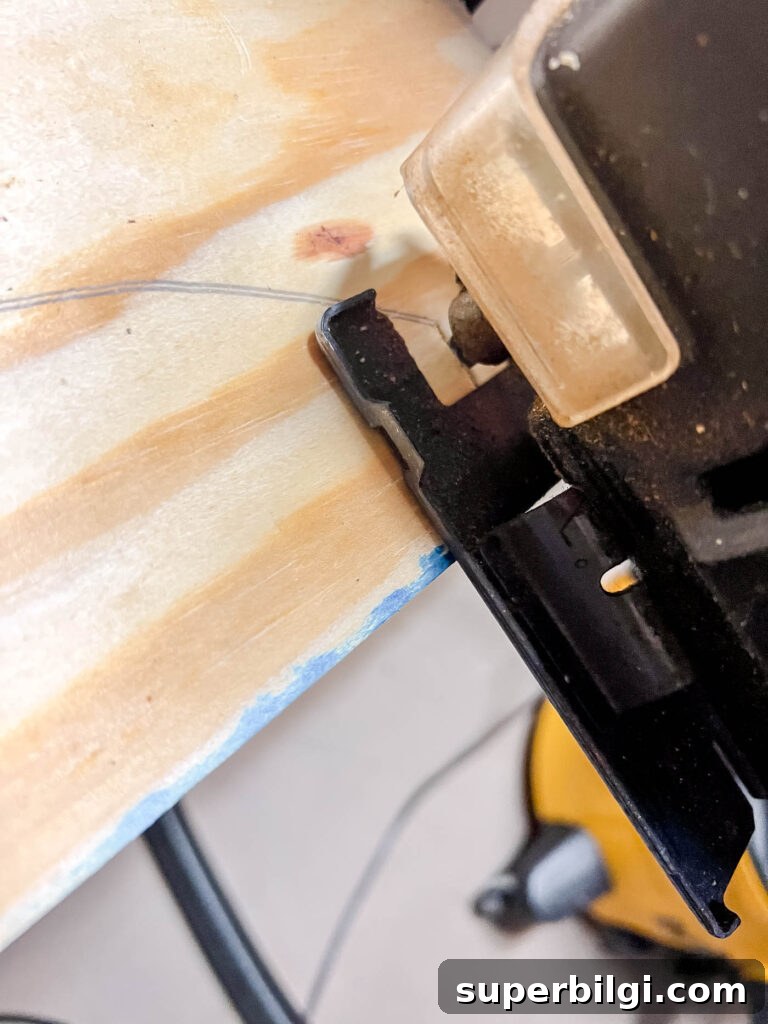
Trace the template onto the plywood and cut the shape. Use a circular saw for the straight cuts and a jigsaw for curves and detailed edges. I used a compact circular saw for ease and a jigsaw for the wavy bottom edge.
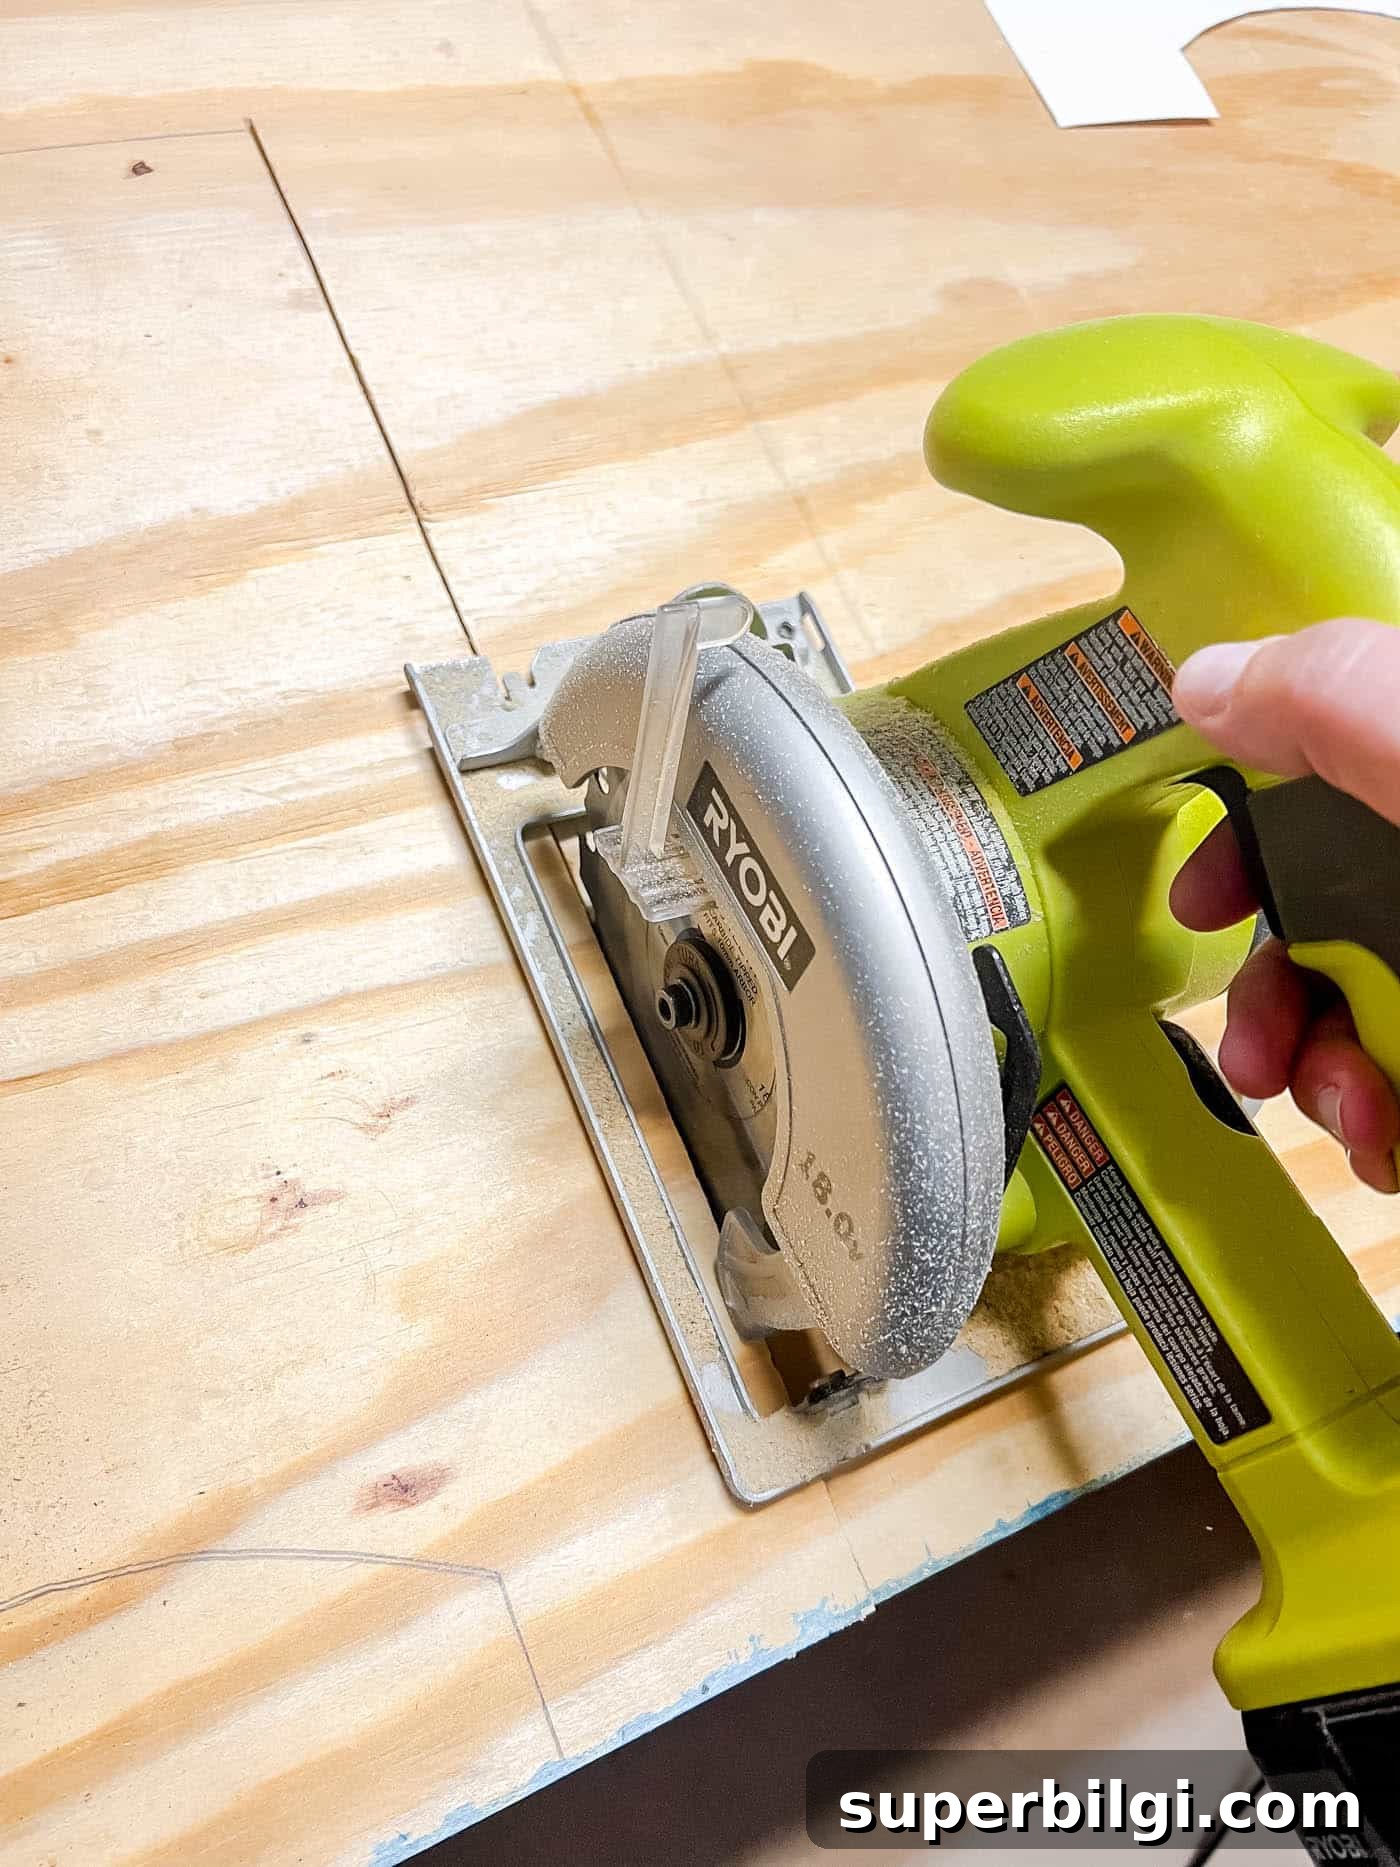
The jigsaw is essential for cutting curves; choose a blade suitable for plywood for a smoother edge.
Step 3: Cut the Top and Side Pieces
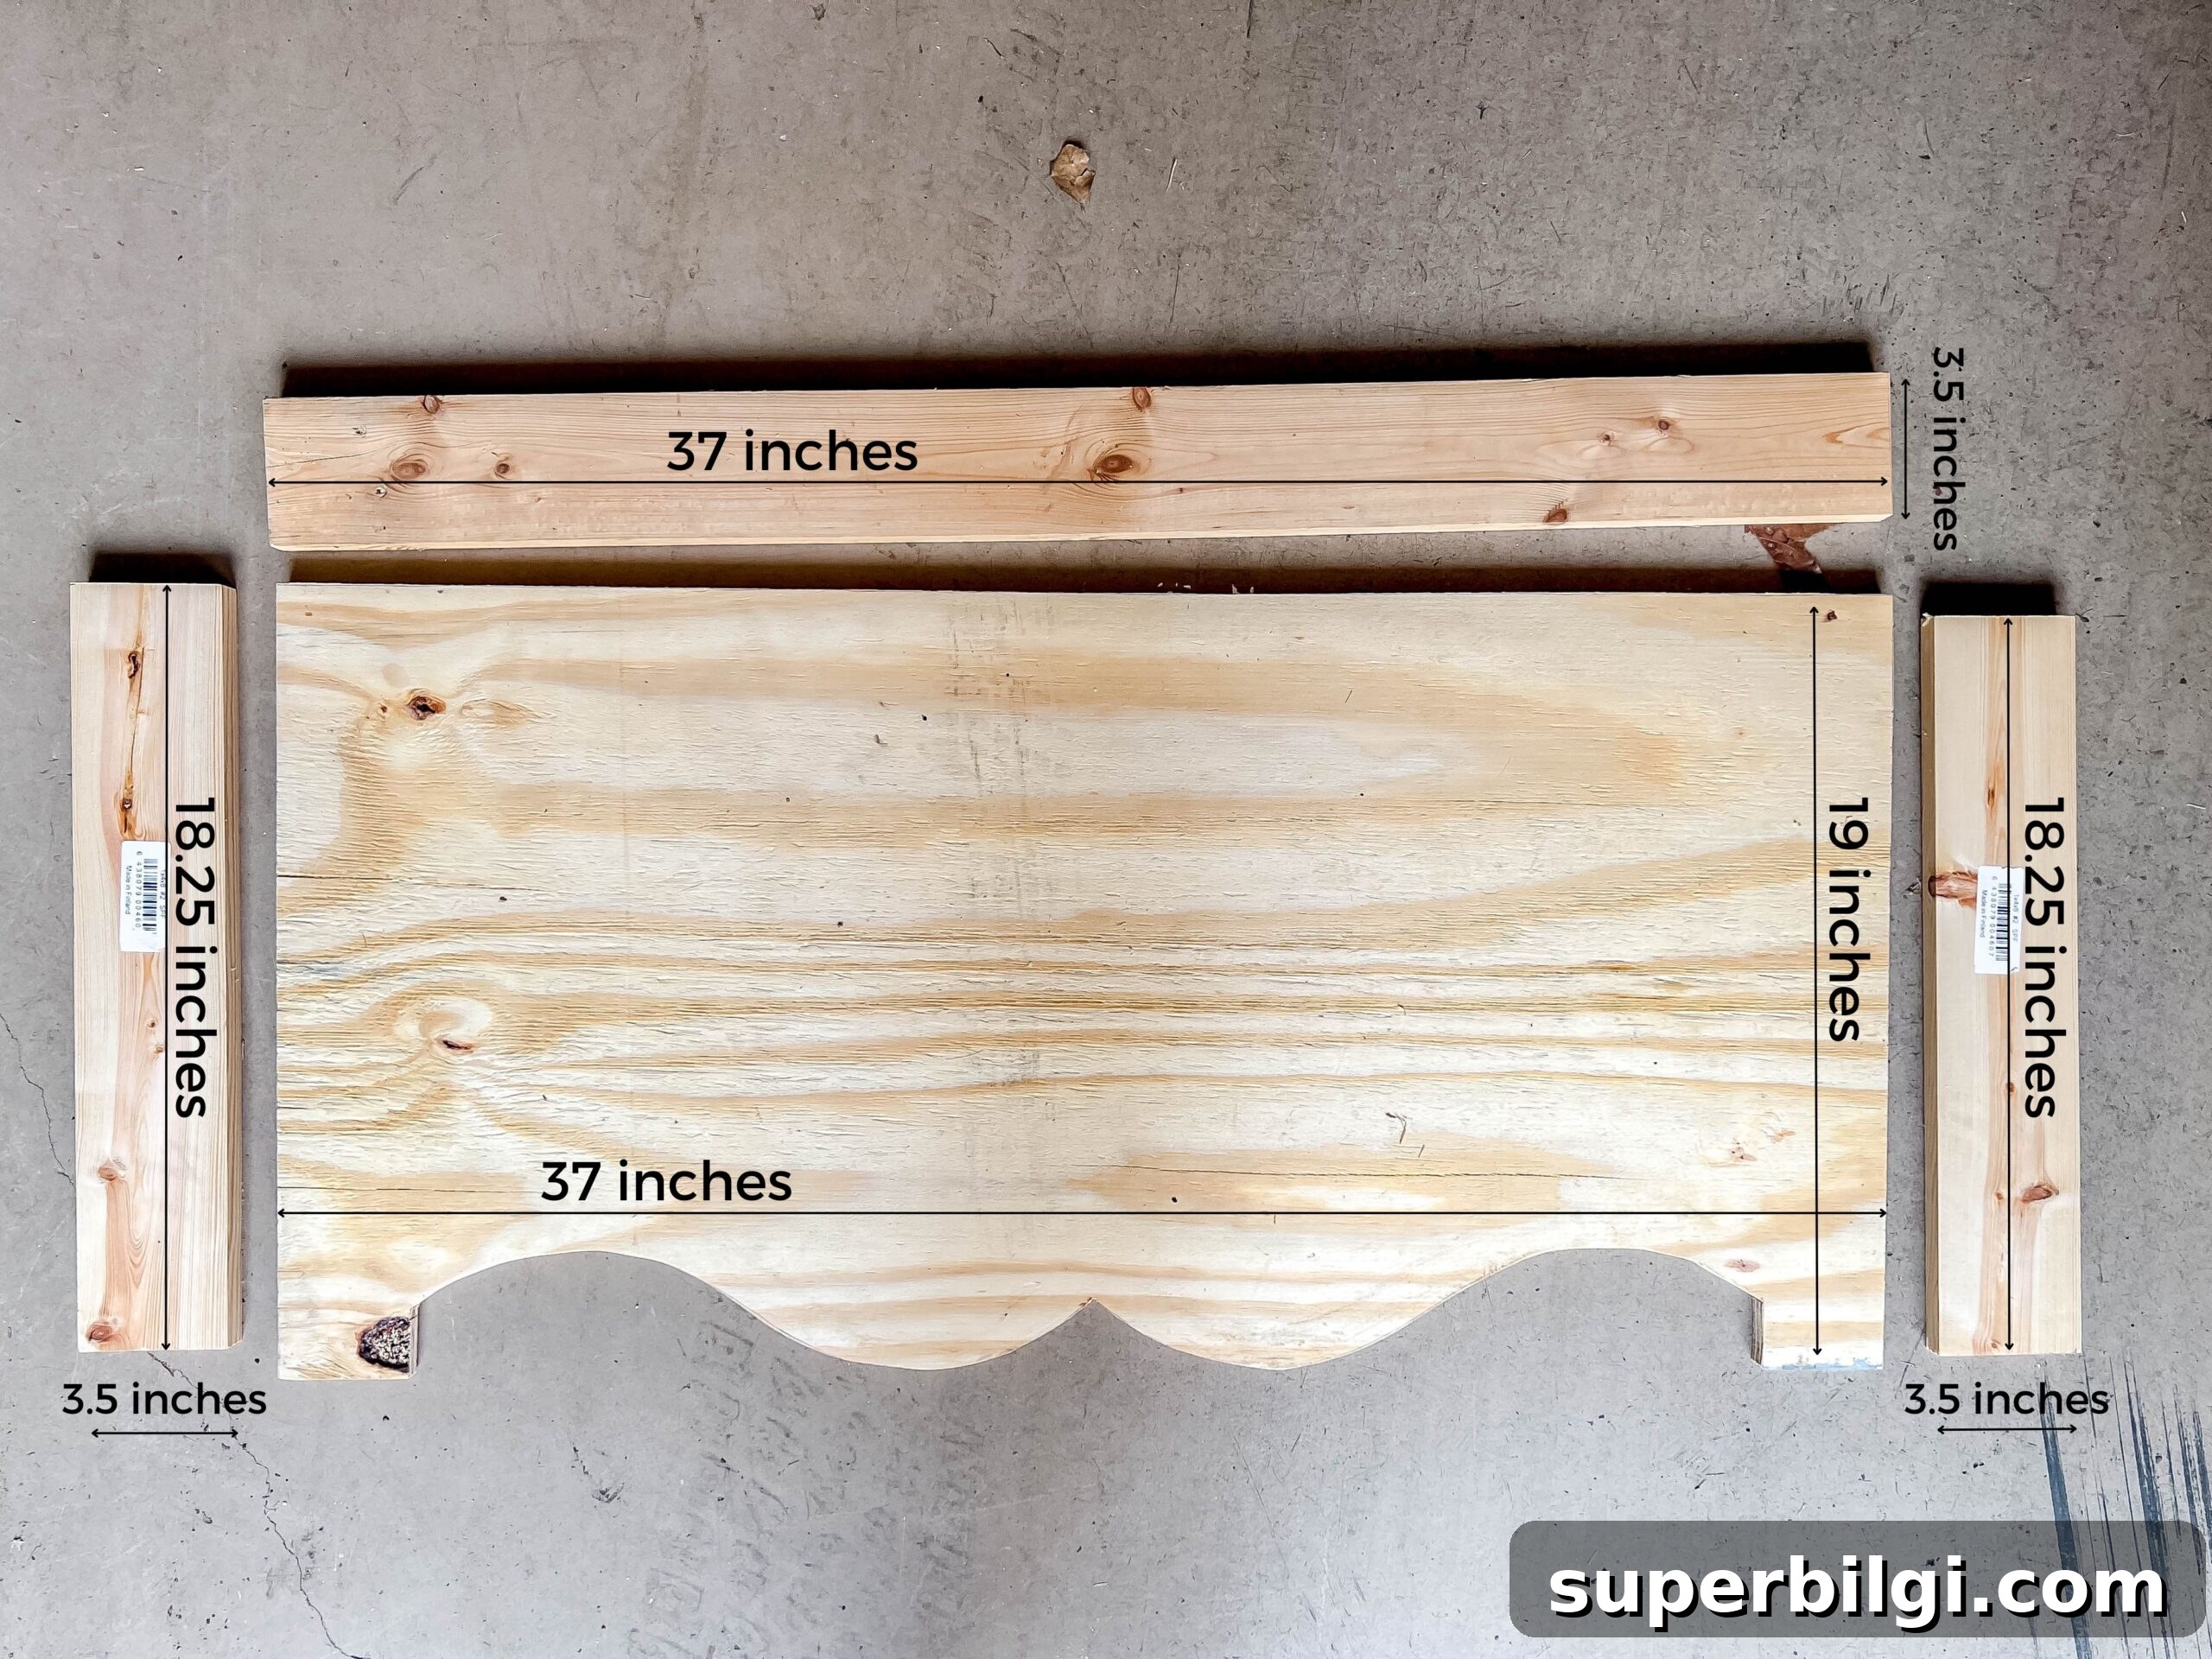
Cut the top and side boards to match the height and width of the face panel. These pieces determine how far the cornice will project from the wall, so choose the depth carefully.
I used leftover 1 x 4 boards, which measure about 3.5 inches wide and gave the cornice a 3.5-inch projection. The top piece is the same width as the front face; the side pieces are the height of the front minus the top piece thickness.
You can sand rough edges now, though filler and fabric will cover most imperfections.
Step 4: Assemble the Cornice Box
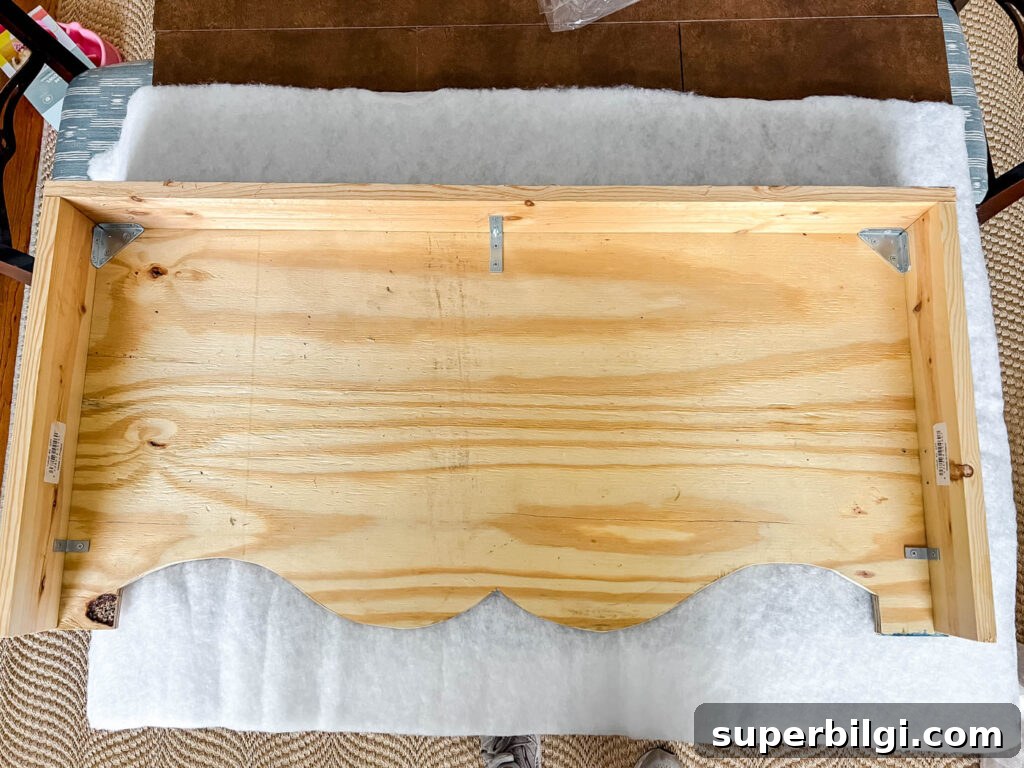
Use corner braces in each corner to secure the pieces together, and add L-brackets along the sides and top for extra support. Apply wood glue at joints for strength, then reinforce with screws and braces.
Step 5: Add Batting or Padding
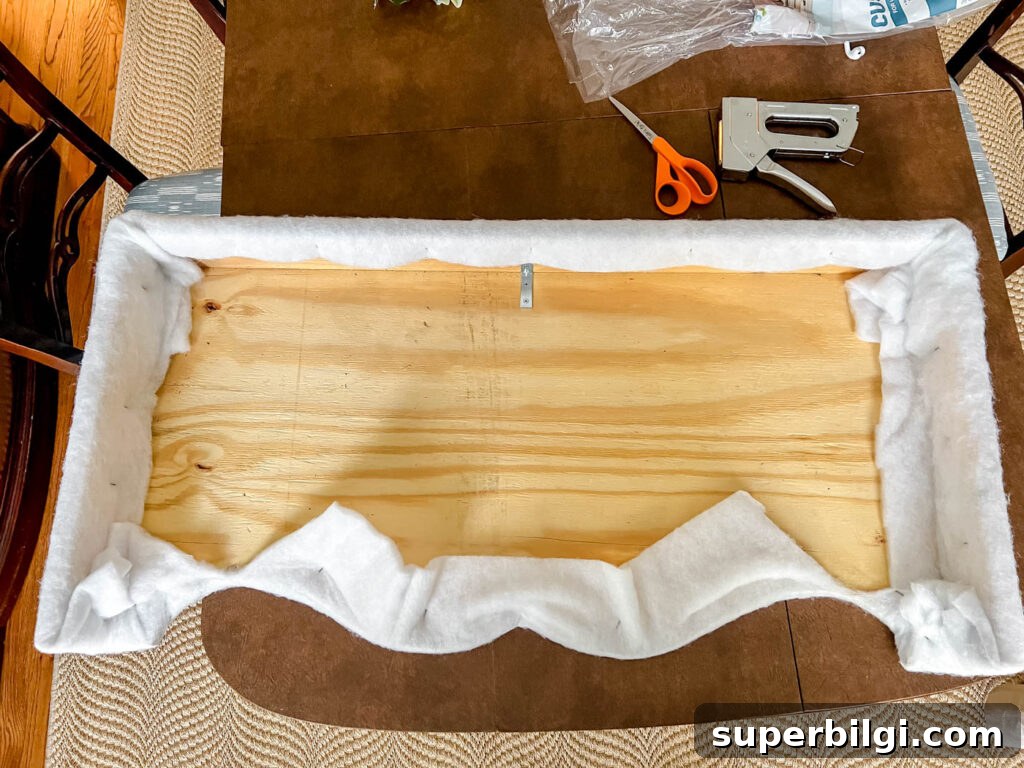
Cut the poly-fill or batting to the size of the board, leaving extra to wrap around and staple to the back. Batting softens the edges and creates a smooth surface for the fabric.
Smooth out wrinkles and pull the batting taut before stapling. Trim excess batting to avoid bulk under the fabric.
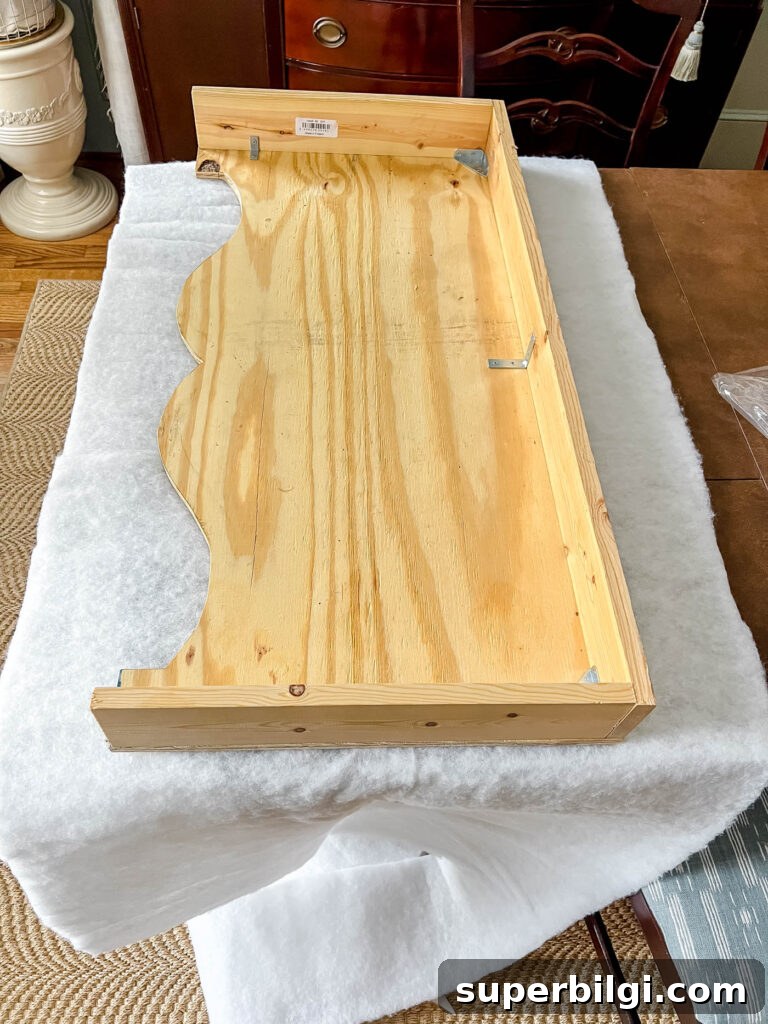
Start at the top and fold the batting over the side, stapling as you go. Fold corners neatly, like gift wrap.
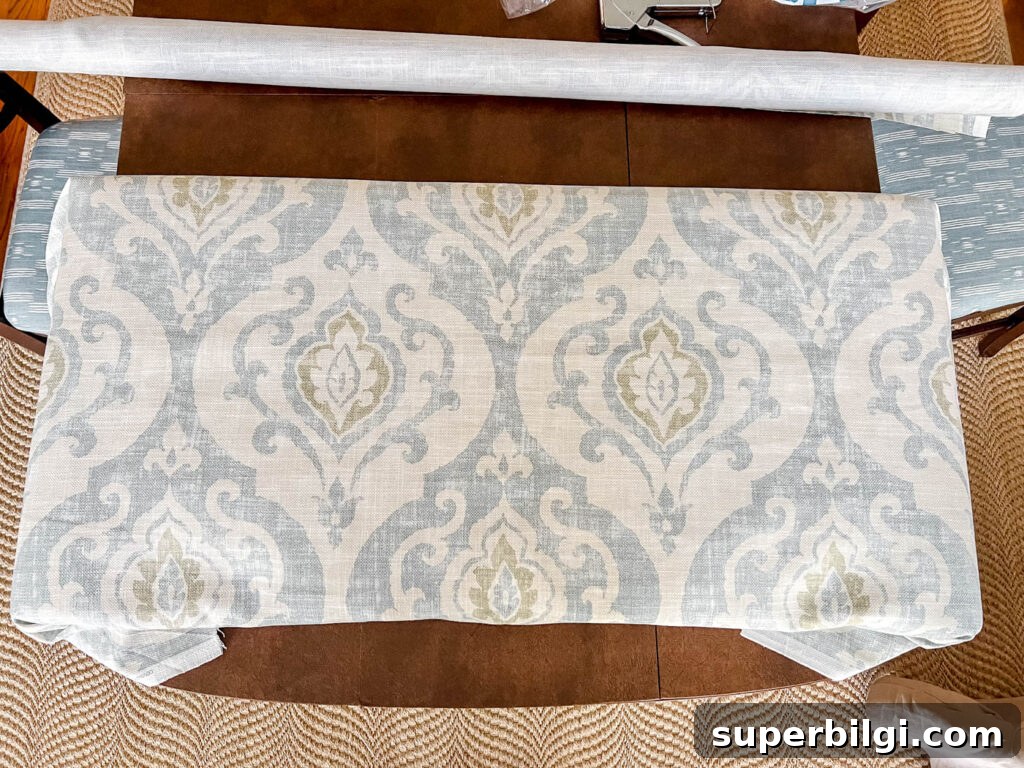
Step 6: Center the Fabric
Flip the board face up and position the fabric so the pattern centers exactly where you want it. Mark the midpoint if needed, then flip the board over carefully to keep the fabric in place.
Step 7: Staple the Fabric to the Board
Start stapling at the middle of the top edge, pulling the fabric taut as you work toward each side. Make small relief cuts around inward curves so the fabric lays flat without puckering.
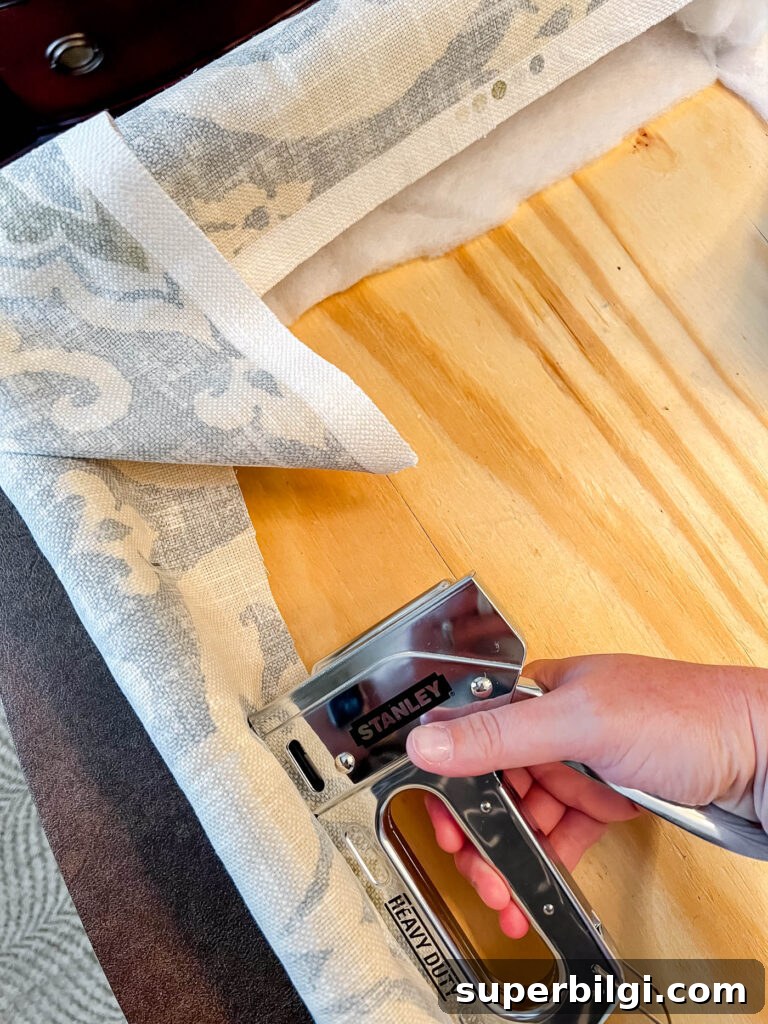
Wrap and fold the corners neatly for a tailored finish.
Step 8: Finish the Back (Optional)
If the back will be visible—such as on windows facing the street—create a backing piece from poster board or fabric and attach it to the rear for a neater appearance. I wrapped a poster-board template in neutral fabric and hot-glued it into the back for a tidy look.
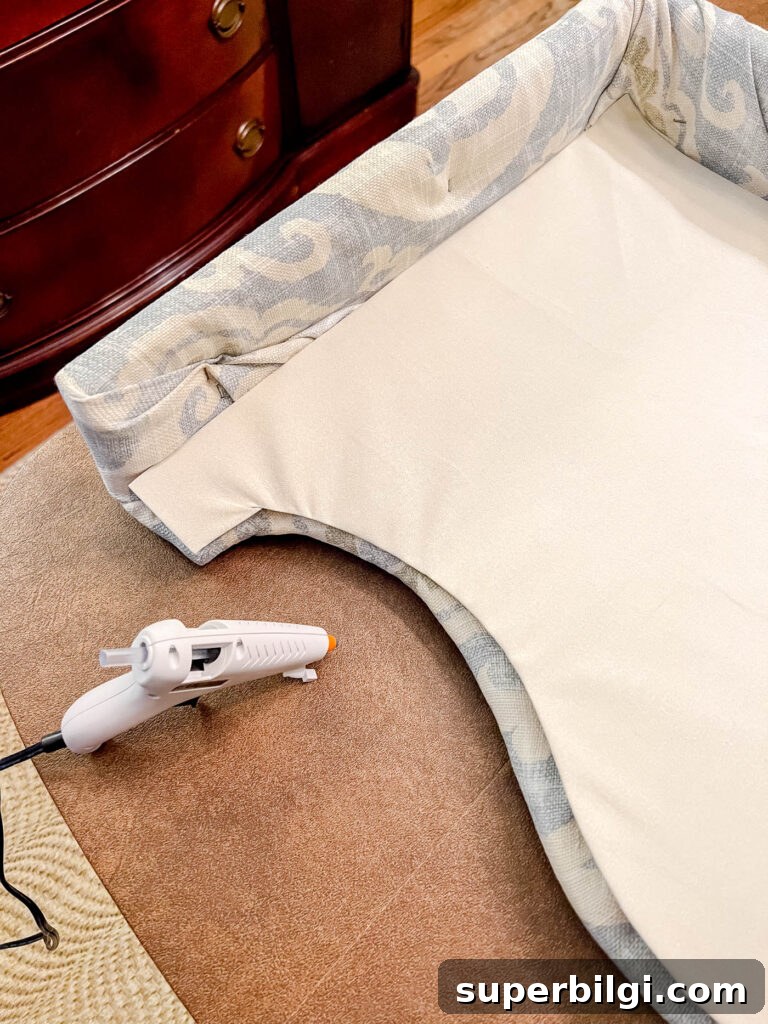
You can also add decorative trim, cord, or fringe along the bottom or edges if you prefer, but a plain finished edge keeps the focus on the fabric pattern.
How to Hang a Cornice Board
Once the cornice board is complete, mount it above the window. Choose a hanging method appropriate to the depth of the cornice and the space available between the cornice and the wall.
Step 9: Hang the Cornice Board
You have two reliable options for mounting:
Option 1: Use L-Brackets
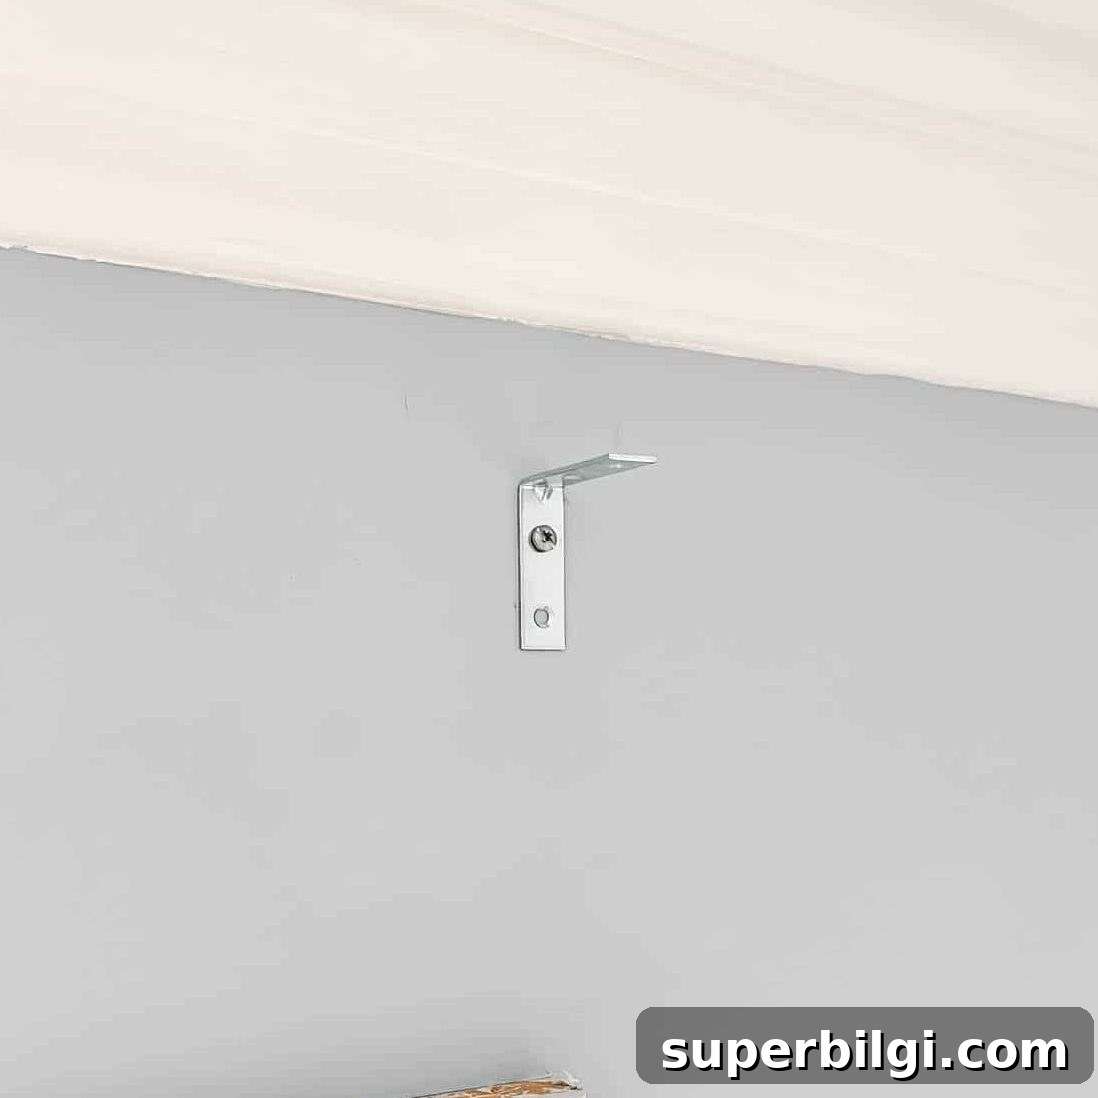
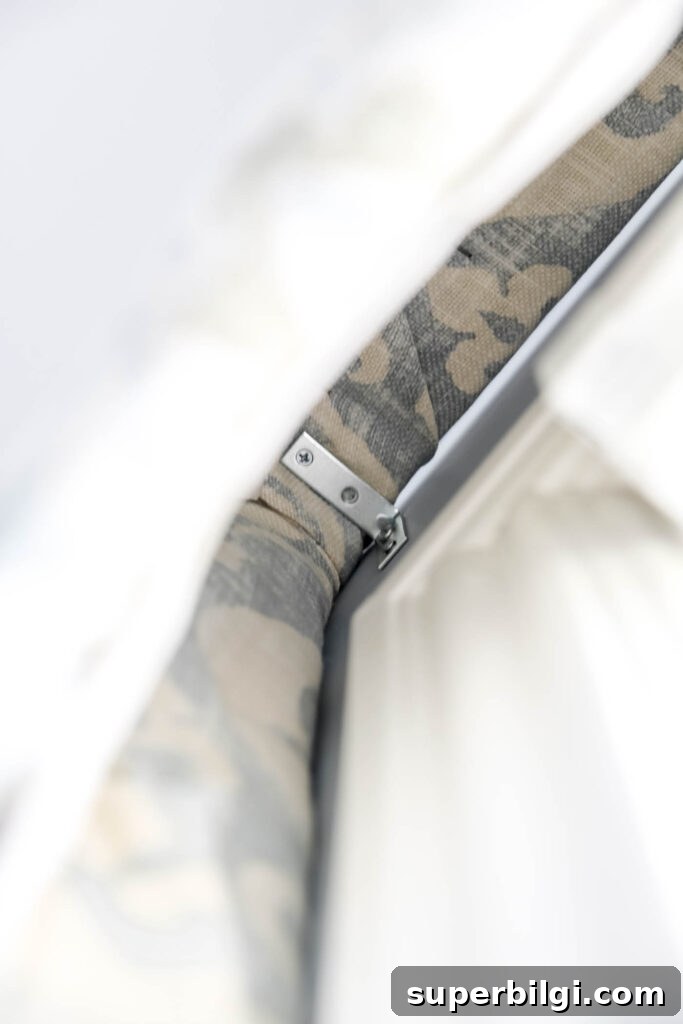
Mount two L-brackets to the wall and set the cornice on top. Then drive screws up through the brackets into the top piece of the cornice to secure it. Whenever possible, fasten brackets into studs or use proper wall anchors for a secure installation.
Option 2: Use D-Rings
Attach heavy-duty D-rings to the back of the cornice and hang it on properly anchored screws, just as you would hang a heavy framed picture. For a shallow cornice that leaves little room for a drill, D-rings are often the easier solution.
My cornice projected only about 3.5 inches, which made using a drill underneath the board a tight fit. If I build another one, I’ll either increase the depth or hang it with D-rings instead.
Isn’t it lovely? I’m so pleased with how it turned out.
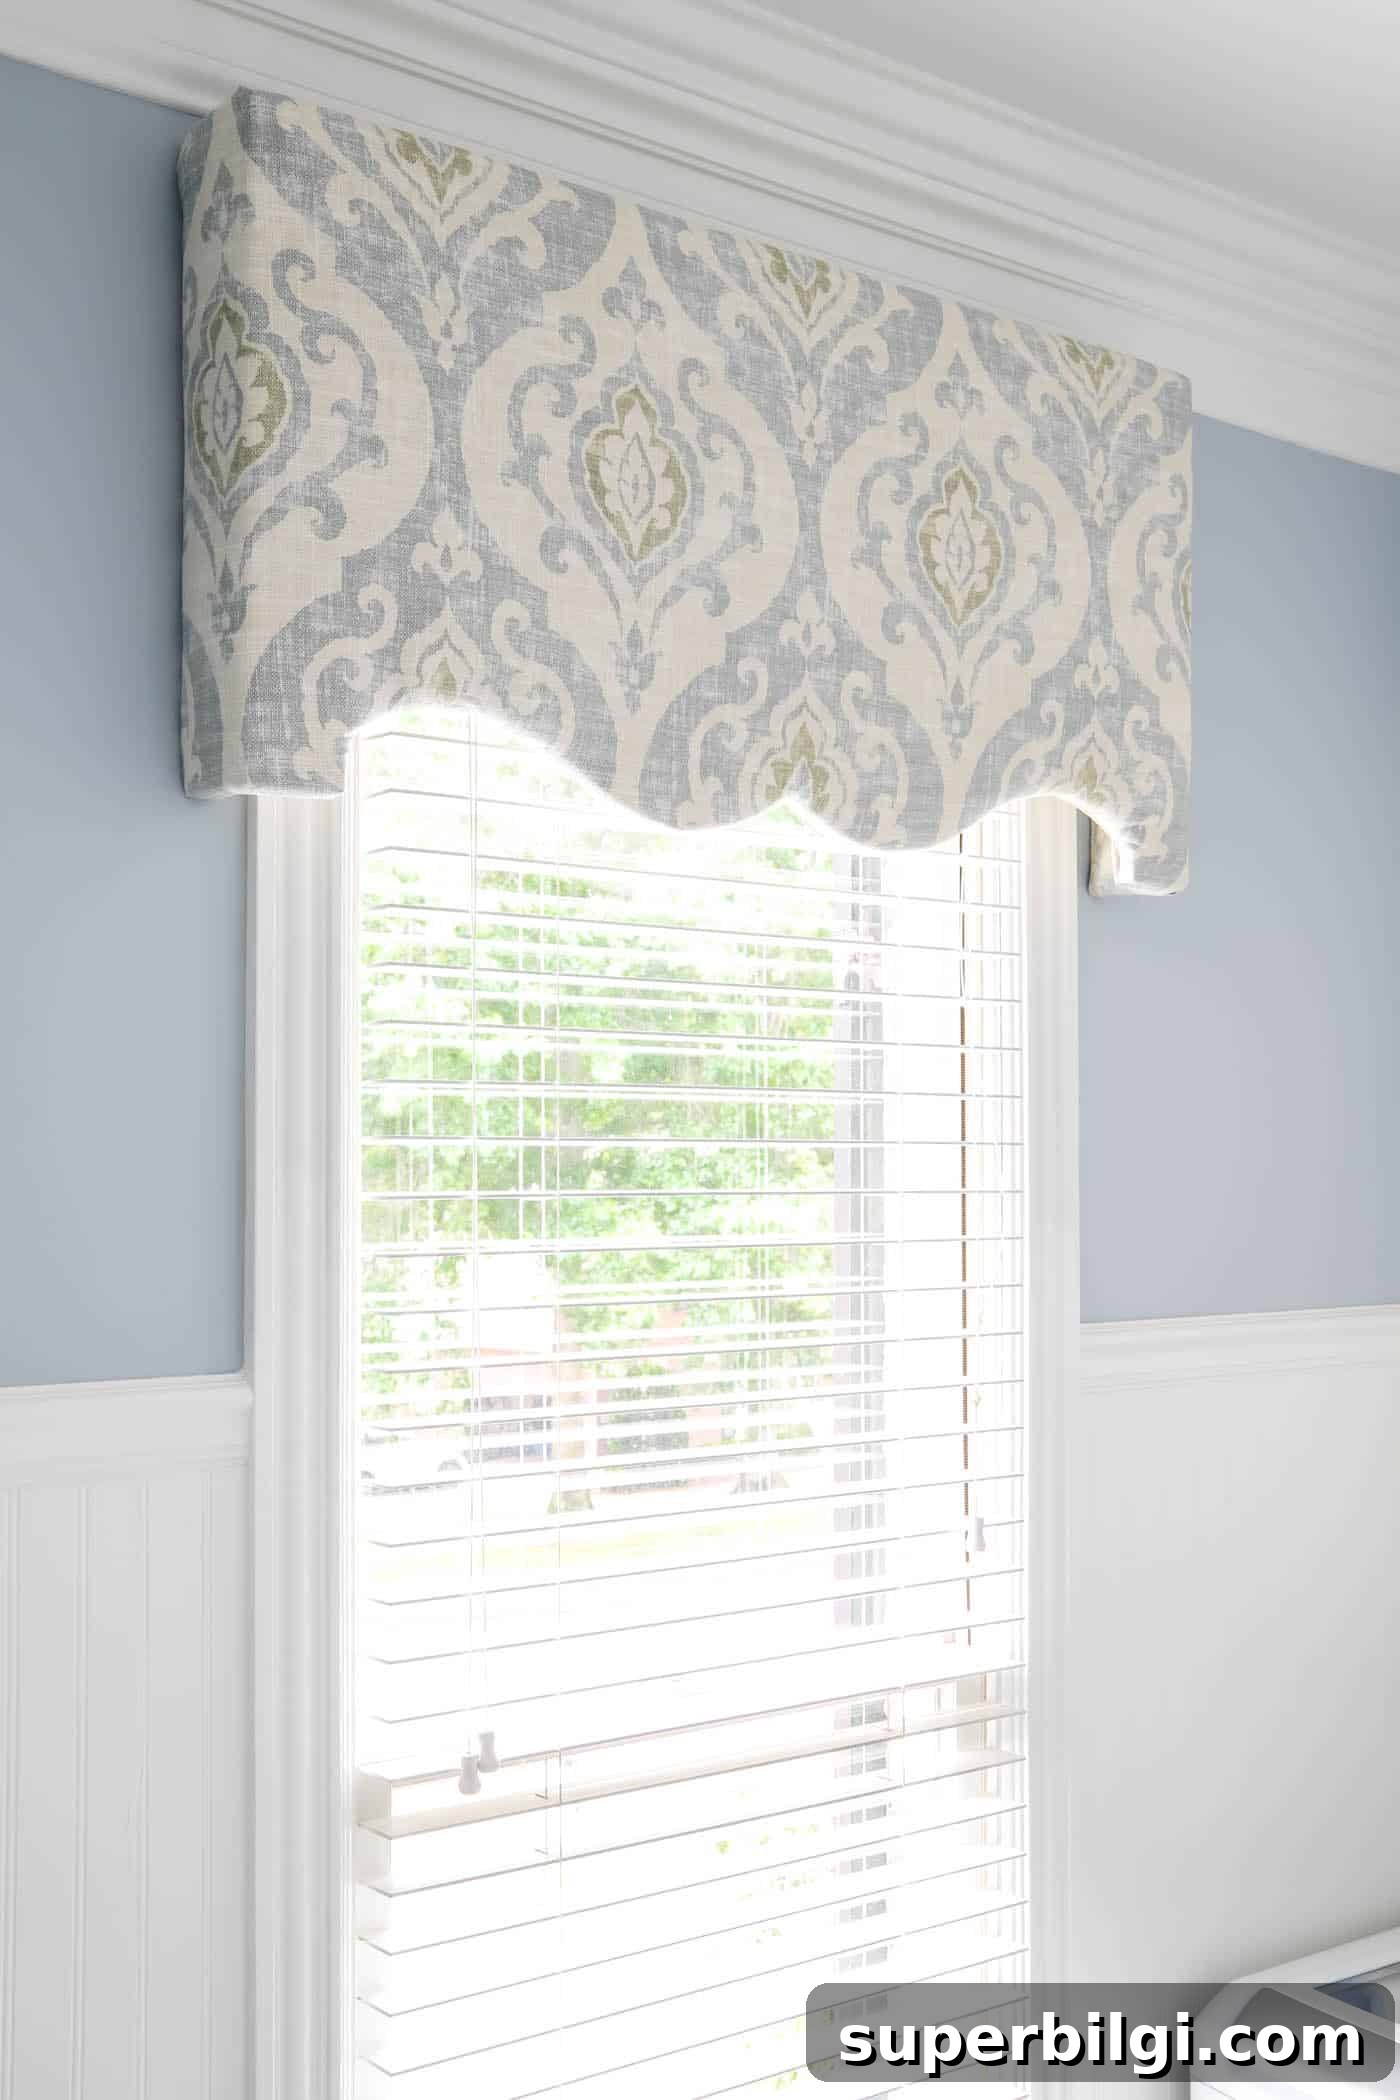
Once mounted, step back and enjoy the impact a single window treatment can have on the room.
Tips for a Professional Finish
- Center patterned fabric before stapling so the design looks balanced.
- Maintain even tension. Pull the fabric snug without distorting the pattern.
- Trim excess batting from the back and corners to reduce bulk.
- Make relief cuts around inward curves to allow the fabric to lay smoothly.
- Take care with corners. Fold them neatly, as if wrapping a present.
- Finish the back with inexpensive fabric if it’s visible from outside for a polished appearance.
DIY Cornice Board FAQs
How wide should a cornice board be?
Typically, a cornice board should be about 4–6 inches wider than the window, including trim, so it extends roughly 2–3 inches beyond each side for a finished look.
How deep should a cornice board be?
Depth should be enough to clear window trim and any coverings underneath. Mine projects about 3.5 inches. For easier installation, consider giving more clearance or hanging with D-rings.
How tall should a cornice board be?
Height depends on the window and desired look. It should hide blind or shade hardware without covering too much glass. My board is 19 inches tall, which fit the window proportions and crown molding in my room.
What wood should I use?
About 3/4-inch plywood works well for the front because it’s sturdy yet easy to cut into a decorative shape. For a simple rectangular cornice, plywood is a cost-effective and easy choice.
What is the best fabric?
Choose a medium-weight upholstery or home décor fabric that can be pulled taut without stretching. If using a pattern, pick one that’s easy to center across the front.
Do you need batting?
Batting isn’t strictly required, but it’s recommended. It softens the edges and gives a more polished, upholstered appearance.
How do you hang a cornice board?
You can hang a cornice with L-brackets attached to the wall or with heavy-duty D-rings and anchored screws. I used L-brackets but would use D-rings next time for easier installation under a shallow cornice.
Can you make one without a jigsaw?
Yes. For a simple rectangular cornice, a jigsaw is unnecessary. You only need a jigsaw for curved or decorative edges.
What’s the difference between a cornice board and a valance?
A cornice board is a structured, solid-framed treatment, while a valance is typically fabric that drapes or hangs. A fabric-covered cornice combines the softness of fabric with a tailored, architectural look.
Final Thoughts
I will most definitely be making another DIY cornice board. The project was easy, budget-friendly, and makes a big design statement. I love how this one transformed the laundry room without adding curtains that would interfere with daily tasks.
Cornice boards are an excellent way to introduce color, pattern, and personality to windows where traditional curtains aren’t suitable. I plan to make cornice boards for my daughters’ rooms next—each has a small window that would benefit from a custom treatment.
If you’re looking for a simple way to add character to a window, I hope this tutorial inspires you to try your own DIY cornice board. It looks more complex than it is, and you can complete a lovely, professional-looking window treatment in an afternoon.