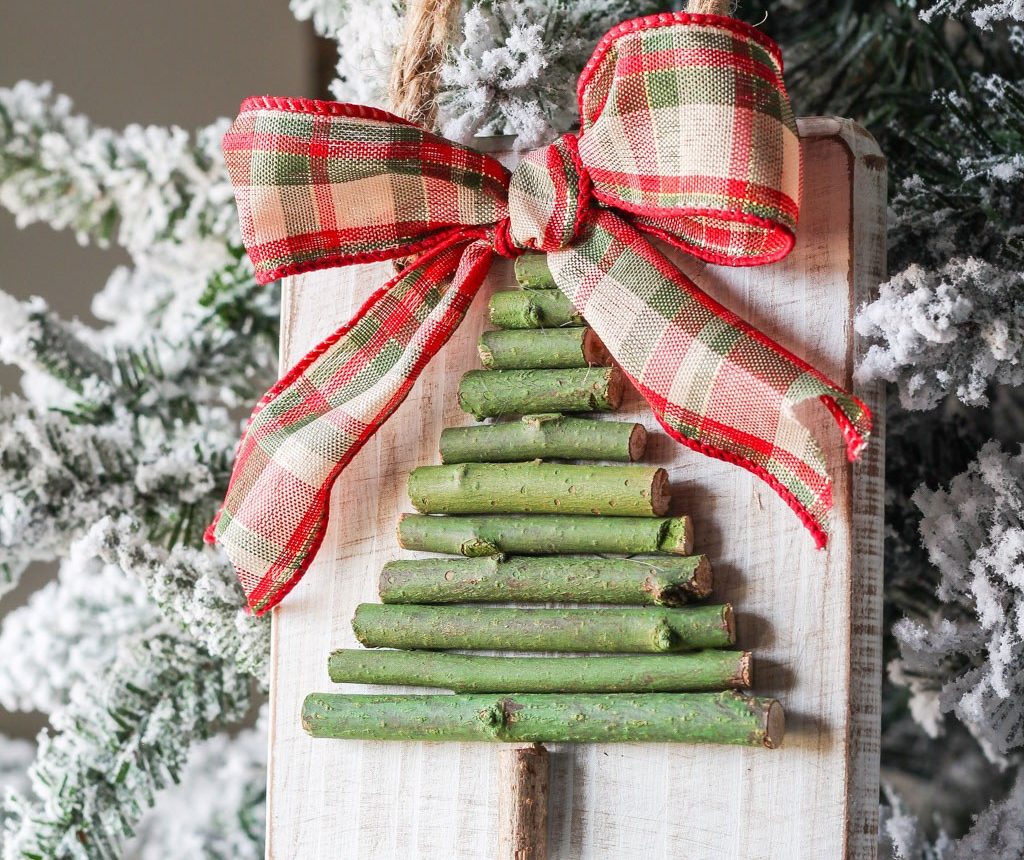
This DIY twig Christmas tree ornament is easy, charming, and perfect for kids to help make. Add a small bow or a glittery star on top for extra flair.
My daughters each made one (with a little help), and they all turned out so sweet and unique.
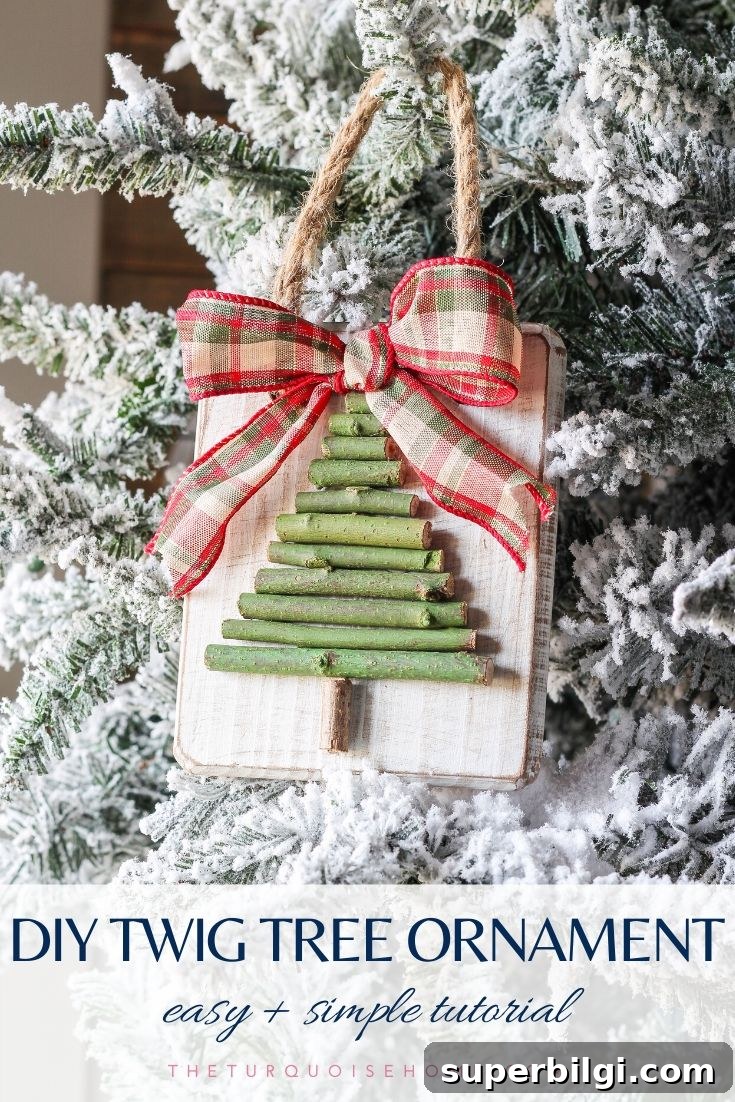
You can make this with a small piece of scrap wood—drill holes for a hanging twine if desired—and gather twigs from your yard or use store-bought craft twigs. It’s an adaptable project: dress it up for a polished look or keep it rustic and budget-friendly.
This ornament doesn’t have to hang on the tree; it also works well as wall décor, part of a vignette, or even centered inside a wreath. Place it wherever you’ll enjoy it most.
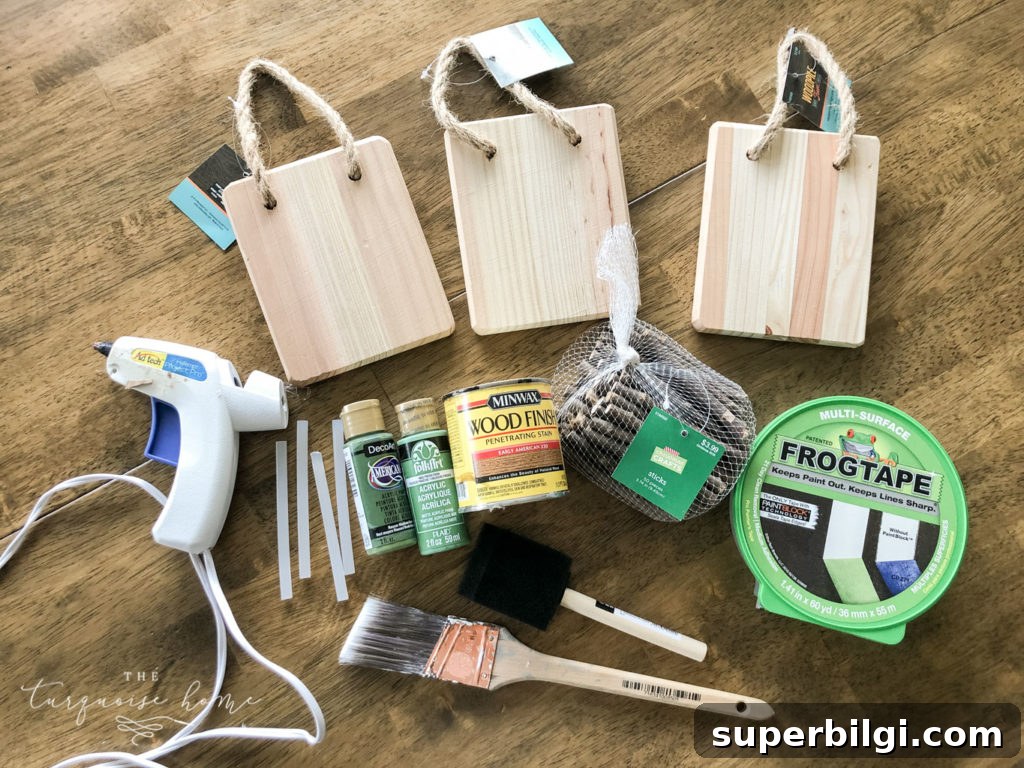
Supplies You’ll Need to Make a Twig Ornament
- Natural wood plaque or small wood board with a rope hanger
- Wood craft twigs (or real twigs from your yard)
- Hot glue gun and glue sticks
- Wood stain (I used Early American)
- White paint (I used a white trim paint)
- Fine sandpaper
- Paint brush
- Foam brush
- Green craft paint for the twig trees
- Hand saw or heavy-duty cutters
- Painter’s tape
How to Make a Twig Tree Ornament
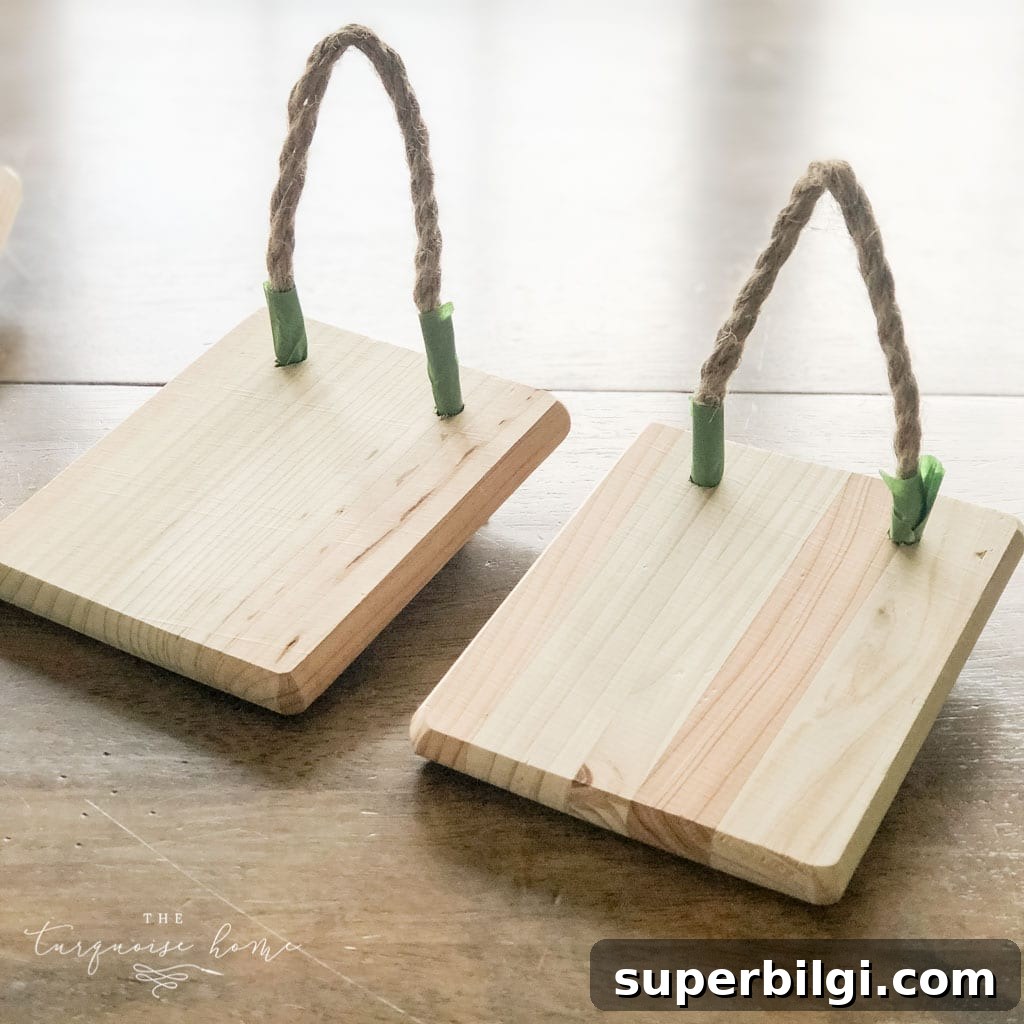
1. Tape off the jute rope
If your board has a jute rope hanger, protect it with painter’s tape where it meets the front of the board. This prevents stain and paint from getting on the rope while you finish the plaque.
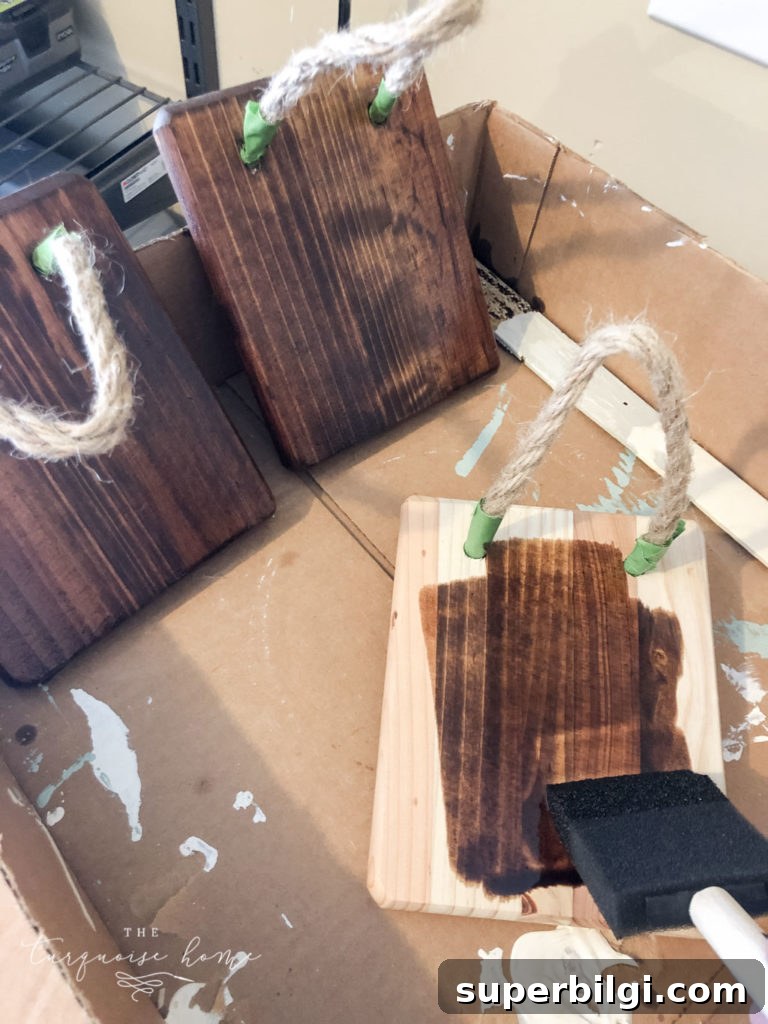
2. Stain the board/plaque
Apply your chosen stain and allow it to dry according to the product instructions. If you’re short on time, wait until the surface is dry to the touch before proceeding, but keep in mind a full cure time gives the best result.
3. Cut the twigs
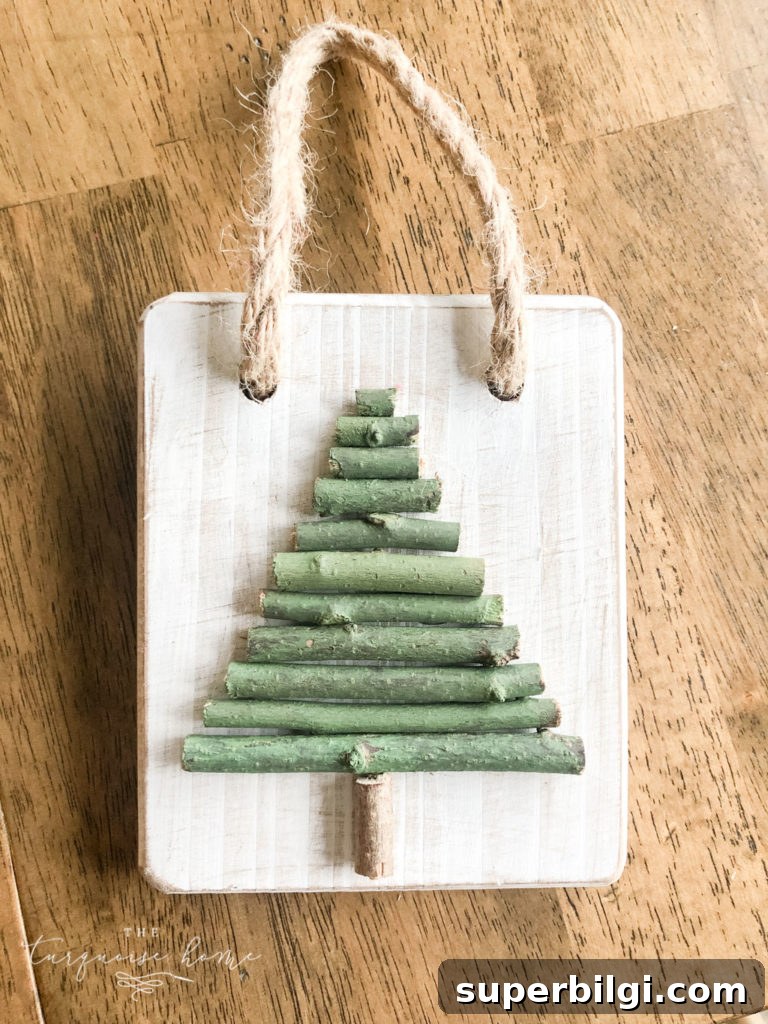
While the stain dries, prepare the twigs. I used twigs about 3.75 inches for the base, then cut progressively shorter pieces to form the tree shape. I used 11 twig pieces per tree and a short twig for the trunk. A hand saw or strong cutters work well—saw partway through and finish the cut with cutters if needed.
4. Paint the board/plaque
Once the stain has dried, paint the board with white paint. One coat is usually enough; let it dry completely before moving on.
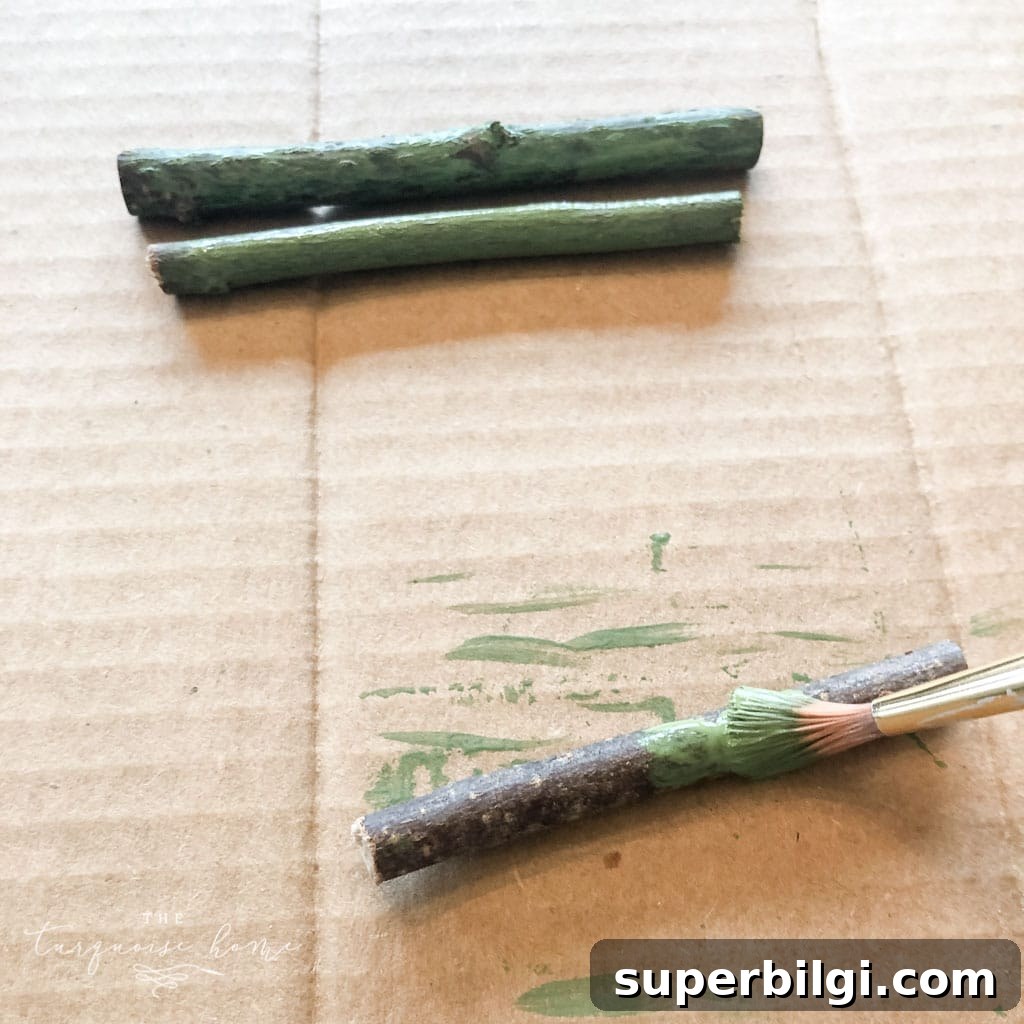
5. Paint the twigs
Paint the twig pieces green or any color you prefer. I used a medium green and brushed it on lightly, but you can give your twigs a full coat for a bolder look. Let them dry while the paint on the board finishes curing.
6. Optional: Distress the board/plaque
For a rustic look, lightly sand the board edges with fine-grit sandpaper to reveal some of the stain beneath. Wipe away dust with a dry cloth before gluing.
7. Glue the twigs to the board
Arrange the twig pieces on the board first to decide spacing and alignment. When you’re happy with the layout, secure each twig with hot glue, working from the bottom up. Add the short twig for the trunk last.
8. Add embellishments
Finish with small decorations—a tiny ribbon bow, a wooden star painted with glitter, or miniature ornaments. Even plain, the twig tree has a simple, appealing charm, but a little embellishment adds personality.
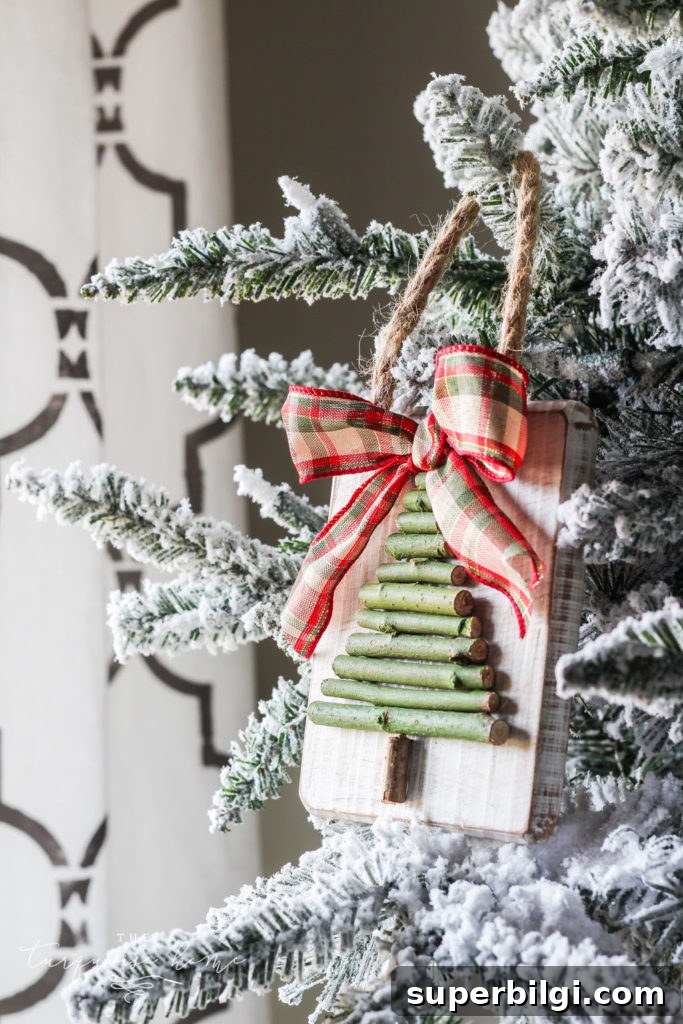
That’s it—your twig tree ornament is complete. They’re large enough to hang on the wall, tuck into a vignette, or hang inside a wreath. If you prefer not to place it on a Christmas tree, display it wherever it will be enjoyed most.
Happy crafting!
More posts you might enjoy:
- DIY Wood Finial Ornament
- DIY Mason Jar “Snow Globe” Ornament
- How to Dry Orange Slices for Decorations and Crafts
- Orange, Blue and Brown Christmas Tree
- Christmas Gift Wrapping Ideas