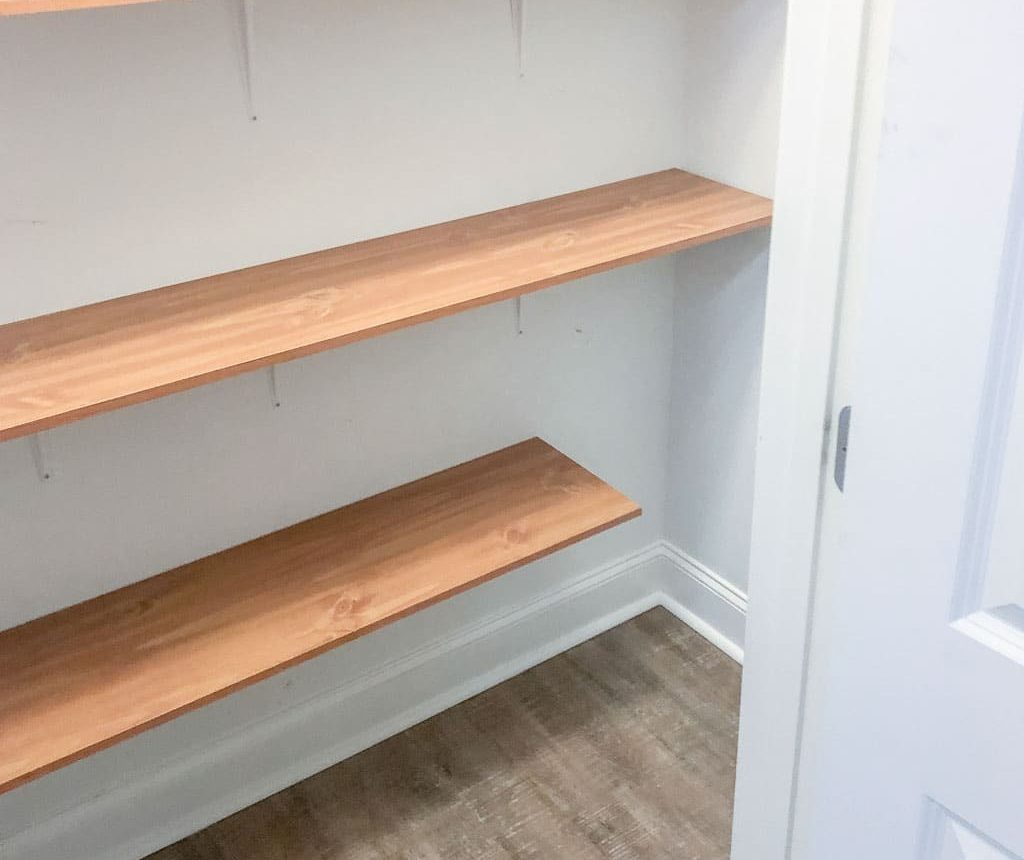
Learn how to turn an unused closet wall into practical storage with this simple DIY closet shelves tutorial — a project you can finish in an afternoon.
This is a beginner-friendly home improvement project designed to motivate you to take action. It’s straightforward, inexpensive, and makes a big difference in how your home functions. These shelves are ideal for any unused wall or corner inside a closet, pantry, or storage nook. Once your boards are cut, installation usually takes 30–60 minutes. Let’s get started.
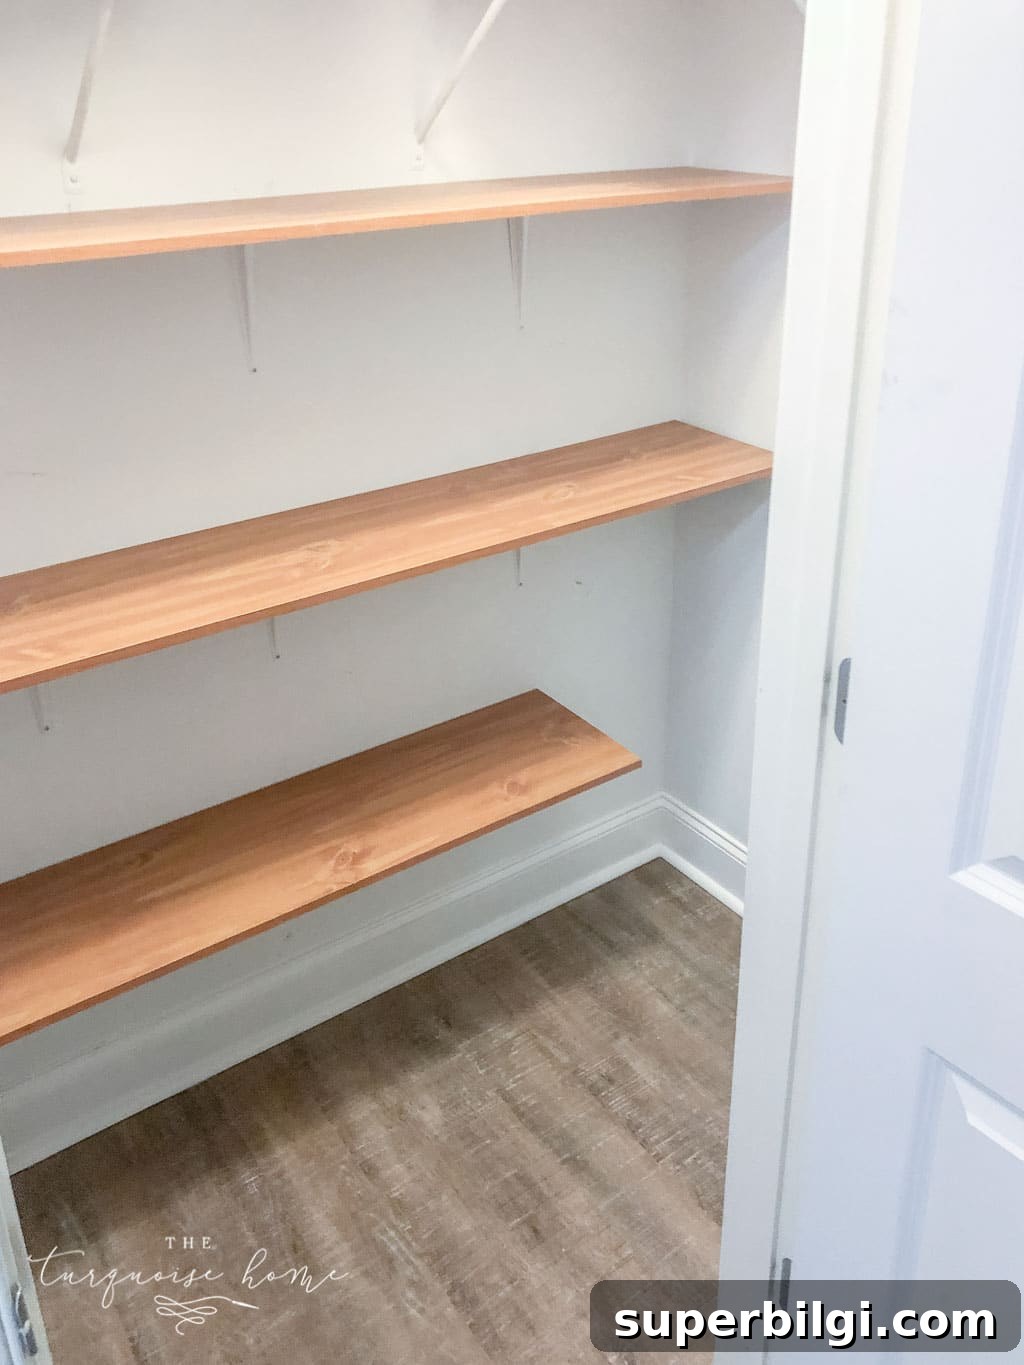
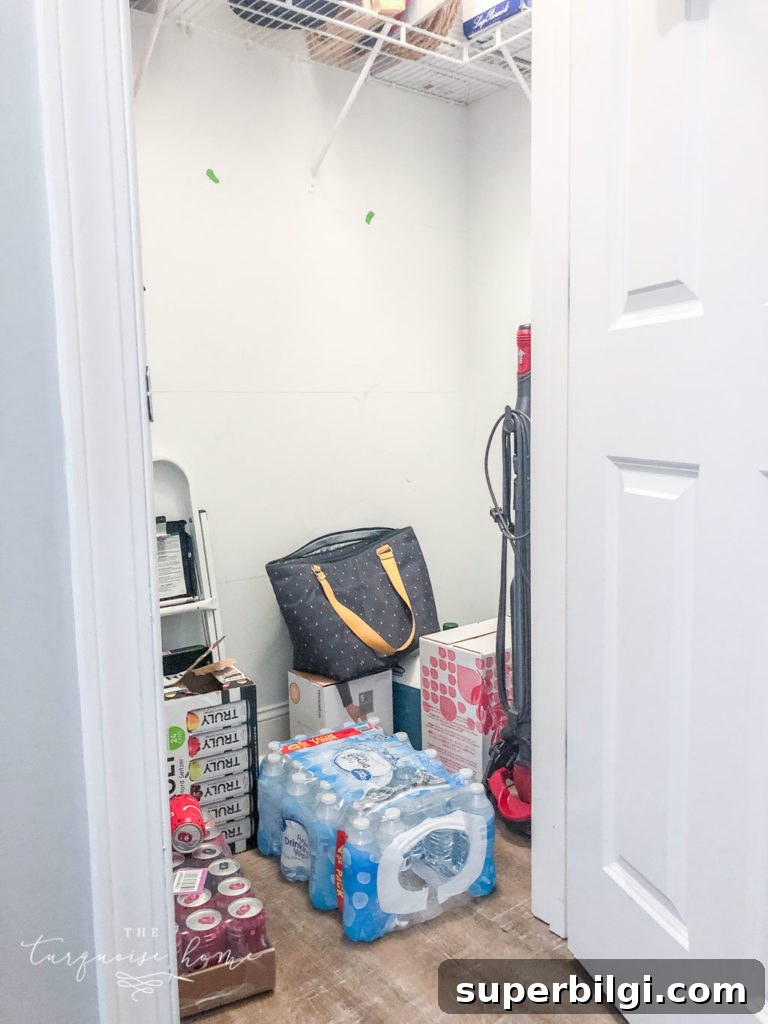
This photo shows my old coat closet that I’d been meaning to fit with shelves for years. Custom closet systems are expensive, so a DIY shelving solution is an excellent, budget-friendly alternative for a small space like this.
We didn’t have a dedicated pantry, so food and overflow items were spread across several cabinets. During a flooring project we temporarily emptied this closet, which finally pushed me to build the shelves I’d been planning. The result is a compact pantry-style storage area that has freed up cabinet space and cleared countertops.
Note: this post originally contained affiliate links for convenience.
Supplies for DIY Closet Shelves
- Boards — Choose laminated or MDF shelf boards cut to the width and depth of your space. I used laminated boards so I didn’t need to stain or seal them; laminate wipes clean easily.
- Brackets — Sturdy shelf brackets sized for the depth and weight capacity you need.
- Screws — Use 1½” screws to secure brackets to the wall studs and shorter screws (about ¾”) to fasten boards to the brackets.
- Drill — For driving screws and pilot holes.
- Stud finder — Helpful for locating studs; you can also locate studs by tapping the wall to feel for a firmer spot.
- Miter saw — Handy for precise, clean cuts; many hardware stores can also cut boards for you if you don’t own one.
- Level — Ensures shelves are perfectly horizontal.
- Measuring tape
Tips for creating shelves in a closet
- Measure the items you plan to store so you place shelves at heights that accommodate them.
- Locate and screw brackets into studs whenever possible. Anchors can fail over time under heavy loads.
- Customize shelf widths and heights. For example, if you store a folding card table or tall items, leave a taller gap on one shelf or shorten a shelf where needed.
How to build closet shelves
The concept is simple: attach decorative or utility brackets to studs and set boards on top. I borrowed the same straightforward approach I used for my open kitchen shelves — just boards supported by brackets. This method works well for linen closets, pantry spaces, hallway coat closets, or small walk-in closets.
1. Find the wall studs
Before buying materials, locate the studs in the closet wall so you know how many brackets you’ll need and where they’ll attach. Ideally, use a stud finder. If you don’t have one, tap along the wall and feel for a firmer spot where the stud is located. Plan to install brackets at every stud that will bear weight.
2. Mark the horizontal lines where each shelf will go
Use a level to draw a straight line across the wall where each shelf will sit. Double-check heights against the items you’ll store to ensure appropriate spacing.
3. Cut the boards to size
Cut your boards to the measured width using a miter saw or have them cut at the hardware store. Laminated boards are low maintenance and easy to wipe clean, which is ideal in pantry or utility areas.
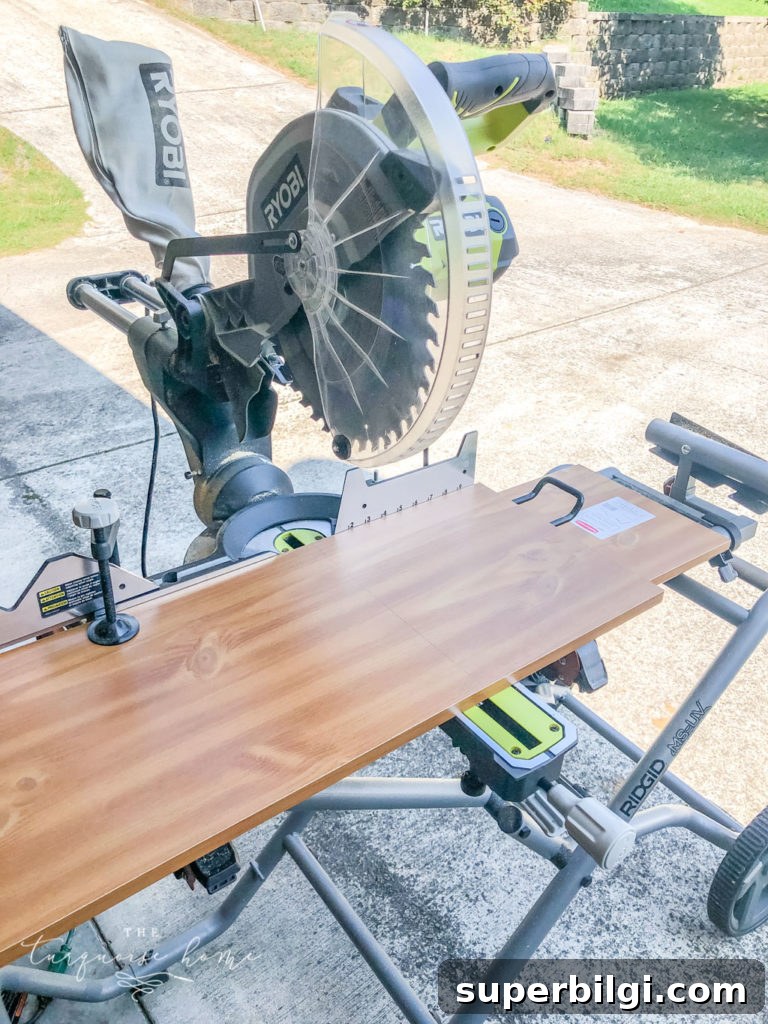
4. Position boards inside the closet before mounting brackets
If the closet is shallow, you may not be able to fit boards inside after brackets are installed. Place all boards in the closet first to confirm fit and spacing.
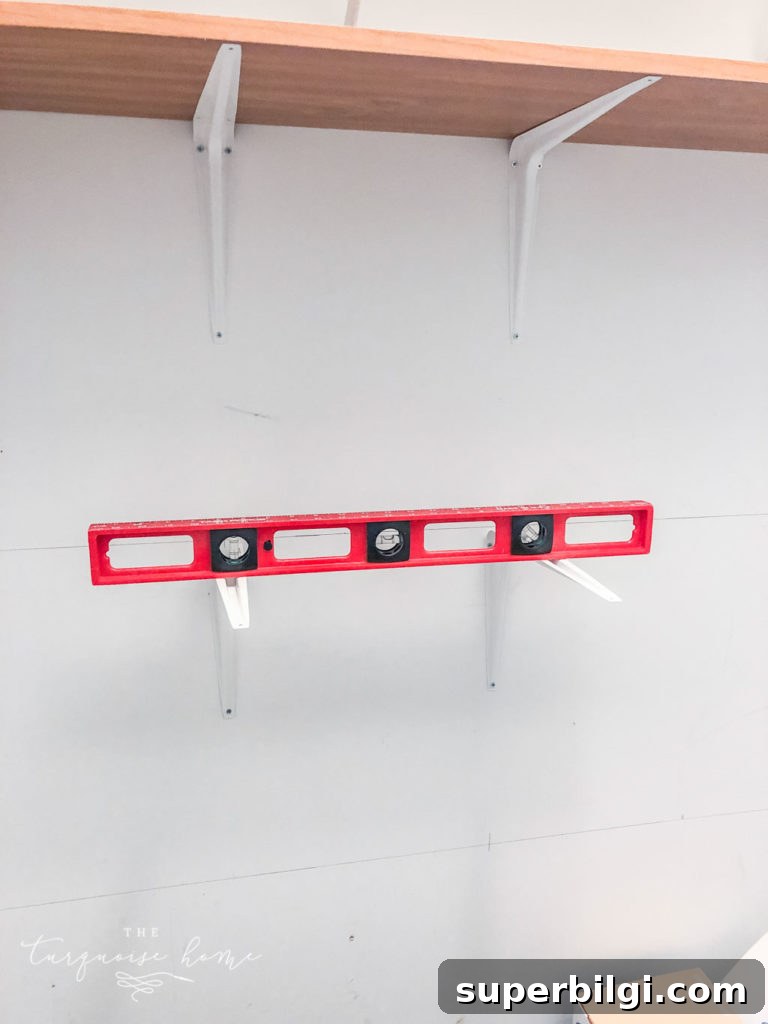
5. Install the first bracket
Mount the first bracket into a stud, then use a level on the bracket to mark where the adjacent bracket should go. Secure all brackets for the shelf into studs or solid backing to ensure strength. For very small spaces, you can use narrow cleats (1×2 or 1×3) around the perimeter instead of brackets.
6. Set the shelf board on the brackets and fasten from underneath
Place the board on the installed brackets and drive screws up through the underside of each bracket into the board. This secures the shelf and prevents shifting.
7. Repeat for each shelf
Install the remaining shelves the same way until your closet is fitted with the desired storage. Stand back and enjoy the new usable space.
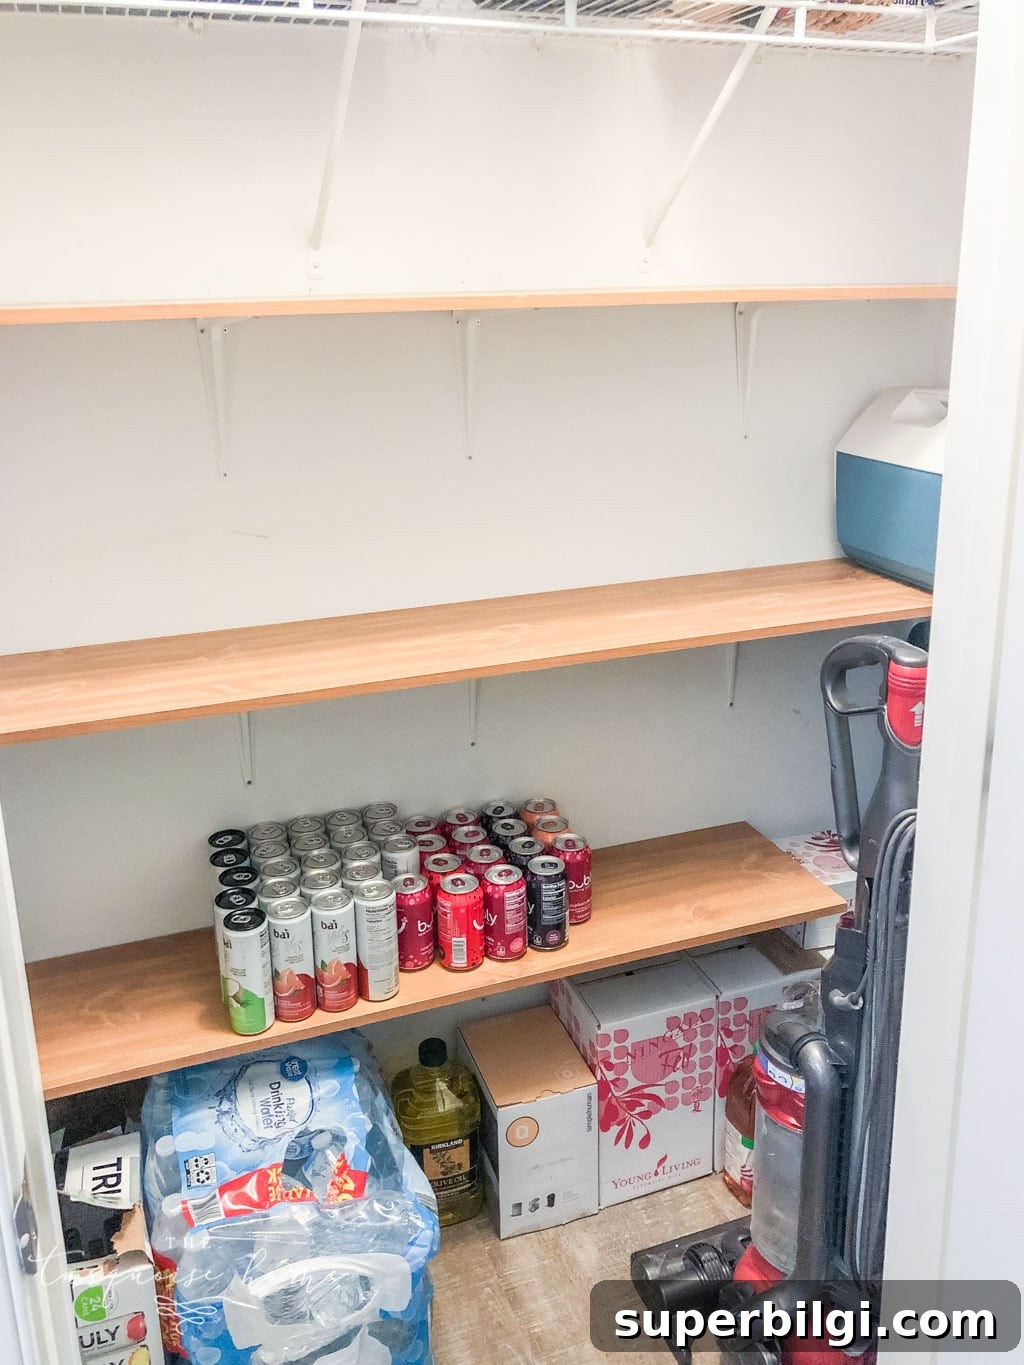
I’m thrilled with how this small pantry turned out. It cleared clutter from the top of the fridge and dryer and ended the habit of piling overflow items on the closet floor. Having visible, organized storage makes it easier to find what you have and prevents duplicate purchases.
For now I’ll use the space and adjust my storage containers over time, using what I already have before buying new bins. Small changes like this add up and make daily life simpler.
More posts you might enjoy
Related shelving and organization posts:
- Budget-Friendly DIY Shelving Ideas for Your Home
- DIY Farmhouse Shelves for Less than $40
- IKEA Spice Racks as Bookshelves
- How to Build DIY Closet Shelves
- DIY $10 Ledges for the Nursery