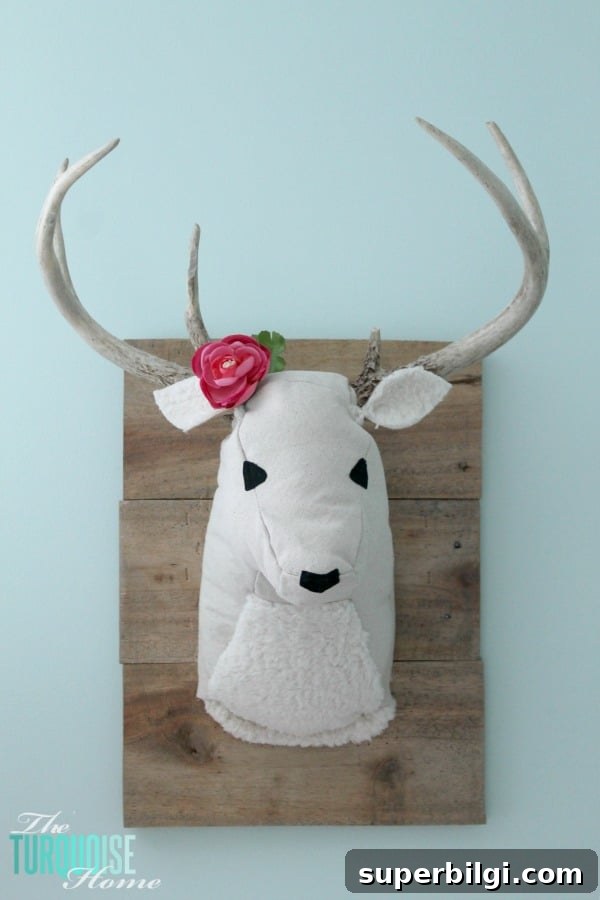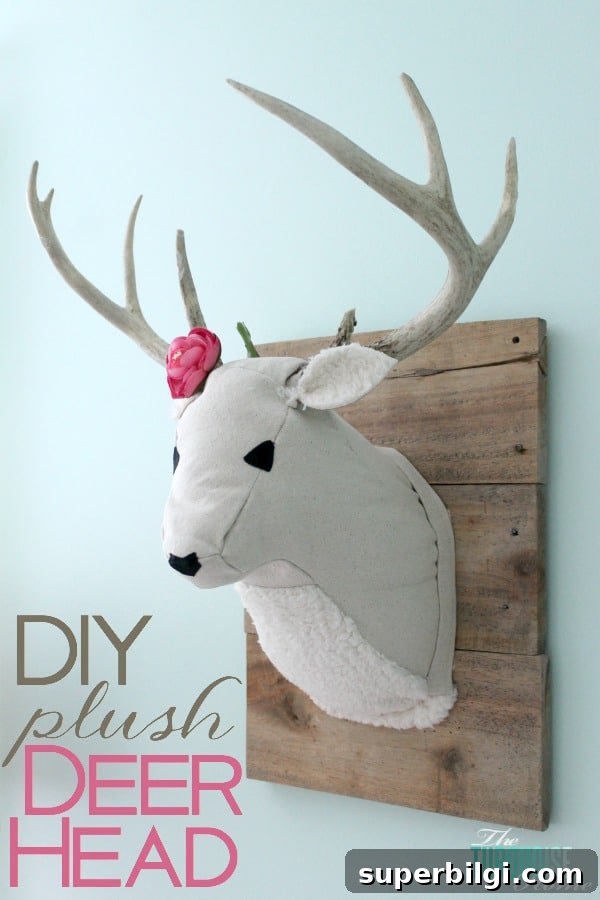
DIY Plush Deer Head for a Woodland Nursery
When I started planning Baby G’s woodland nursery, I fell in love with the idea of a plush faux deer head as a focal point. I looked everywhere online for the perfect piece but found many were either sold out or too costly. After weeks of searching and even briefly considering buying a plush deer and repurposing the head, I discovered a helpful DIY tutorial on Liz Marie Blog and decided to try making one myself.
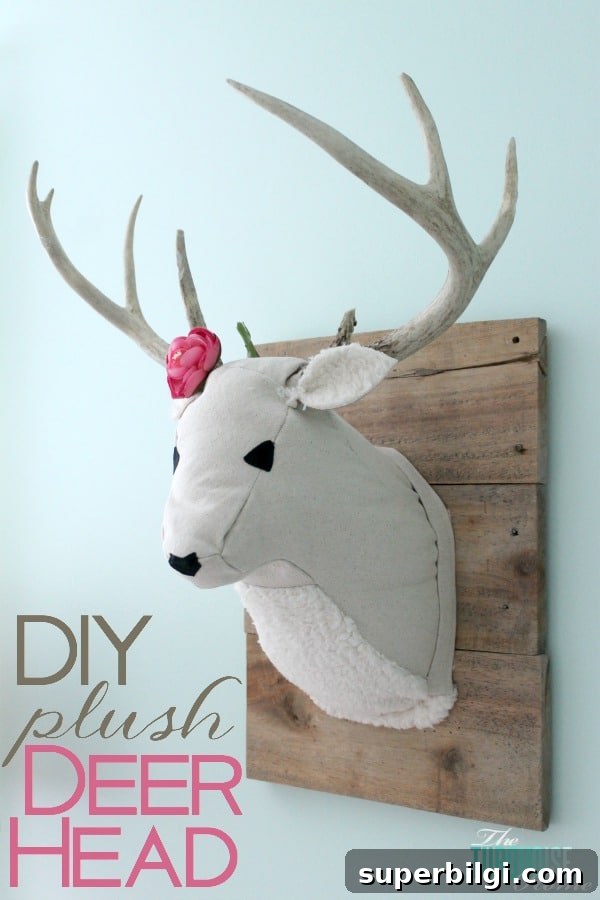
This project turned out to be a true labor of love. While the free template and tutorial were invaluable, the process was more challenging than I expected—especially shaping fabric pieces to look like a deer. In the end, the handmade finish made the effort worthwhile.
Materials Needed
- Real deer antlers
- Drill and screws
- Wood for plaque and stand (I used reclaimed 1×4 barn wood for the plaque, lattice trim to secure it, and scrap 1×2 and 1×3 pieces for the stand)
- Wood glue
- Brown fabric (I used canvas drop cloth)
- Faux white fur fabric
- Small piece of black fabric for nostrils
- Poly-fill stuffing
- Staple gun
- Needle and thread
- Hot glue gun
- Optional: wood stain for the plaque
- Template from Liz Marie Blog (printable DIY template)
Preparing the Antlers and Plaque
The antlers are the most important element. My husband had saved a pair from a buck he harvested, so I was able to repurpose those. If you don’t have antlers on hand, they can sometimes be found through specialty suppliers or craft sources.
I used reclaimed barn wood for the plaque—pieces I had been saving for the right project—and stained them lightly with a weathered oak stain to add an aged look. I assembled the plaque using lattice trim to hold the boards together, relying on scraps rather than buying new lumber.
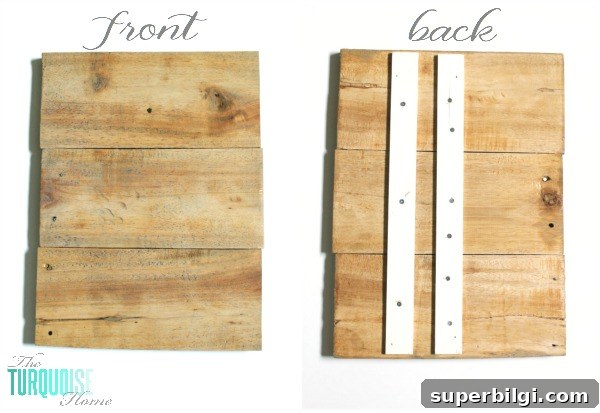
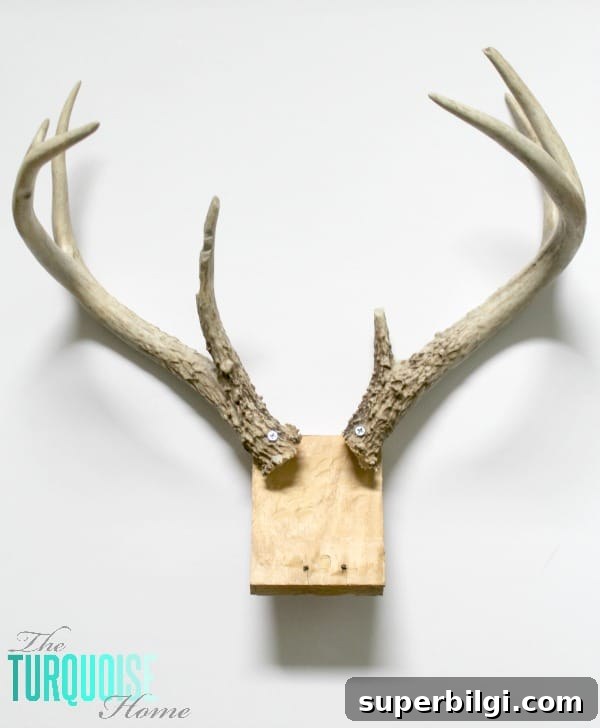
To mount the antlers, I used a small 4″ x 3″ block of 1×3 screwed into the plaque. Because antlers are bone and very hard, I drilled pilot holes through the base of each antler before fastening them to the block. (Drilling into bone has a distinctive smell—an unpleasant but brief part of the process.) It took some experimentation to position the antlers so they looked anatomically correct, but I’m happy with the final placement.
Building the Stand
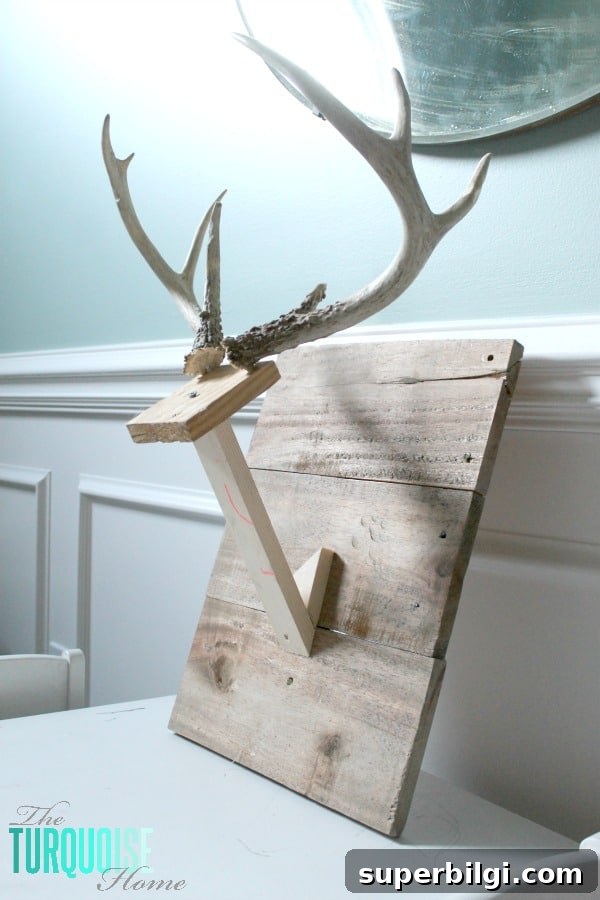
I cut a 1×2 at a 45-degree angle to form the front of the stand, roughly 10 inches long, and a small angled scrap to support it. After gluing and screwing them together, I attached the antler block and let it sit while I prepared the fabric pieces. I admit I paused for a few weeks before moving on to the sewing; the next steps felt intimidating.
Sewing the Plush Head
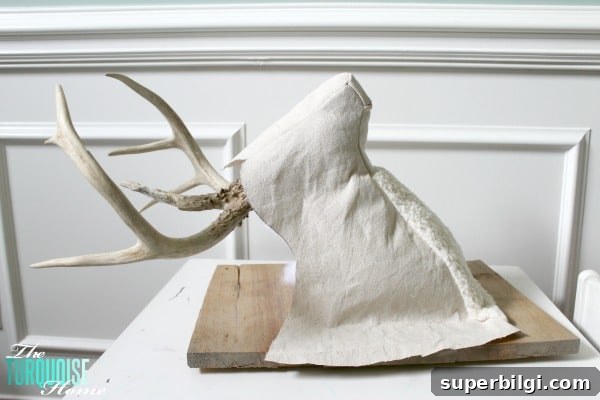
Using the printed template from Liz Marie Blog, I cut and sewed the fabric pieces. Follow the sewing steps from the original tutorial for the best results, as I didn’t document each stitch here. I did have to repeat the step once because the template pieces met the stand differently than expected—the head and chest pieces needed extra length so I could staple them to the plaque securely.
I also changed fabrics partway through. My first choice was too thin and unraveled at the seams. I switched to a sturdier drop cloth canvas and used a simple method to prevent fraying at the edges. Sewing the face pieces took several evenings to get right. When the sewn head was ready, I positioned it on the stand and filled it with poly-fill so it had a natural shape.
Finishing Touches
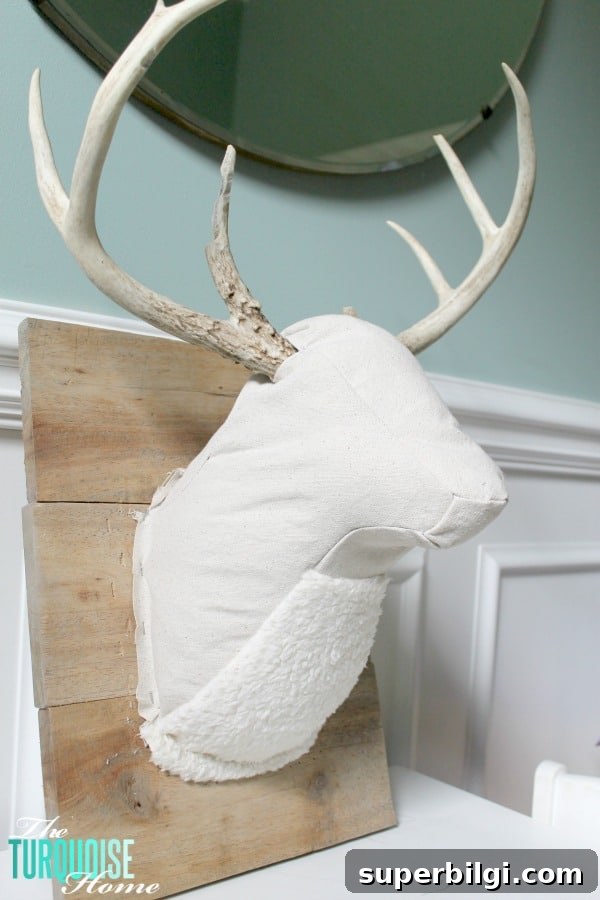
I stapled the fabric to the sides of the plaque first, then cut and attached a back piece to close the head. Because every head will be stuffed differently, the back piece requires a custom fit and is not included in the basic template. To cover the raw stapled edges, I cut a long strip of fabric, folded it multiple times, ironed it to hold its shape, and hot-glued it around the perimeter for a clean finish.
For the nose and mouth I cut small fabric pieces and adhered them with craft glue. The ears were sewn initially, but toward the end I opted to hot-glue them in place to speed up finishing. Finally, I added a small flower accent to make it suitable for a girl’s nursery—omit the flower for a more neutral look.
The Result
The finished deer head hangs above the changing table and brings a whimsical woodland charm to the room. It’s not perfect, but the handmade details are what make it special—tiny imperfections that give it character and warmth.
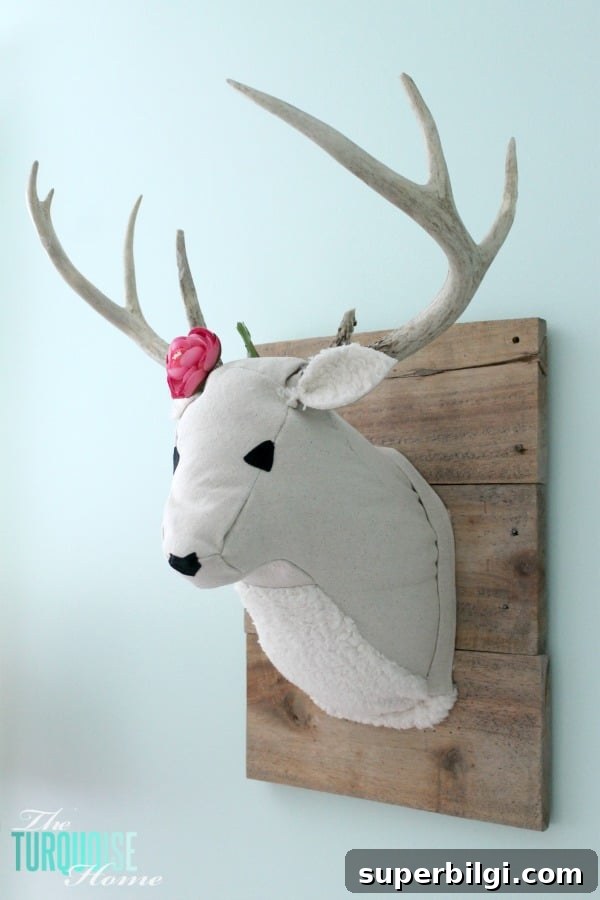
I still have a few finishing touches to complete around the rest of the nursery, but this corner is mostly done and already feels cozy. Making the plush deer head was a rewarding DIY and a lovely personalized piece for Baby G’s woodland-themed room.
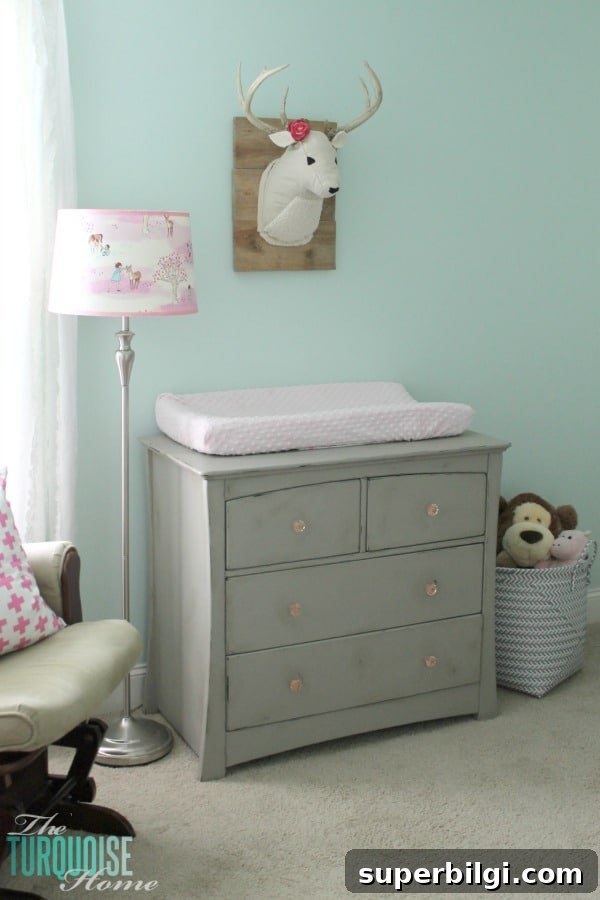
Miss Deer may not be perfect, but she’s hand-made with care—exactly the kind of detail that makes a nursery feel like home. I’m thrilled with how she turned out.
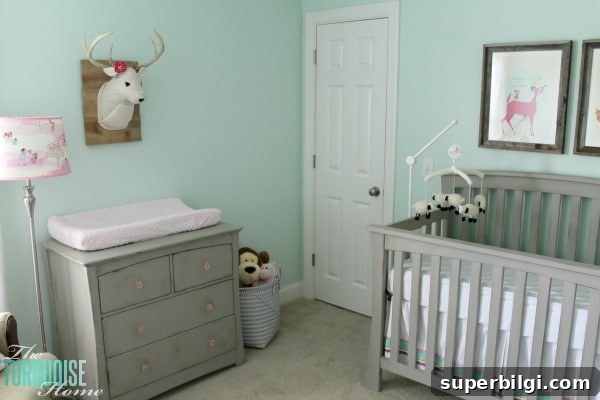
If you’d like to see more projects from Baby G’s nursery or the original inspiration board, look for the nursery project posts and inspiration on the same blog where the tutorial and template were found. This DIY plush deer head makes a charming, budget-friendly alternative to store-bought décor and is a satisfying project for a committed maker.
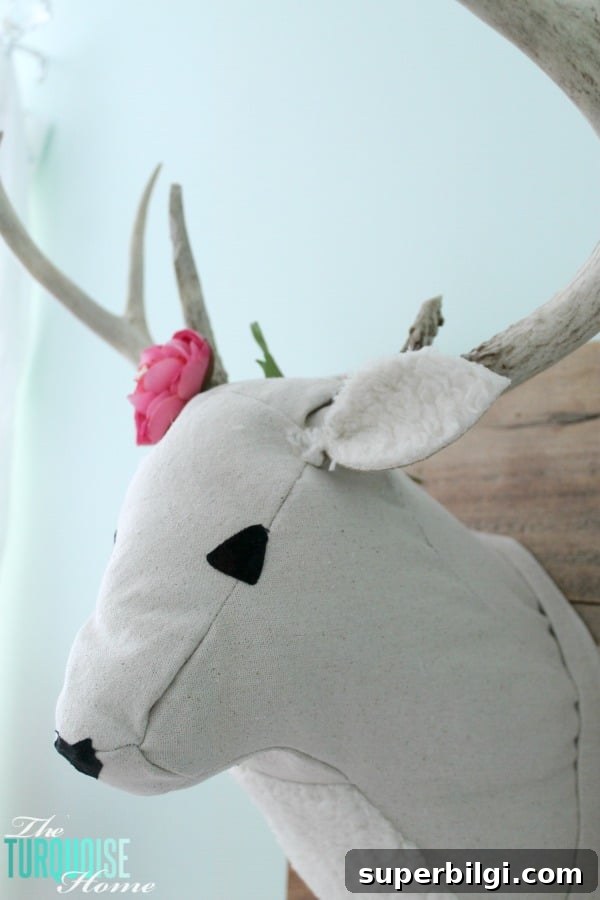
Related project ideas you might enjoy:
- DIY flower and moss letter art
- DIY bookshelf ledges for a nursery
- Nursery color and paint ideas and progress