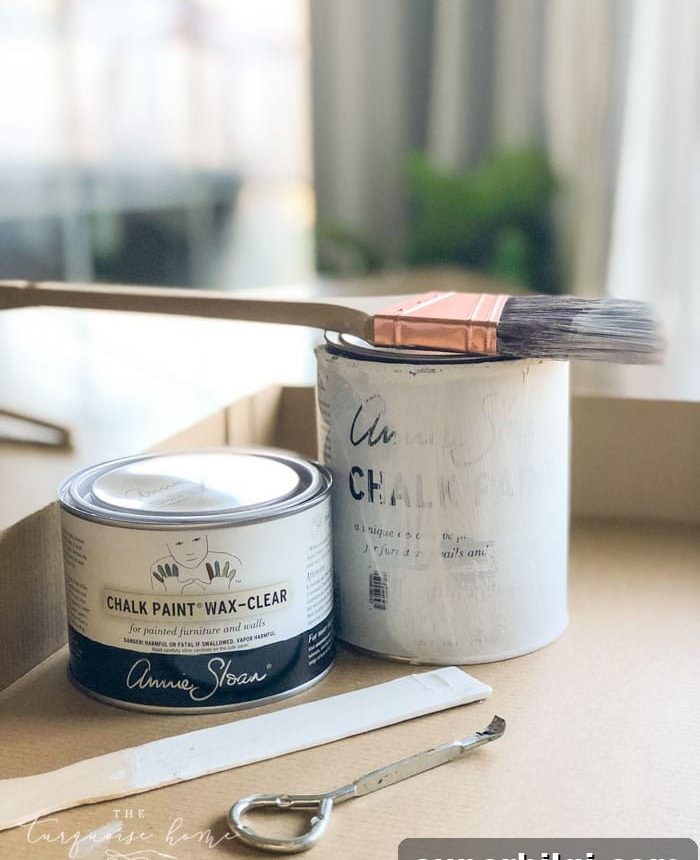
Annie Sloan Chalk Paint® is one of the simplest and fastest ways to update an older or outdated piece of furniture. The best part: you usually don’t need primer, and once your surface is clean you can get started right away for quick, satisfying results.
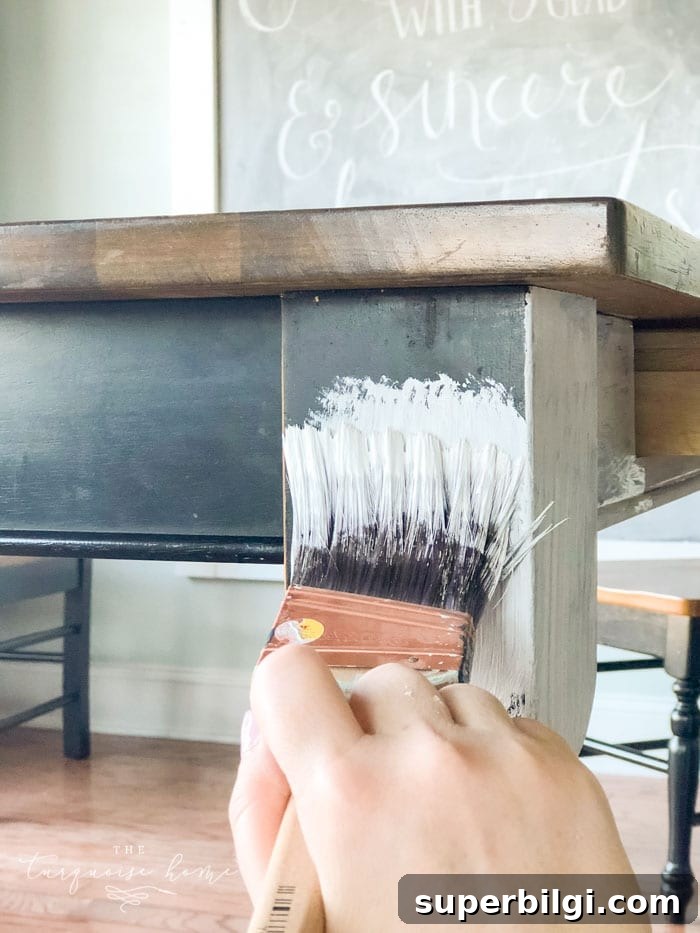
I’ve used many chalk-style paints over the years, and Annie Sloan Chalk Paint® is one I keep returning to. It’s ideal for quick makeovers and for anyone who prefers a relaxed, slightly imperfect finish rather than the long process of priming and using traditional paints.
Note: this post originally contained affiliate links.
First: Key Ideas About Painting with Chalk Paint®
- If this is your first time using Chalk Paint®, gather a few basic tools to make your project faster and easier: a good brush, a lint-free cloth, sandpaper, and wax for sealing.
- If you feel nervous, start with a small, inexpensive piece so you can build confidence before tackling larger furniture.
- Chalk paint performs best when you want a distressed, worn, or vintage look. It can chip with natural wear, so if you need perfect, long-lasting full coverage, consider an alternative like mineral or polyurethane-finish paints.
- Brush choice affects the finish: use a natural bristle brush for a textured, brushed look; use a smooth synthetic brush for a cleaner result if you plan to distress later.
- Chalk paint is thick. Pour some into a separate container to work from, or add a tiny bit of water and stir to thin when necessary.
- It dries quickly—often within 20–30 minutes—so you can usually apply a second coat the same day. Make sure each coat is dry before distressing or waxing.
Supplies You Will Need
- Drop cloth to protect floors and surfaces.
- Painter’s tape to mask areas you don’t want painted.
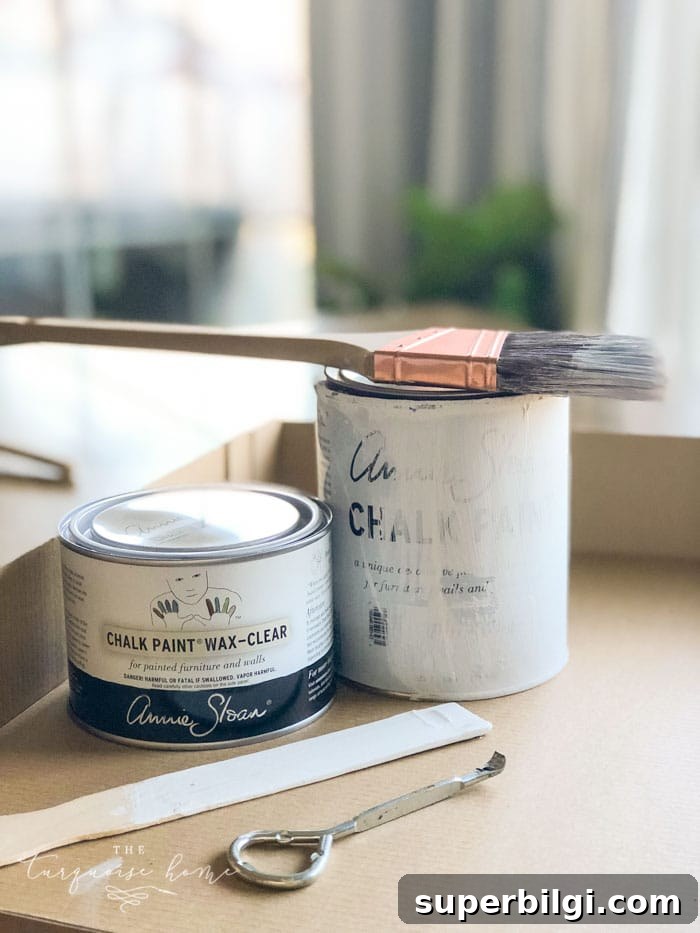
- Brushes — one natural bristle for a textured look and one smooth synthetic or Purdy-style brush for a cleaner finish.
- Paint — Annie Sloan Chalk Paint® or a comparable chalk-style paint.
- Cleaning supplies — a damp rag, mild cleaner or degreaser for cleaning very dirty surfaces.
- Lint-free cloths for wiping, applying wax, and buffing.
- Fine-grit sandpaper (around 180 grit) for light distressing.
- Wood putty (optional) for filling holes or damaged areas — test paint coverage over putty first, as it can sometimes look different.
Steps to Use Annie Sloan Chalk Paint®
1. Choose Your Project Piece
Begin with a small, low-stakes piece to get comfortable with the paint. Once you’ve completed a project and learned how the paint behaves, you can move on to larger furniture. In this post, the author painted the base of a kitchen table as part of an eat-in kitchen makeover.
2. Gather Your Supplies
Use the supply list above. Preparing everything before you start keeps the process smooth and enjoyable.
3. Remove Hardware and Fill Holes if Needed
Remove knobs, pulls, or other hardware when possible. If hardware is fixed, protect it with painter’s tape. If you plan to change hardware or repair holes, fill and sand those areas before painting.
4. Prep Your Surface
Cleaning is essential. Use a damp rag and, when necessary, a degreasing cleaner to remove grime. Finish with a plain damp cloth to remove all residue. Tape off any areas you don’t want painted.
5. Apply the First Coat
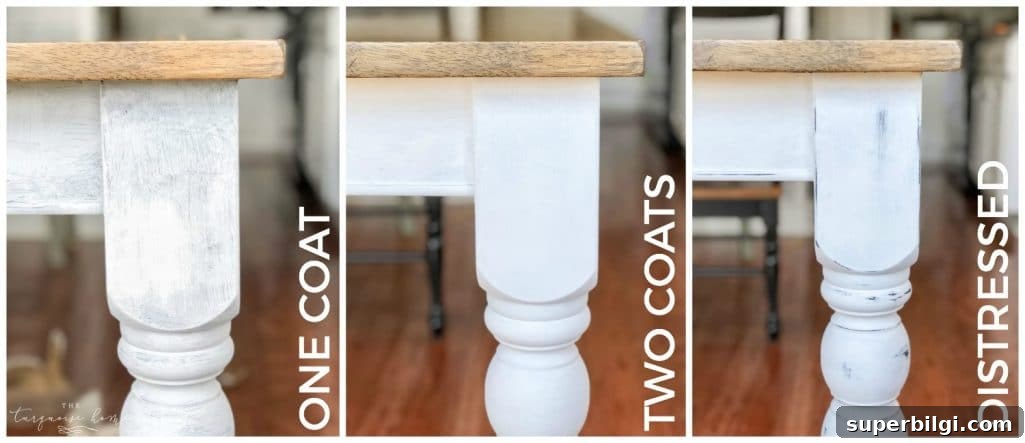
Begin painting and enjoy the transformation. Brushing with the grain produces a smoother look; brushing across or using a natural bristle brush gives more texture and character. A single heavy coat can work for a worn, painted look. Chalk paint typically dries in 20–30 minutes so you can add a second coat soon.
6. Apply the Second Coat
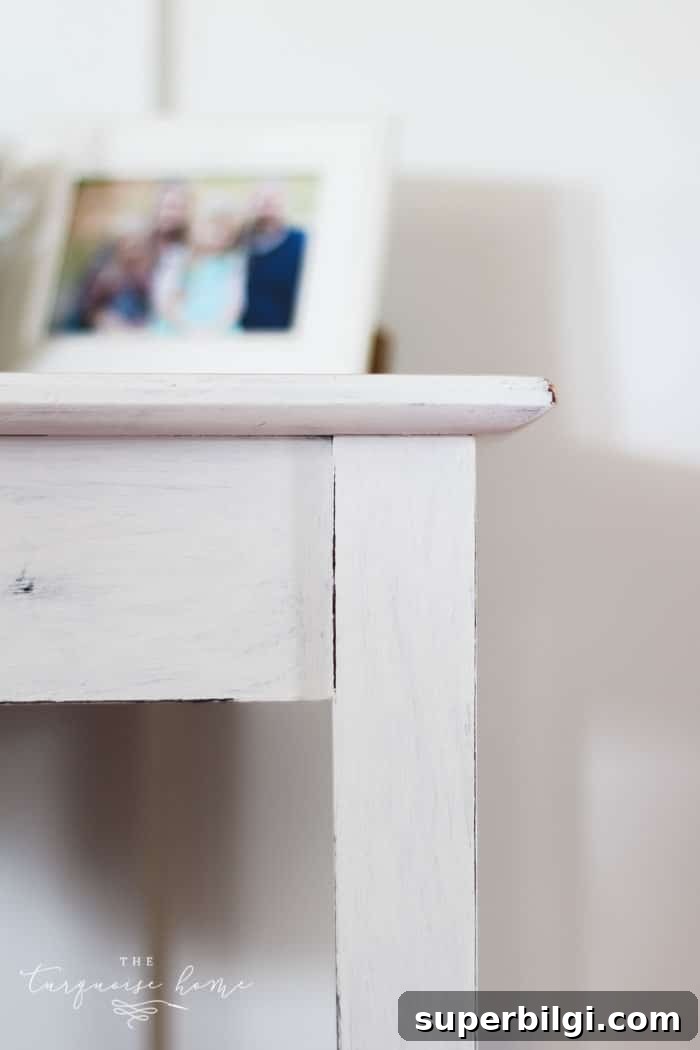
A second coat usually provides better coverage and reduces visible brush strokes. Thin paint slightly if it becomes too thick by stirring in a very small amount of water in a separate container. If you end up with too-thick coverage, sanding lightly and repainting is easy and forgiving with this paint.
7. Clean Your Brushes
Wash brushes in warm, soapy water. Avoid letting water run into the base of bristles and dry brushes flat or hanging by the handle to preserve their shape. Well-cared-for brushes can last a very long time.
8. Distress Your Project
Chalk paint is ideal for distressing. Use fine-grit sandpaper for light sanding on corners and edges where natural wear would occur. You can also rub a slightly damp cloth for softer distress marks. While some instructions recommend distressing after waxing, distressing before sealing with wax seals the worn areas and often yields a cleaner result.
9. Seal Your Project with Wax
Use a clear wax to seal and protect your finish. Dark wax can be used to highlight details but requires more technique. Apply a thin, even layer of wax with a wax brush or a lint-free cloth and wipe away excess. If you use a brush, clean it afterward with mineral spirits according to the manufacturer’s recommendations.
10. Buff Your Project
After the wax cures—usually about 24 hours—buff the surface with a soft cloth to a smooth, slightly glossy finish. Buffing refines the look and feel of the piece and helps ensure a consistent sheen.
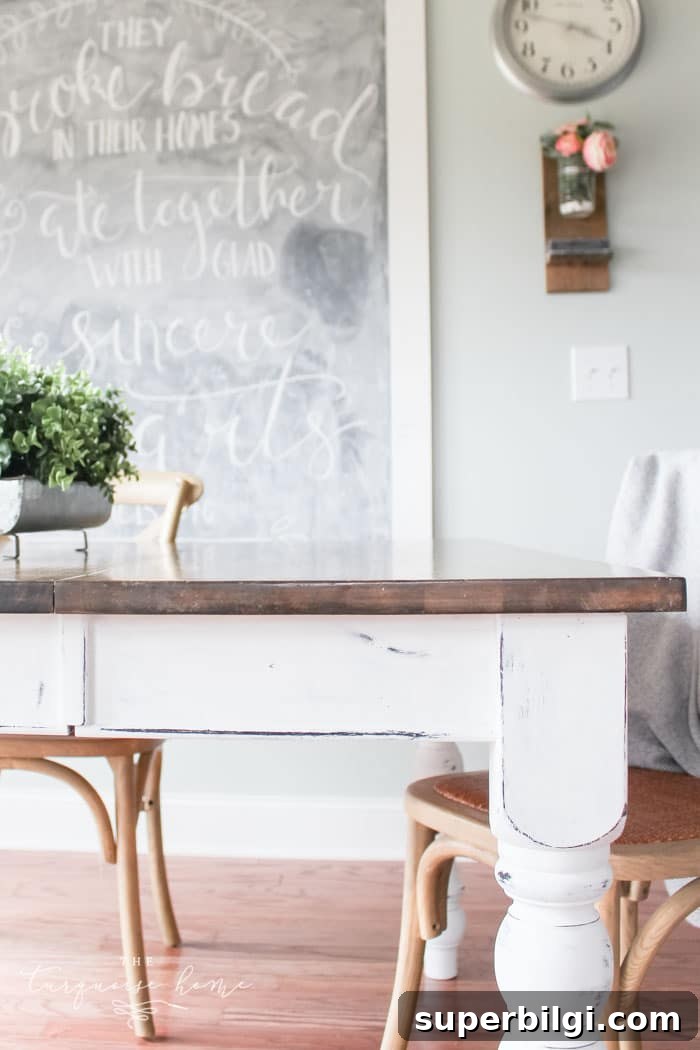
Once buffed, step back and enjoy your refreshed piece. Chalk paint can give furniture new life while embracing a relaxed, cottage- or vintage-inspired aesthetic.
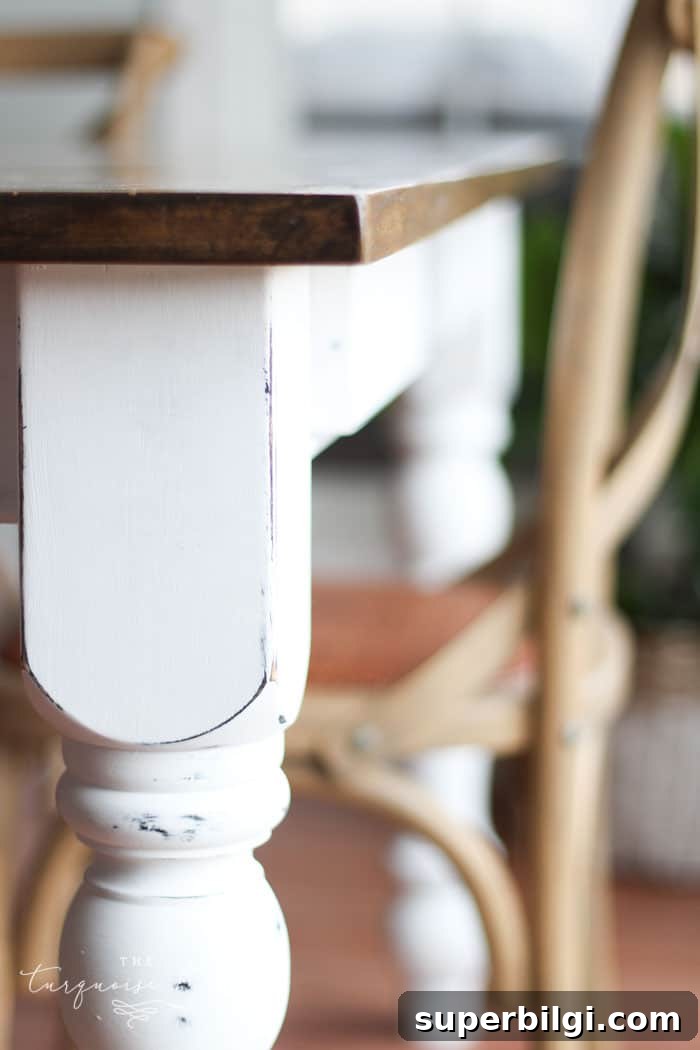
In this project, the painted table base is part of an in-progress eat-in kitchen makeover. Seeing the painted piece in context can help you visualize how Chalk Paint® blends with other design elements in a room.
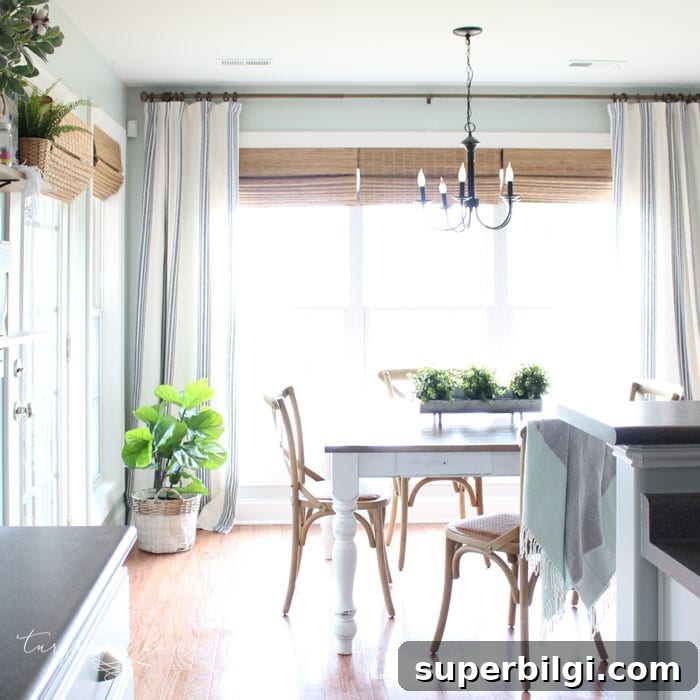
Shop highlights from the eat-in kitchen (product names shown without links):
- X-back chairs
- Candle-style empire chandelier
- Faux fiddle-leaf fig tree
- Striped blackout curtains
- Faux wood curtain rod (brown)
- Assorted faux variegated houseplants
Thank you for reading this detailed guide. I included step-by-step instructions so you can confidently try Chalk Paint® on your next furniture refresh. If you experiment with colors, brushes, or distressing techniques, take notes on what worked so you can repeat or refine the look on future projects.
More posts and resources to explore (titles only):
- Sherwin Williams Extra White (SW 7006)
- Benjamin Moore Stonington Gray
- 7 Essential Home Furnishings Every Room Needs
- DIY Gray Wash on Wood Technique
- Colorful Kitchen Island Ideas
If you have tips, questions, or lessons from your own Chalk Paint® projects, share them in the comments where you found this tutorial. Practical experience and small adjustments—brush type, thinning, and waxing technique—make each finished piece uniquely yours.