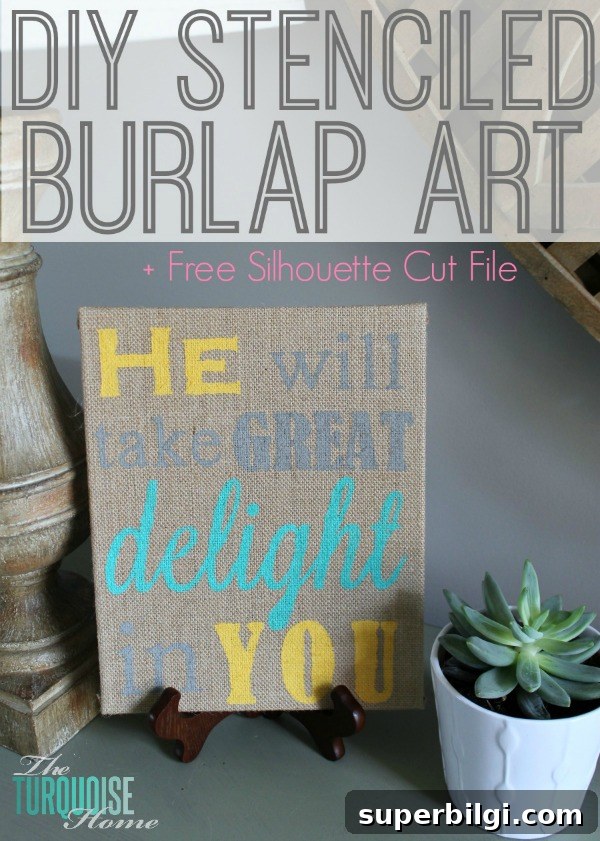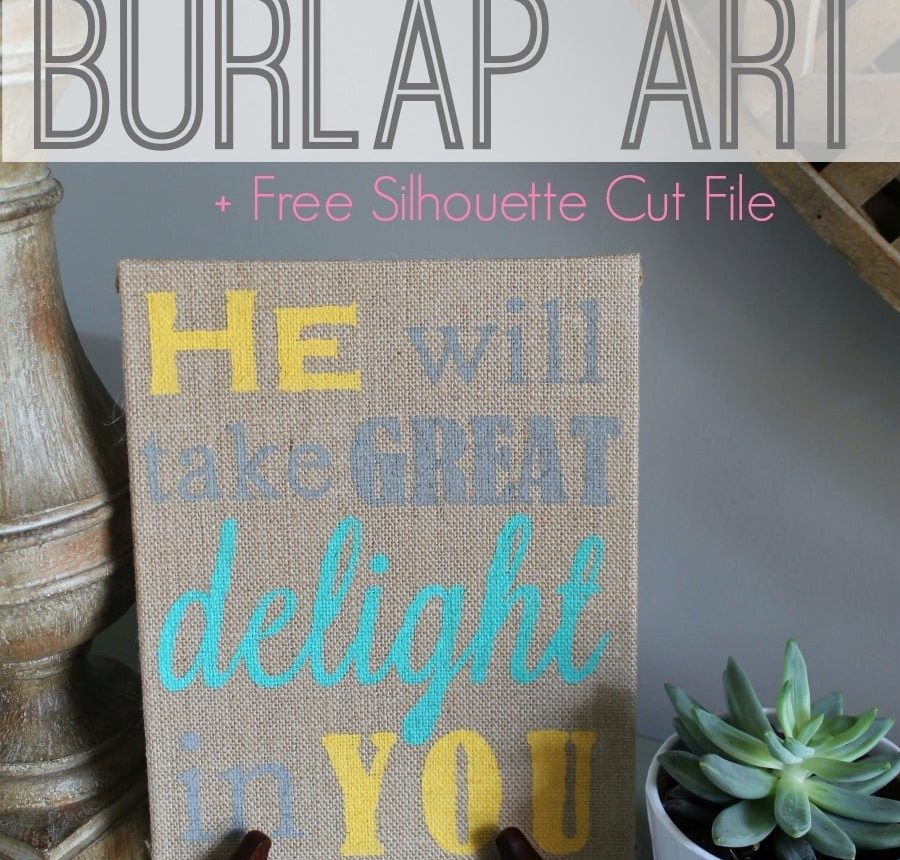
This straightforward tutorial demonstrates how to create beautiful DIY stenciled burlap art using a Silhouette machine and a few simple steps.
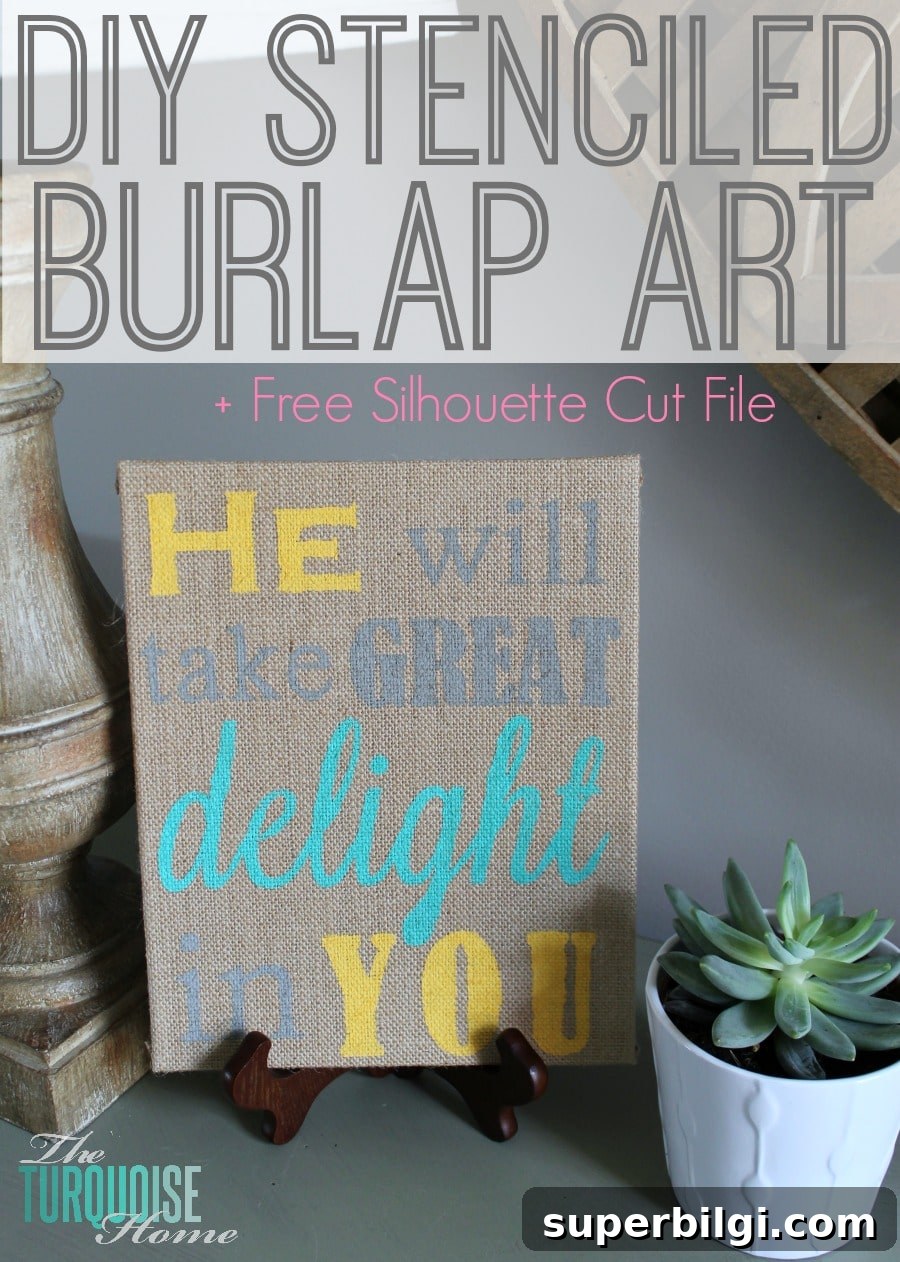
I recently had the large but rewarding job of preparing an easy craft for 150 women at a church conference. It kept me busy for weeks, and I admit I had to slow down and rest a few times to keep going. Now I’m back to share the project I taught—an approachable, attractive burlap stencil craft anyone can make.
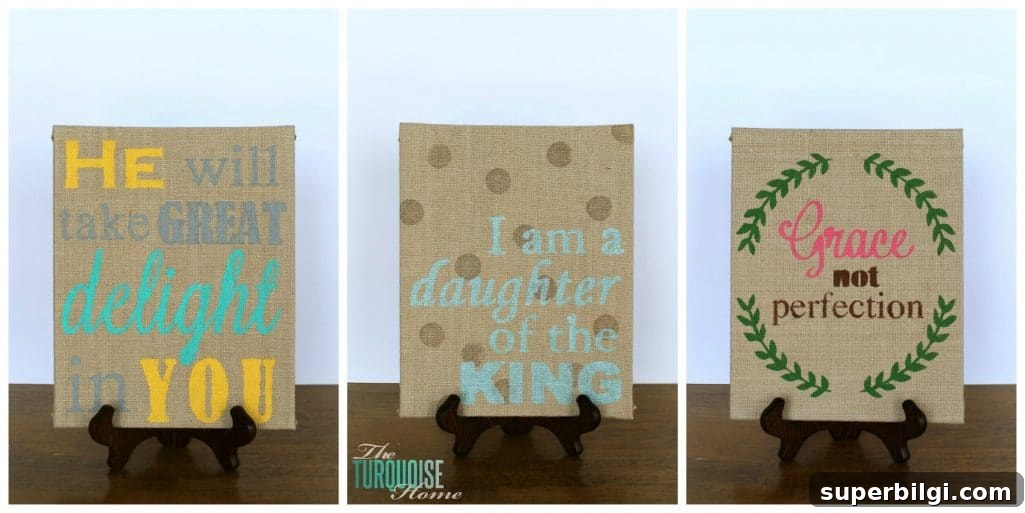
A few weeks earlier I’d seen lots of adorable projects featuring stretched burlap canvases at local craft events. Those burlap panels are easy to work with and give a lovely rustic look. When I saw how many creative versions pop up around the web, the idea clicked: this would be a great semi-affordable craft that crafters of any skill level could complete in a short session.

Want to Save This?
Enter your email below and I’ll send it directly to your inbox!
This post contains affiliate links for convenience. See the site disclosure policy for details.
Supplies for DIY Stenciled Burlap Art:
– Artist’s Loft stretched burlap panels (available at most craft stores; stretched burlap canvases also work well)
– blank stencil material or pre-made stencils (sold at craft stores like Michael’s and Hobby Lobby)
– Silhouette machine (optional — you can use pre-made stencils if you don’t have a cutting machine)
– acrylic craft paint
– foam brushes
– paper plate for paint mixing and blotting
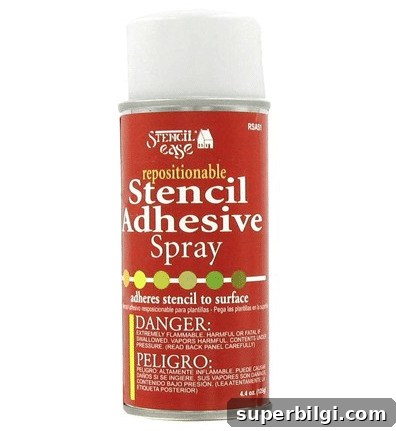
– repositionable spray adhesive (keeps the stencil from shifting while you paint)
How to Make DIY Stenciled Burlap Art:
1. Create your design.
Begin by choosing the words or phrases you want to stencil. If you plan to use traditional fonts, you may need to make small adjustments so that inner parts of letters (like the center of an “o” or “a”) stay attached when cut as a stencil. Simple, bold fonts often work best for a clear, readable result on textured burlap.
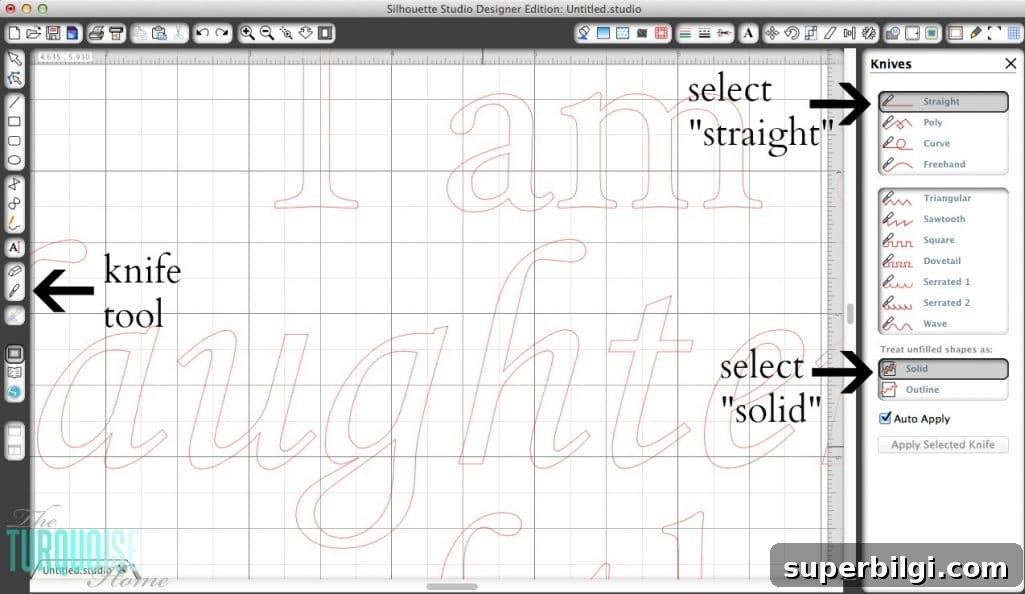
2. Convert any font into a stencil.
If you use a cutting machine and design software, use the knife or cut tool to add tiny connections that hold inner letter shapes in place. For letters with enclosed areas (a, o, d, g, p), make small bridges so the center pieces don’t fall out when you remove the stencil from the cutting mat. Test on cardstock first to verify that your bridges are sufficient before cutting more expensive stencil blanks.
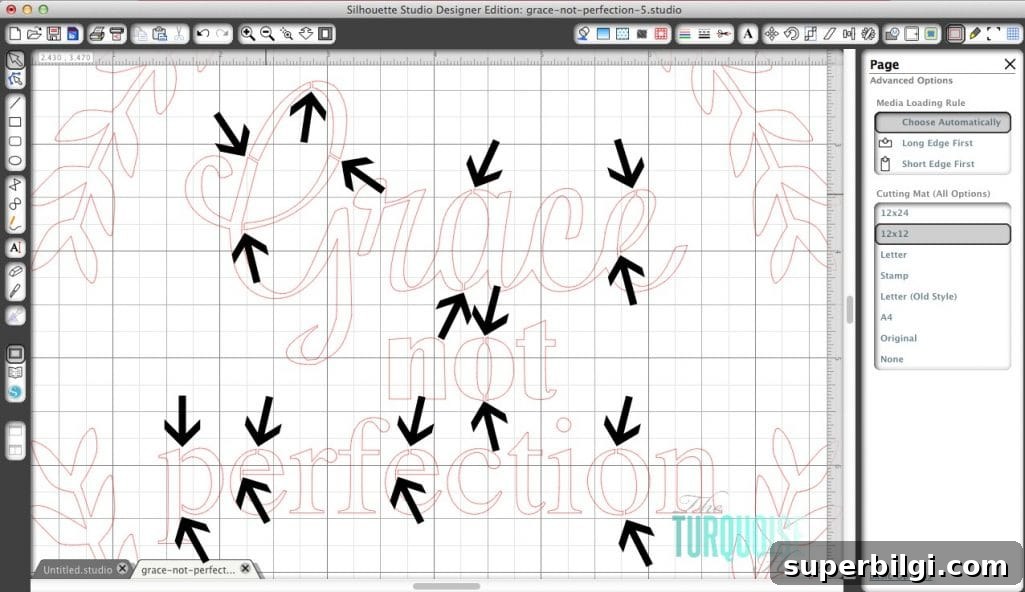
3. Cut your stencil.
Load your stencil material into the Silhouette or another cutting machine and cut your design. Different stencil materials require different blade and speed settings; thicker blanks may need a double cut or a slower speed. When making many stencils or trying a new blank, experiment on a scrap piece to avoid wasting material. For larger stencil sizes, some brands cut more readily than others—mix and match blanks based on how they feed and cut in your machine.
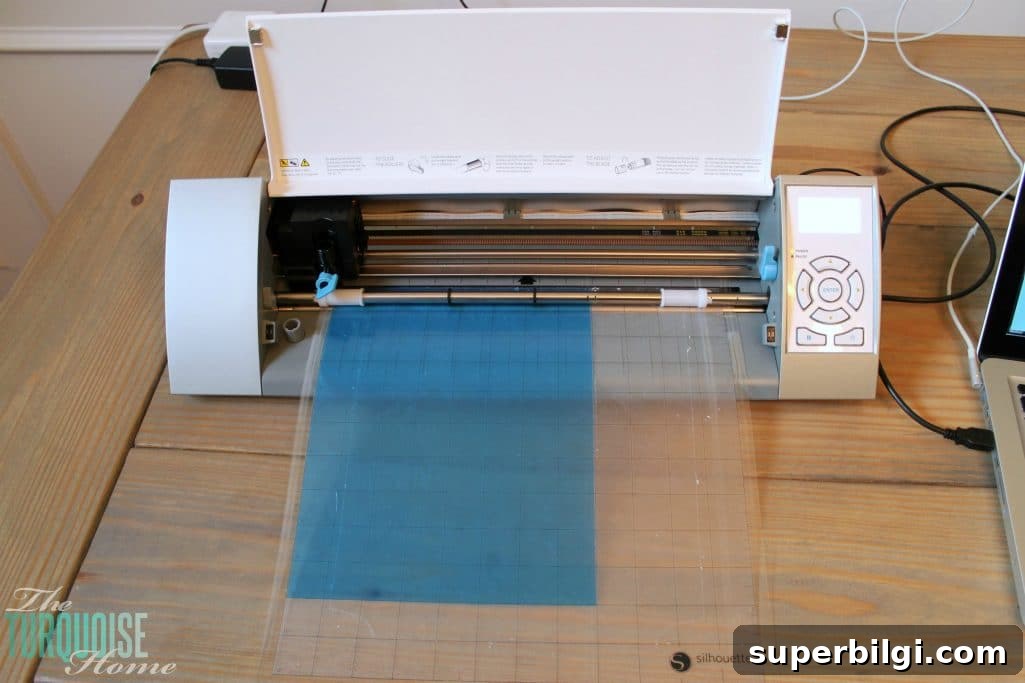
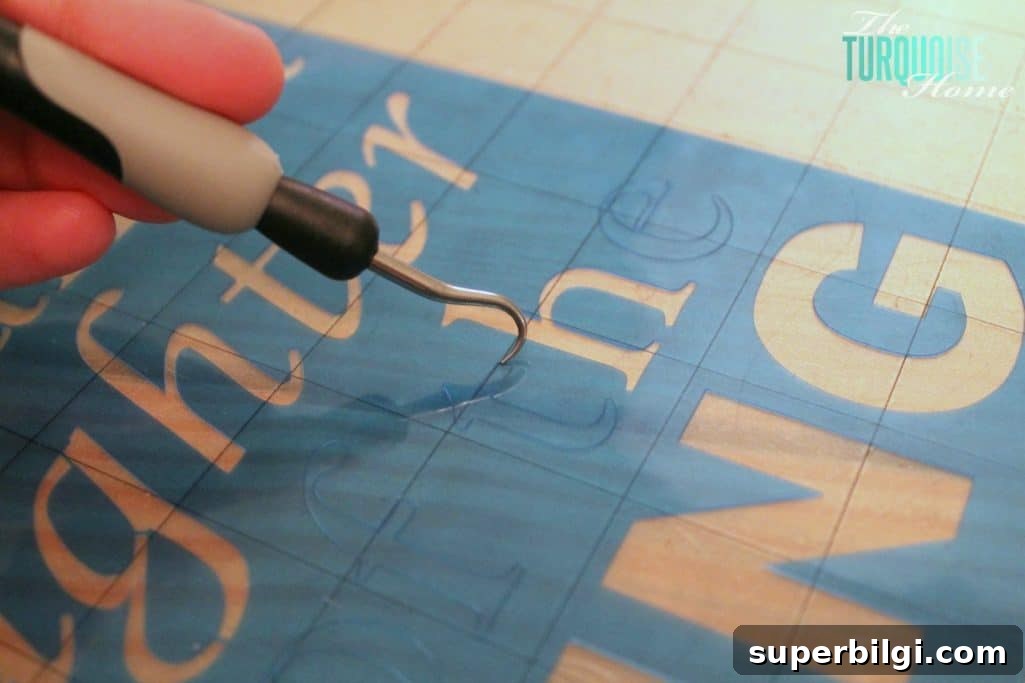
4. Weed your stencil.
Carefully remove the excess material from your stencil so only the parts that form the letters remain. This process, called weeding, can be repetitive if you’re producing many stencils, so take breaks as needed. Use a weeding tool or tweezers for precision on small areas.
5. Apply repositionable adhesive to the stencil back.
Lightly spray the back of the stencil with a repositionable adhesive so it adheres temporarily to the burlap. This prevents shifting while you paint and helps achieve sharper edges. Allow the adhesive to dry for the brief time recommended by the product before placing the stencil on the panel.
6. Place stencil on the burlap and paint.
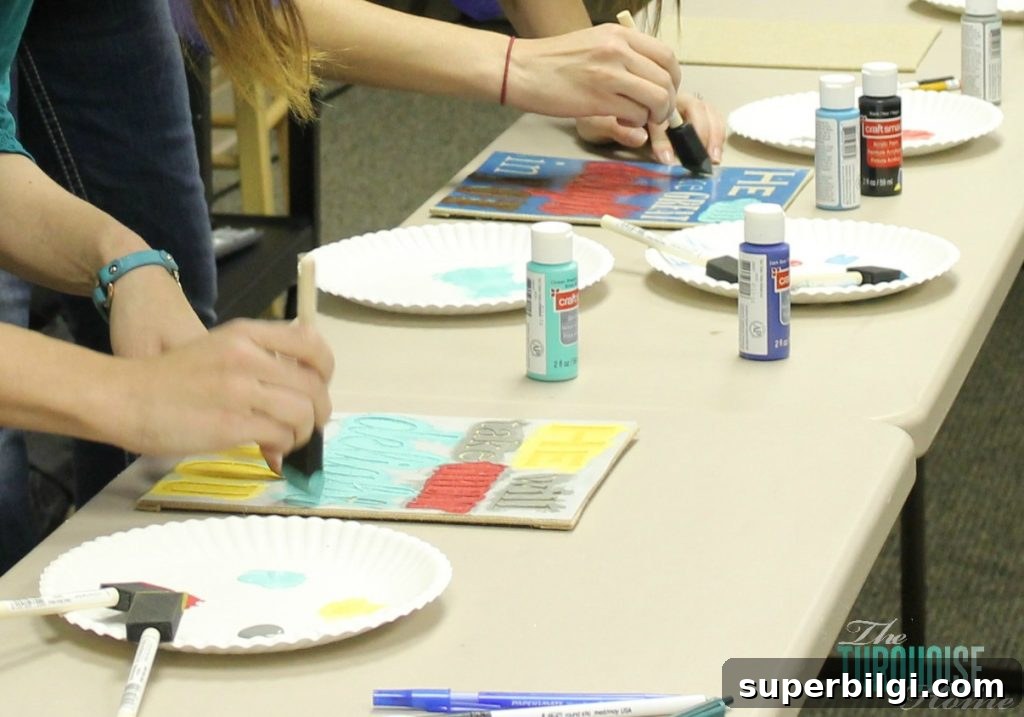
Set the stencil gently on the burlap panel and press to secure it. Use a foam brush and a small amount of acrylic paint. The key to crisp lines is less paint and a dabbing motion: blot off excess paint on a paper plate and dab up-and-down rather than brushing side-to-side. Brushing horizontally can push paint under the stencil and blur the edges.
7. Remove the stencil and allow the paint to dry.
Carefully lift the stencil while the paint is still slightly wet to avoid smudging. Let the finished panel dry completely on a flat surface. Once dry, your stenciled burlap art is ready to display or gift. I loved seeing the variety of creative color combinations and personal styles the women chose when we made these at the conference—each piece felt unique and special.
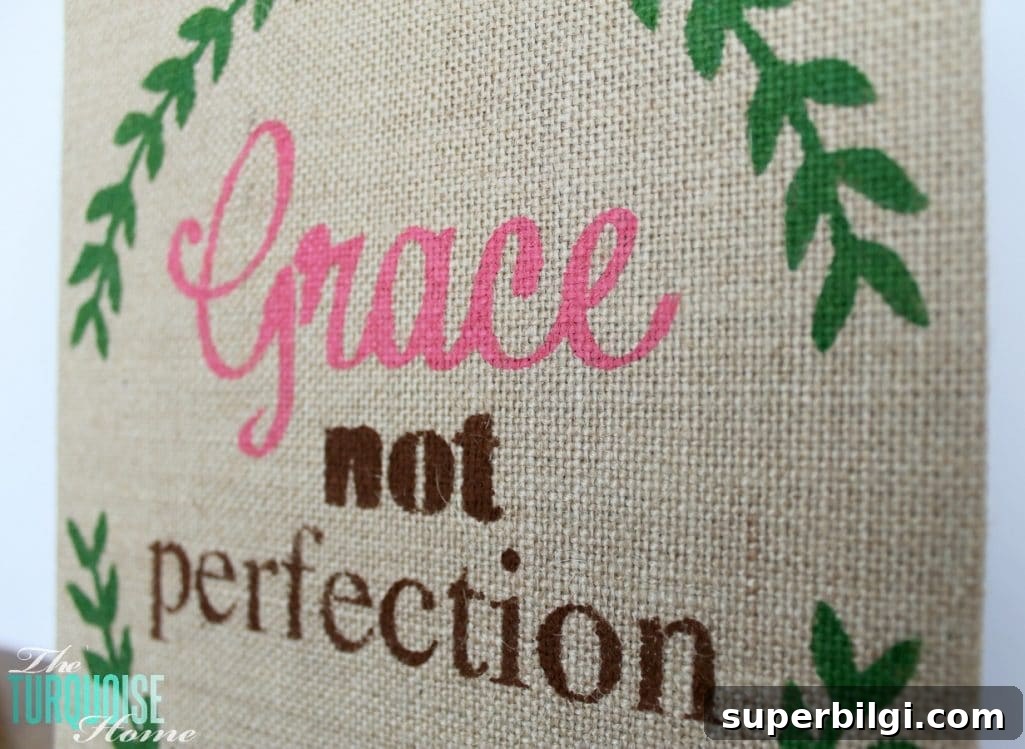
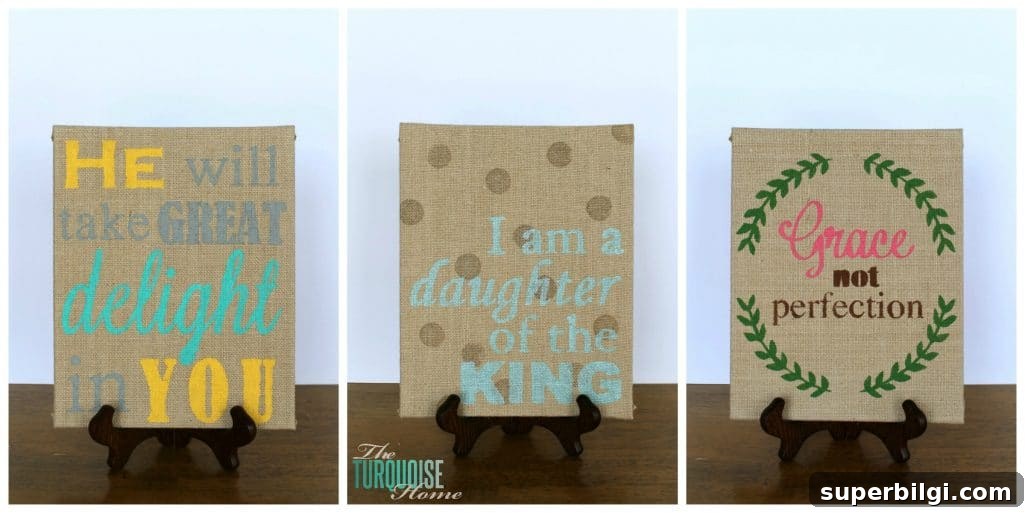

For inspiration, I created several stencil designs that you can use as a starting point for your own projects.
Questions for you: Have you ever stenciled on burlap? Have you made your own stencils? Share any tips or tricks you’ve learned—simple adjustments in design or technique can make a big difference in the final result.
If you enjoyed this tutorial, feel free to save or share it with friends who like easy, handmade home decor. Burlap stenciling is affordable, adaptable, and a fun group craft that yields beautiful results.