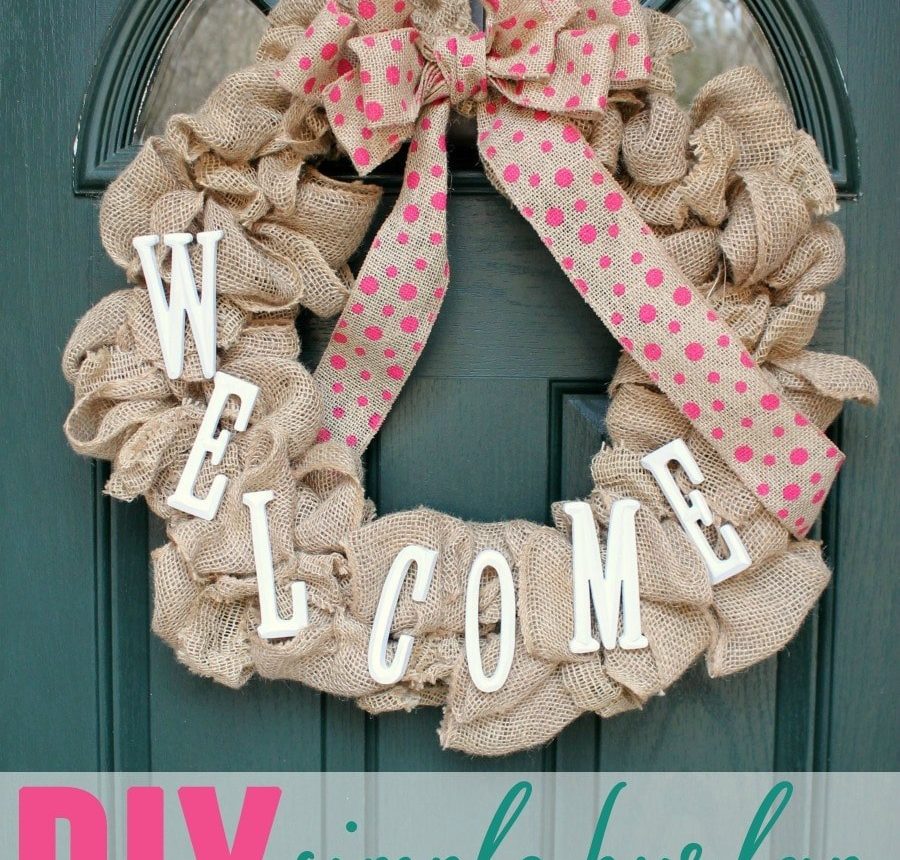
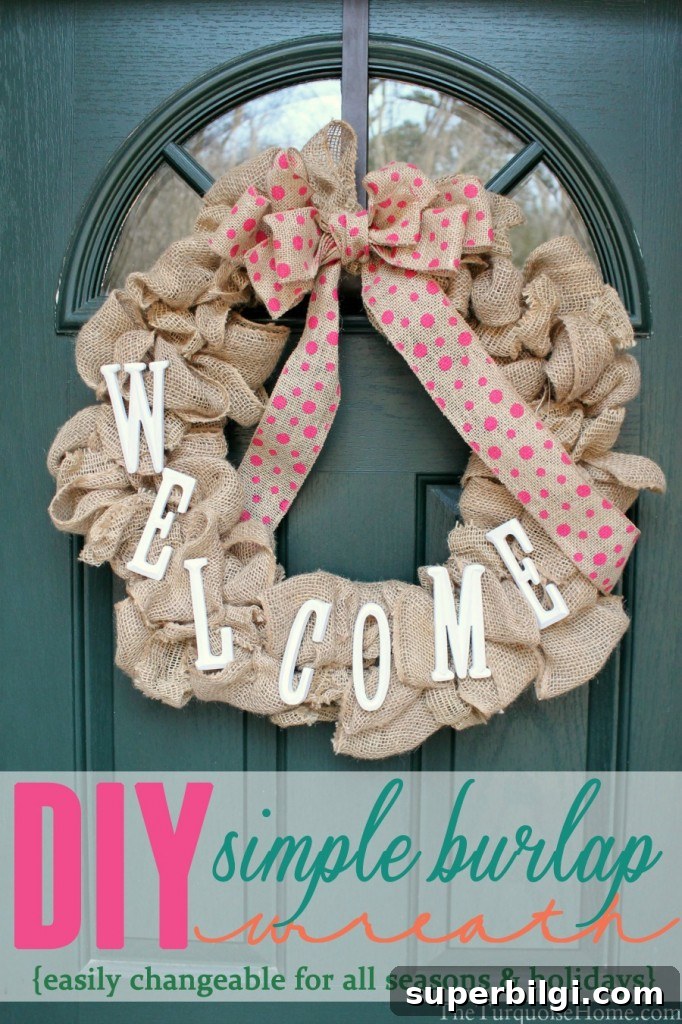
This simple DIY burlap wreath is easy to adapt for every season. Dress it up for holidays, birthdays, or leave it plain for any day of the year.
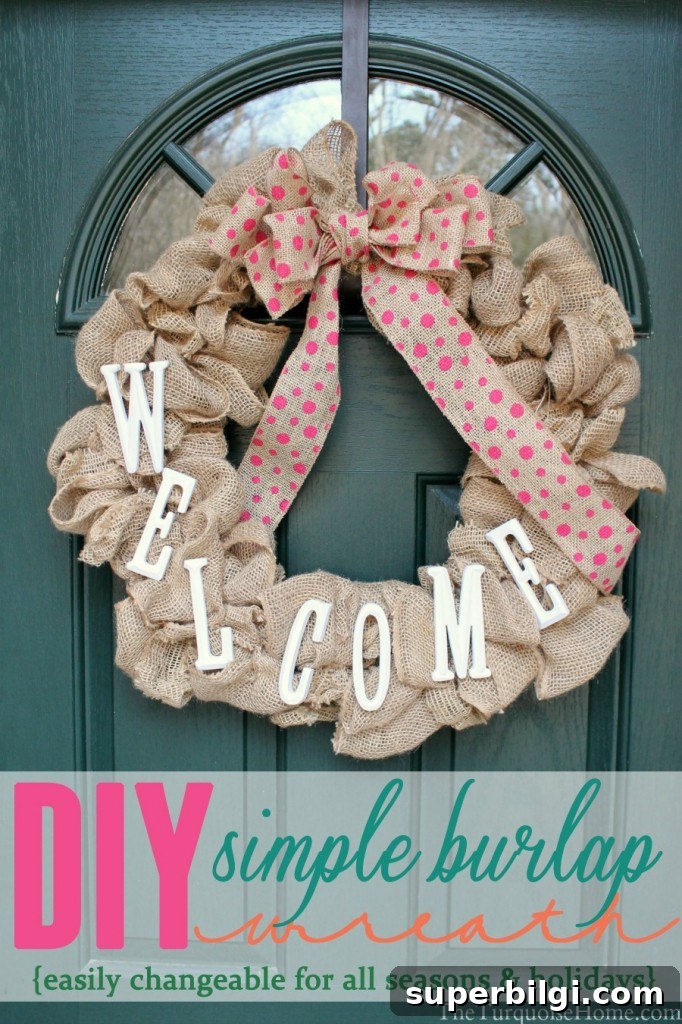
Last year I made a small burlap wreath for Christmas and loved how versatile it was. I returned to Hobby Lobby and bought a larger wire frame intending to make a bigger version, and finally completed it for Miss A’s birthday party this year. It’s one of those quick, satisfying DIY projects that looks polished with minimal effort.
Burlap wreaths are everywhere for good reason: they’re inexpensive, rustic, and easy to customize. I was especially inspired by my sister-in-law’s wreath, which she updates for different seasons and events by swapping wooden letters and ribbons. During football season she decorates it to cheer for her team—Go VOLS!
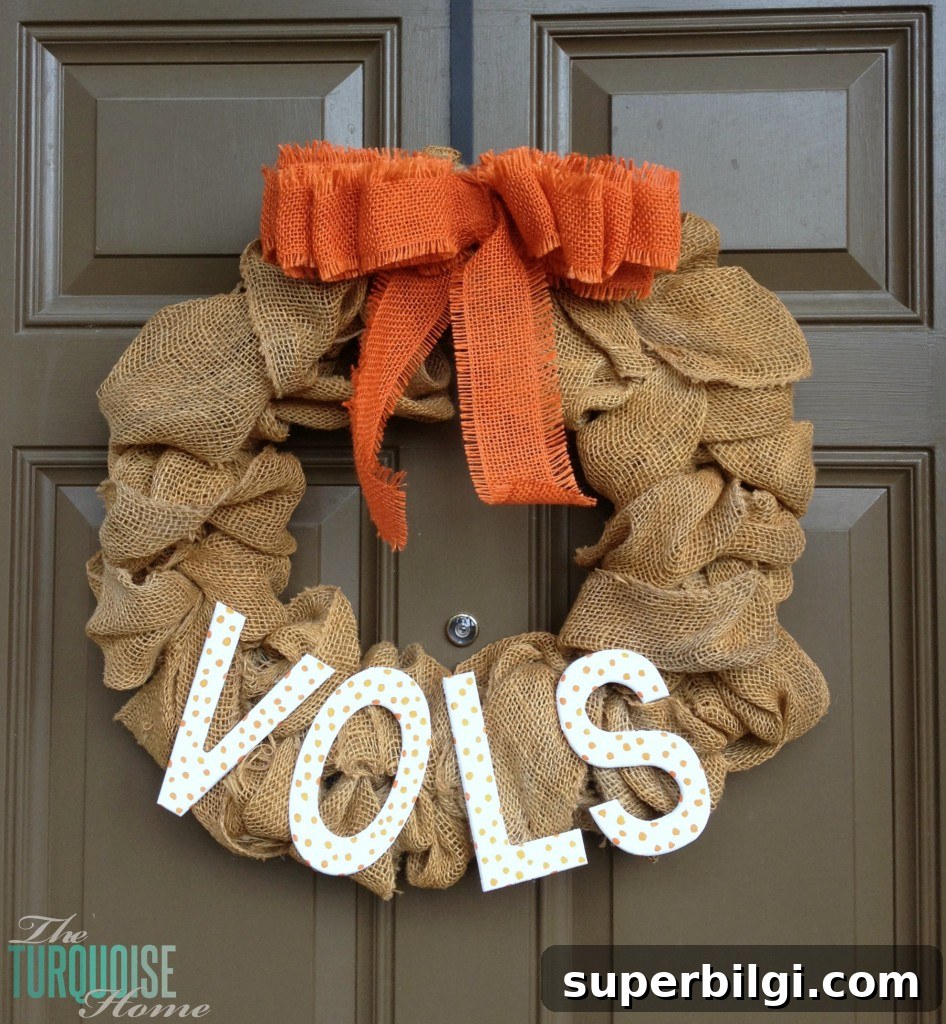
For her son’s first birthday she switched the letters to read “ONE,” which I thought was adorable and copied for Miss A’s birthday. After the party I transformed the wreath into a winter/anytime version by changing the ribbon and adding a simple bow. It solves that awkward gap between Christmas and spring décor—something I’ve always struggled with.
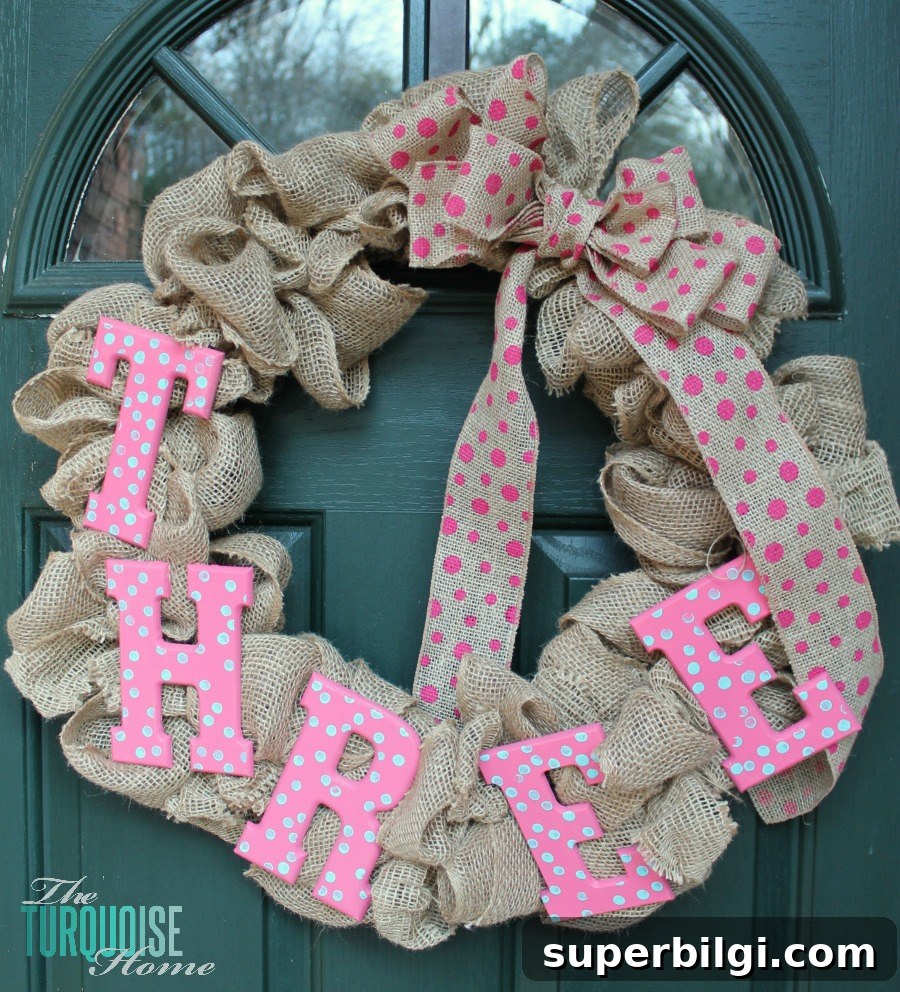
I left the pink polka-dot ribbon in place for Valentine’s Day, and I’ll likely swap the top ribbon again once the season changes. That’s the beauty of a seasonal burlap wreath: small updates create a new look without remaking the entire piece.
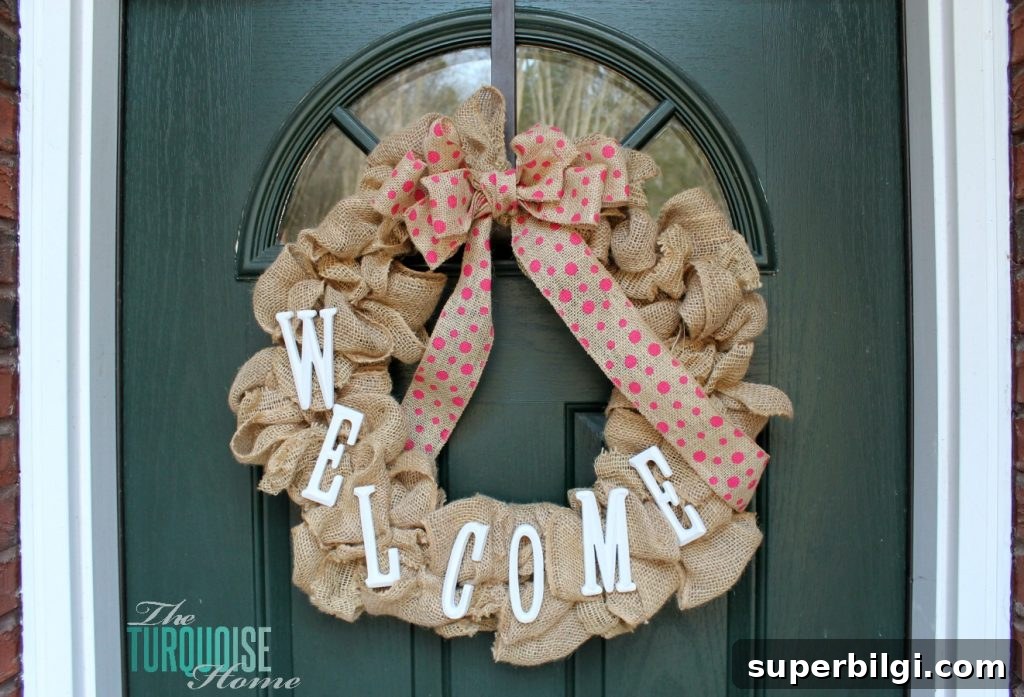
This project is simple enough to finish in a single nap-time, depending on how much detail you add. Here are the details and a few tips that made my DIY burlap wreath work so well.
The Details…
I followed a straightforward tutorial from Top This Top That that shows how to weave burlap in and out of a wire wreath frame until it’s full. The method is quick and forgiving, making it an ideal beginner-friendly craft. It’s literally one of the easiest burlap wreath techniques you’ll find.
Note: the tutorial suggests 12–15 yards of burlap, but for an 18-inch wreath frame I used closer to 30–40 yards. I started with 20 yards of non-wired burlap ribbon (which is the preferred type) and supplemented with wired burlap ribbon I already had. If you shop at craft stores, look for sales or coupons—Hobby Lobby often has patterned burlap ribbon and frequent discounts.
I purchased large wooden letters for the birthday version at Hobby Lobby and smaller “welcome” letters at Michaels. The polka-dotted burlap ribbon I used for the bow also came from Hobby Lobby. For the bow itself, I used a simple bow tutorial from Thistlewood Farm—it creates a full, store-bought look in minutes.
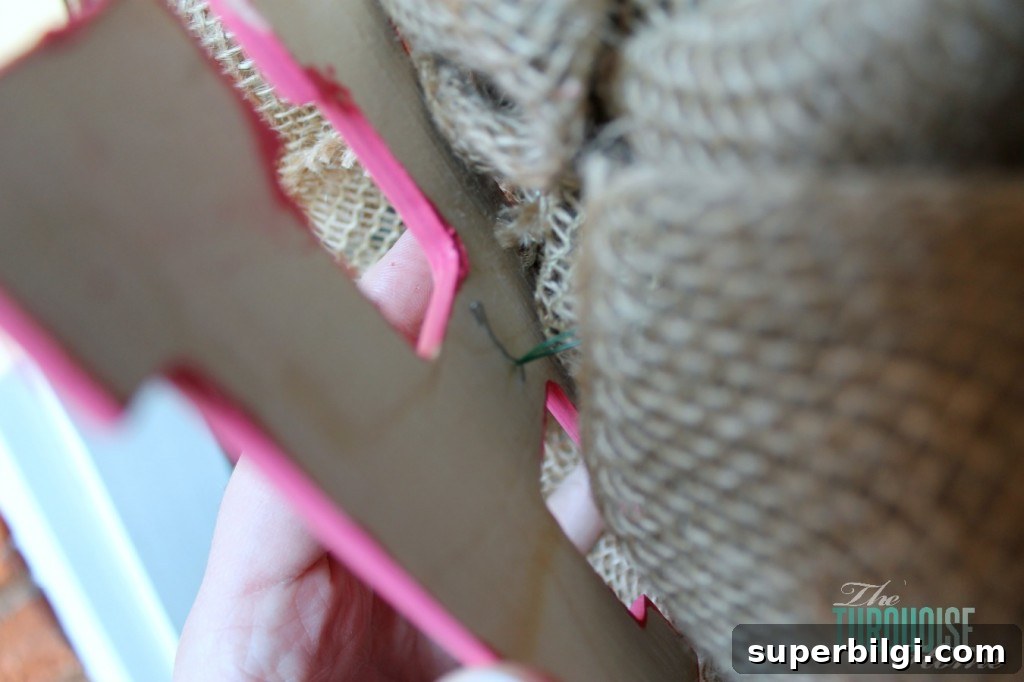
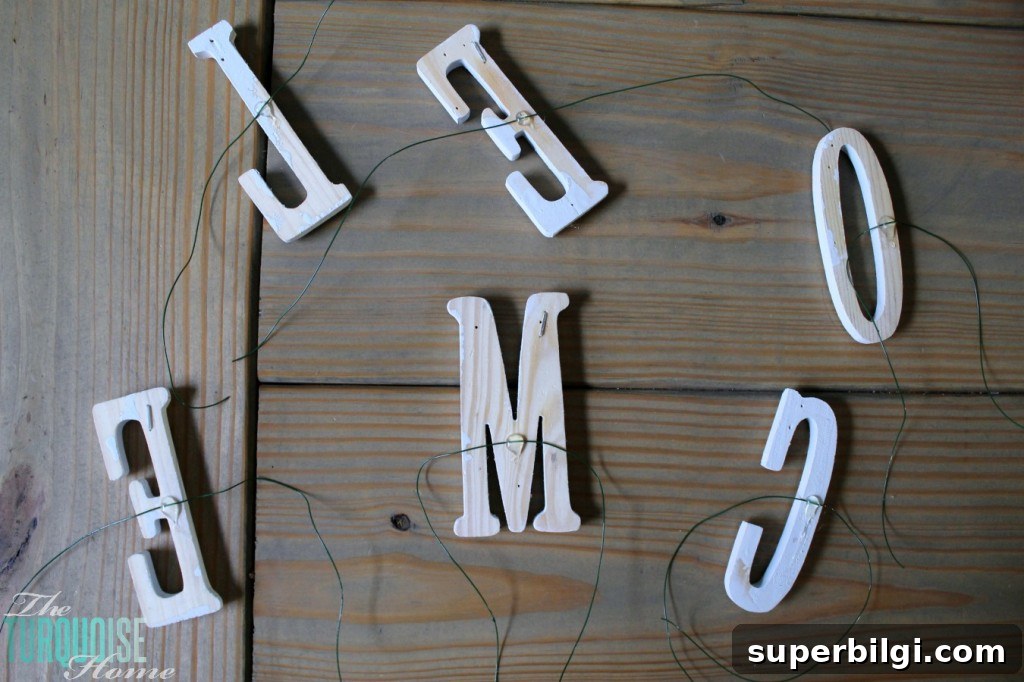
My sister-in-law had the clever idea of attaching letters with floral wire. She stapled a short piece of floral wire to the back of each letter and tied them to the wreath frame. I used floral wire to attach the bow as well. This method keeps the letters secure yet easily removable so you can swap them out for different seasons or events without damaging the wreath.
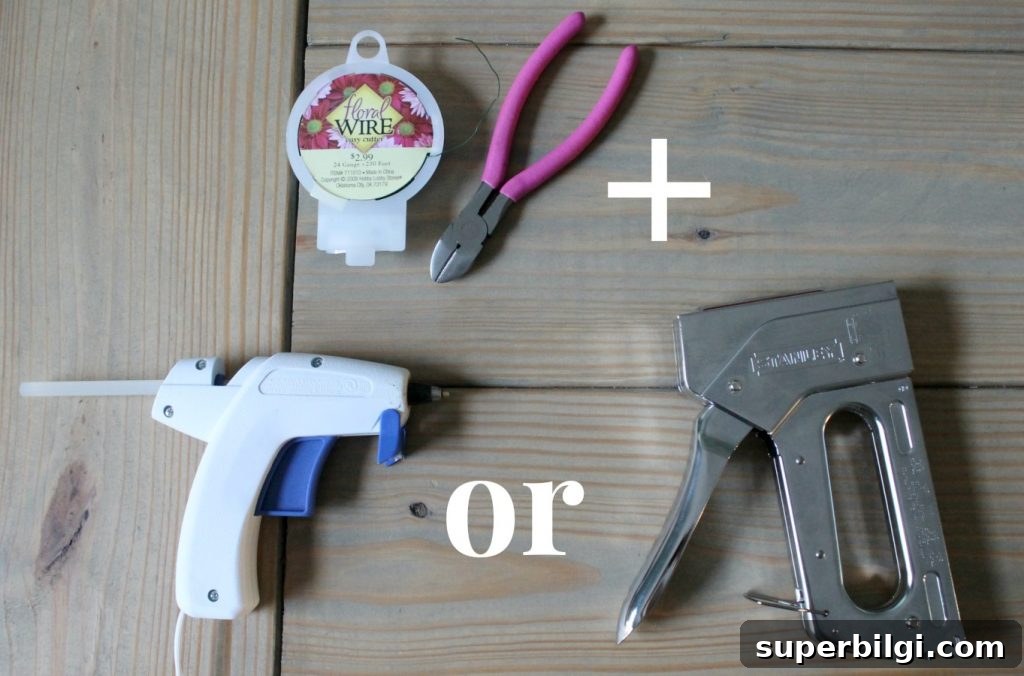
For the smaller letters I combined hot glue and floral wire. Be careful when tying the wire so you don’t pull the hot-glued pieces off—gentle tension works best. If the glue holds, the letters stay put through seasonal changes and light handling.
I love this DIY burlap wreath for its versatility and simple charm. My only regret is not making it sooner—this has become a favorite year-round decoration.
Do you ever buy craft supplies and put the project off? This wreath is proof that an easy, interchangeable DIY can be worth the wait. What’s your favorite year-round wreath style?
More Posts You Will Love:
- 25 Amazing DIY Fall Wreaths
- DIY Summer Lemon Wreath
- Cotton Wreath Free Printable {with your monogram!}