
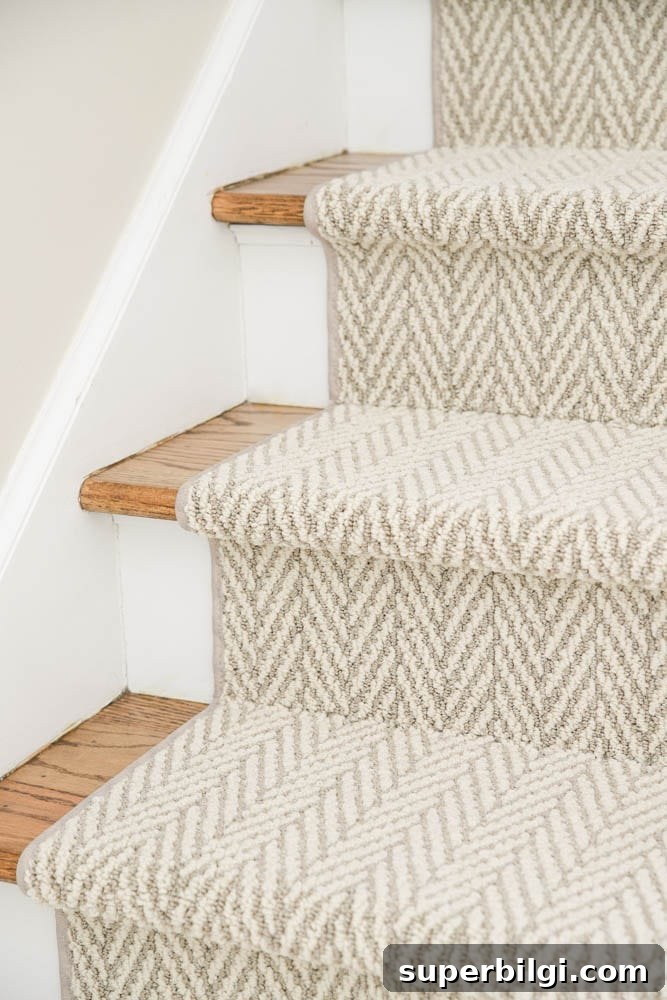
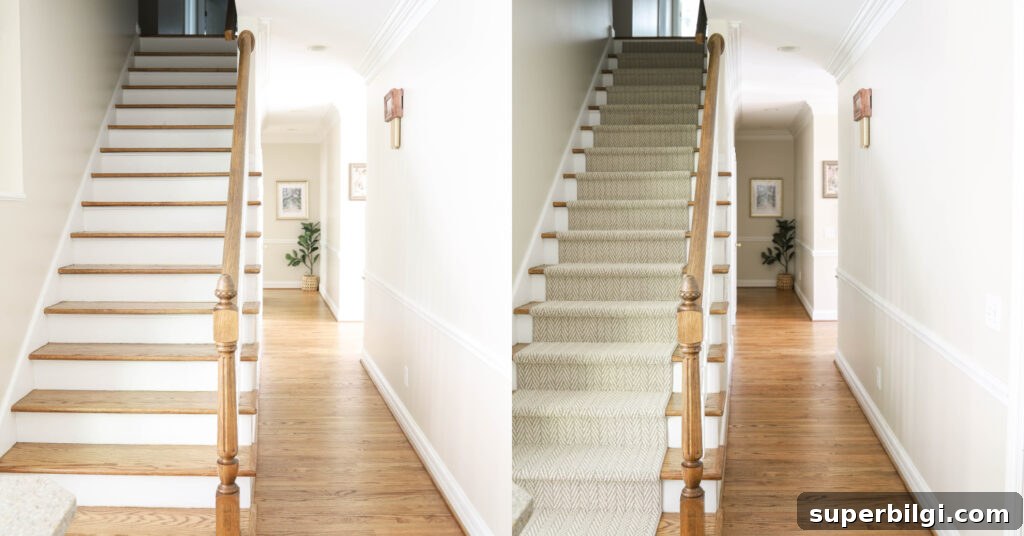
Adding a stair runner to our wooden stairs brought texture, style, comfort, and improved safety to our home. It also made the stairs noticeably quieter—a win for everyone.
If you follow me on Instagram, you might remember how much I went back and forth about this seemingly simple update. In the end, it’s finished and we love the results—my whole family included.
Here’s how the stairs looked before the runner was installed.
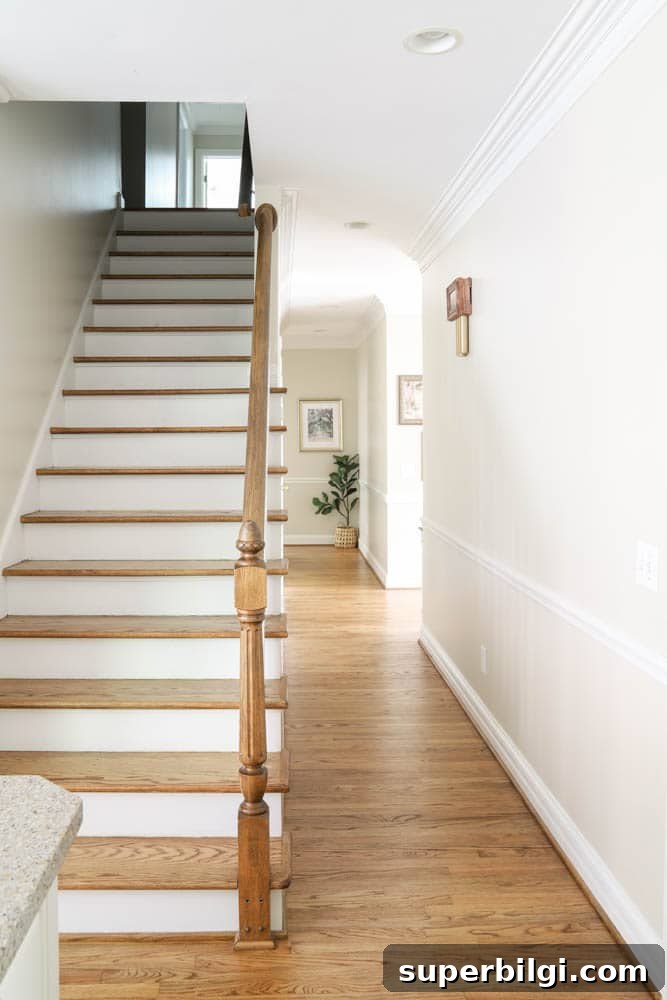
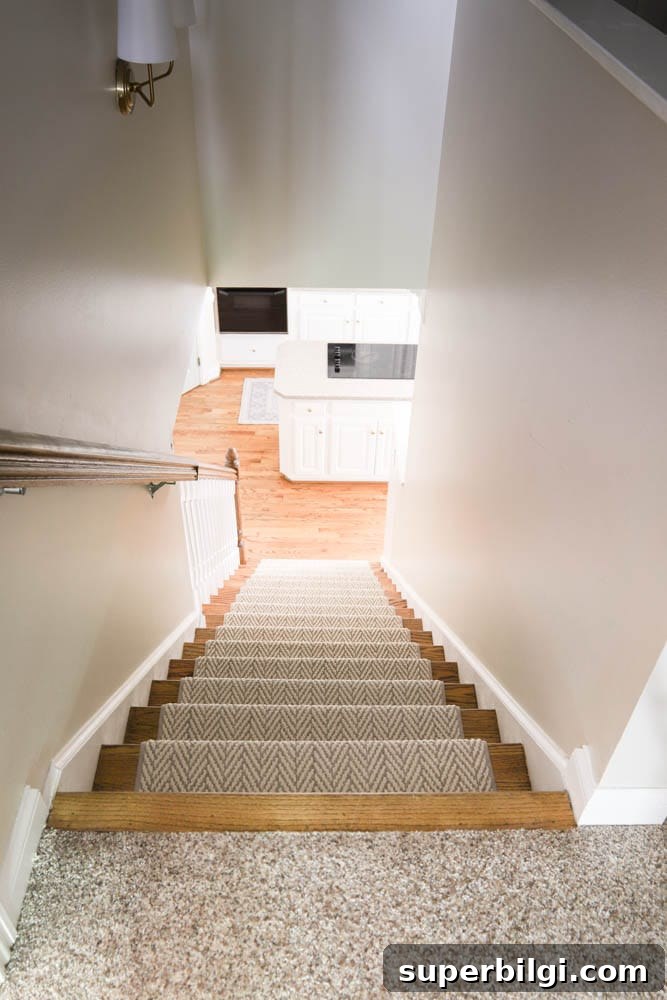
These stairs open directly into our kitchen. When we bought the house I wasn’t sure how I would like that layout, but it’s become a feature I really appreciate—easy to chat with someone upstairs while I’m cooking, because the kitchen is the hub of our home.
Because the stairs flow right into the kitchen, I included the runner as part of my kitchen makeover plans. I’ve mentioned them in later posts about home goals as well.
Why did we choose a stair runner?
We received some comments suggesting that a runner would hide the beauty of our hardwood stairs. That’s true, but after a few slips—including incidents involving the kids—we decided the added traction and padding made it the responsible choice. Safety mattered most.
One of my daughters was instantly thrilled and said, “Yay! Now we can wear our socks on the stairs!” For a while they were nervous about slipping in socks; the runner put them at ease.
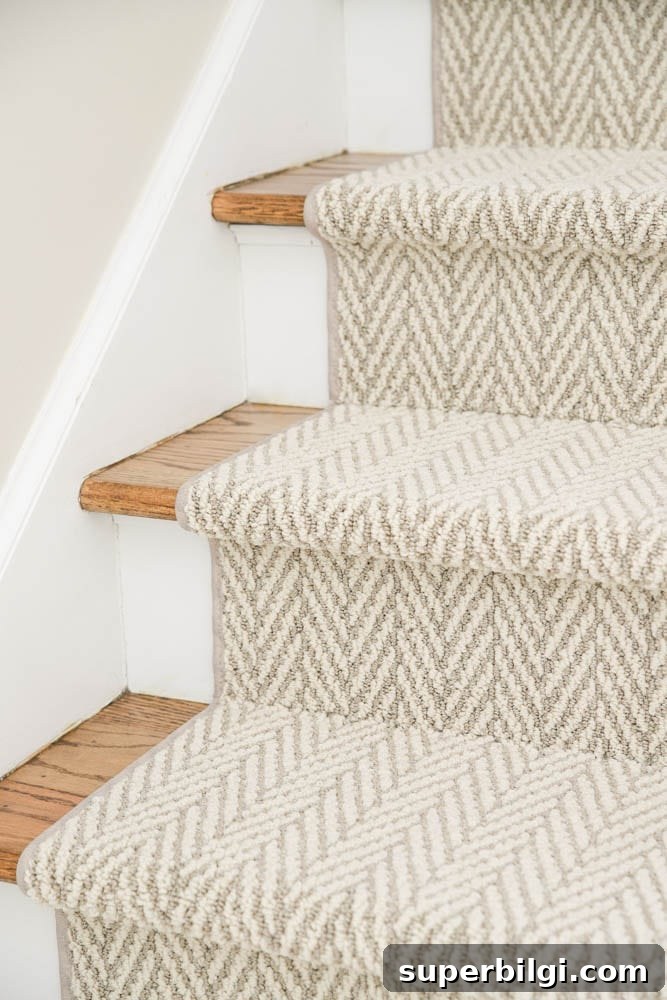
Three bedrooms are upstairs, including our guest room, and I didn’t want any family member or guest to risk slipping on the stairs. Even if someone did fall, the carpeted runner would provide extra cushioning compared with bare wood.
I also liked the idea of adding subtle texture and pattern to the kitchen entryway. Since the stairs lead straight into that space, the runner became a way to personalize and warm up the area.
If we ever change our minds, the runner can be removed and the stairs touched up. The previous owners had carpet on these stairs at one time and the treads were refinished when the carpet was removed. You can still see tiny marks from that earlier installation, but they don’t bother me.
Which carpet did we pick?
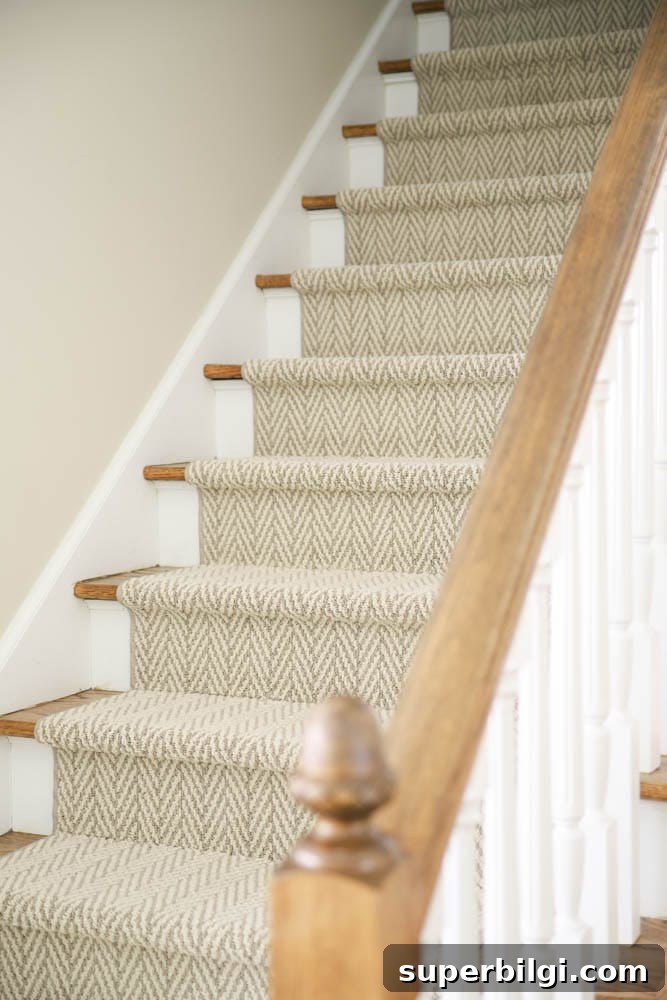
I searched for more affordable alternatives—sisal and pre-made runners were tempting—but ultimately I chose a carpet I loved for its look and feel: Anderson Tuftex Only Natural in the Plaza Taupe color. The palette ties nicely with our Edgecomb Gray walls and the subtle herringbone texture adds interest without feeling overly busy.
I ordered sisal samples and found them too rough for our needs—my kids like to sit on the stairs while I cook, so comfort mattered. I also read that sisal can become slick as it wears, which seemed counterproductive for safety. I even bought a sisal runner and planned to DIY the installation, but returned it and decided a softer carpet was the right choice.
Decisions to make before ordering
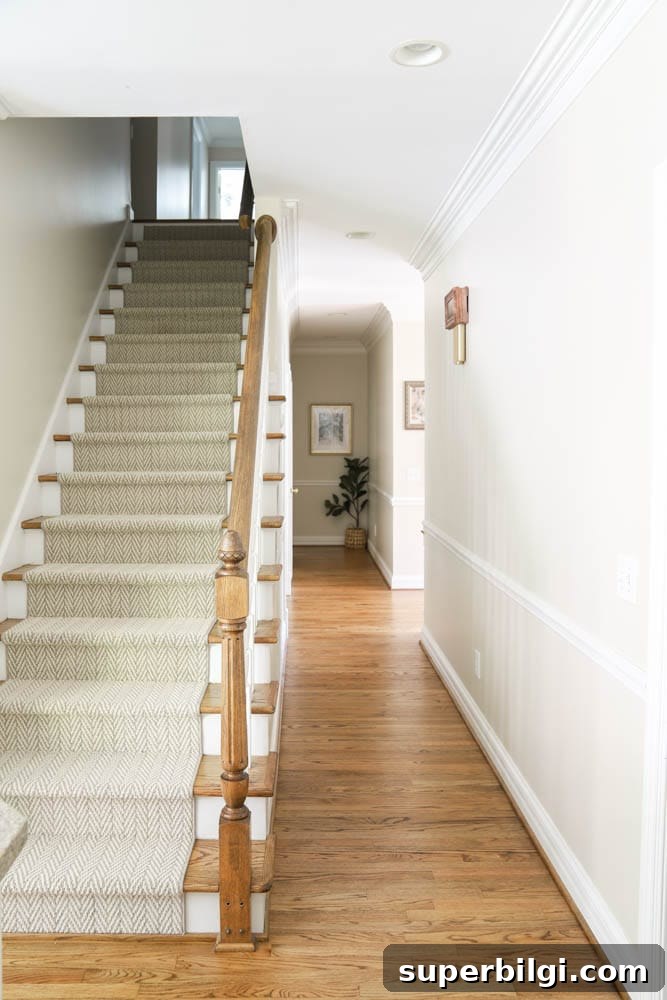
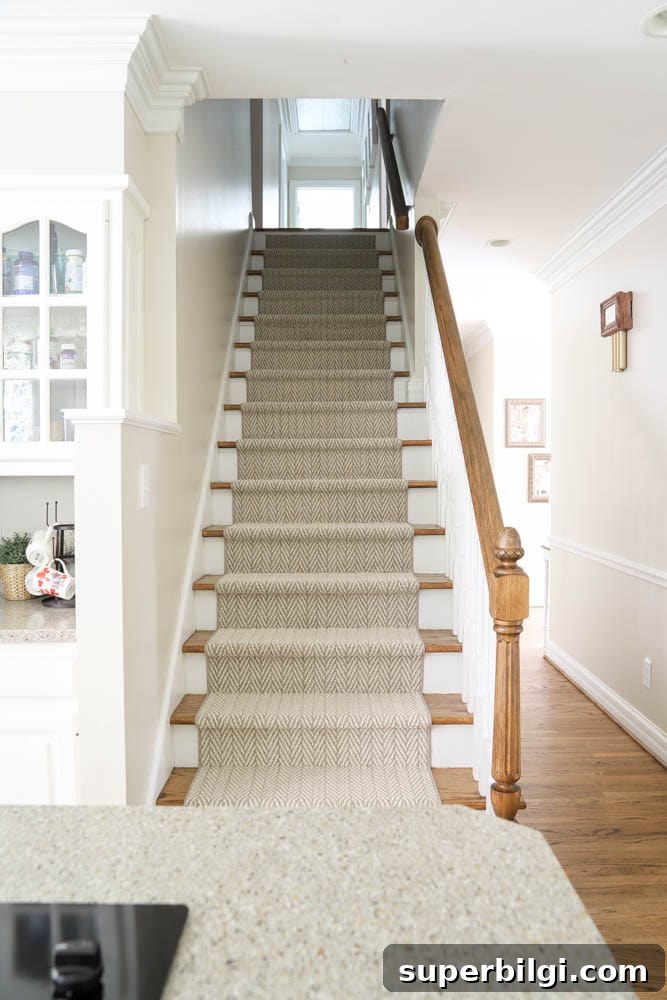
Width was the first consideration. Our top step measures 37 inches, so we chose a 30‑inch runner, leaving about 3.5 inches of exposed tread on each side. That proportion felt balanced and allowed the hardwood edges to still show.
We also had to decide how to center the runner. Placing it centered at the top of the stairs looked best with the open kitchen entry; centering at the bottom would have made the runner appear offset relative to the open side of the stairs, which would have looked odd.
Cleaning was another consideration—carpet does require maintenance. We already have a no‑shoes‑upstairs rule, which reduces dirt, and we use a cordless stick vacuum daily. That routine made the idea of a carpeted runner manageable for us.
Stair runner installation
I’m a DIYer and felt confident I could install a pre‑made runner myself. However, when I learned that the carpet had to be seamed every few steps, I chose to hire the carpet company’s installer to ensure a clean finish. That decision paid off—the installer handled the challenging parts and ensured the seams matched.
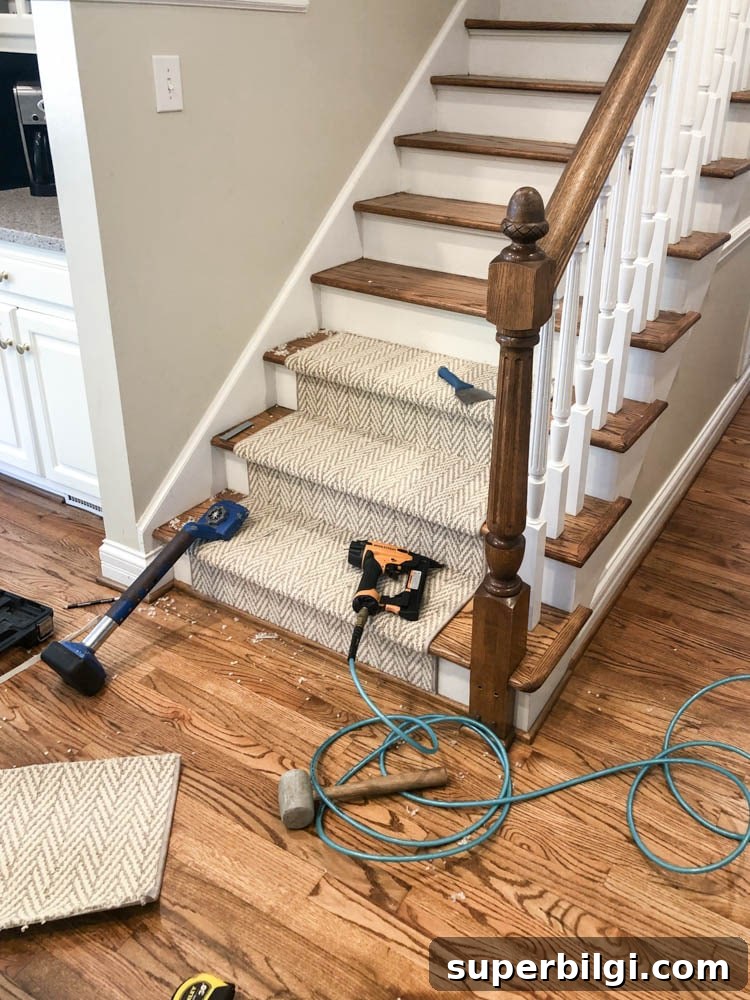
When the installer returned to finish the last few steps, he rushed through them and the finish wasn’t as neat as on the earlier stairs. I grabbed my staple gun and fixed the small imperfections myself. That experience showed me I could tackle a full DIY install if I took my time.
Overall, I’m very happy with the outcome. The runner brought the look and function I wanted, and it feels like another kitchen project completed. Now I’m deciding whether to add art to the hallway walls—or keep the space simple for now.
See more kitchen updates
- Traditional Coastal Kitchen Mood Board
- My Traditional Kitchen at Christmas
- Traditional Brass Chandelier in the Kitchen
More posts you might enjoy
- How To Hang Garland On the Stairs
- Luxury Vinyl Plank Flooring Review
- Timeless Home Decor Essentials
- How to Upgrade Your Home with Beadboard
- Loft Bed Ideas For Small Rooms