
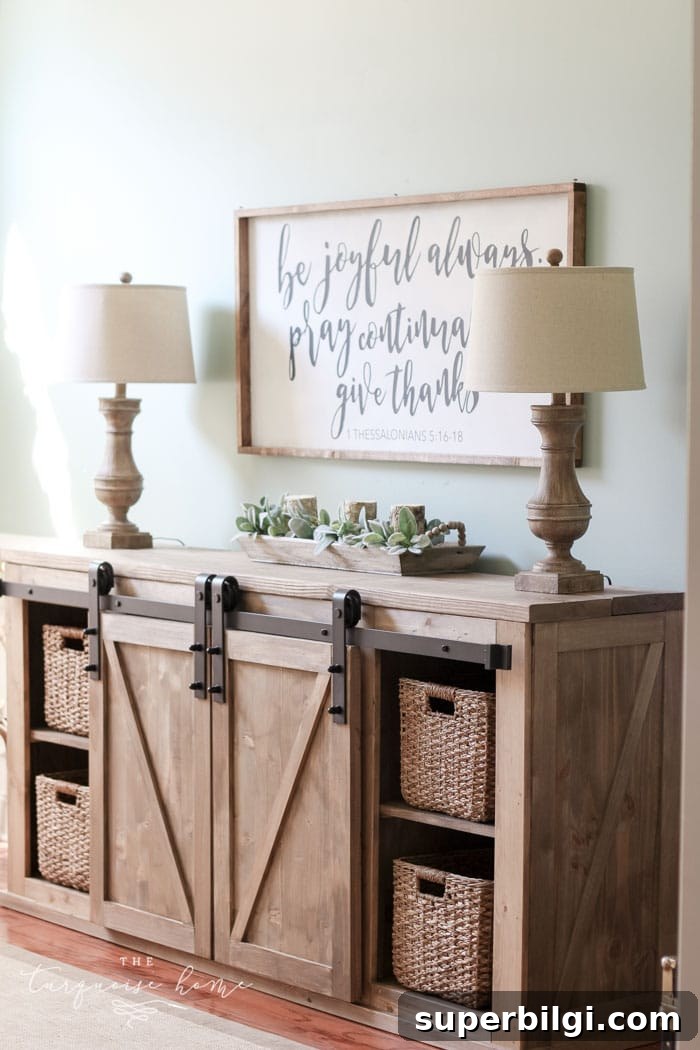
This DIY Farmhouse Media Console Table combines rustic charm with impressive storage. Weathered wood gives it a farmhouse look, while two sliding barn doors and four basket drawers keep clutter hidden and organized.
It’s straightforward to build with basic woodworking tools — just plan for help when moving it inside because it’s a hefty piece.
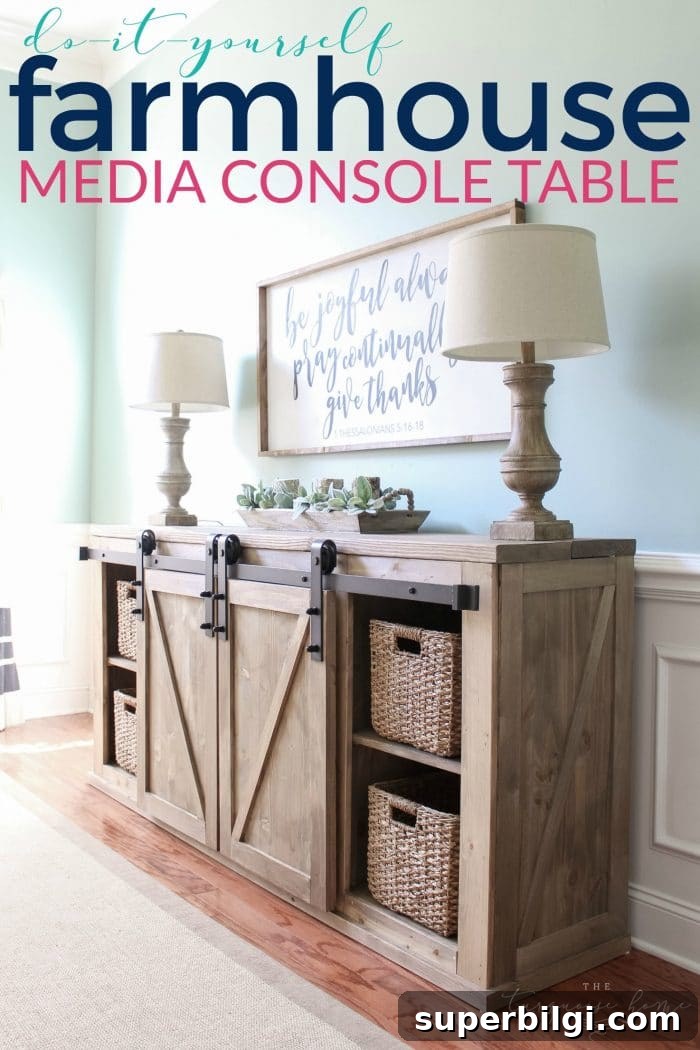
I’m excited to share the plans and build notes for this farmhouse media console table. After receiving many requests since I first shared the piece, I’ve compiled the modified measurements, materials, and step-by-step instructions I used so you can recreate it at home.
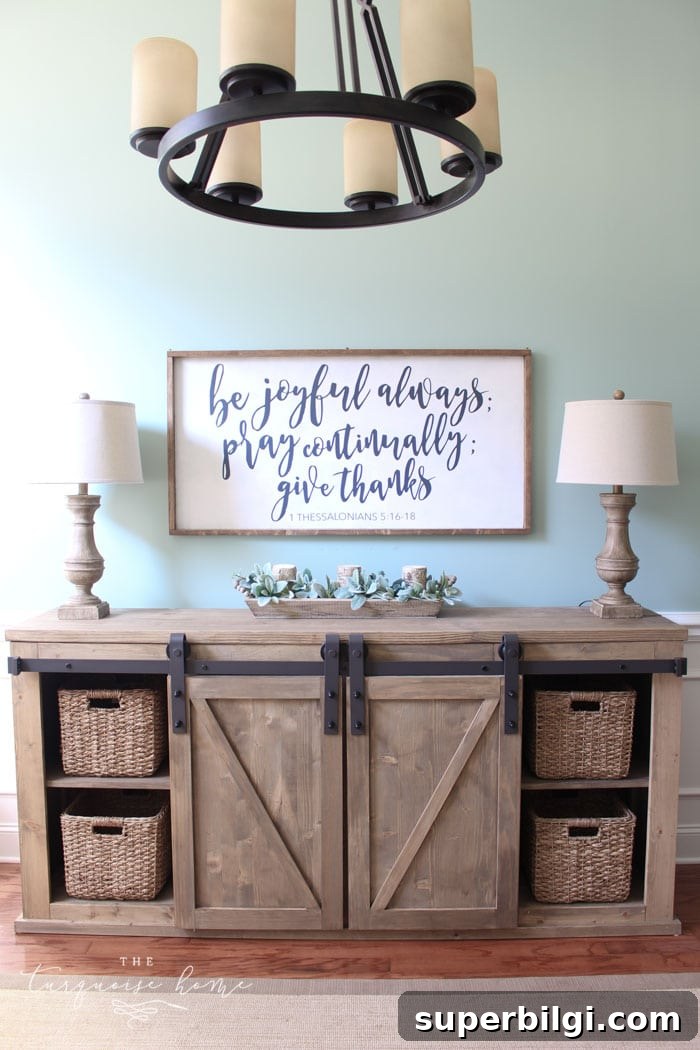
This multi-purpose buffet anchors the wall and stores toys, office and craft supplies, seasonal decor, entertaining pieces — whatever you need. I based my build on Grandy Console plans but adjusted dimensions to fit a 6.6-foot sliding barn door hardware set, so the finished unit is 82″ long.
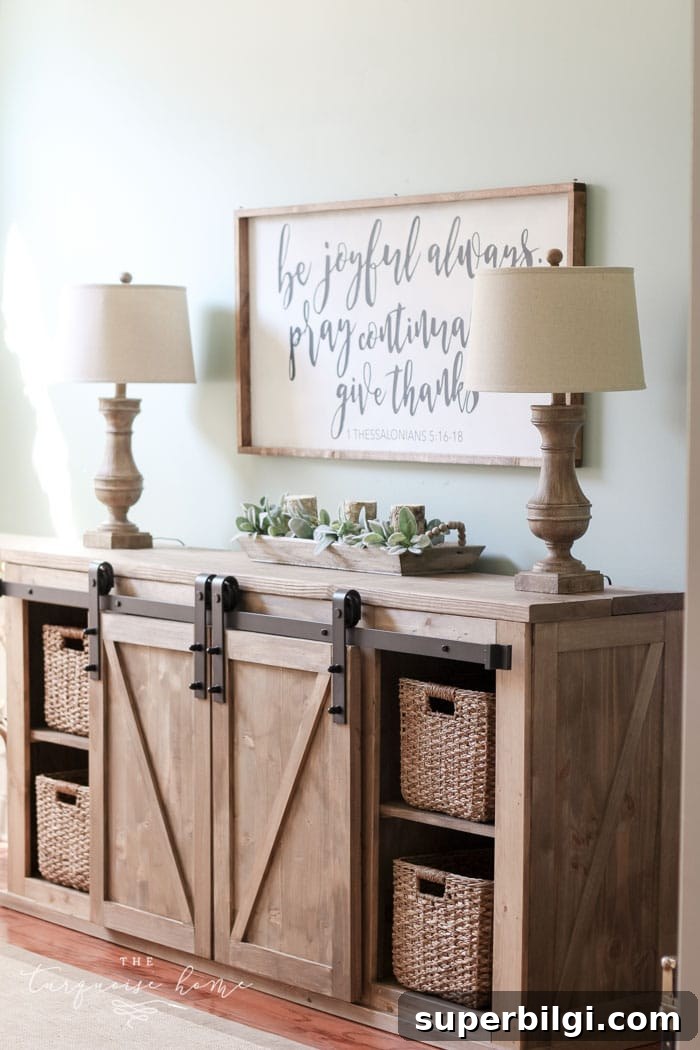
Decide on your sliding barn door hardware before starting — the hardware determines the required width and affects many measurements. I shortened the overall length from the original plans to match my chosen hardware and it fit perfectly.
Read through the entire guide before cutting lumber. If you have questions about any step, leave a comment after your build.
Note: This post originally included affiliate links and product mentions for reference.
What You Need to Build a DIY Farmhouse Media Console Table
Tools
- Miter saw
- Drill
- Tape measure
- Level
- Brad nailer
- Safety goggles
- Carpenter’s square
- Pocket-hole jig (Kreg Jig)
- Clamps
This project doesn’t require advanced tools. The miter saw, drill, brad nailer and pocket-hole jig are the most helpful for building furniture and will make the job much easier for new-to-intermediate builders.
Materials
- 2 – 2×10 stock @ 8 ft
- 2 – 1×8 @ 8 ft
- 2 – 1×10 @ 8 ft
- 1 sheet 1/4″ plywood for the back, ripped into strips
- 3 – 1×2 @ 8 ft
- 4 – 1×4 @ 8 ft
- 5–6 – 2×3 @ 8 ft (depending on cutting efficiency)
- Project panels for sides and dividers (approximately two 36″x16″ panels)
- Glued edge panel ~3/4″ thick for barn doors (approx. 20″x 6′)
- 2-1/2″ screws, 2″ screws, 1-1/4″ finishing nails
- Wood filler (optional)
- Sliding door hardware sized to your table width (I used a 6.6 ft set)
- Spade bit for hardware mounting
- 4 baskets to fit cubbies
- Stain or paint and finish of your choice
Cut List (as built — 82″ long)
My finished buffet measures 82″ long, 37.5″ high, and 18.75″ deep to fit my chosen hardware. If your hardware differs, adjust lengths accordingly. I kept height and depth similar to the original plans to minimize extra cutting.
Frames
- 4 – 2×3 @ 75″
- 4 – 2×3 @ 17″
- 4 – 2×3 @ 14″
Face frame
- 5 – 1×4 @ 36″
- 8 – 1×4 @ 16.25″
Shelves
- 2 – 1×8 @ 78″
- 2 – 1×10 @ 78″
Middle shelf supports and cleats
- 7 – 1×2 @ 14″
- 5 – 1×2 @ 17″
Shelf dividers (optional)
- Top shelf dividers: 2 project panels cut to about 16.75″ x 14.625″
- Bottom shelf dividers: 2 project panels cut to about 16″ x 14″
Top
- 2 – 2×10 cut to 82″ each
Doors
- Cut door panel into 2 pieces at 20″ x 30.75″
Back
- Rip plywood into 5″ strips at 36″ long for a planked back look (or use a full sheet of plywood if preferred)
I used 1/4″ pine project boards for door and side trim; choose whatever trim style you prefer.
How to Build a DIY Farmhouse Media Console Table
Below are the steps I followed. I recommend printing the original Grandy Console plans for reference and then using these notes for my specific modifications and tips.
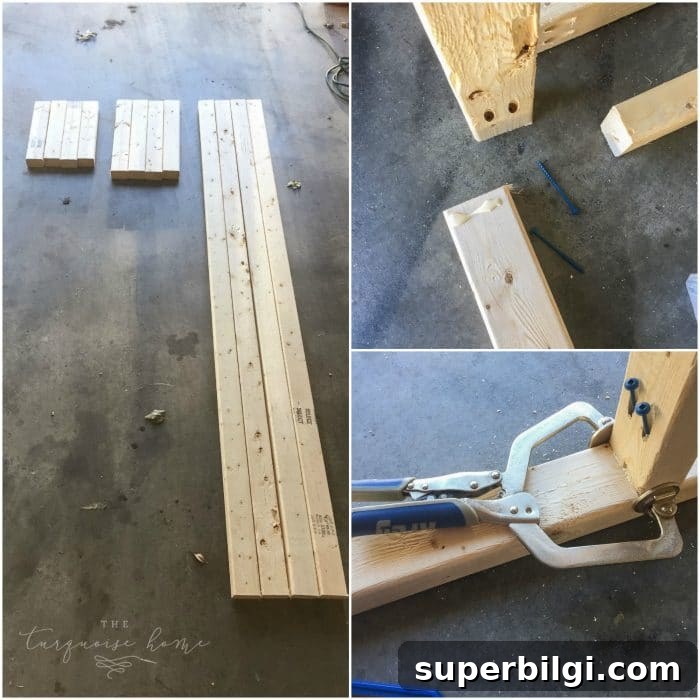
1. Cut the 2×3 frame boards and assemble the frame
Cut the 2x3s for the frame. Pre-drill pocket holes for any connections you intend to fasten with pocket screws. Assemble the frame using wood glue and 2-1/2″ pocket screws or construction screws and clamps. Check straightness when buying lumber — warped boards can make the frame difficult to align.
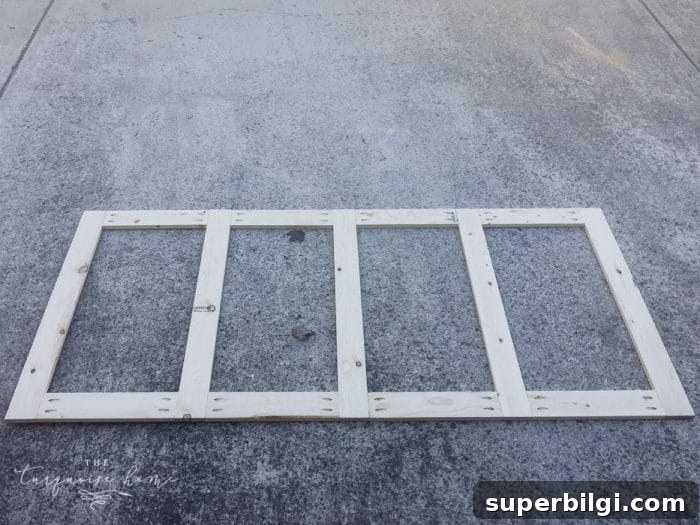
2. Cut the face frame pieces and assemble the face
Cut 1×4 pieces for the face frame and assemble them either directly to the cabinet or as a separate face frame secured with wood glue and brad nails. I assembled mine with pocket holes and attached it to the frame, making sure everything was flush as I worked.
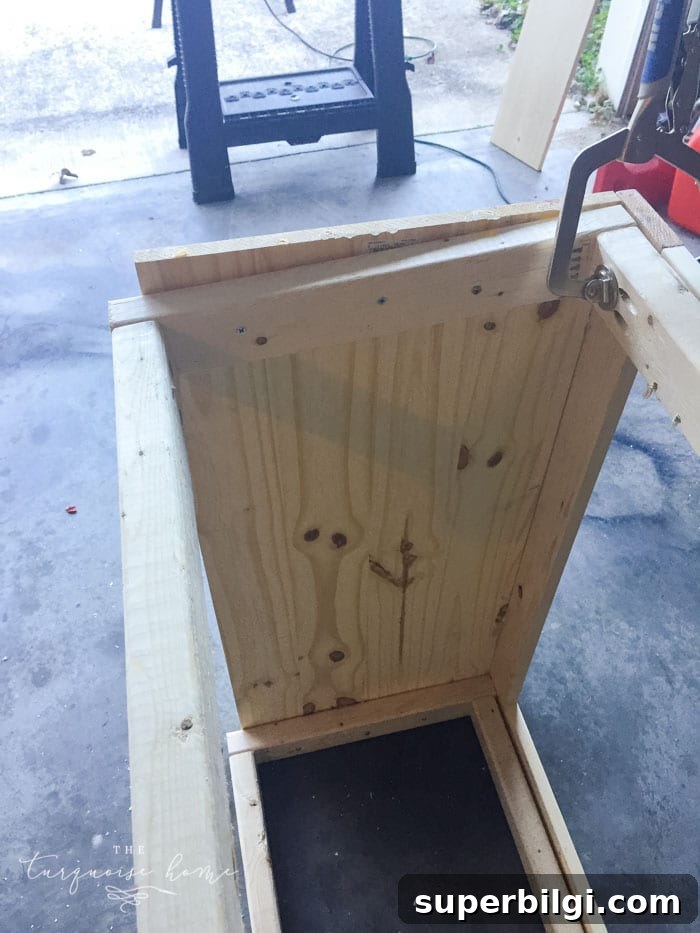
3. Attach the side panels to the frame
Fasten project panels to the sides from the inside using 2″ screws or glue and nails. If your panels are slightly narrower than needed, cover any gap with decorative trim on the outside for a clean look.
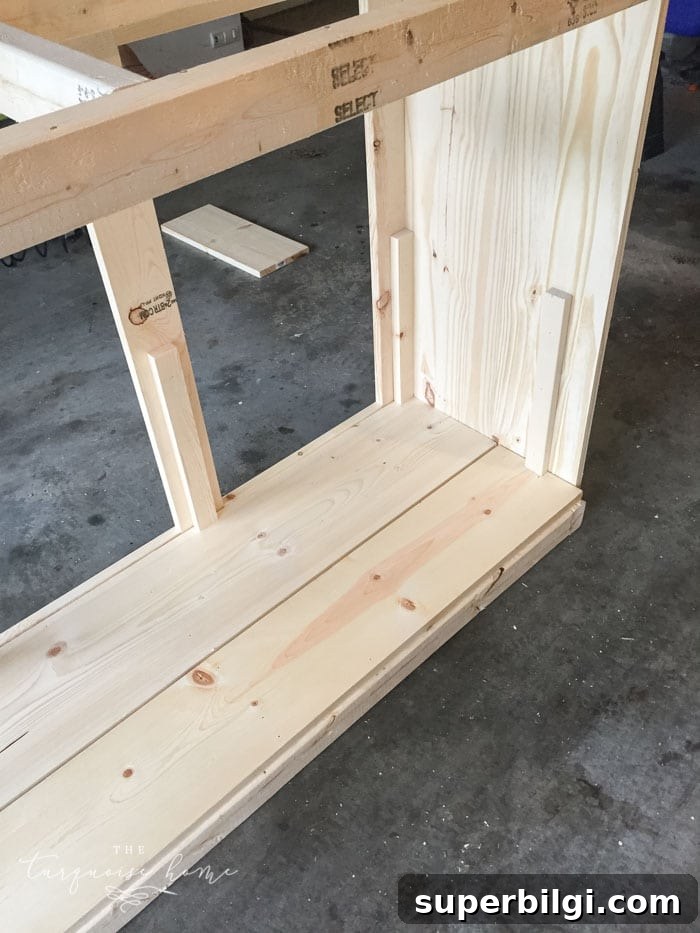
4. Add the bottom shelf
Cut the 1×8 and 1×10 boards to width for the bottom shelf. Insert and nail with 1-1/4″ brad nails. A small gap between boards is fine; keep the back board flush so it does not overhang the frame.
5. Attach the shelf supports
Install the 1×2 cleats and supports around the inside of the frame to support shelves. Secure with glue and brad nails. Use the supports to position and stabilize the top shelf later.
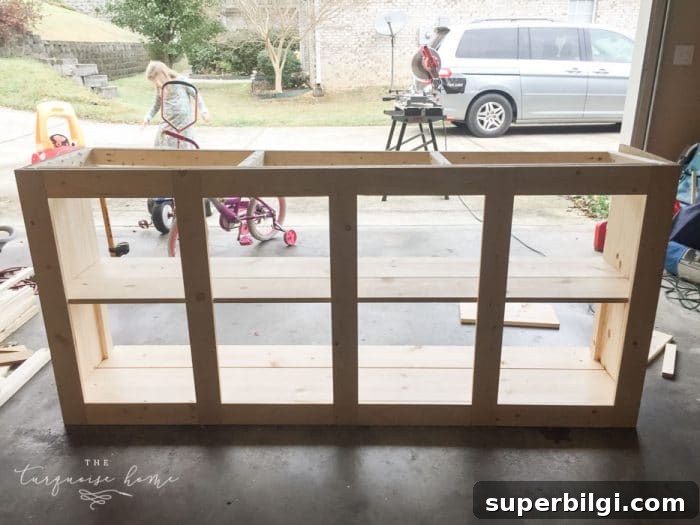
6. Assemble the top shelf
Join the top shelf boards and add shelf cleats (1×4 boards cut to fit) to the underside with glue and brad nails. Leave a small gap between boards if needed for expansion.
7. Attach the top shelf
Place the top shelf on the frame and secure from the outside with brad nails or from beneath with pocket screws if you pre-drilled pocket holes in the frame top.
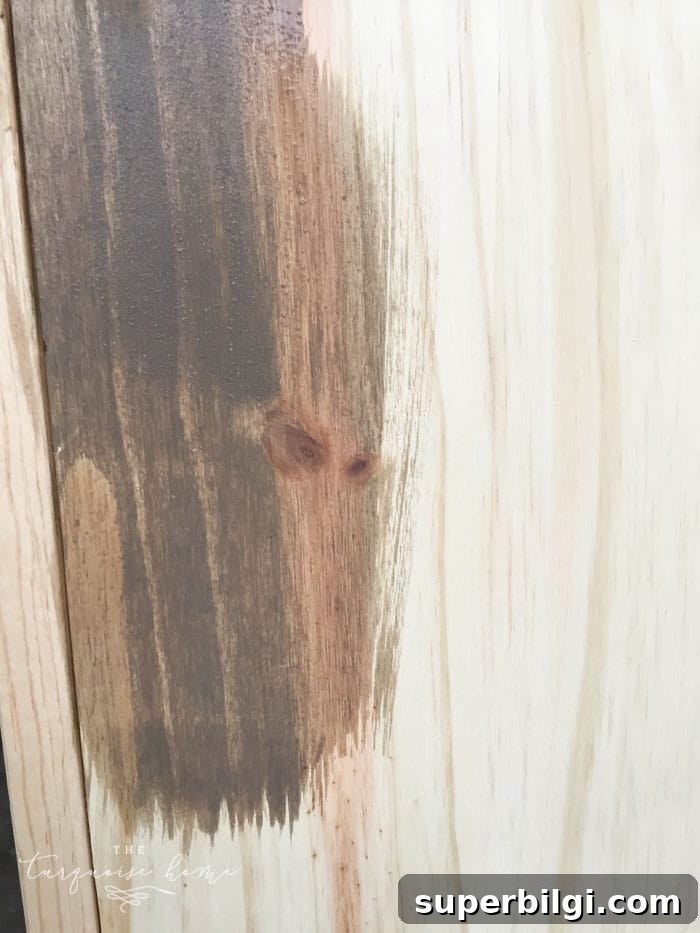
8. Apply stain
Stain assembled sections and any remaining parts before final assembly for even coverage. I stopped at this point to stain the base components and stained additional pieces prior to installation.
9. Attach the shelf dividers
Optional: add dividers to the left and right sections to limit access through the sliding door openings and to create neat cubbies. Cut project panels to fit and fasten with pocket holes or screws where they meet shelves and frame. Stain these pieces before installing.
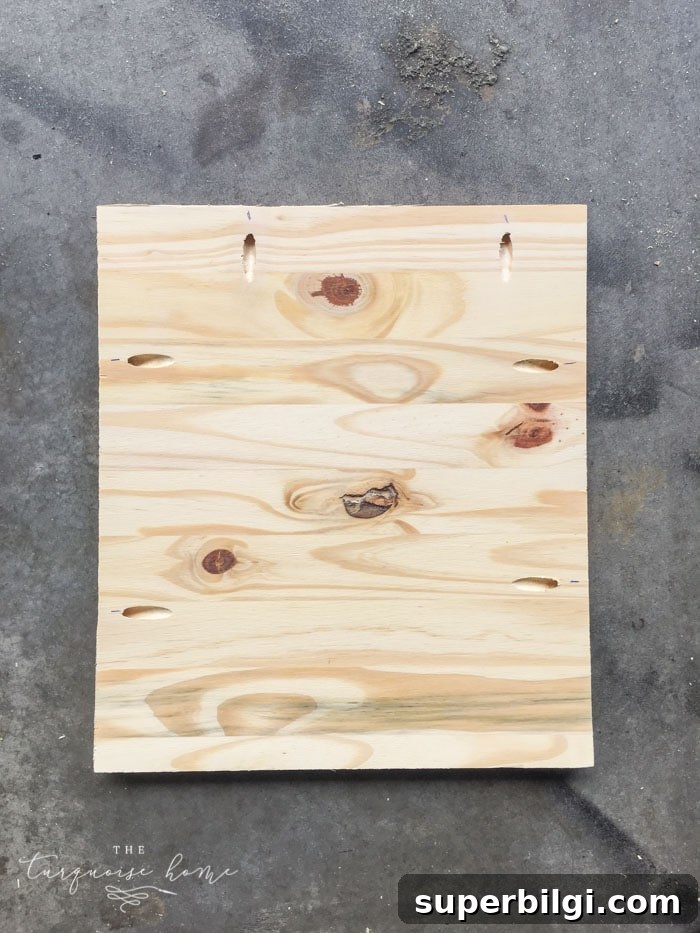
10. Attach the back pieces
Attach the ripped plywood strips or a full sheet of plywood to the back using 3/4″ to 1-1/4″ nails for a planked look. Ensure the back is square and secure to the frame.
11. Add bottom trim pieces
Trim the bottom edge with 1×2 trim, mitering corners as needed. Attach with glue and brad nails for a finished base.
12. Attach the top of the table to the frame
Finish staining the two 2×10 top boards and attach them to the frame, allowing a small overhang on the front and sides and keeping the back flush. If you used pocket holes on the underside of the frame, fasten the top from below with pocket screws for a clean surface.
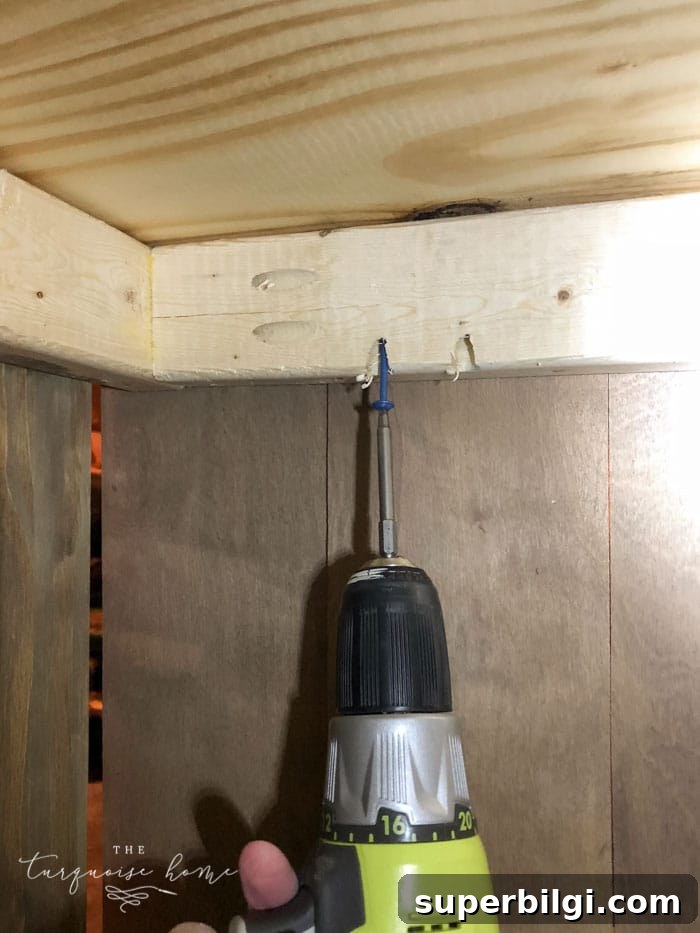
13. Add decorative trim to the sides
Attach side trim to hide any gaps and to visually tie the cabinet to the doors. Use wood glue and brad nails for secure, neat trim work.
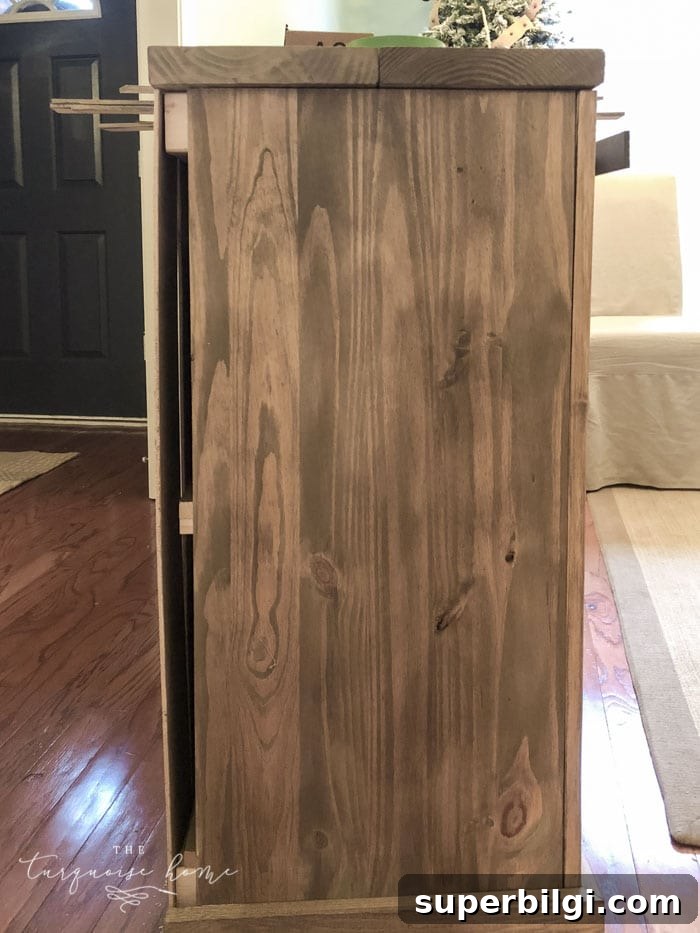
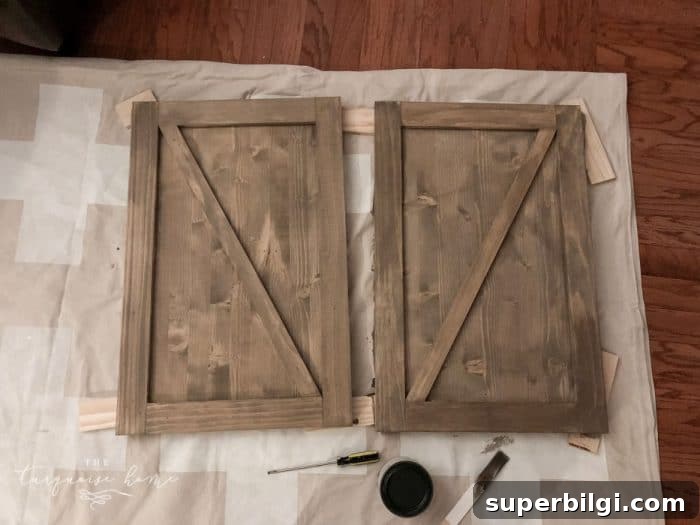
14. Build the sliding barn doors
Cut the glued edge panel into two door panels at 20″ x 30.75″. Add decorative trim to the face of each door, stain them before final assembly, and test fit to ensure smooth sliding.
15. Attach the barn door rail to the front of the table
Mount the sliding door rail to the front of the table in the precise location required by your hardware: too high or too low can cause rubbing or improper clearance. Use a level and ensure the cabinet sits on a level surface before final installation. Measure and mark carefully.
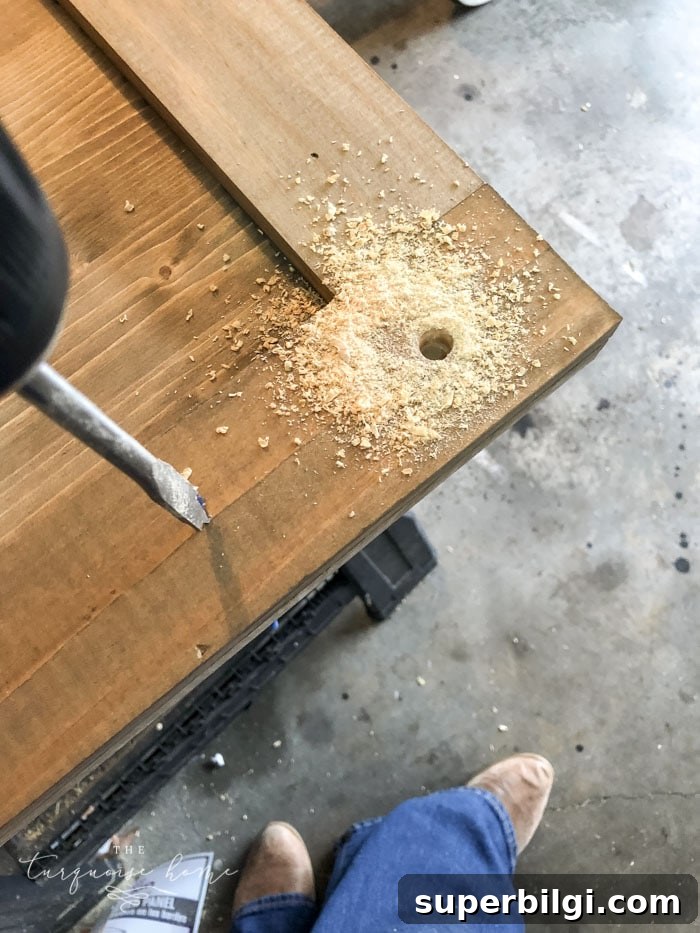
16. Attach the hardware to the doors
Drill mounting holes in the doors as required by your hardware (a spade bit is often used) and attach hangers. Hang the doors on the rail and adjust stops and floor guides so doors slide smoothly and do not rub the top or bottom.
Stain and Finish Recommendations
I used a water-based, low-odor weathered-style stain that gave the wood an aged, rustic appearance. This product behaves between a stain and a paint — some boards soak it in while others require wiping after a short dwell time. The finish felt like a stain-plus-topcoat; I still planned to apply a clear wax for the desired hand-feel and extra protection.
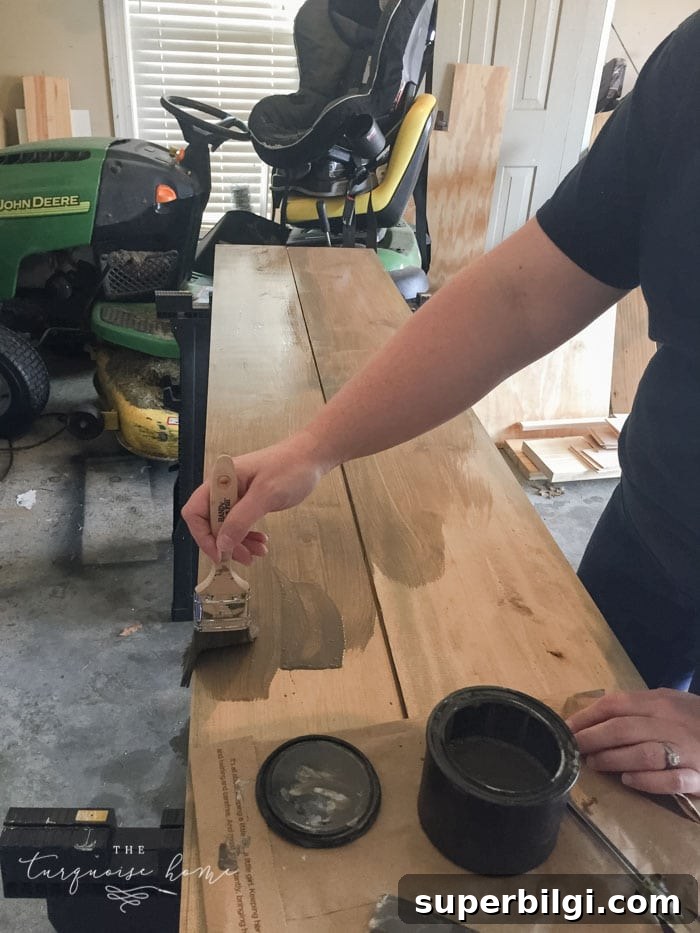
The project used nearly two cans of stain. Allow for shipping time if ordering specialty finishes and plan to test the stain on scrap wood first to confirm absorption and color.
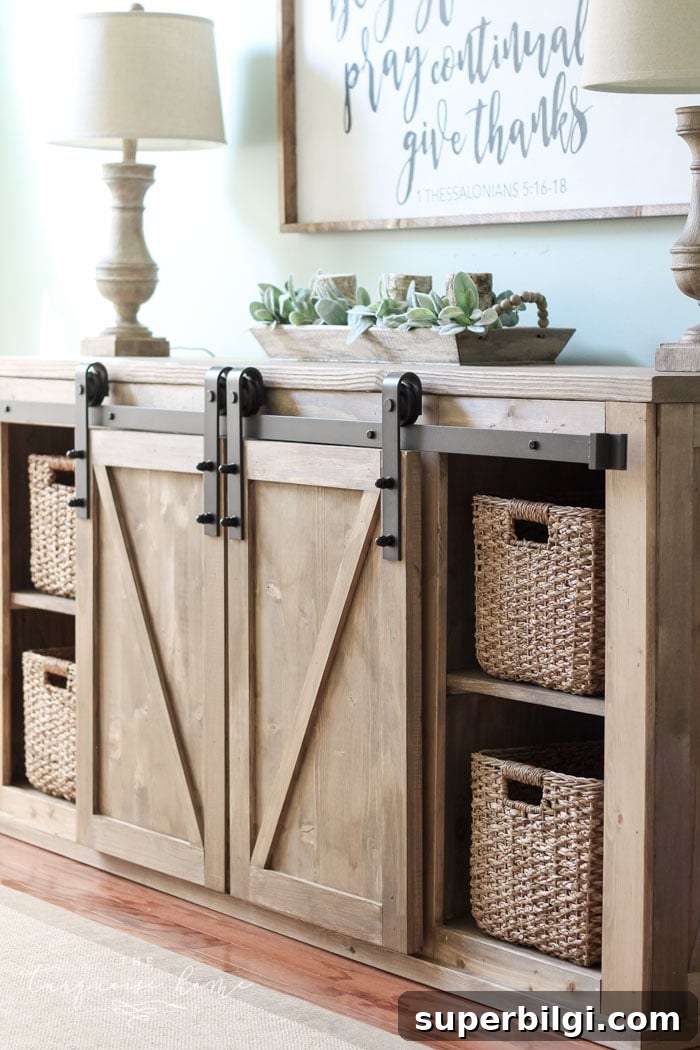
For baskets in the cubbies, look for seagrass or wicker baskets sized to your openings. They provide functional storage and complement the farmhouse aesthetic.
I hope these plans and tips help you build your own DIY Farmhouse Media Console Table. If you run into questions while building, take careful measurements, dry-fit pieces before final fastening, and comment with specifics so others can learn from your experience.
More project ideas and inspiration
- Traditional dining room styling and layout
- Affordable wicker patio furniture ideas
- Benefits of wood furniture in home design
- Choosing wall colors to complement dark wood trim
- DIY gray wash wood technique