
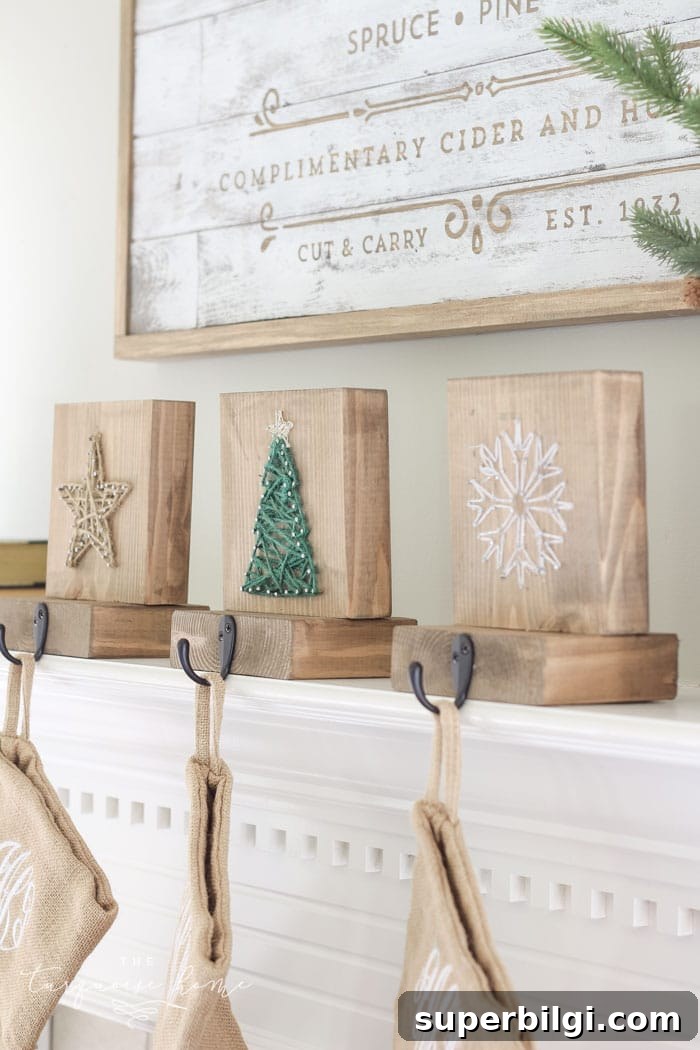
Make these string art DIY stocking holders with just a few simple supplies: a template, nails, a hammer and some string!
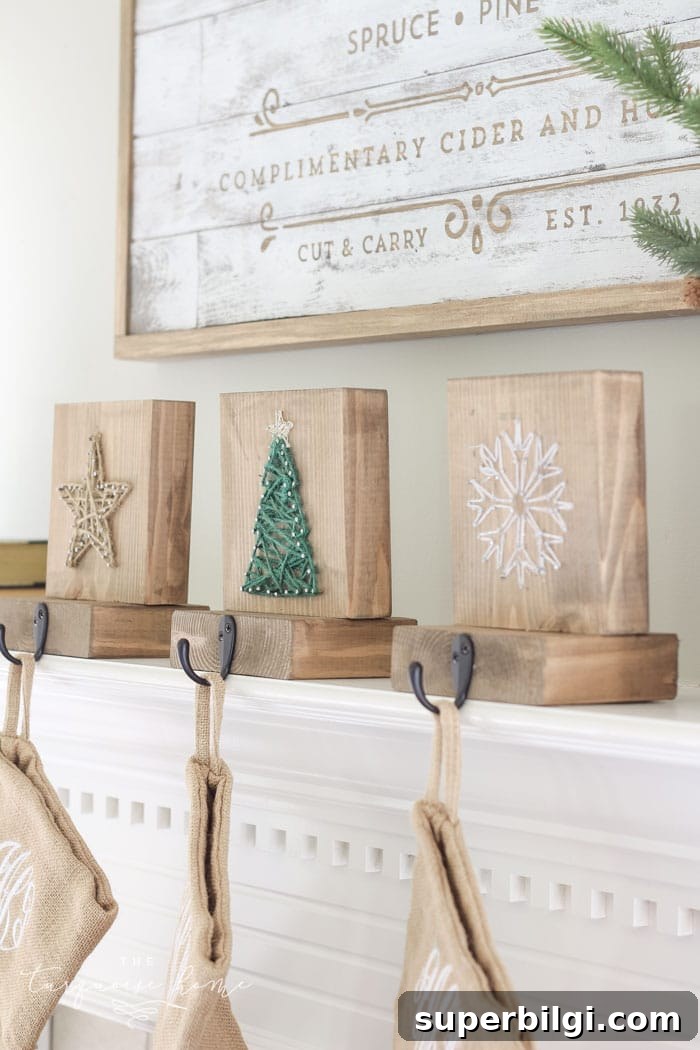
I wanted a fun Christmas string art project that was also useful. Instead of creating something purely decorative, I decided to make string art stocking holders you can actually use. These are simple, practical and make a charming holiday display.
A small memory: when I was growing up (and still at my mom’s house), stockings were simply hung on thumbtacks pressed into the underside of the mantel. Those days were cozy—and these stocking holders bring that same warmth with a neater, more finished look.
Even if a fancy stocking holder isn’t essential, the process of crafting one is rewarding. This project is easy, and the finished holders look even better in person than I imagined.
Supplies to Make a DIY String Art Christmas Stocking Holder
Gather these basic supplies before you start:
- 2″ x 6″ pine board — cut into 5.75″ and 4″ pieces for each holder
- Hooks for hanging stockings
- Hammer
- Nails about 1″ long with a flattened head (for the string outline)
- String, twine or jute in the color or texture you prefer
- Longer nails or brad nails (to attach the string art block to the base)
- Nail gun or stapler (optional)
- Circular saw or miter saw for cutting boards (optional)
- Stain or paint in your chosen color
- Paint or stain brush
- Hot glue or strong craft glue
How to Make a DIY String Art Christmas Stocking Holder
1. Cut your 2″ x 6″ board
For each stocking holder, cut one 5.75″ piece and one 4″ piece from your 2″ x 6″ pine board. The 5.75″ piece becomes the face for the string art, and the 4″ piece is the base that mounts to the mantel or shelf. If making multiple holders, cut multiples of each size.
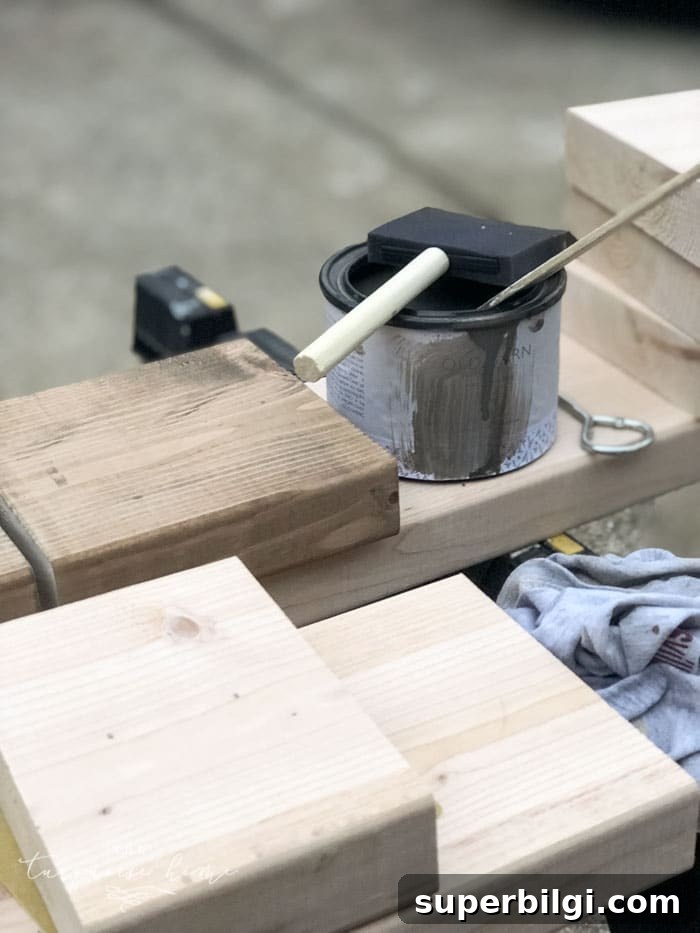
2. Stain or paint the blocks
Finish the wood first by staining or painting both blocks in the color you like. I used a water-based stain I love for its ease of use, low odor and warm weathered finish. Choose a finish that matches your holiday décor—natural stains for a rustic look or painted shades for a brighter, modern display.
3. Print templates for your shapes
Use printable templates to trace the shapes onto the face board. I created four templates: a star, a tree, a snowflake and a deer head. The deer head is more intricate and may be best for larger projects or if you enjoy a challenge. The simpler shapes work great for quick, attractive results.
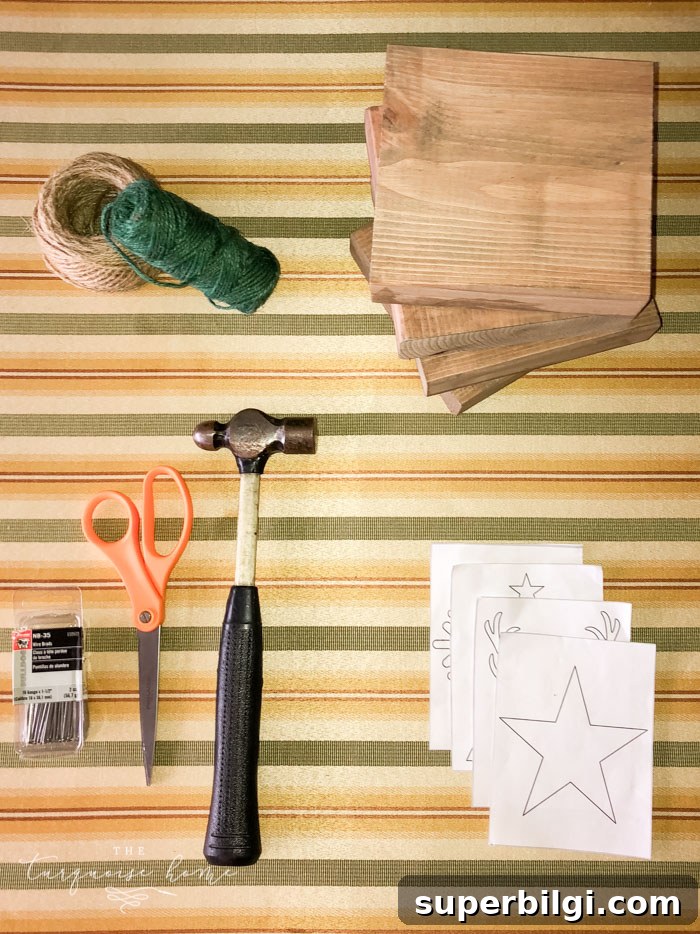
4. Pin or nail the template and add nails
Center the template on the 5.75″ face board and begin placing nails along the outline. For a star, place nails at each corner and point and then evenly space nails along the edges. For a snowflake, place nails at the internal intersections of the design rather than along the outside edge—this simplifies the pattern and gives a cleaner look.
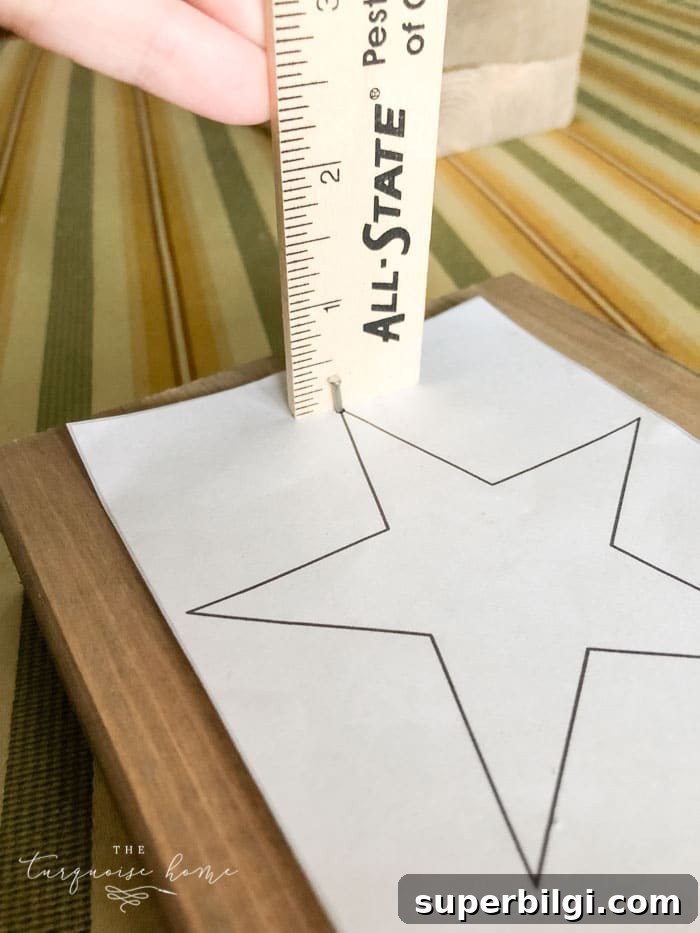
5. Remove the paper template
When you’ve nailed all the points in place, carefully remove the paper template. The nails should remain evenly spaced and secure in the wood.
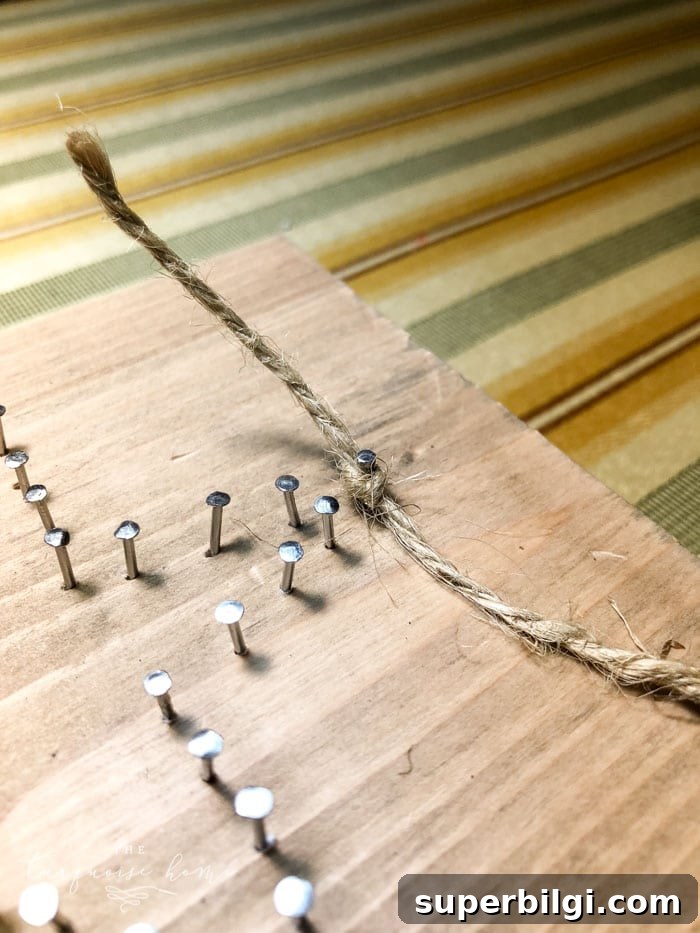
6. Add twine or string to create the design
Tie your string to a starting nail and begin wrapping and zig-zagging across the shape. Work randomly but evenly to fill the interior of the form. Continue until the design looks full and balanced.
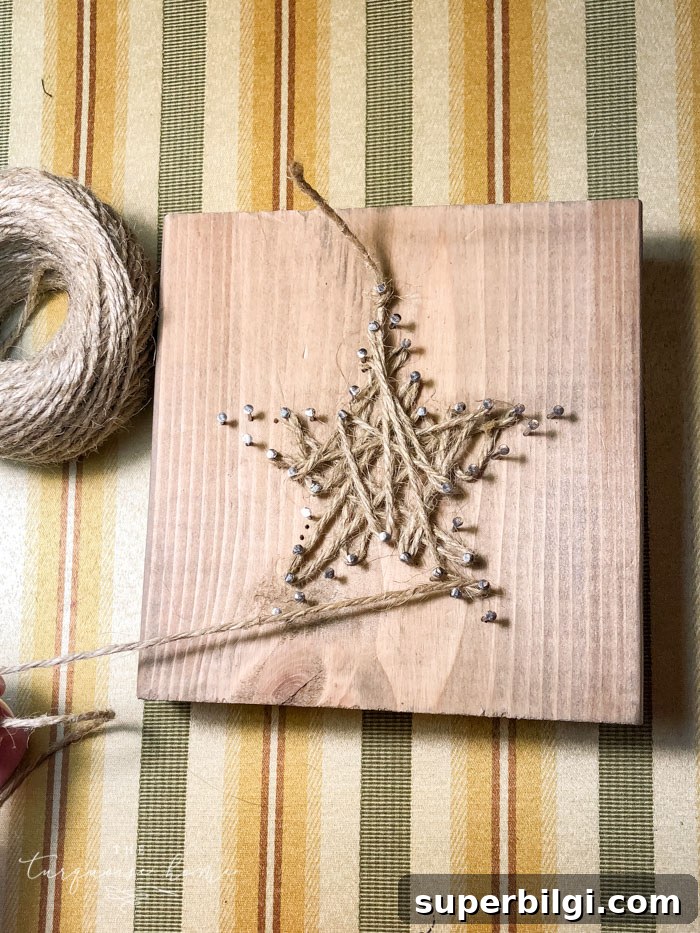
To finish, make a final pass tracing the outside of the shape so the outline reads clearly. This last border gives the piece a polished, finished look.
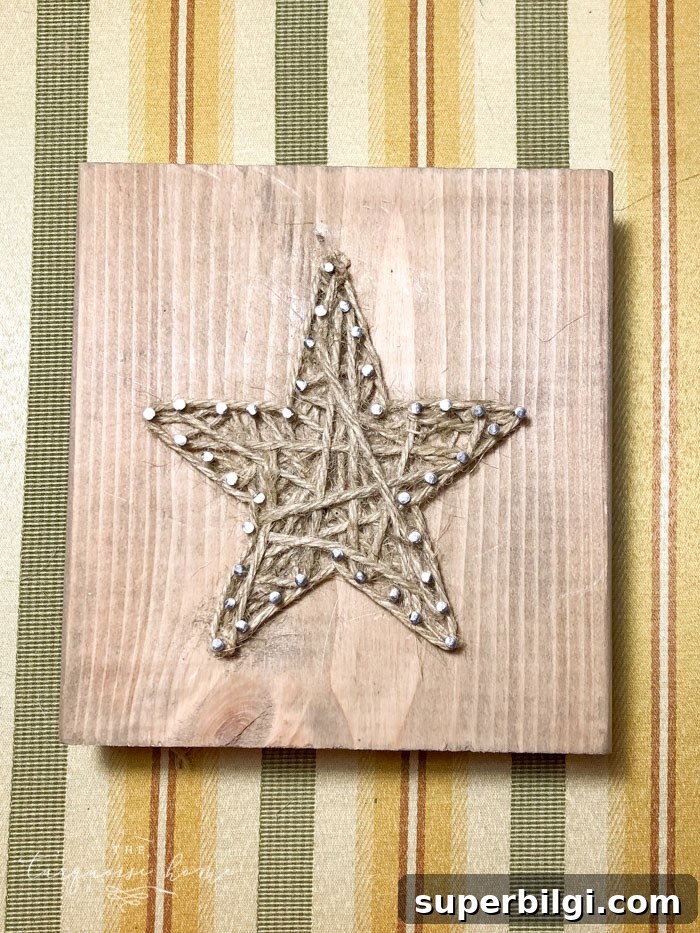
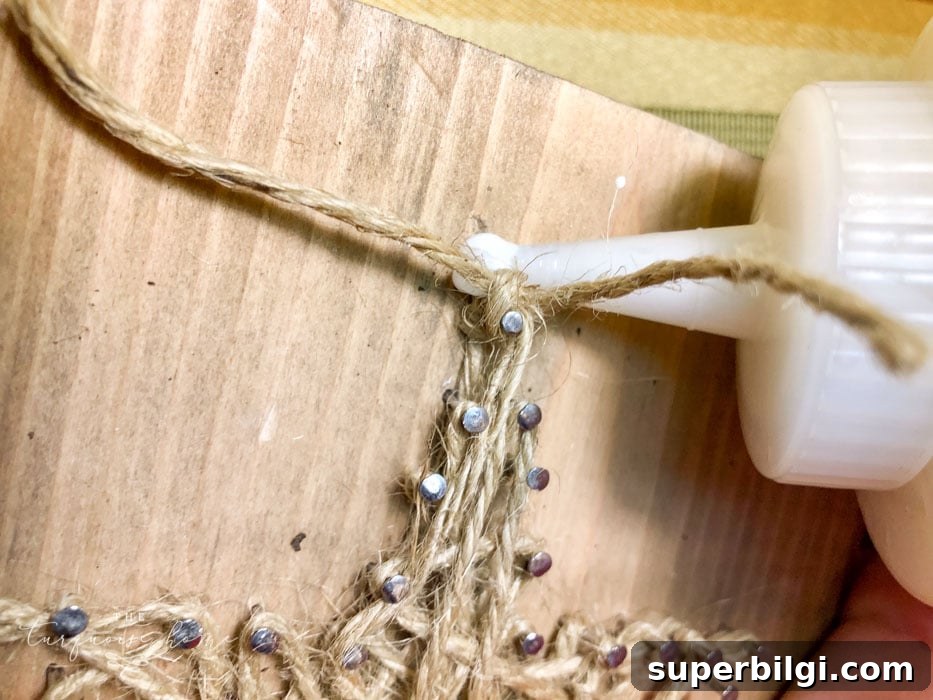
7. Secure the twine with glue
Tie the end of the string around the final nail and secure it with a dab of hot glue or strong craft glue. Tuck any extra tail into the design with tweezers so it’s hidden and neat.
8. Repeat for additional holders
Create as many different shapes and color combinations as you like to make a coordinated set for your mantel. Mixing shapes, sizes and finishes results in a charming, custom display.
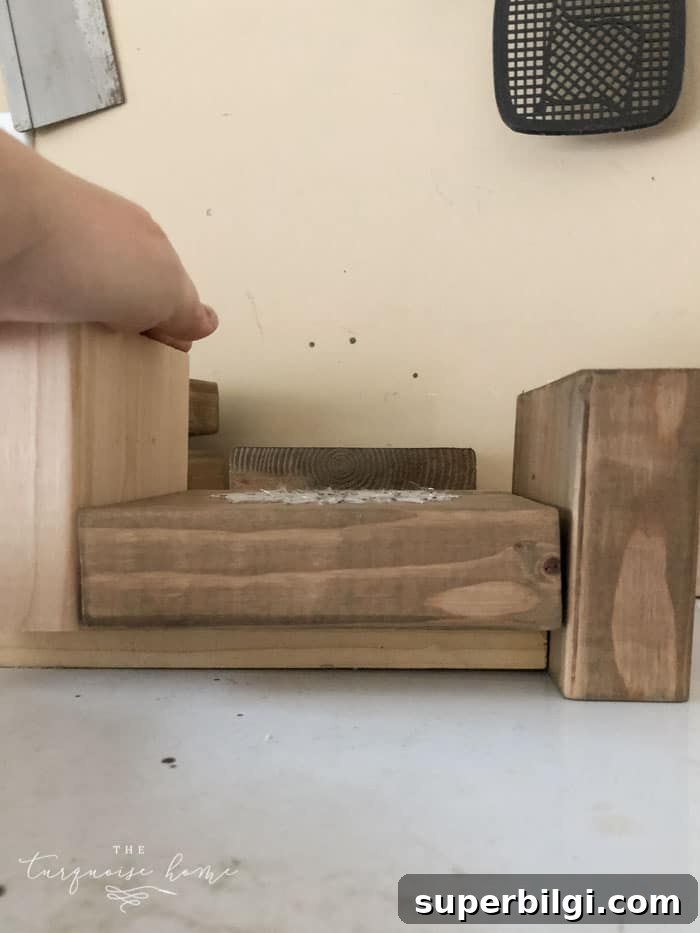
9. Attach the string art block to the base block
Position the finished string art block on top of the 4″ base piece. If you want a small gap between the two boards, use a thin scrap of wood under the face board while you attach. Secure the face to the base with brad nails, a nail gun, or with wood glue and clamps until dry.
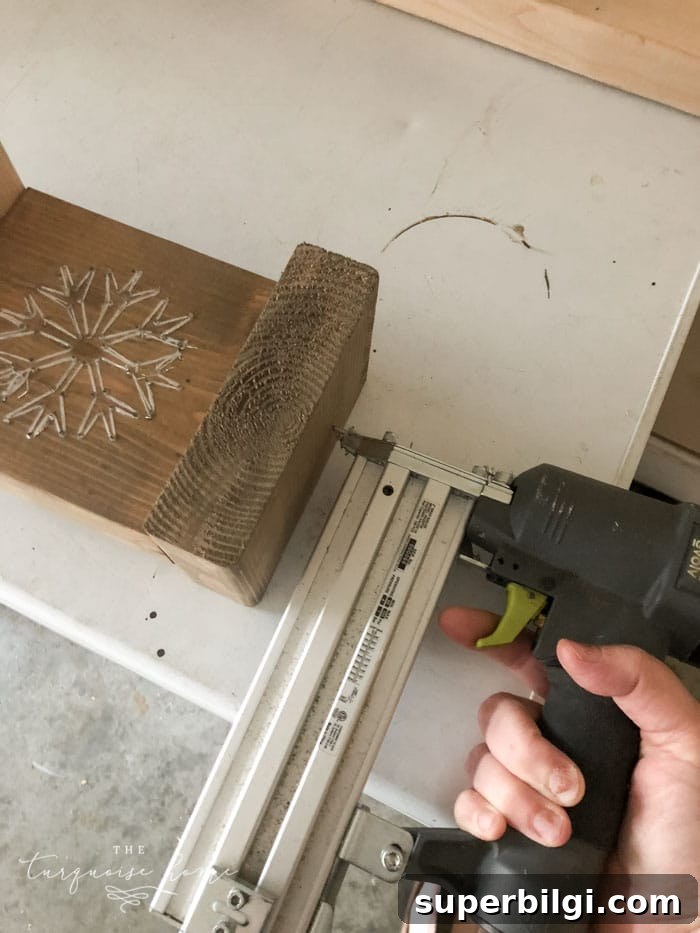
10. Add a hook and hang your stockings
Screw a small hook into the front of the base board for hanging stockings. Choose a finish that complements your board—bronze, black or brushed nickel all look great depending on your style. Once the hook is installed, hang your stockings and enjoy your handmade mantel display.
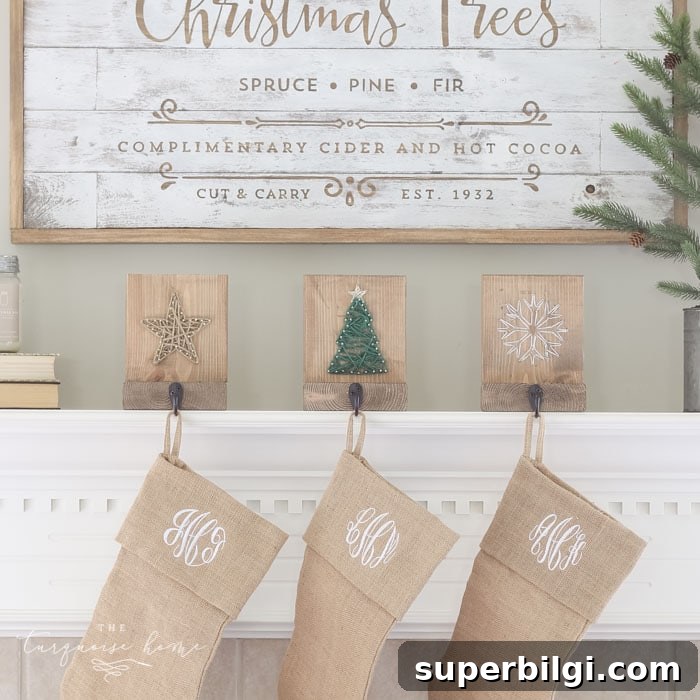
I’d love to see what you create—share photos on social media and tag your posts so others can get inspired. If you try these DIY stocking holders, please leave a comment to tell me which shapes and finishes you used and where you plan to display them.
More Christmas craft ideas you might enjoy:
- DIY twig ornament Christmas tree
- DIY mason jar snow globe ornament
- 40+ creative DIY Christmas gift ideas
- Mini wooden Christmas sign ornaments
- DIY winter wreath with bells