
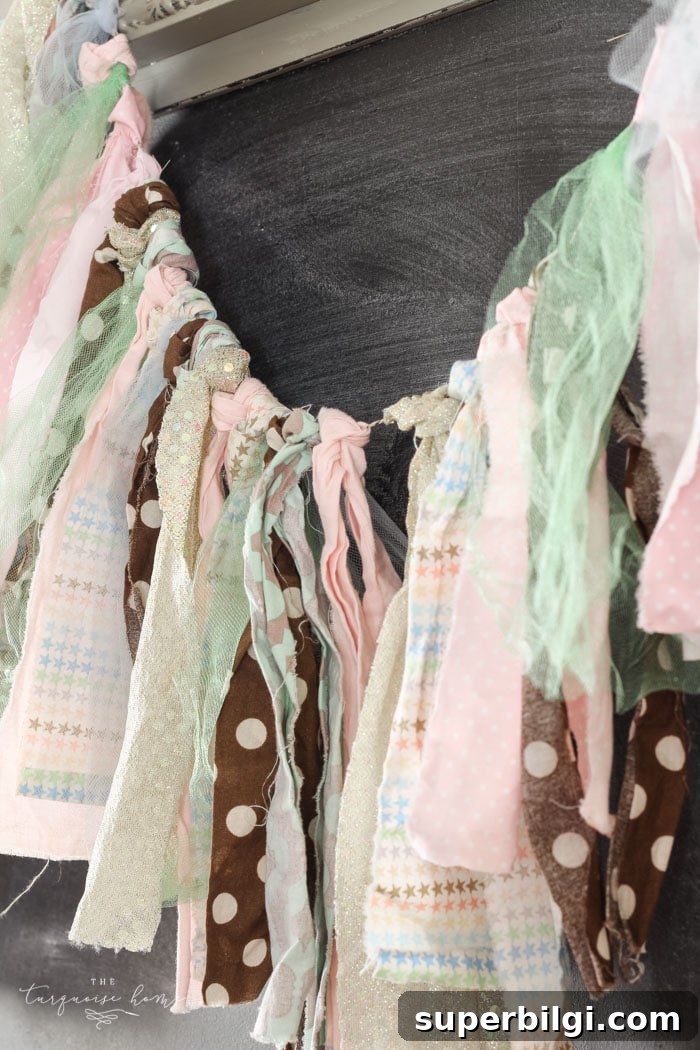
Make a simple DIY rag garland using leftover fabric scraps. It’s quick, charming, and perfect for seasonal or everyday decor.
I’ve already shown how to make heart appliqué pillows from scrap fabric, and this rag garland is another easy way to use leftover bits. It’s a fast, low-cost project that adds texture and color to mantels, doorways, nurseries, parties, and spring displays.
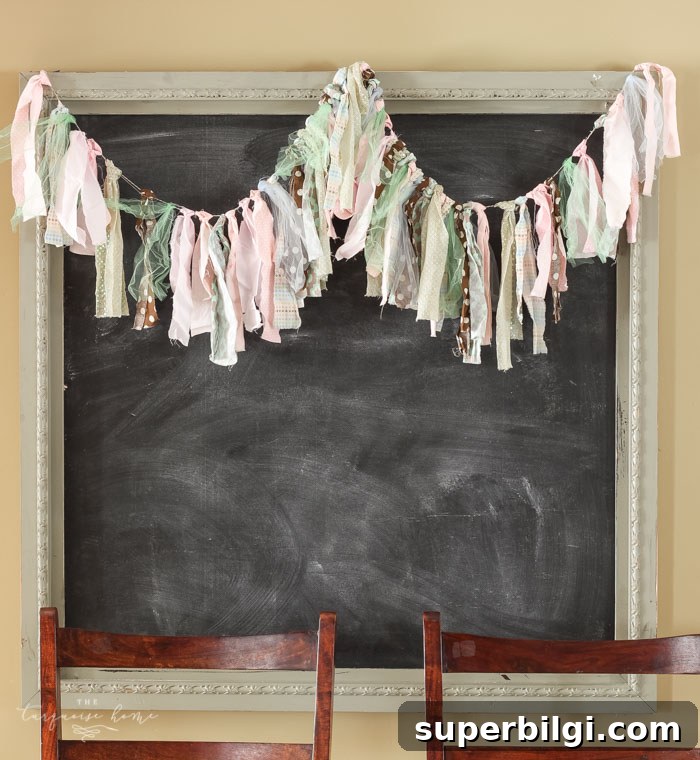
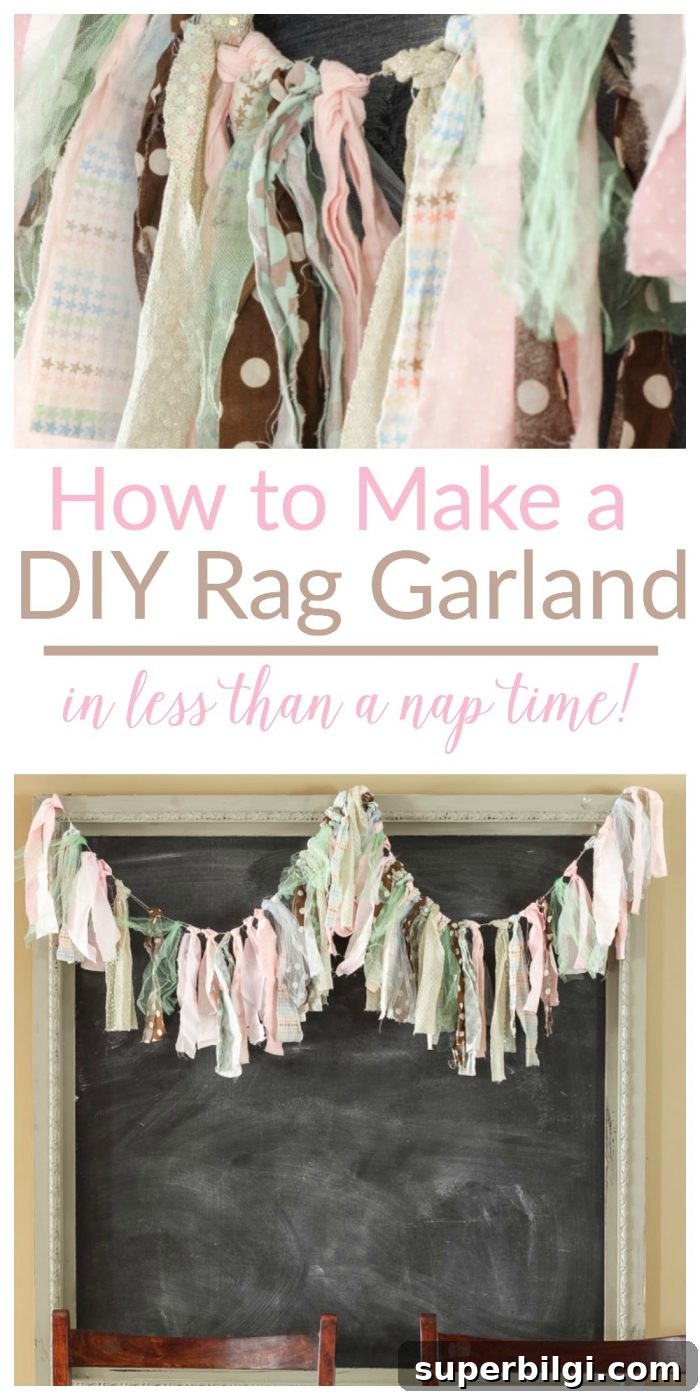
This DIY is so easy you can complete it in less than an hour. It’s a great nap-time or evening project: while your glue dries or your knots settle, fix a cup of tea and admire the garland you made.
What you’ll Need to Make a DIY Rag Garland
- Fabric scraps cut to roughly 18–24 inches long (cotton, linen, gauze, chiffon, or tulle work well)
- Sharp scissors or rotary cutter
- Twine, jute, ribbon, or string for the base
- Optional: ribbon, lace, pom-poms, or beads for added interest
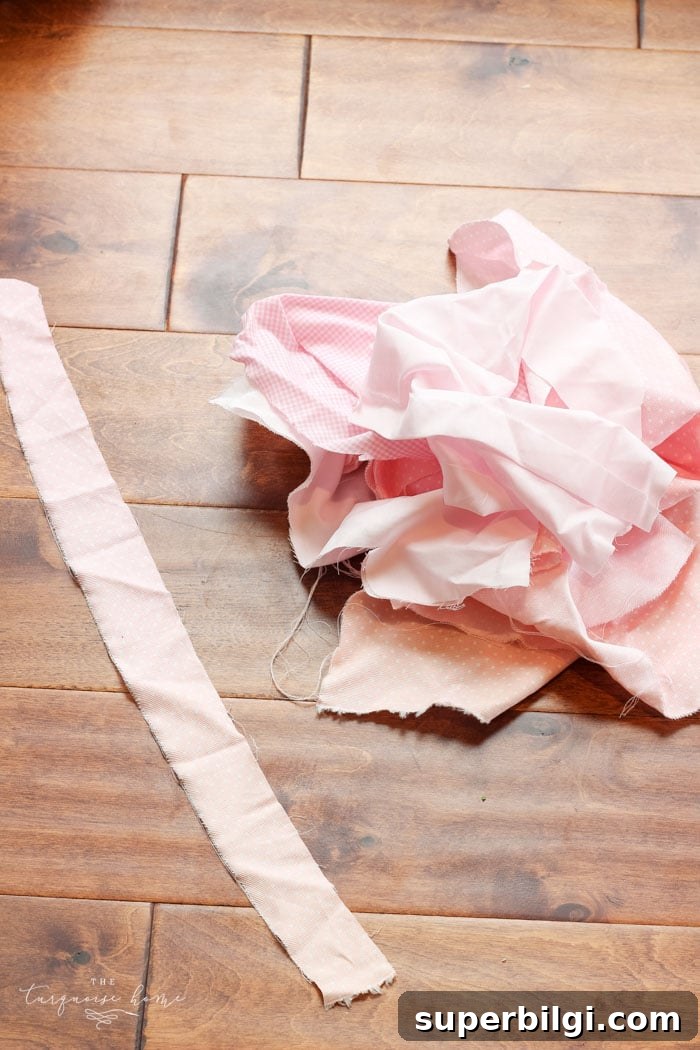
How to Make a DIY Rag Garland
1. Gather your fabric
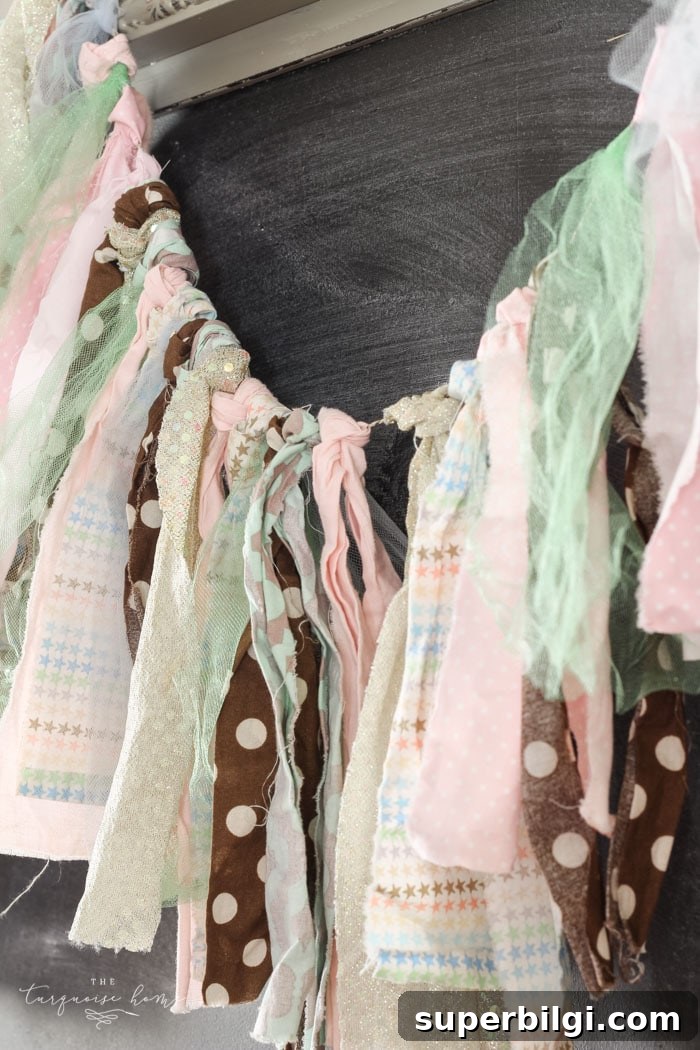
Collect scraps from your stash, old clothing, sheets, or craft-store remnants. Different textures and weights—lightweight cotton, gauzy fabrics, and a couple of shimmery or textured pieces—layer nicely together and create visual interest. You can also include ribbon, lace, or small pre-made decorations like felt shapes or pom-poms. The variety gives the garland a handmade, eclectic look.
2. Cut your string or twine to the length you need
Decide where you’ll hang the garland and measure that span, allowing extra length for drape and tying. If you want a scalloped look, leave more slack. For a straight, taut hanging, measure more precisely. Cut a single length of twine, ribbon, or string that will act as the base.
3. Tie fabric strips to the base
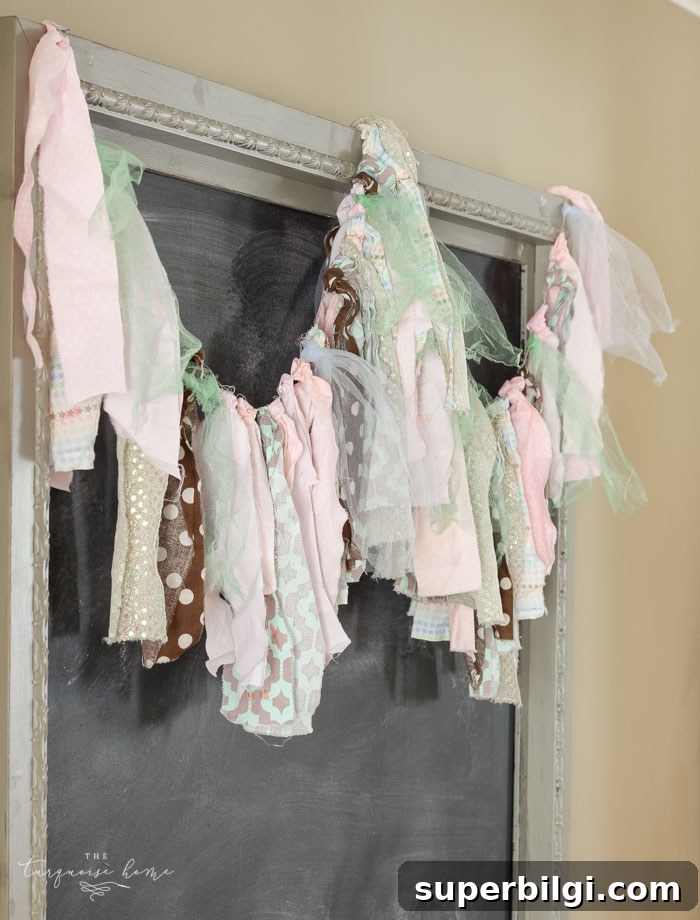
Fold each fabric strip in half around the twine and tie a simple knot so the looped end slides snugly against the base. Alternatively, tie a single knot if you prefer. Space the strips evenly or cluster them for a fuller effect. Alternate colors and textures in a non-repeating pattern for an organic, handcrafted appearance.
4. Step back and trim as needed
Stand back and check the overall balance. Trim a few pieces for a more even silhouette or leave them varied for a rustic look. Aim for some variation in length so the garland looks lively without becoming uneven or sparse.
Tips and variations
- For a fuller garland, double up strips in clusters or increase spacing density.
- Use fabric glue to secure delicate materials or knots that tend to slip.
- Add seasonal accents—mini pumpkins for fall, paper flowers for spring, or metallic ribbon for holiday sparkle.
- For an outdoor-friendly version, choose synthetic fabrics that dry quickly and won’t mildew if exposed to moisture.
- If you prefer a cleaner look, cut strips with straight edges; for a shabby-chic vibe, fray the edges by pulling a few threads from the cut sides.
That’s it—simple, low-effort, and highly customizable. With basic materials and minimal time, you’ll have a cheerful rag garland that brightens a room, frames a party space, or adds a handmade touch to seasonal decorations. Because it’s made from scraps, it’s an inexpensive way to get a big visual payoff.
More posts you will love:
- Spring is Coming (Chalkboard Art)
- The Best Spring Decorating Ideas
- How to Make a Felt Garland + Valentine’s Day Chalkboard
- Easy DIY Heart Pillow Cover
- Spring Table Decorations