
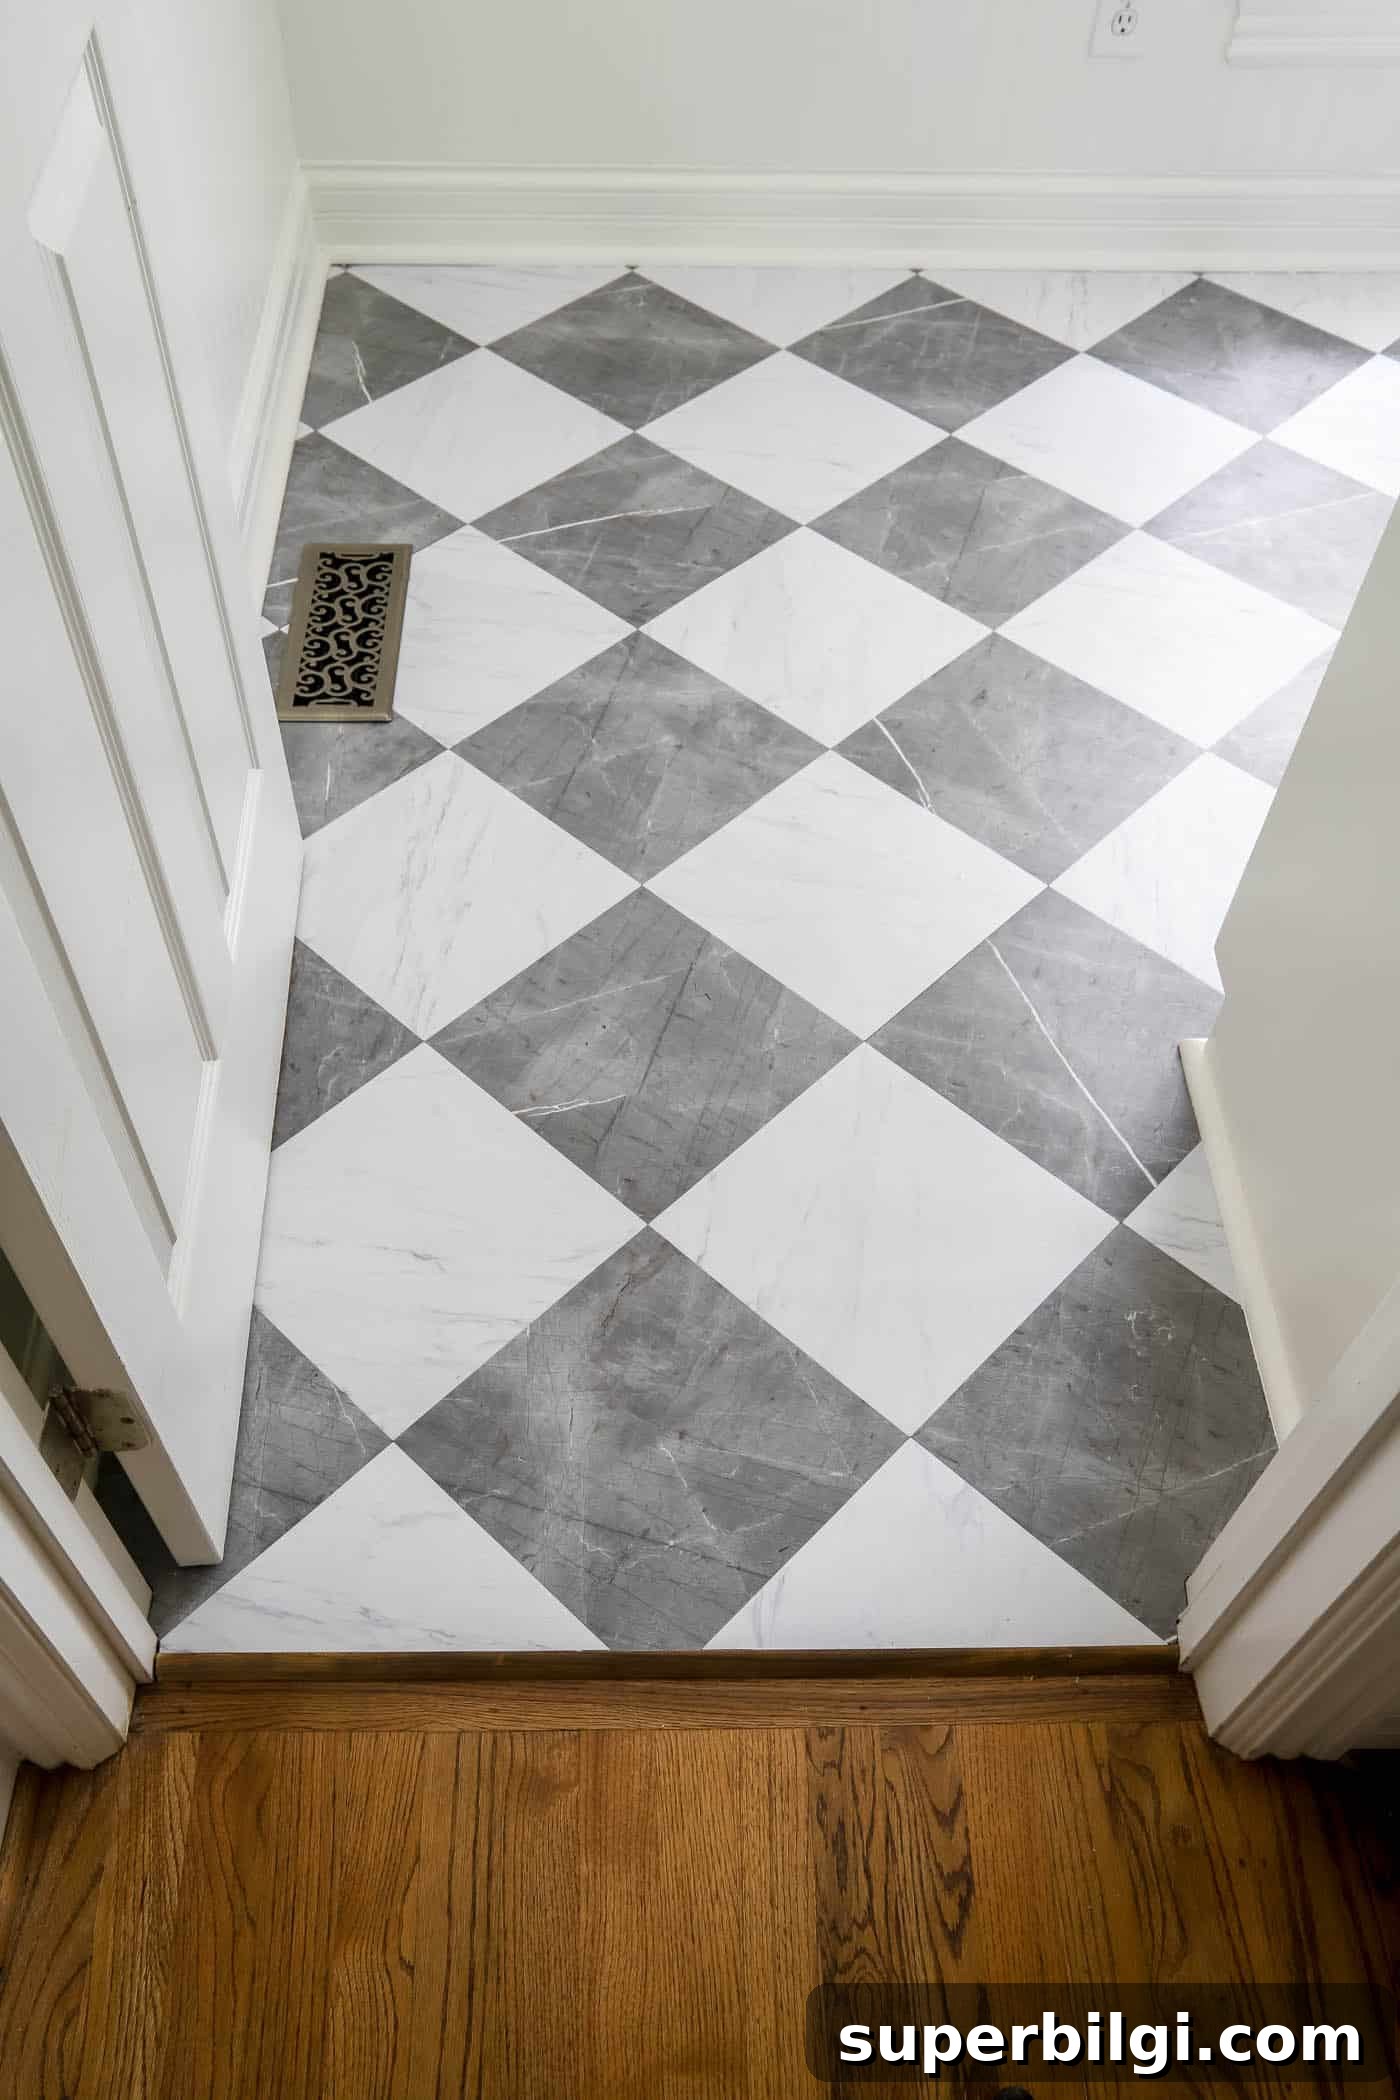
Replacing flooring can feel overwhelming and expensive. Peel & stick vinyl tiles offer a fast, affordable, and low-mess way to transform a room—just peel, stick, and trim with a utility knife.
I recently covered the old hunter-green tile in my laundry room with marble-look peel-and-stick vinyl tiles, and the installation was incredibly simple. The room now looks updated and fresh—better than I expected.
This post contains affiliate links for your convenience. See my full disclosure policy.
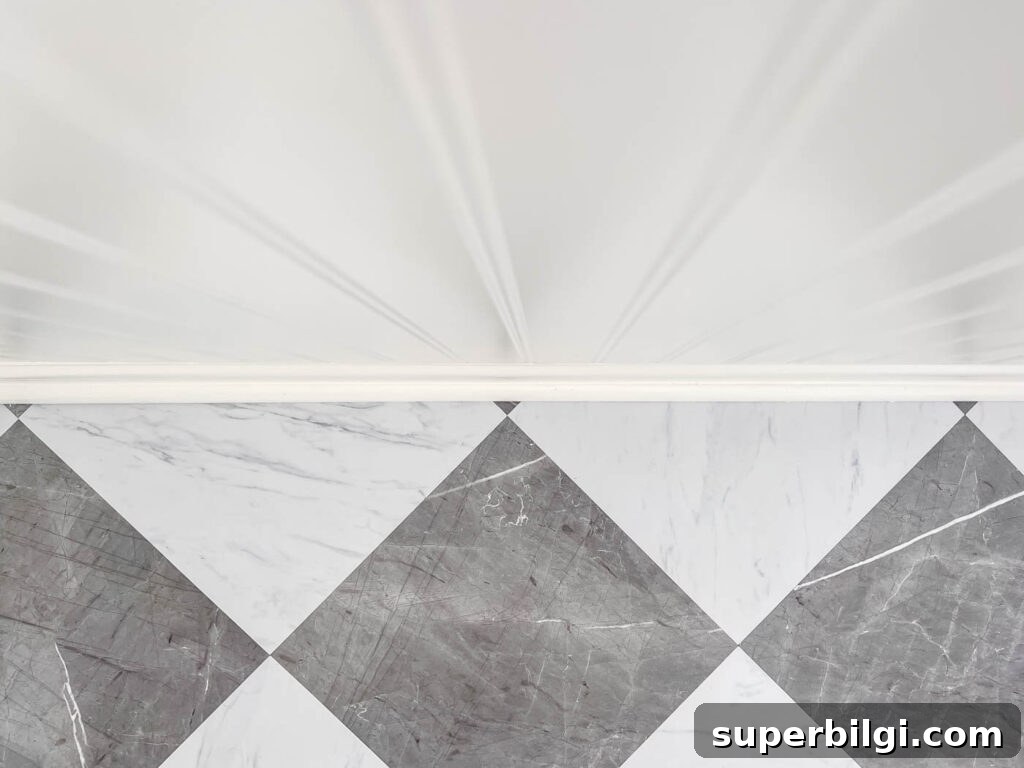
For this project I used FloorPops Marble Bonneville peel-and-stick tiles. They’re very popular and often sell out, so check availability if you plan to buy. If you prefer a different look, many other vinyl tile patterns are available.
This flooring update is part of a broader laundry room makeover, so consider this a sneak peek of the overall refresh.
What You’ll Need to Install Peel & Stick Floor Tiles
- Vinyl peel-and-stick tiles (I used marble-look tiles)
- Utility knife for scoring and snapping tiles
- Straight edge to guide cuts
- Pencil for marking
- Scissors for precise non-straight cuts
- Hammer or crowbar to remove quarter round
- Nail gun for reinstalling quarter round
- Wet/dry shop vacuum and cleaning supplies
- Caulk
- Paint (optional)
- Replacement quarter round (if needed)
If your existing tile has deep grout lines that need leveling before installation, you’ll also need:
- Pre-mixed thinset mortar (easier to work with than powdered)
- Putty knife
- Sandpaper
How to Install Peel & Stick Floor Tiles
1. Remove the quarter round along the walls
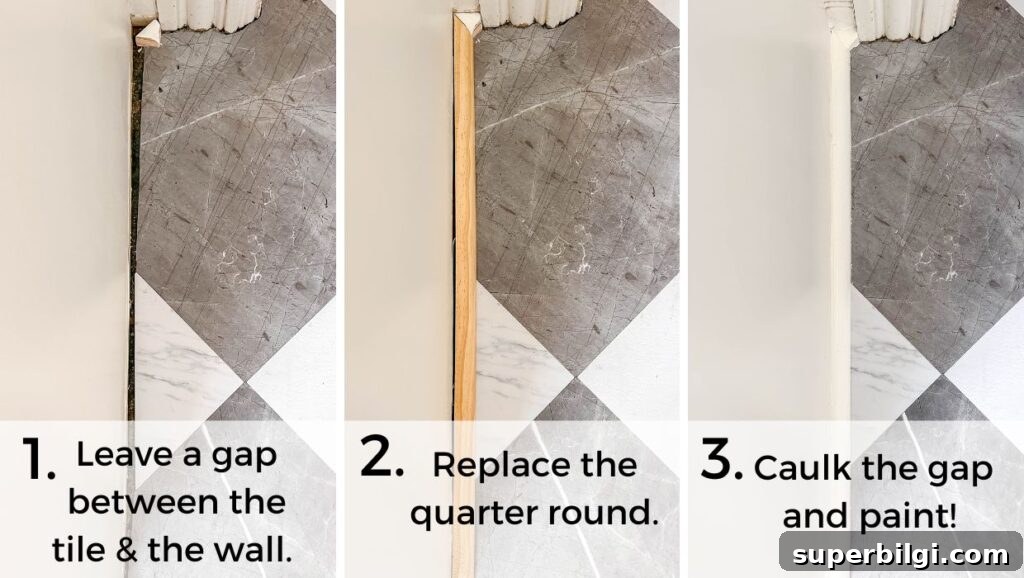
Peel-and-stick tiles are designed to be installed with a small expansion gap between the tile edge and the wall, so remove the quarter round and reinstall it after the tiles are down. Score the caulk between the quarter round and baseboard with a utility knife, then gently pry the trim off with a hammer or crowbar. If it’s in good shape, you can reuse it; otherwise, replace it.
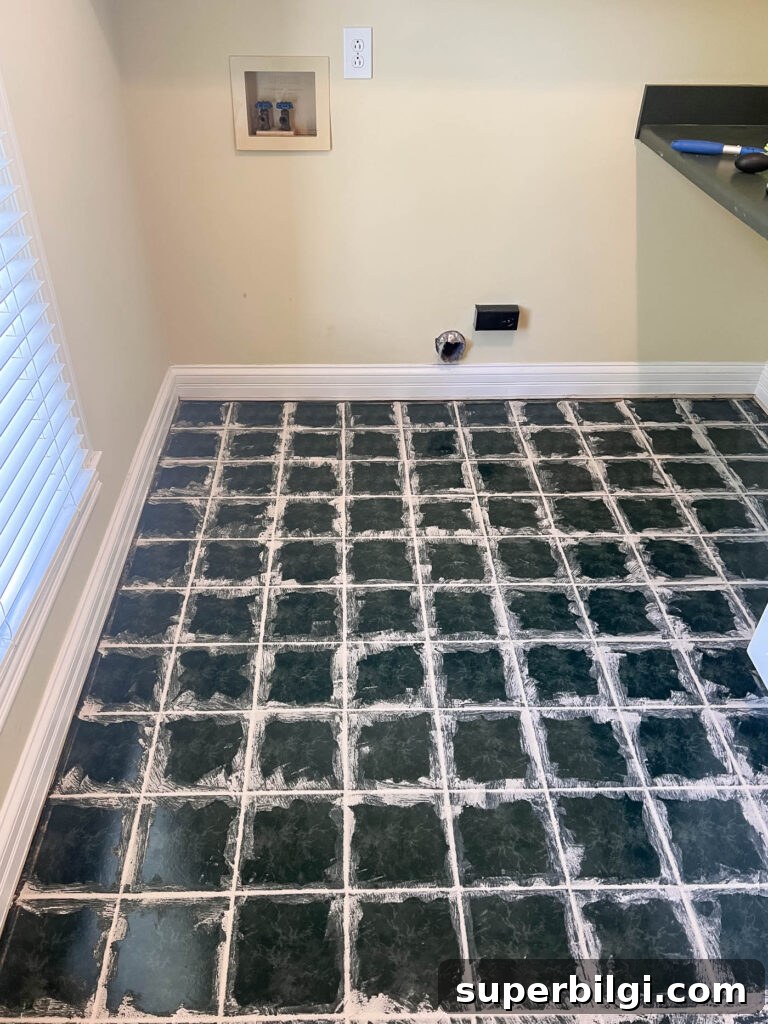
2. Fill grout lines if needed
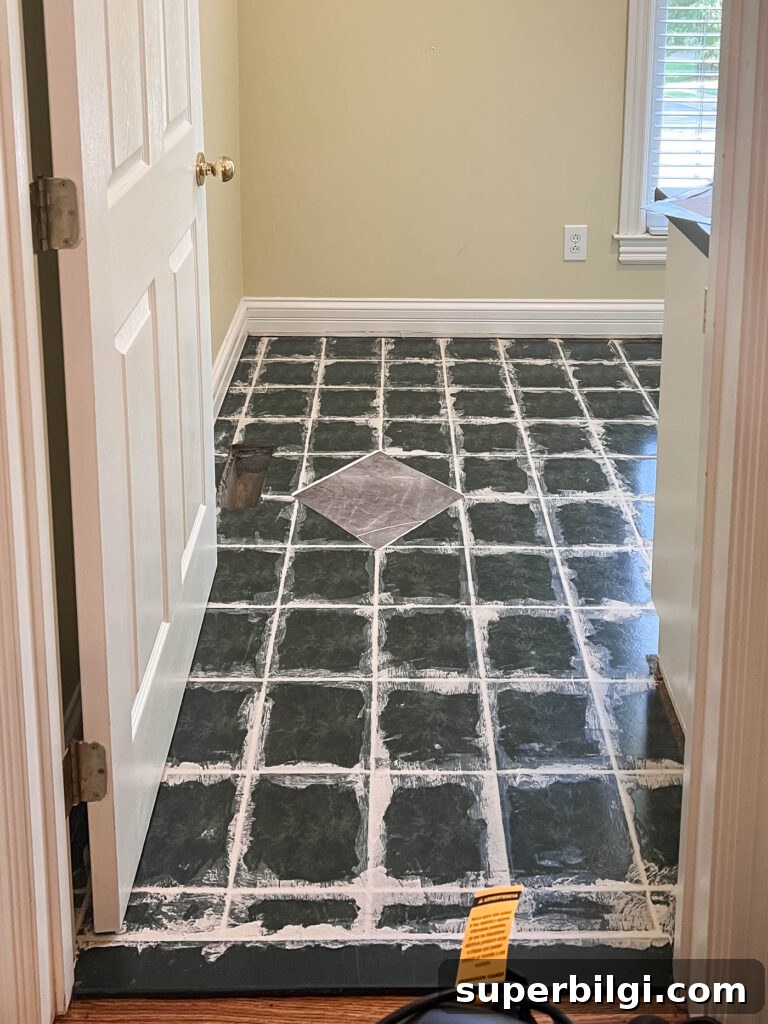
If you have grouted tile underneath, use pre-mixed thinset mortar to fill the grout lines so the surface is level. Apply with a putty knife and smooth as much as possible. Allow the recommended drying time on the product label.
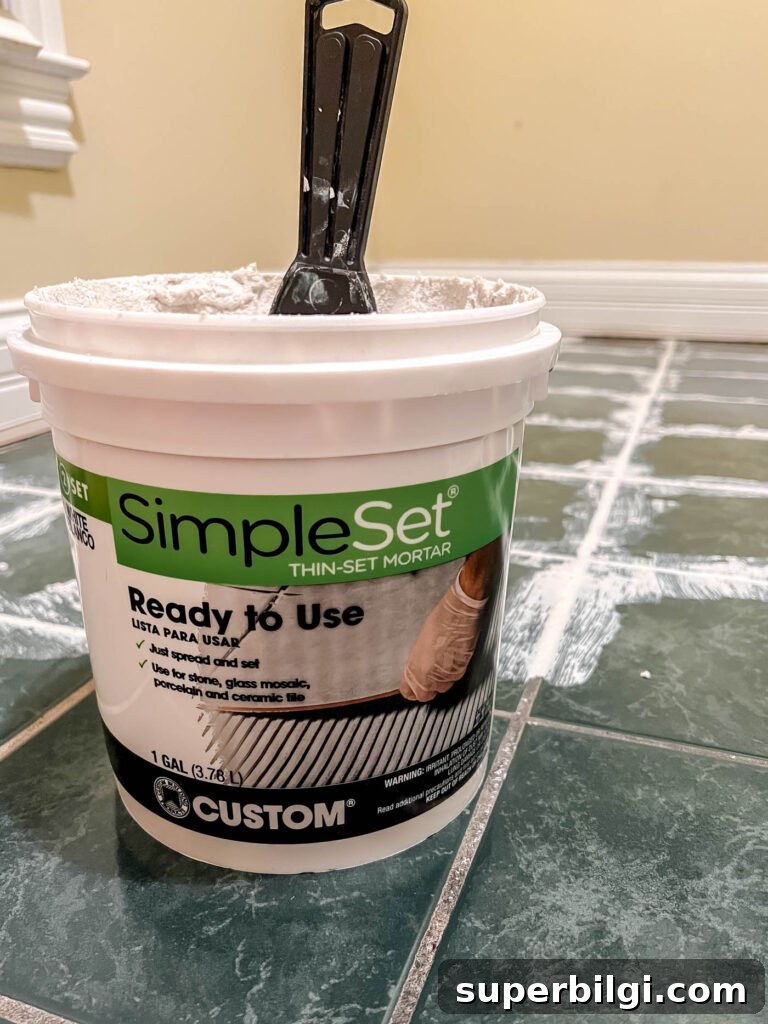
3. Sand any high or rough spots
After the mortar dries, sand rough or raised areas so the floor is as flat and even as possible. A level surface will help the tiles adhere properly and sit flush.
4. Clean the floor thoroughly
Remove all dust and debris—use a wet/dry shop vacuum to pick up everything. A clean surface improves adhesion and prevents imperfections after installation.
5. Lay out tiles to preview the pattern
Before sticking tiles down, lay them out across the room to visualize placement and pattern flow. Avoid ending with very narrow pieces at the far wall—adjust your starting line if needed. Also rotate and vary tiles to prevent duplicate faux-marble patterns from appearing side-by-side.
6. Find the center and begin installation
Mark the center of the room with a chalk or pencil line and start the first row along that line so everything stays balanced. I centered my tiles on the doorway so they look symmetrical when viewed from the entry. Work outward from the center, but always follow the product directions—many manufacturers recommend rolling the surface after installation. If you don’t have a floor roller, walking gently across the tiles can help press them into place.
7. Trim tiles to fit edges and around doors
Use the tile backing as a template for edge cuts, score straight lines with a utility knife and snap off the excess. For irregular cuts, scissors can do the job. Leave a small gap between the tile edge and baseboard to allow for seasonal expansion.
8. Reinstall or replace the quarter round
Once all tiles are down, reattach the quarter round using a nail gun. If you removed old trim that was damaged or stained, measure and cut new quarter round pieces using the old ones as templates. Paint the baseboards and trim if desired.
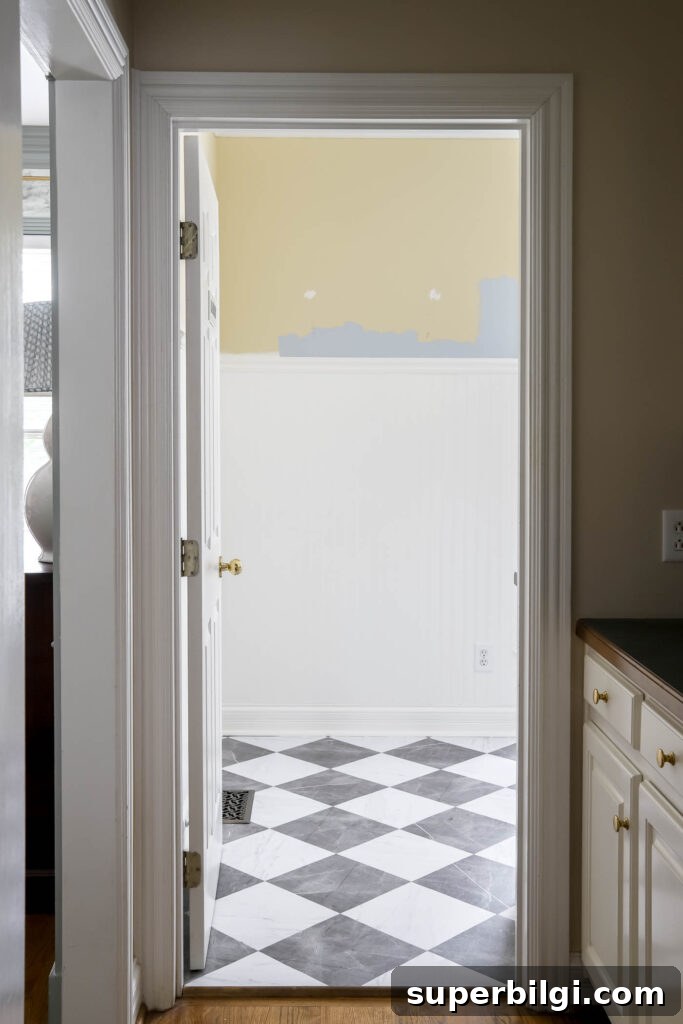
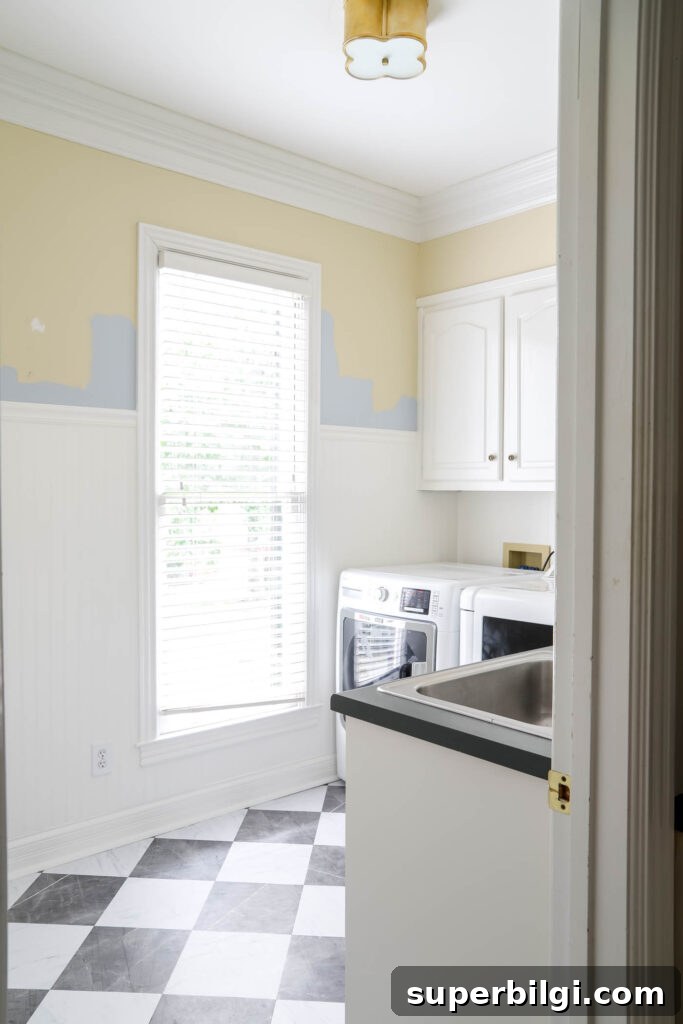
You can see the rest of the laundry room makeover plans for more ideas and inspiration.
Tile Stickers vs. Rigid Vinyl Floor Tiles
There’s an important difference between thin vinyl tile stickers and thicker peel-and-stick vinyl tiles. Tile stickers are thin decals that adhere to individual old tiles and are easy to remove, but they don’t cover grout lines and can allow water to seep underneath. Rigid vinyl tiles are thicker and more durable; when installed over a leveled surface, they butt together to create a more water-resistant floor.
Because my floor had grout lines, I filled and leveled them before installing the rigid tiles. That allowed the tiles to sit flush against each other and formed a more robust, water-resistant surface than stickers would provide.
Is Vinyl Tile Easy to Install?
Yes—this was one of the simplest DIY projects I’ve done. Tiles score and snap cleanly with a utility knife and a straight edge, and they fit snugly next to each other. If a tile becomes damaged later, you can pop out and replace just that single tile.
How Much Does Peel & Stick Vinyl Tile Cost?
For my 10′ x 7′ laundry room, the materials to cover the floor cost under $200, not including tools I already owned. It’s an economical way to refresh flooring without a full demolition, especially when you’re working with a tight budget.
Someday I may fully renovate this laundry room, but for now I’m thrilled with the improvement these vinyl tiles provide.
More posts you may enjoy:
- 16 Economical Laundry Room Ideas
- DIY Window Cornice Board with Fabric
- How to Upgrade Your Home with Beadboard
- How to Choose the Right Checkered Floors for Your Home
- Cheap Flooring Ideas: Update Your Floors on a Budget