
These easy-to-build DIY sliding barn doors add instant character and practical function to any home. We built these using pine boards and common tools to create durable, handcrafted doors that look great and operate smoothly.
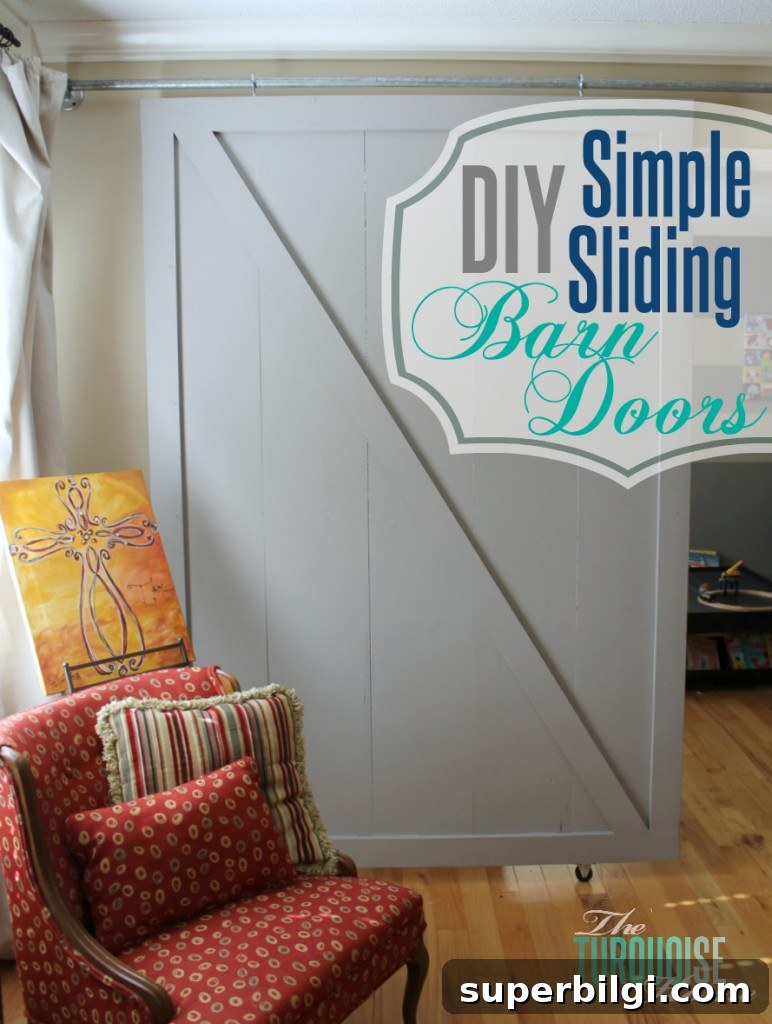
Barn doors have been a popular home feature for years, and for good reason: when designed and installed well, a sliding barn door gives you a flexible way to separate rooms while adding architectural interest. They’re especially useful for wide openings where a standard hinged door would be impractical or take up too much space.
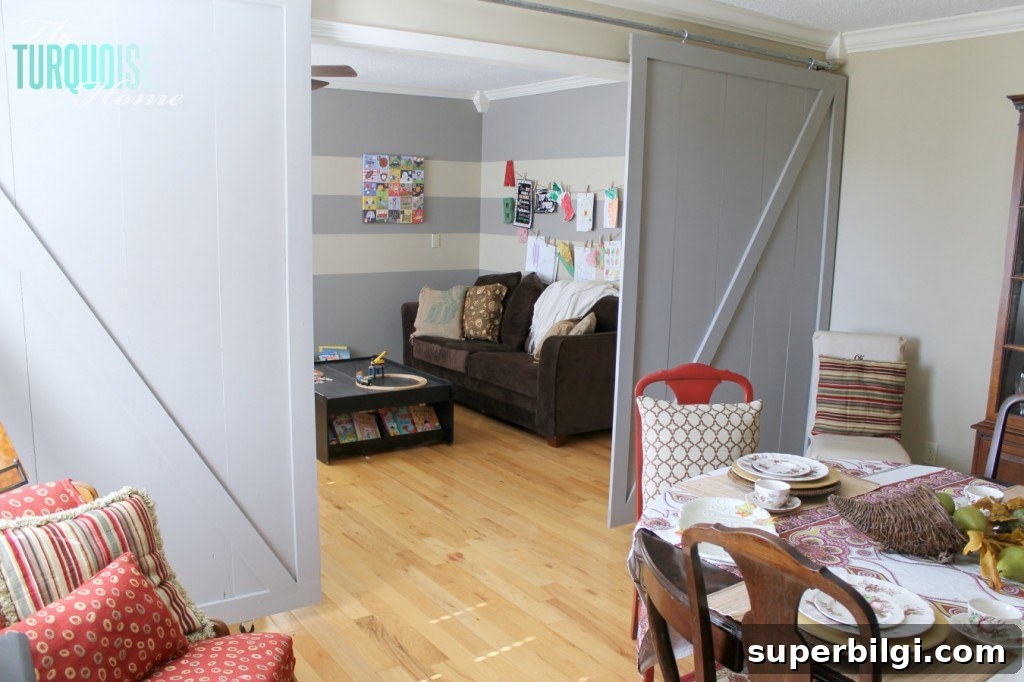
Recently I built two large barn doors for a dining-room-turned-playroom project. The opening was nearly 10 feet wide, so finding pre-made doors to fit the space wasn’t realistic. Building them from scratch gave us the exact size, style, and finish we wanted. The lumber cost for each door was about $175—worth it for a large, custom result.
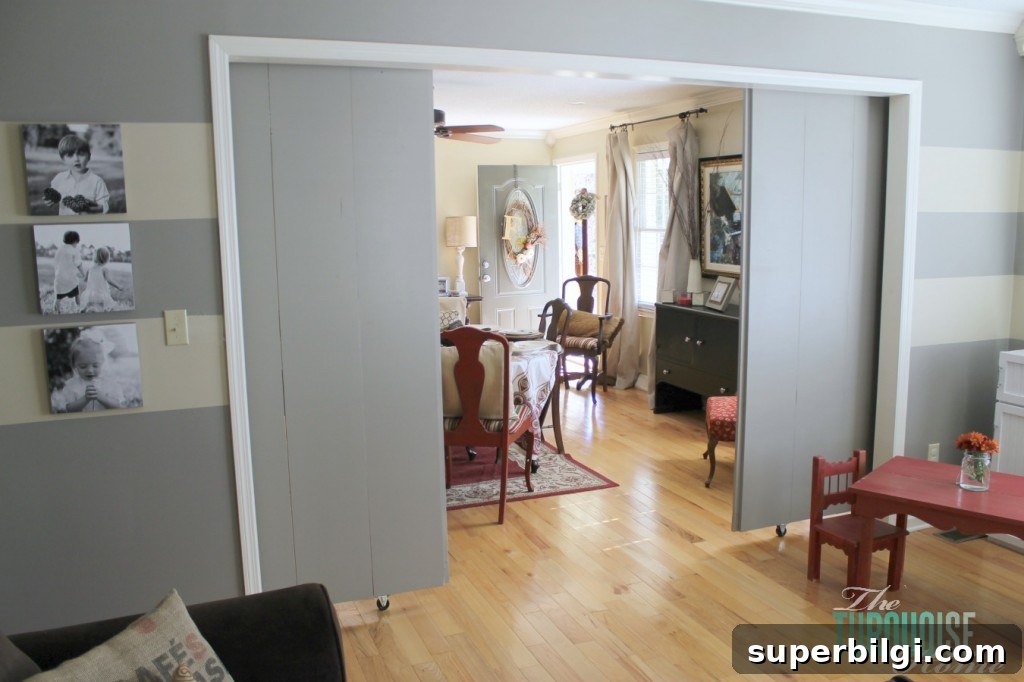
We wanted the doors to slide completely open and fully cover the opening when closed. Below is a clear list of the materials and tools we used for one door and a straightforward step-by-step guide for building and installing a DIY sliding barn door.
Tools & Materials for DIY Barn Doors
Lumber (we used quality pine):
- 5 – 1×12 boards at 7 feet (adjust lengths to cover your opening; use longer boards if ceilings exceed 8 feet)
- 4 – 1×4 boards at 8 feet (for the door frame)
- 1 – 1×4 board at 10 feet (long enough to run diagonally across the door for a brace)
Hardware:
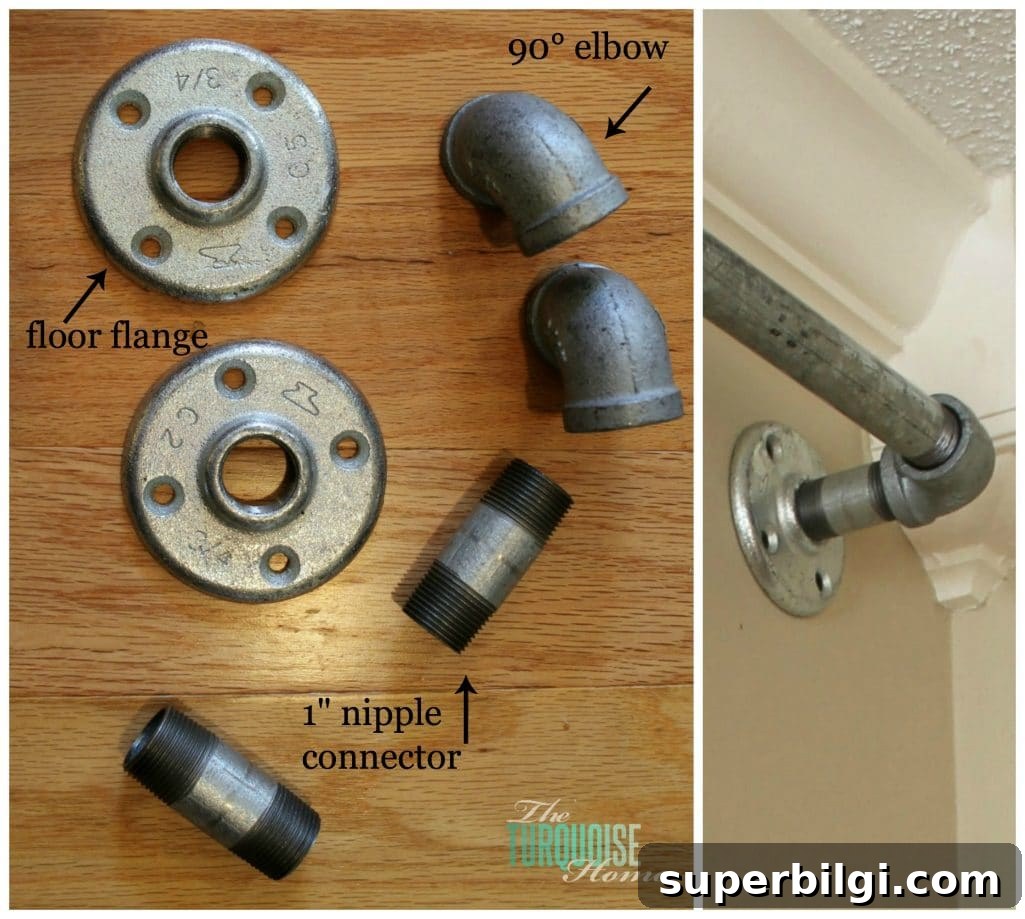
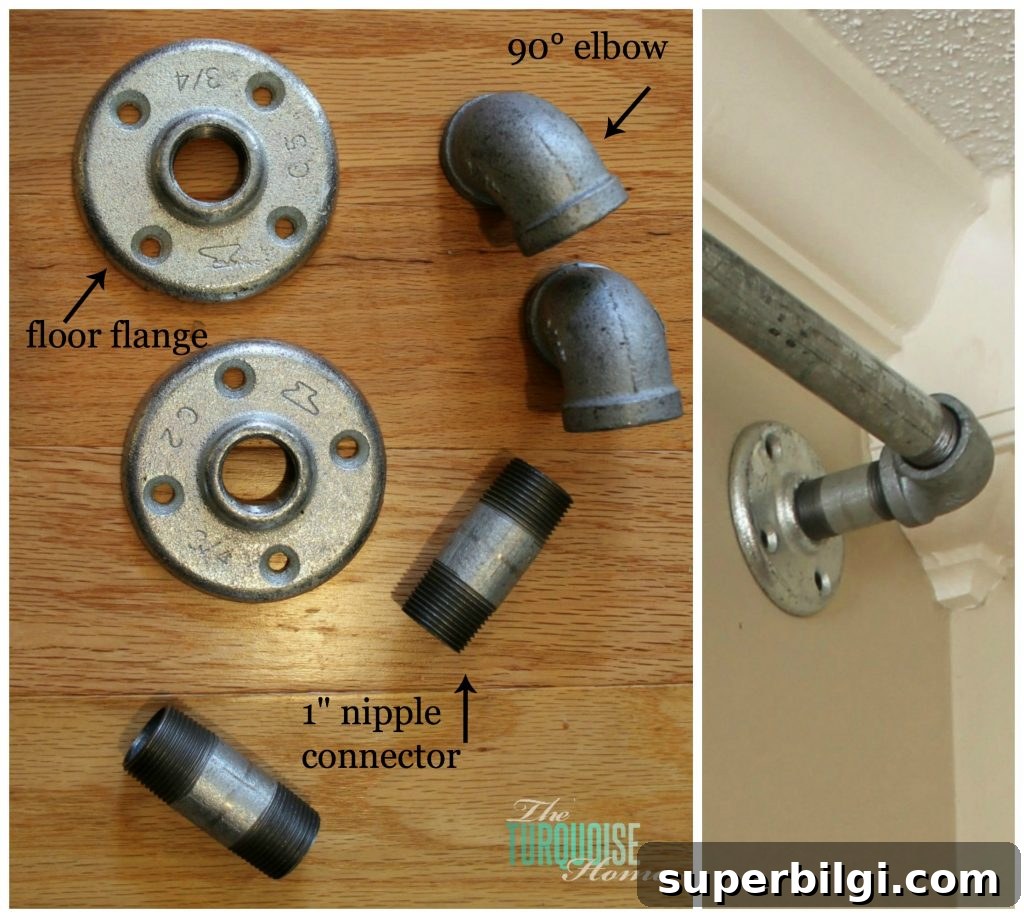
- 1 – 3/4-inch galvanized pipe, cut to the desired rail length (the pipe should span the opening plus extra for the door to slide past the jamb). Have the pipe threaded on both ends; allow space for 90° elbows and floor flanges.
- 2 – floor flanges matching your pipe diameter
- 2 – 1-inch nipples
- 2 – 90° elbows
- 2 – non-swiveling casters for floor guidance
- 2–3 – heavy-duty eye hooks sized to fit the pipe
Make sure all fittings and connectors match the same pipe diameter so everything threads together properly. Our setup used 3/4-inch fittings throughout.
Tools and supplies:
- Miter saw or circular saw for cutting boards to length
- Kreg Jig or pocket-hole system (if you don’t have one, you can glue and clamp the planks together and reinforce them with cross-braces on the back)
- Screwdriver or drill/driver
- Nail gun and brad nails (or finish nails and a hammer)
- Orbital sander and sandpaper, wood glue, spackle, and a selection of screws
- Paint or stain and brushes/rollers for finishing
How to Build a Sliding Barn Door
This is a straightforward build, but because the doors are large, it helps to have a second person to assist with lifting and aligning during assembly and installation.
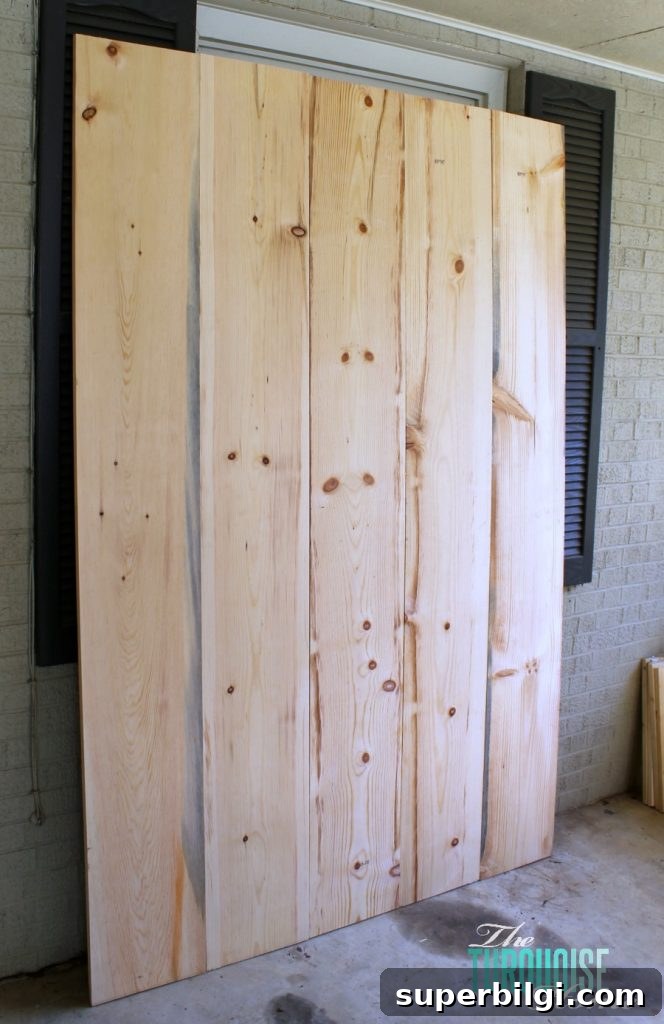
1) Join the face boards. Lay your 1×12 boards side by side and join them to form the door face. We used a pocket-hole jig and glue to fasten the boards together. If you don’t have a pocket-hole system, glue the boards, clamp them tightly, and fasten one or two cross members across the back to hold everything flat and square.
2) Build and attach the frame. Cut the 1×4 pieces to size for the door perimeter and nail or screw them to the front or back of the door face. This frame gives the door its finished edge and adds rigidity.
3) Add the diagonal brace. The diagonal board adds both stability and a classic barn-door look. Lay the brace on the door and mark the cut line with a straightedge. If you’re not comfortable with angle math, place the brace and draw the line by eye, then fine-tune the angle on a miter saw. We used a 30.6-degree cut on the saw to get a perfect fit. Once cut, attach the brace with glue and nails or screws.
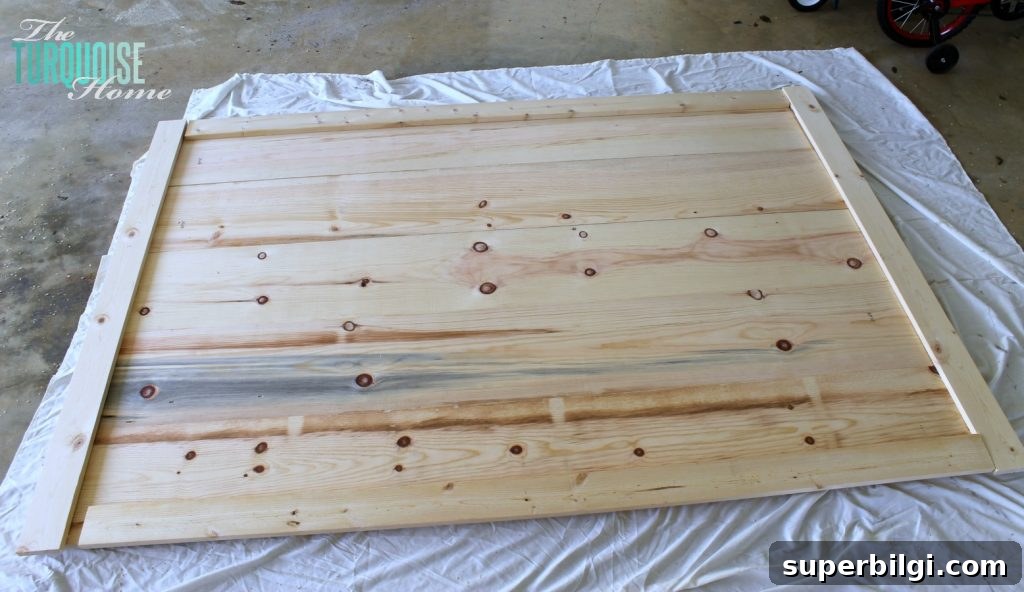
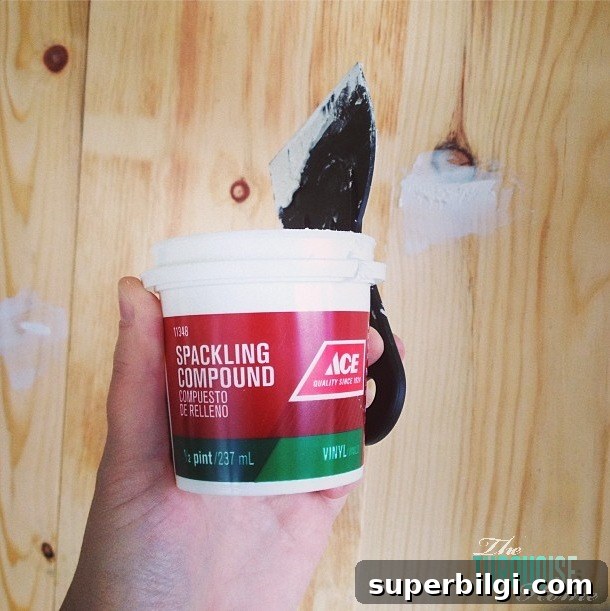
4) Fill and sand. Spackle nail holes and any gaps, let the filler dry, then sand the entire door smooth with an orbital sander. Take care to sand edges and joints so the finish coats go on evenly.
5) Finish the door. Choose paint or stain to match your room. For this project the doors were painted a soft gray to match the playroom decor, but you can stain for a natural wood look or mix finishes—paint the door and leave the trim stained, for example. Add handles or pulls once the final coat is dry.
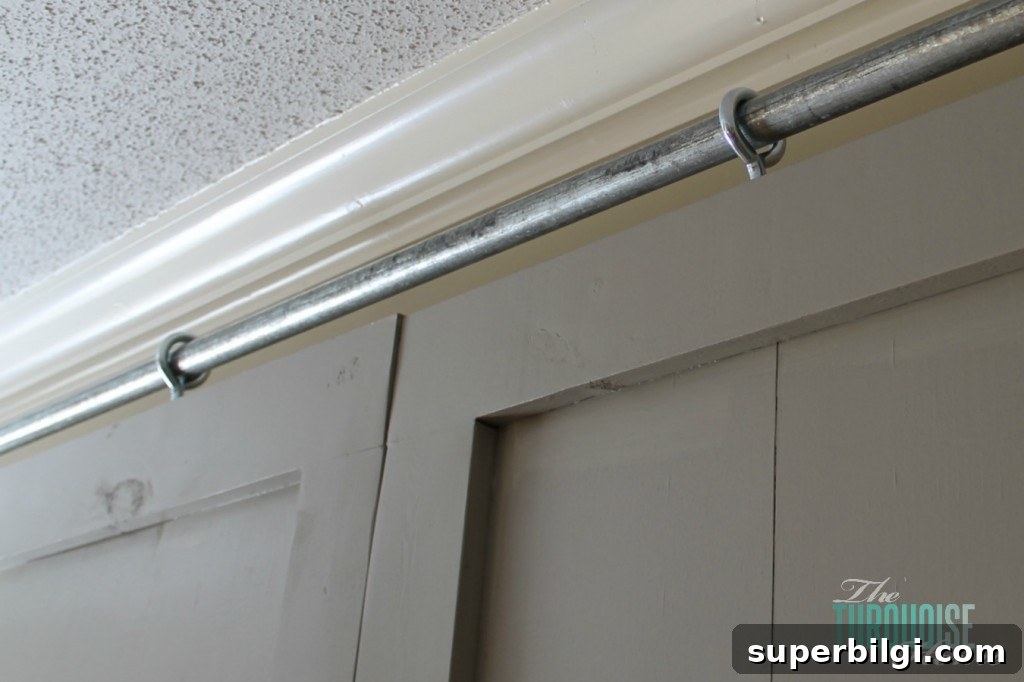
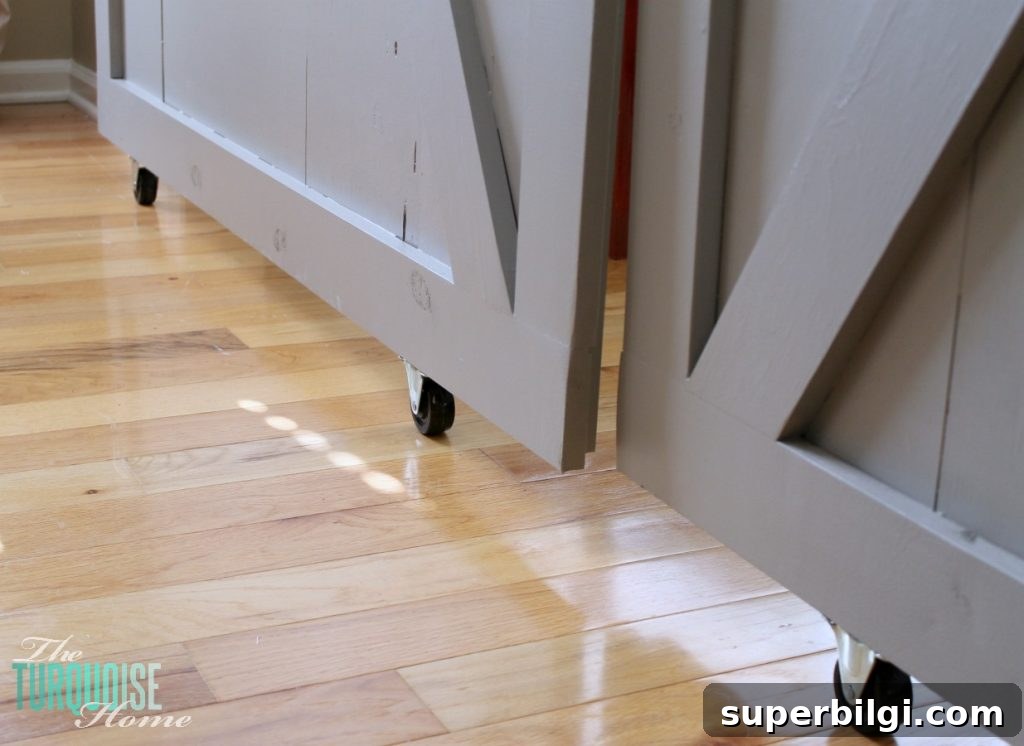
6) Prepare the hardware. Screw eye hooks into the top edge of the door where the pipe rail will hang. Attach non-swiveling casters or floor guides to the bottom of the door so it tracks straight and doesn’t swing outward when opening or closing. When positioning the eye hooks, leave enough space from the door edge so the door can slide fully to the wall even if the pipe rail stops short of the wall.
7) Install the rail. Thread the eye hooks onto the pipe, lift the door into place, and mount the rail assembly to the wall using floor flanges, elbows, and threaded nipples as needed. Secure the flanges into studs or a solid header for safe, long-lasting support. Once the rail is mounted and the doors hang freely, make any final adjustments to ensure smooth sliding.
And that’s it—you’ll have a custom sliding barn door that fits your opening perfectly and adds a beautiful focal point to the room. These doors are a satisfying weekend project for anyone comfortable with basic woodworking and mounting hardware.
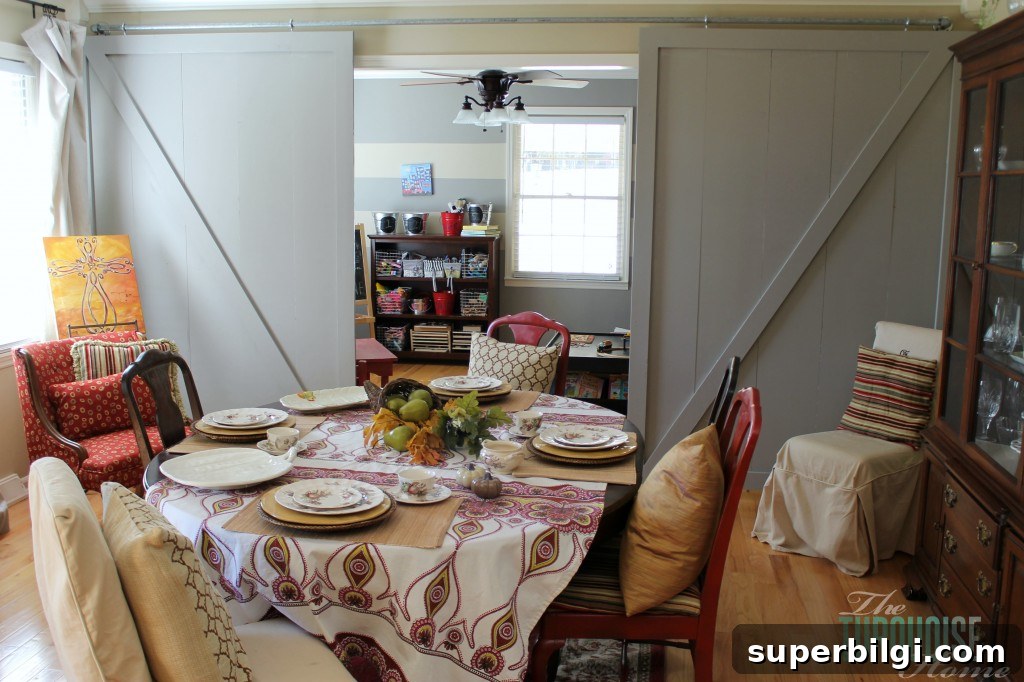
Have you ever built a barn door? Would you take on a project like this, and where in your home would a sliding barn door work best?
More posts you may enjoy:
- How to Decorate the Dining Room for Christmas
- How to Organize the Playroom Before the Holidays
- Traditional Dining Room Reveal
- Interior Door Paint Color Ideas
- ZZ Plant Care Guide